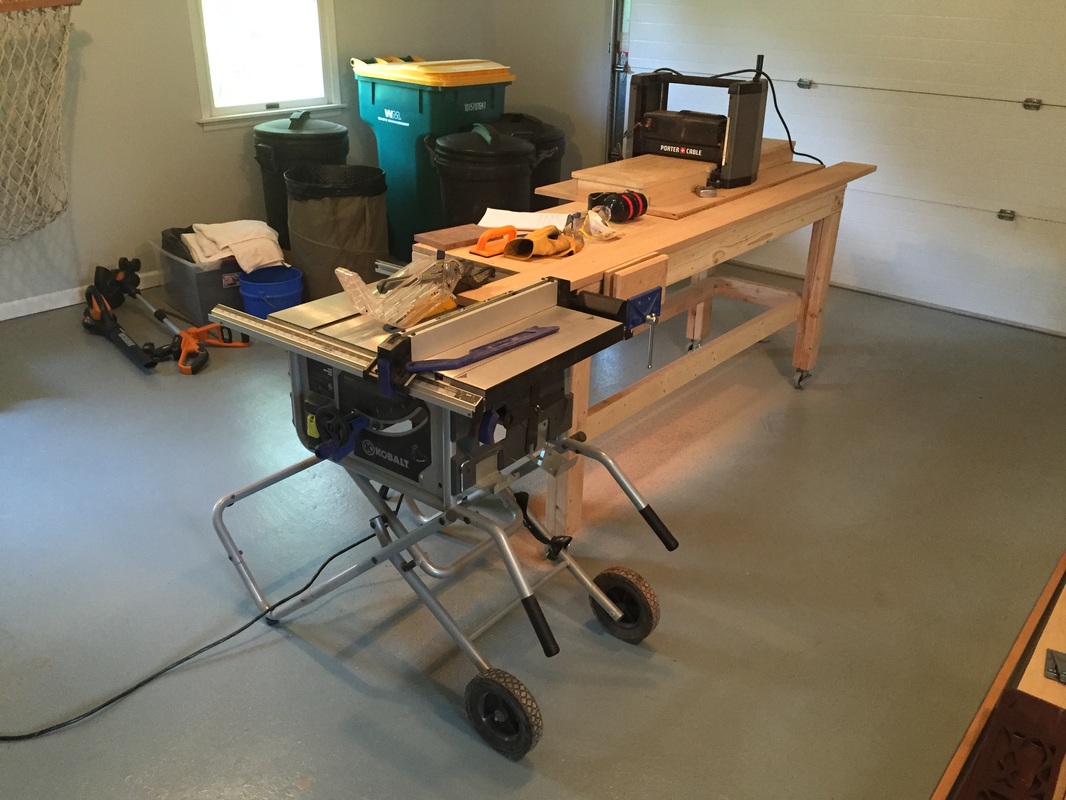
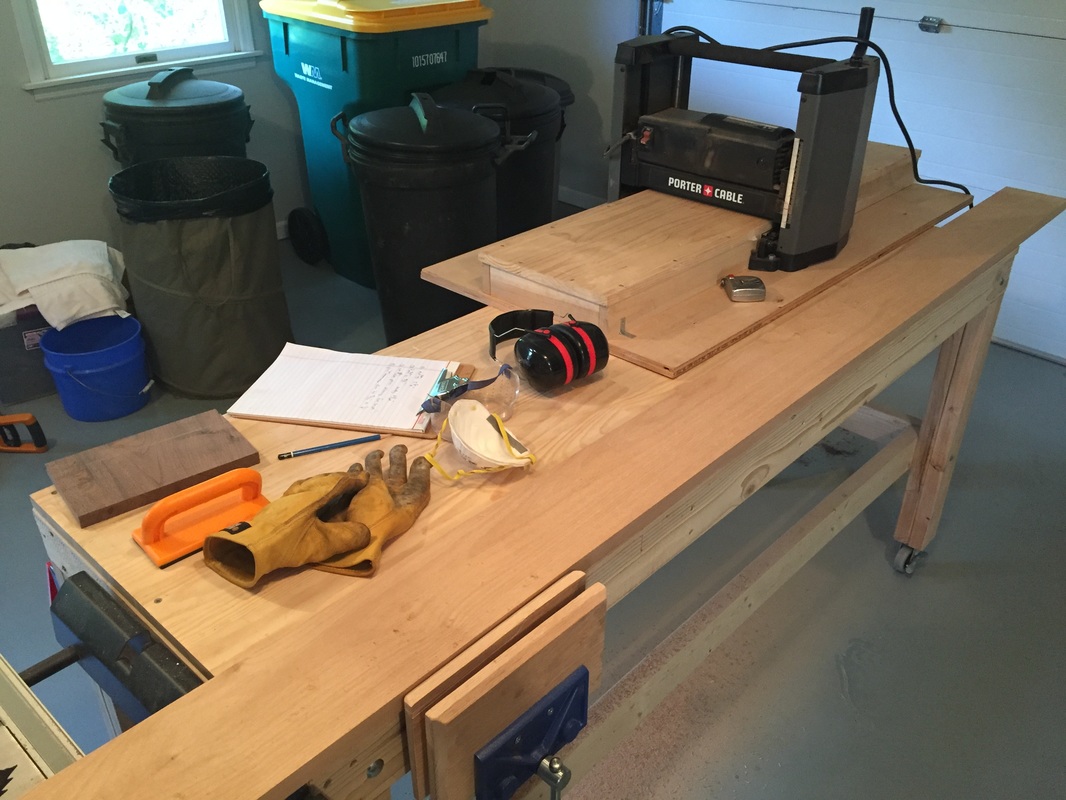
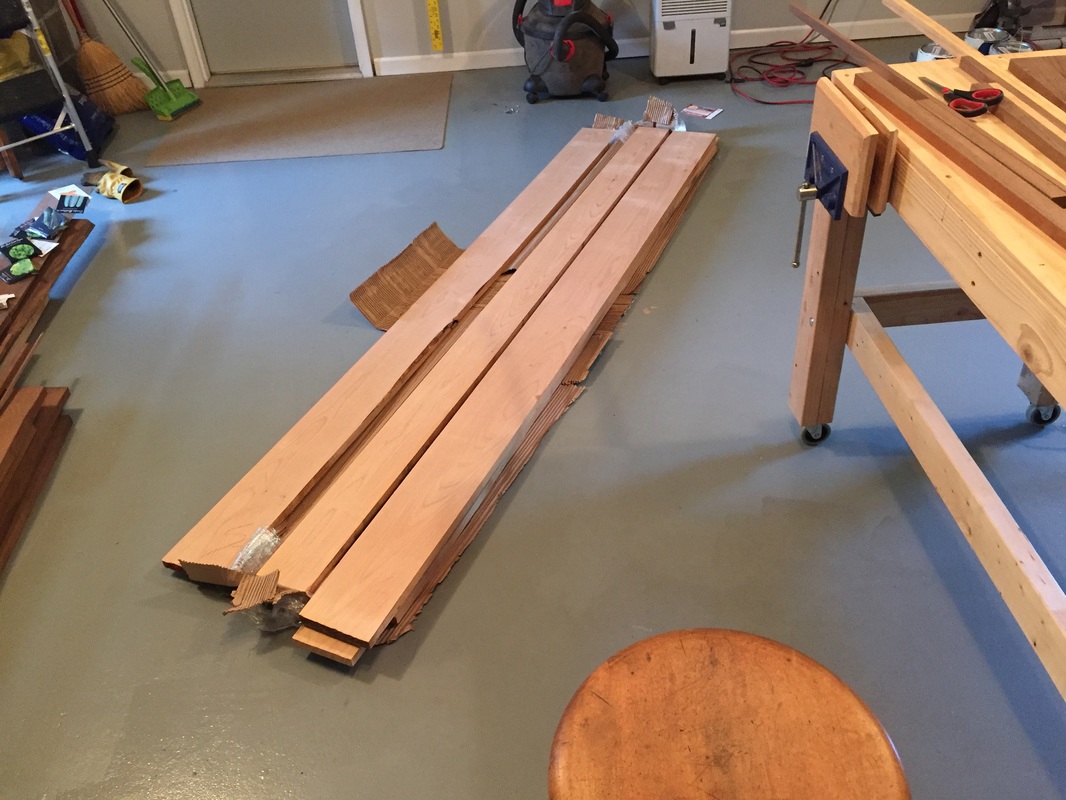
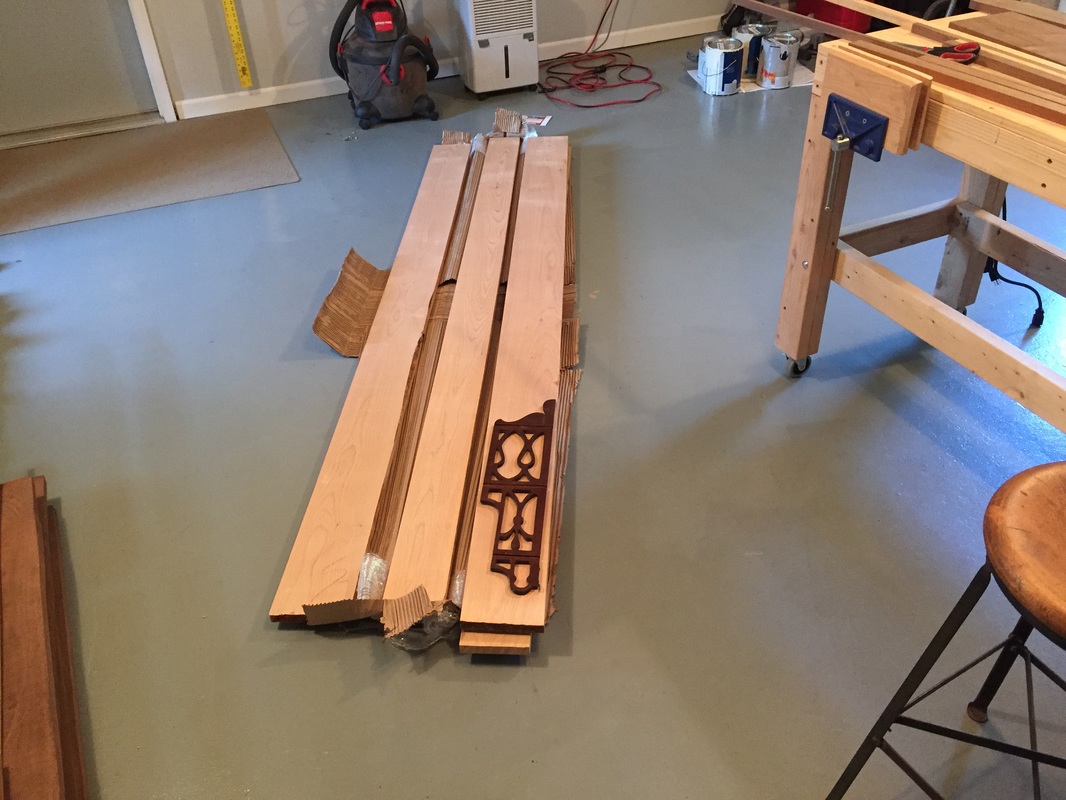
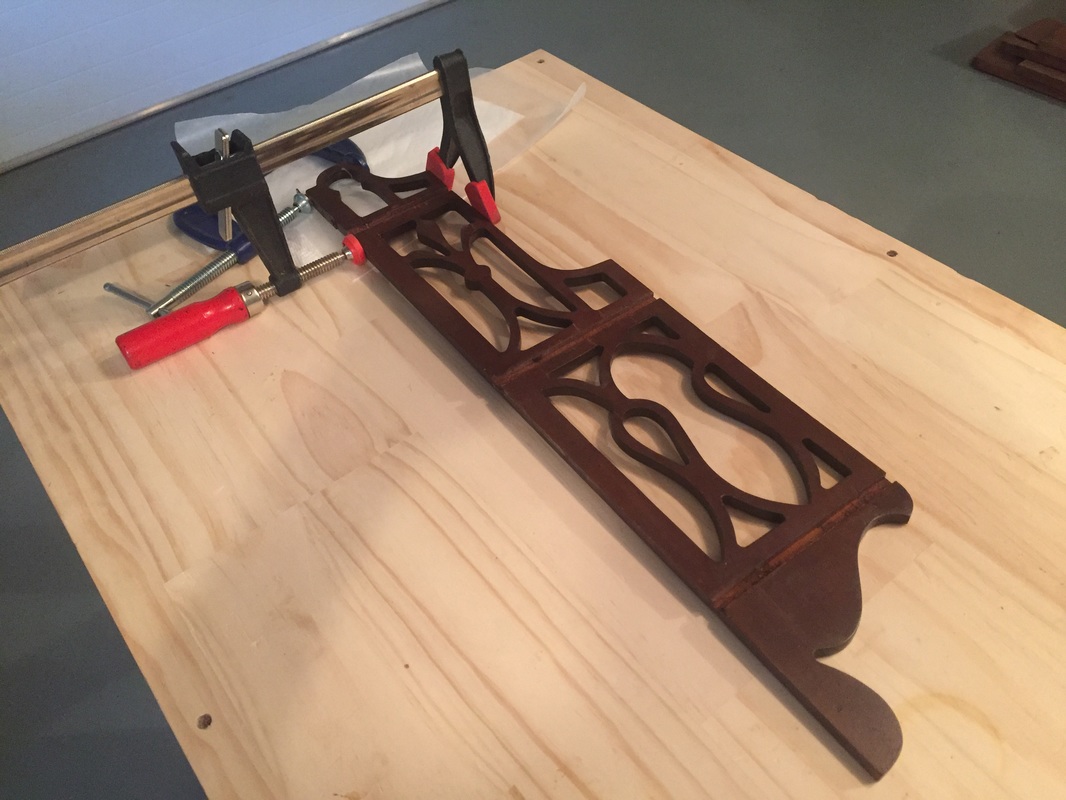
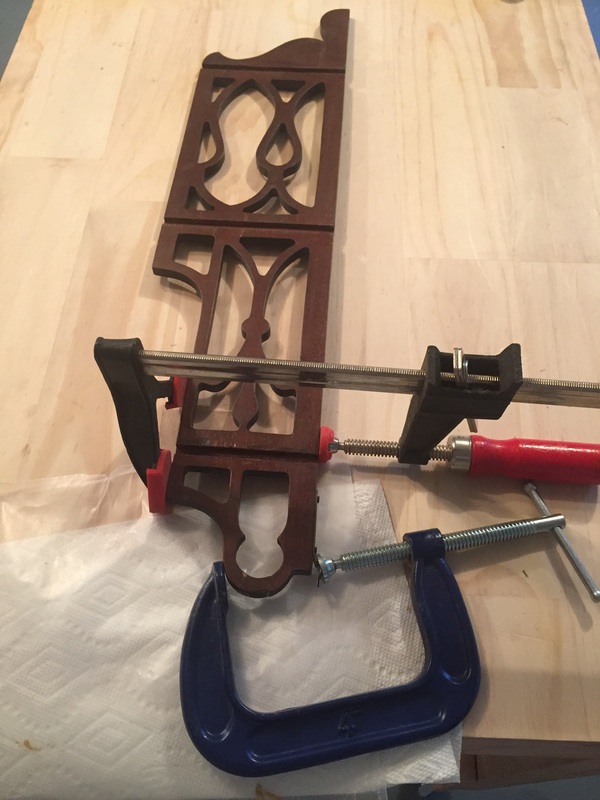
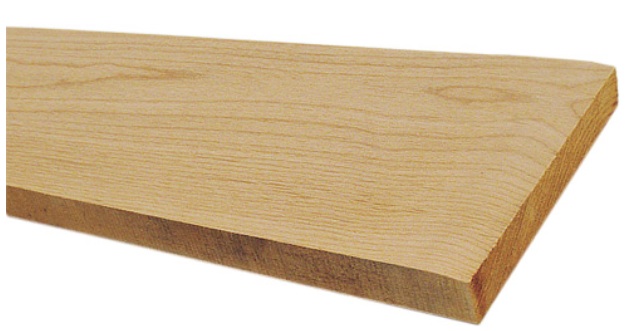
Today was raining anyway, so I ripped the boards for the shelves and then planed them down to 1/4". That process came out fine. Given that these are 1" thick boards, I removed most of the wood! I need to let the wood stabilize before trimming them to length tomorrow. Tomorrow I will also tackle the fixes to the shelf sides and get them cleaned-up. I'm hoping some Alder wood filler I ordered arrives tomorrow as well. Enjoy the pics below and thanks for visiting. click to enlarge.
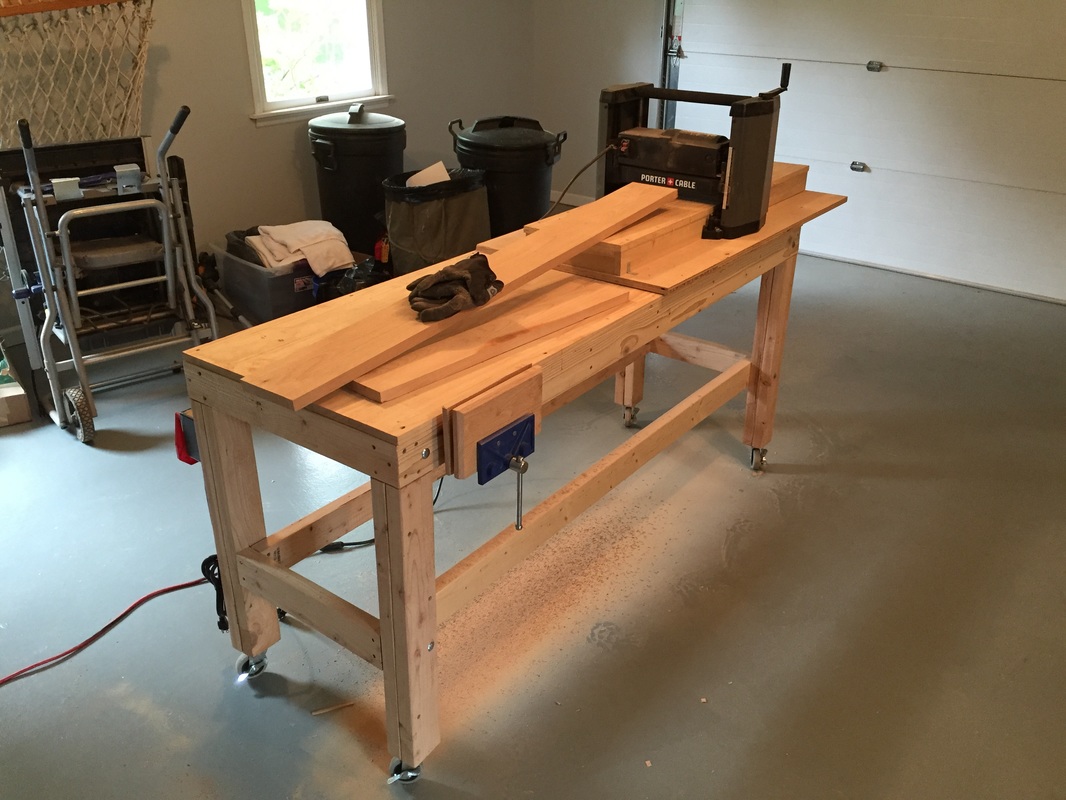 The boards that will form the 3 shelves. One of the shelves is narrower. | 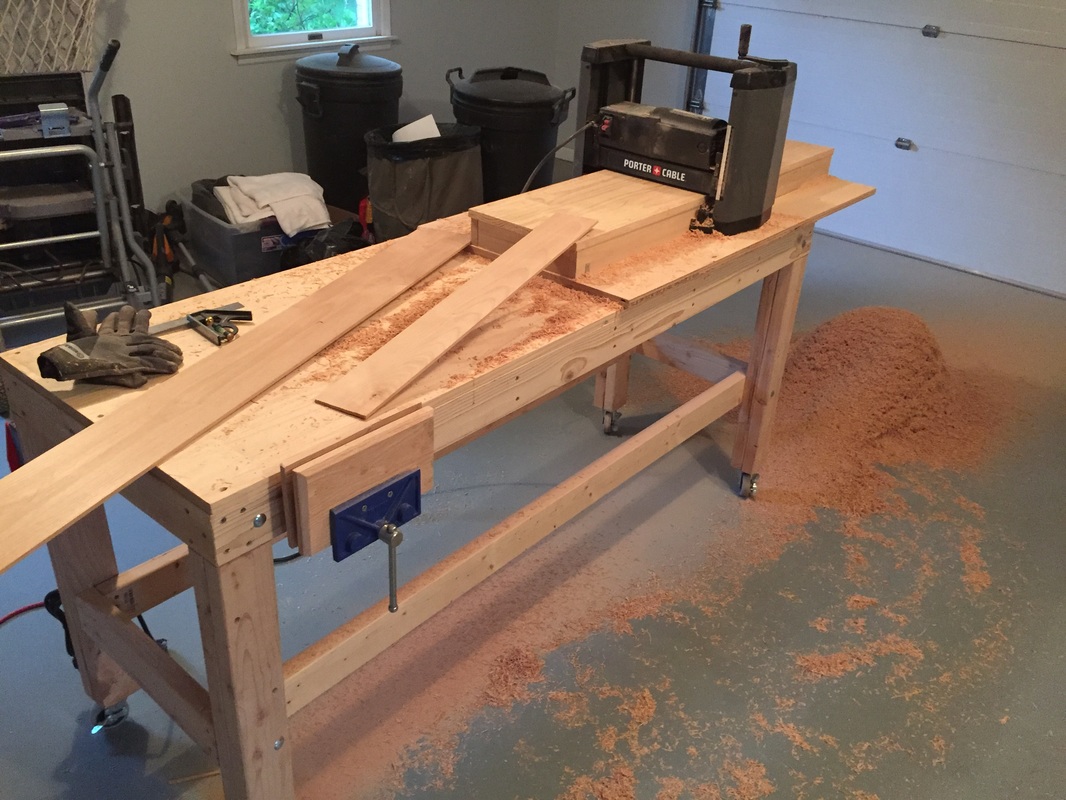 Planed-down to 1/4" | 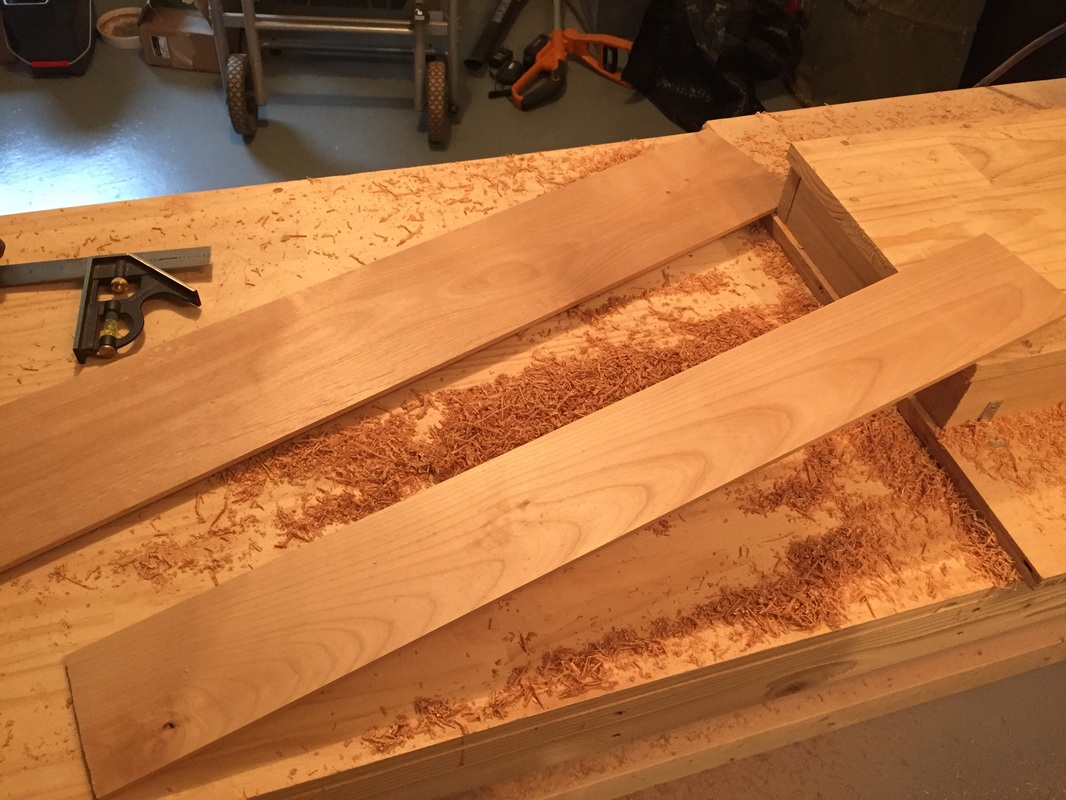 A close-up of the planed shelf lumber |


 RSS Feed
