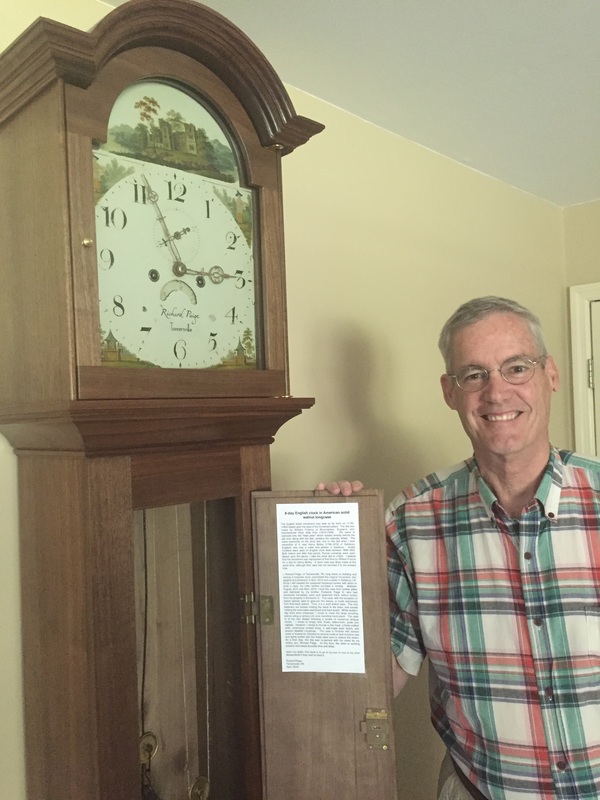
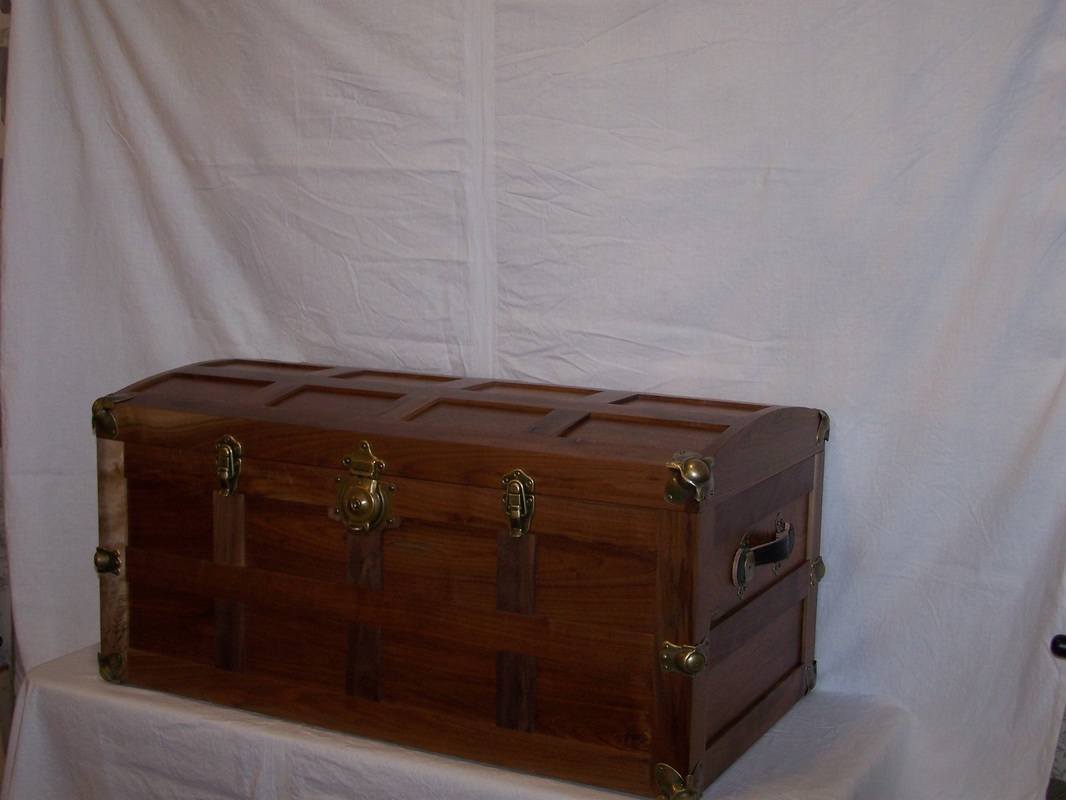
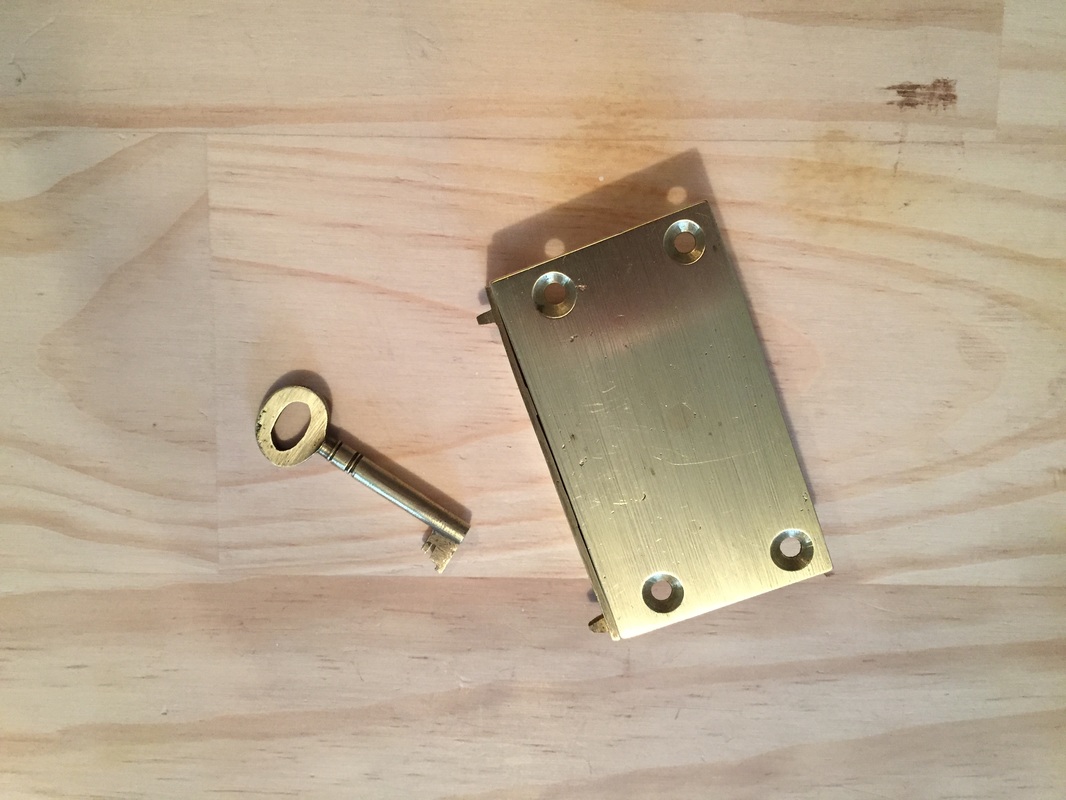
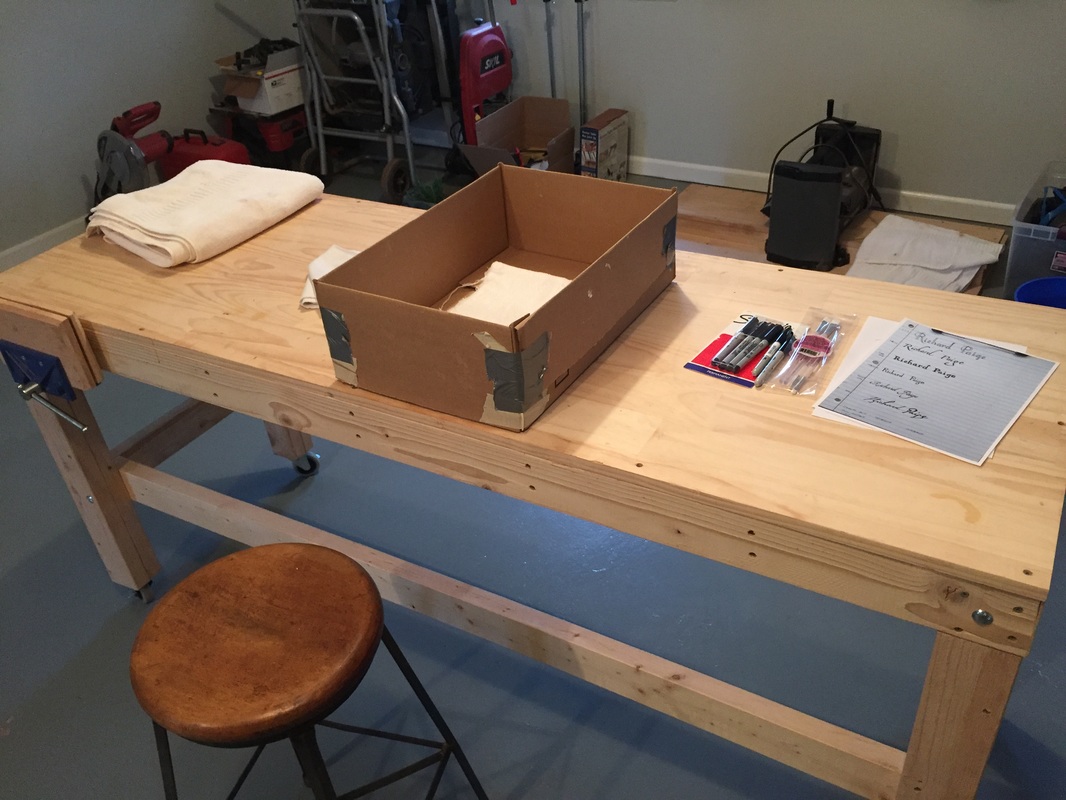
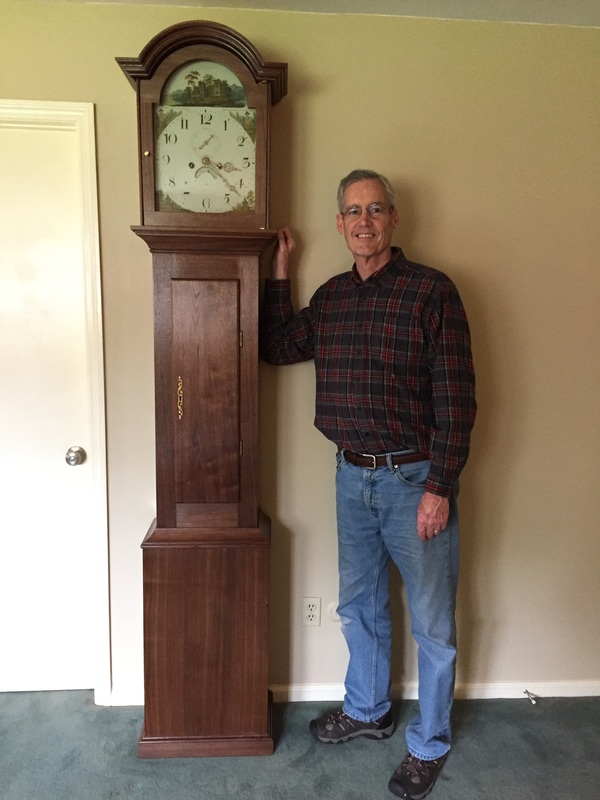
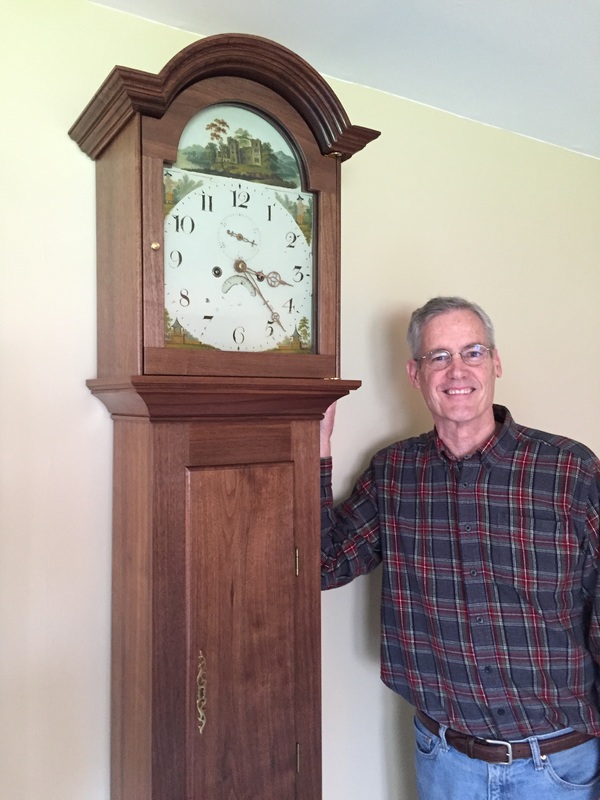
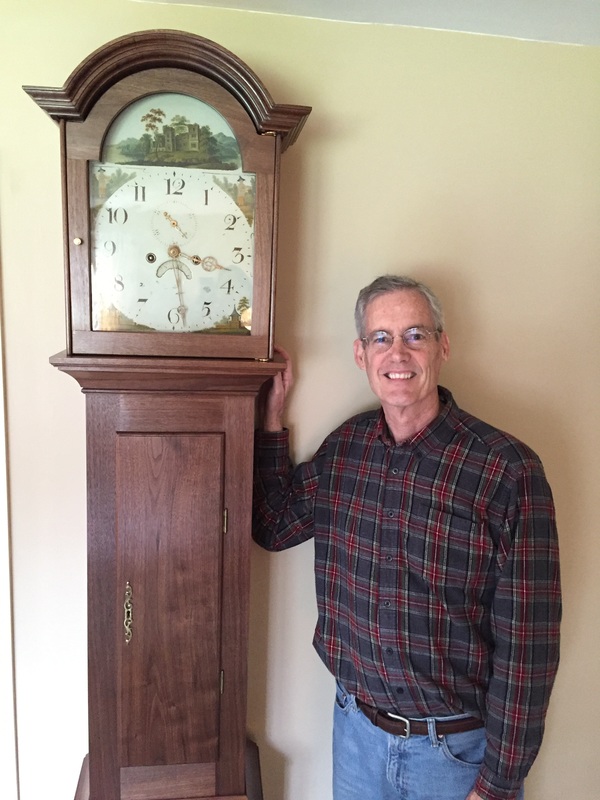
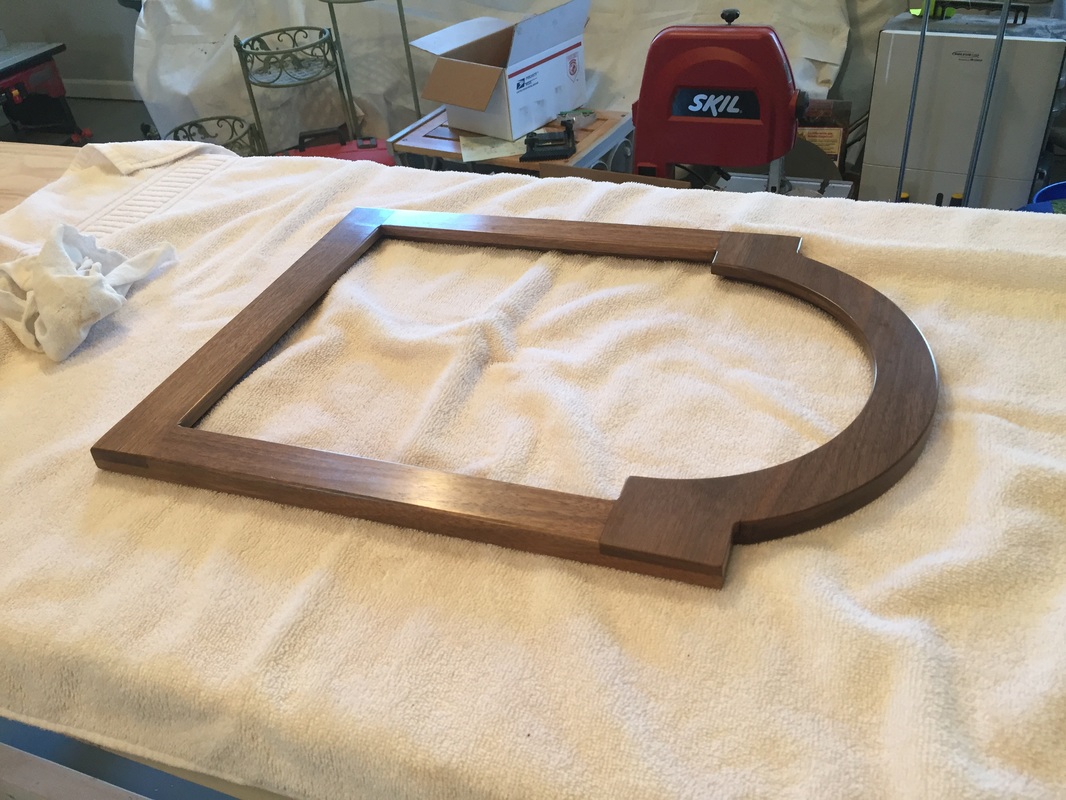
I finally crafted and placed my clock's provenance on the inside of the waist door. Wherever the clock ends up, its history will follow. I also want to make-up and post an instruction sheet as these old clock movements have their own set of rules. "Helping hands" can inadvertently get the movement out-of-sync or damage it. So making the instructions is on my to-do list. BTW, my clock continues to keep accurate time and strike. Here's hoping that continues!
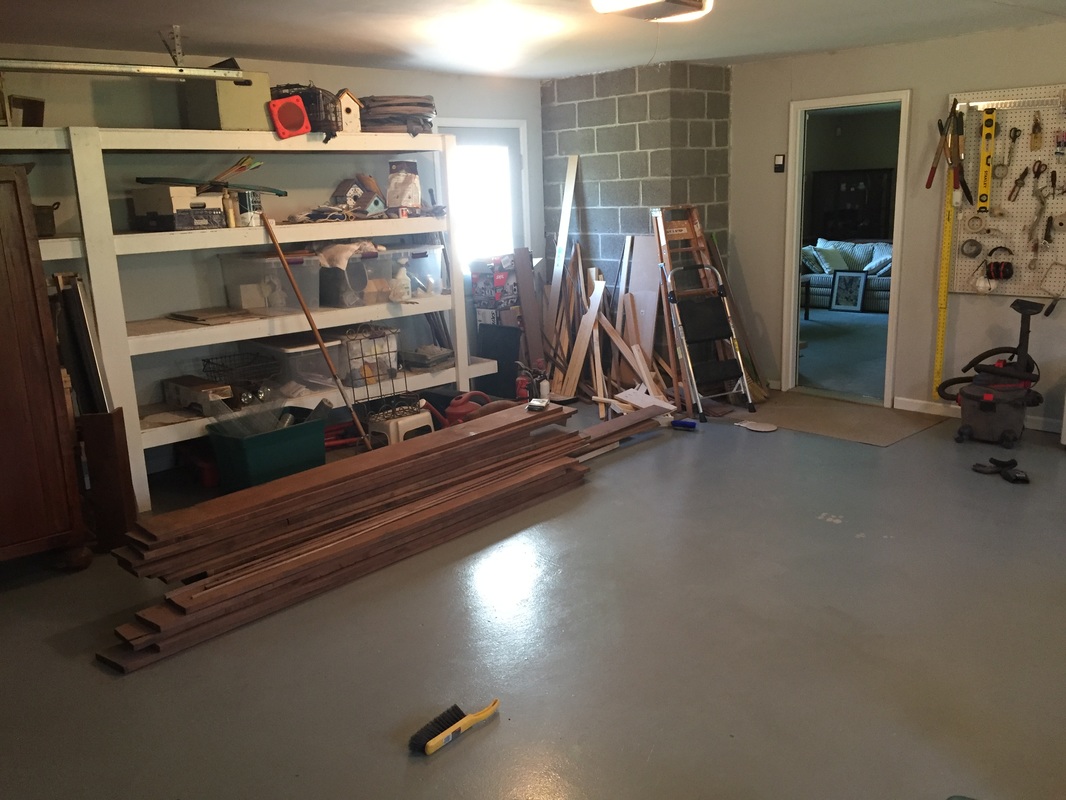
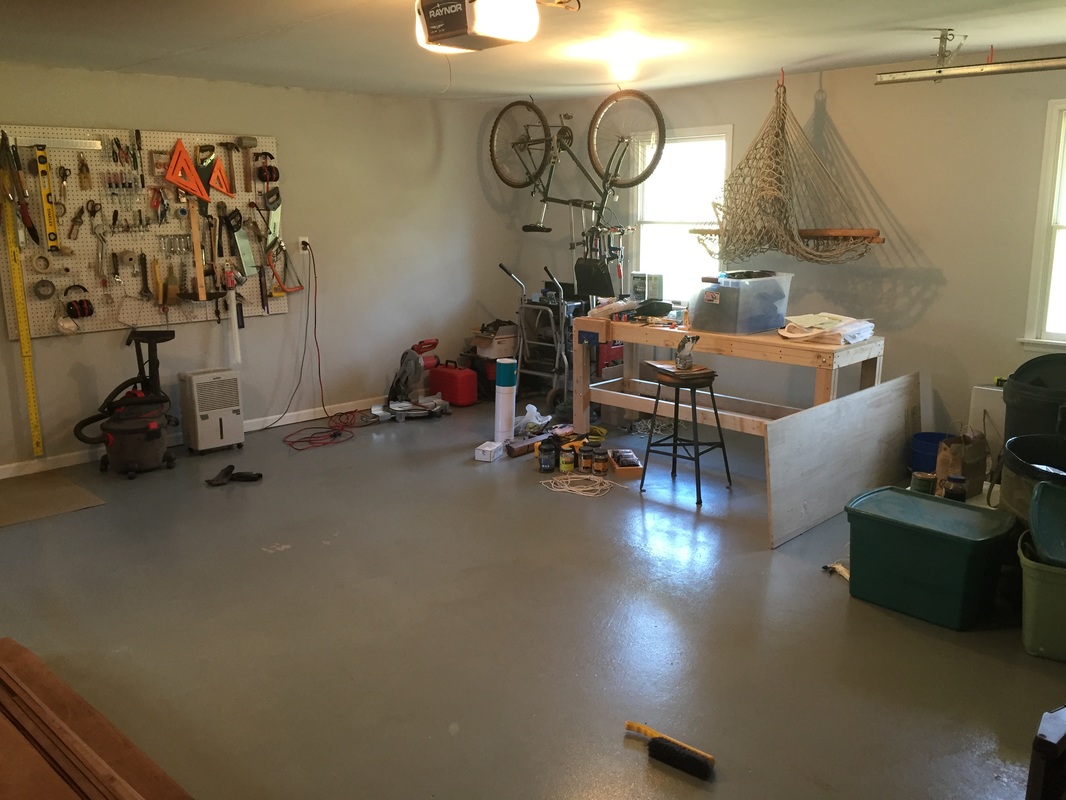
I have been very busy for the past month, and will be still for the next few weeks. Then I should have a window before August where I can begin my next project. I am still considering the projects mentioned previously and have recently added two more. Earlier this month we replaced guest bedroom furniture with a nice natural alder [wood] set. I had two wall shelves on the wall but they were dark. I want to replace them with natural alder shelves. The company that made the bedroom set does not make alder wall shelves. However, I wish to use the existing wall shelves as templates and make my own out of alder wood lumber. The old wall shelves have considerable scrollwork side pieces. I decided that these can best be cut-out with my router table. I will need to buy alder lumber which is somewhat of a pain as it grows only on the west coast. Not available in your local Lowe's in PA. Another project I am considering is to make a cane out of some of my remaining walnut. That should be fun and there is a story in my family's ancestry of an old cane that had been passed down generations. That cane was destroyed in a fire. I'm sure I will need a cane one day! Enjoy the photo below showing my clock provenance and thanks for visiting my blog.
I have been very busy for the past month, and will be still for the next few weeks. Then I should have a window before August where I can begin my next project. I am still considering the projects mentioned previously and have recently added two more. Earlier this month we replaced guest bedroom furniture with a nice natural alder [wood] set. I had two wall shelves on the wall but they were dark. I want to replace them with natural alder shelves. The company that made the bedroom set does not make alder wall shelves. However, I wish to use the existing wall shelves as templates and make my own out of alder wood lumber. The old wall shelves have considerable scrollwork side pieces. I decided that these can best be cut-out with my router table. I will need to buy alder lumber which is somewhat of a pain as it grows only on the west coast. Not available in your local Lowe's in PA. Another project I am considering is to make a cane out of some of my remaining walnut. That should be fun and there is a story in my family's ancestry of an old cane that had been passed down generations. That cane was destroyed in a fire. I'm sure I will need a cane one day! Enjoy the photo below showing my clock provenance and thanks for visiting my blog.


 RSS Feed
