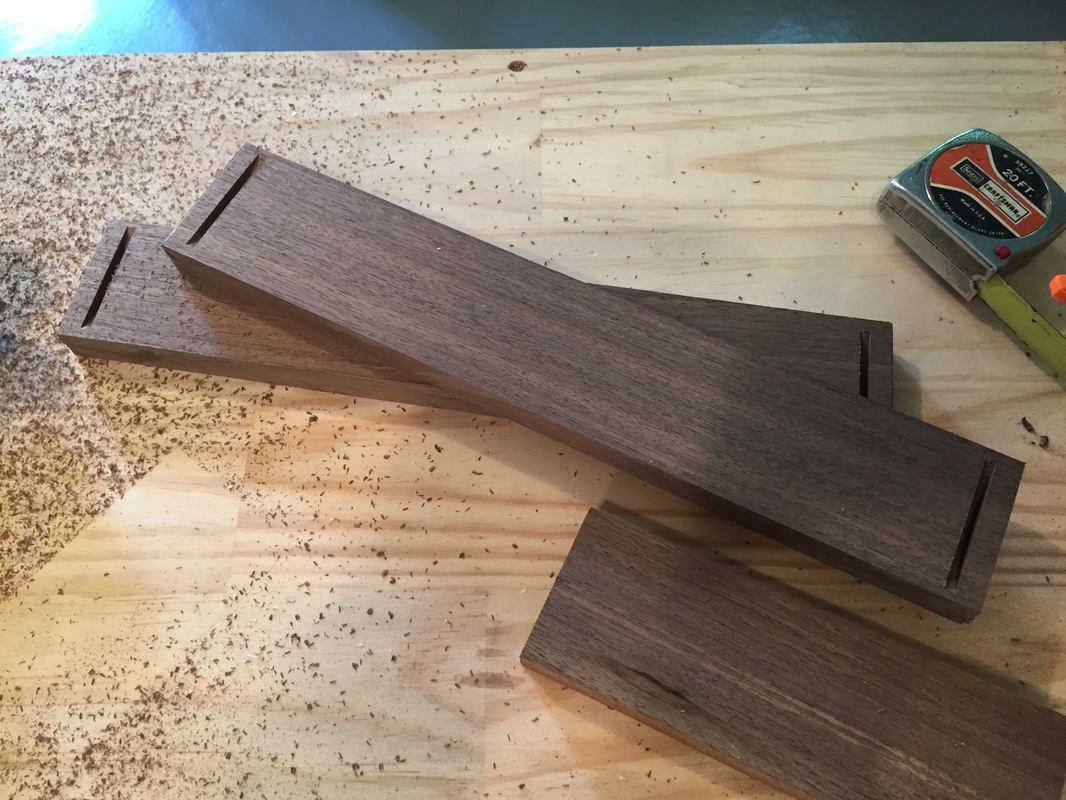
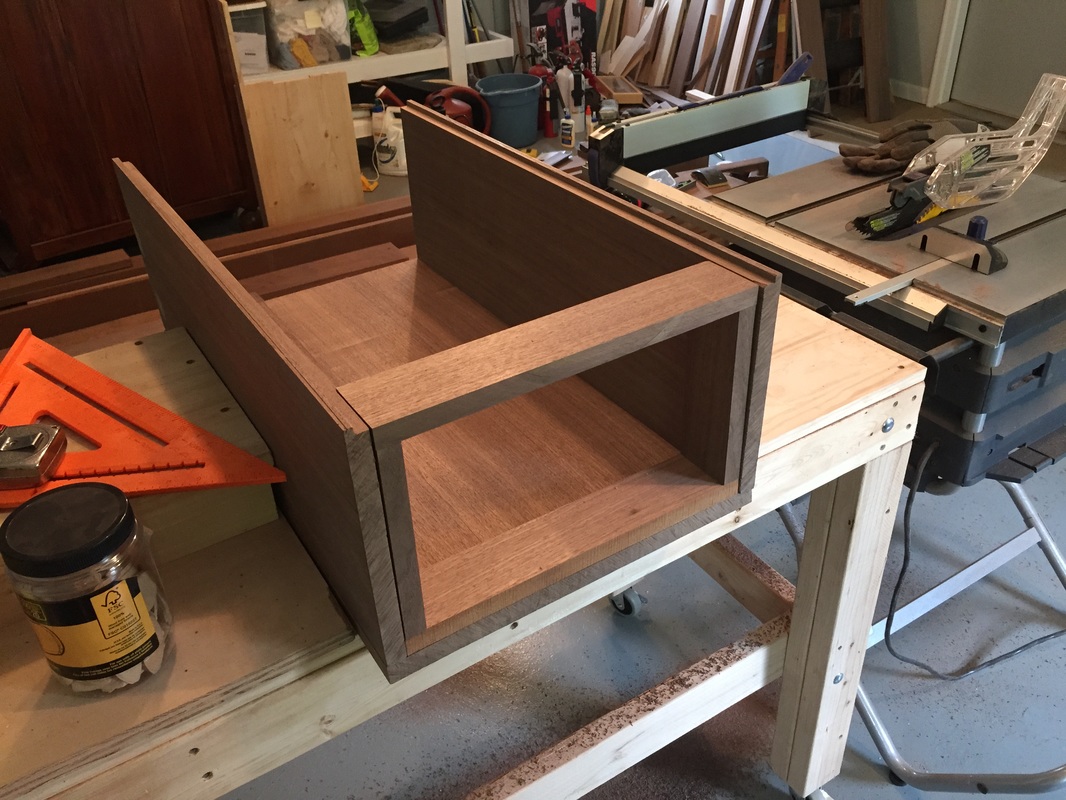
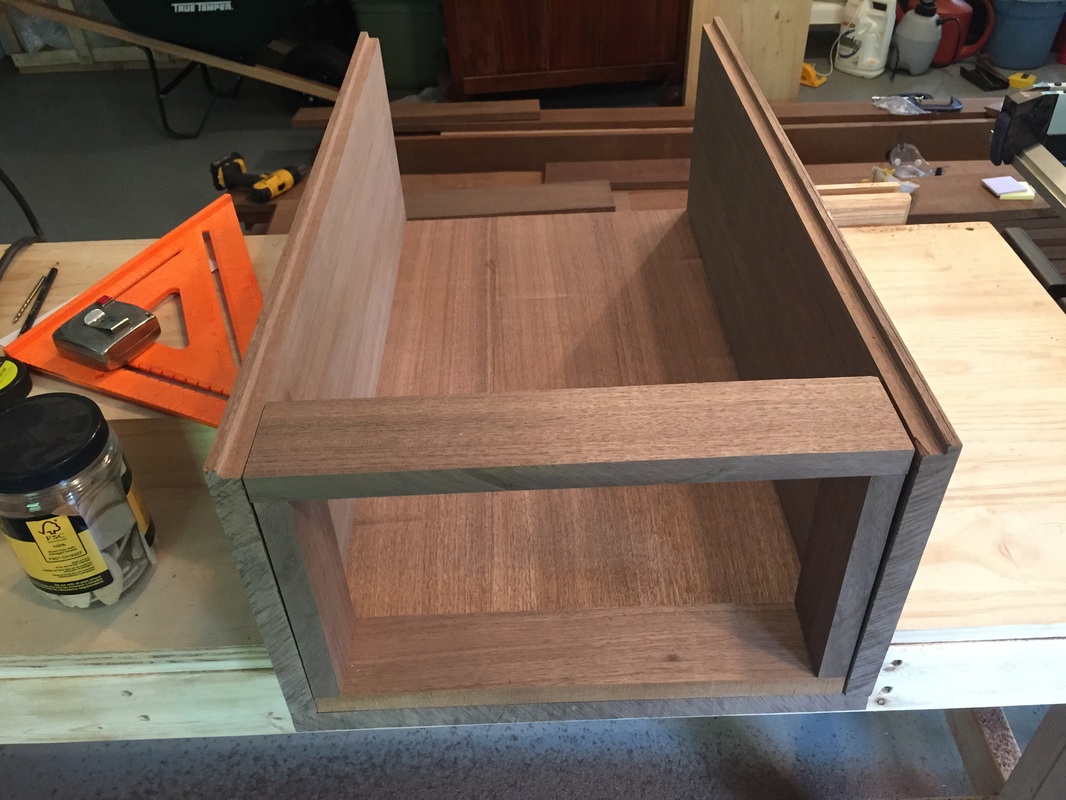
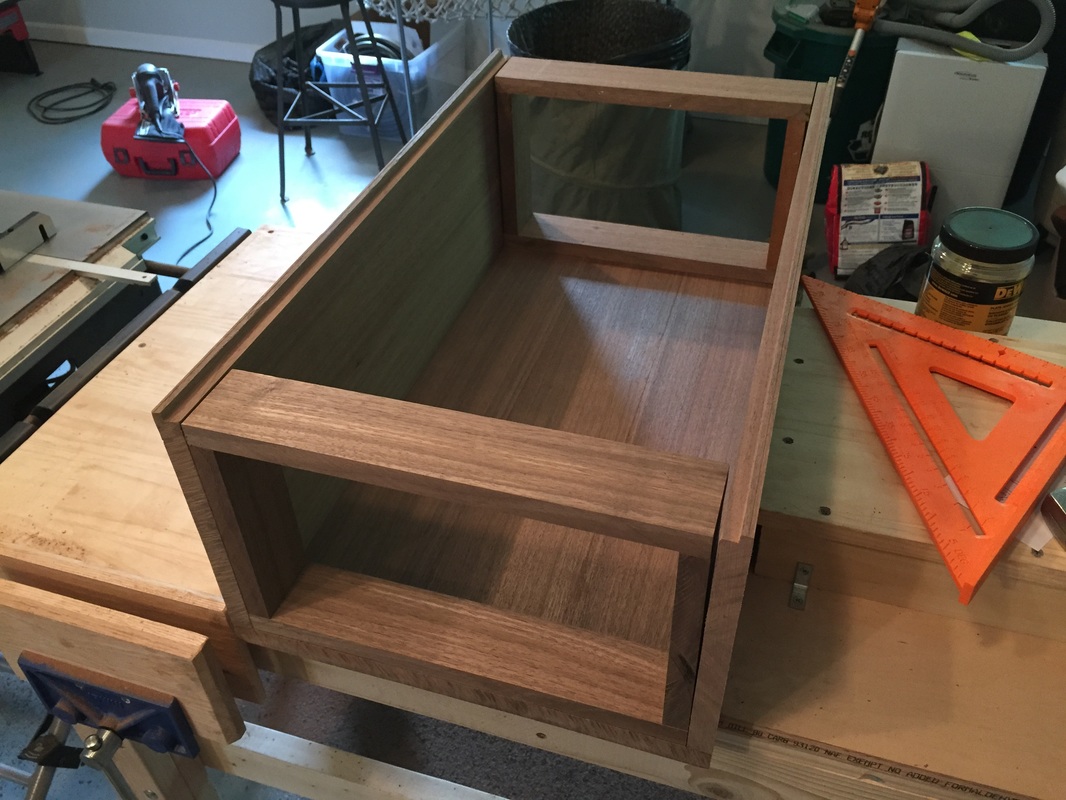
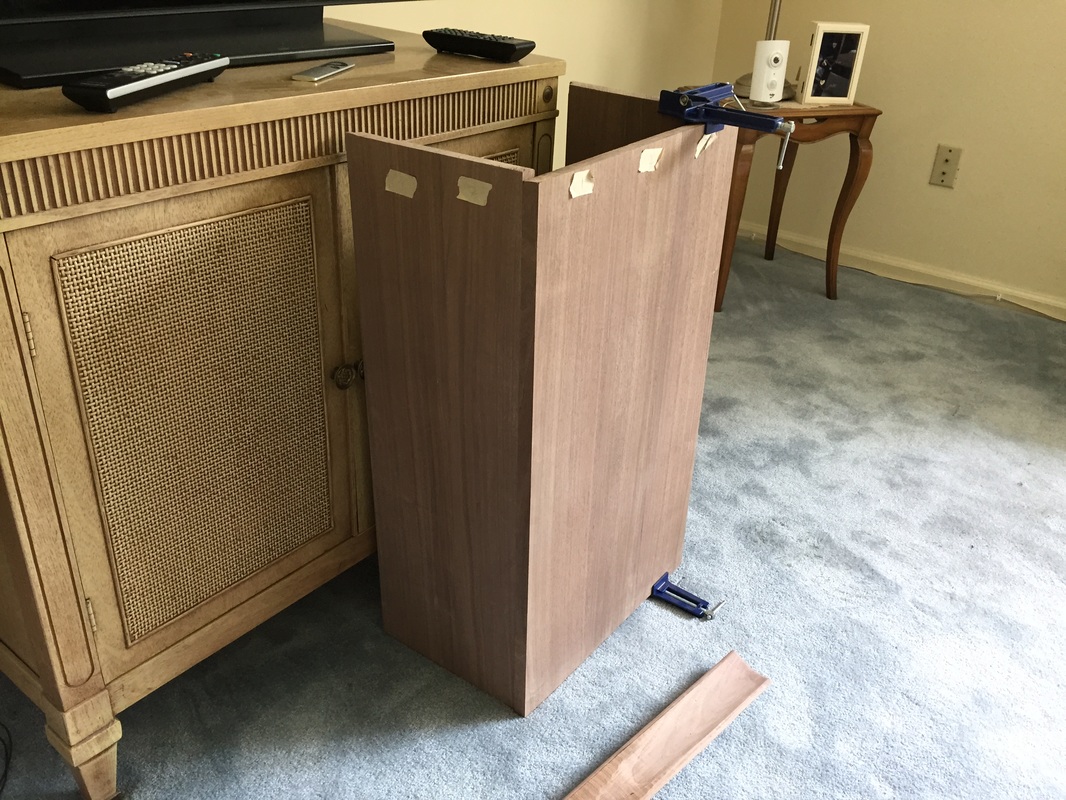
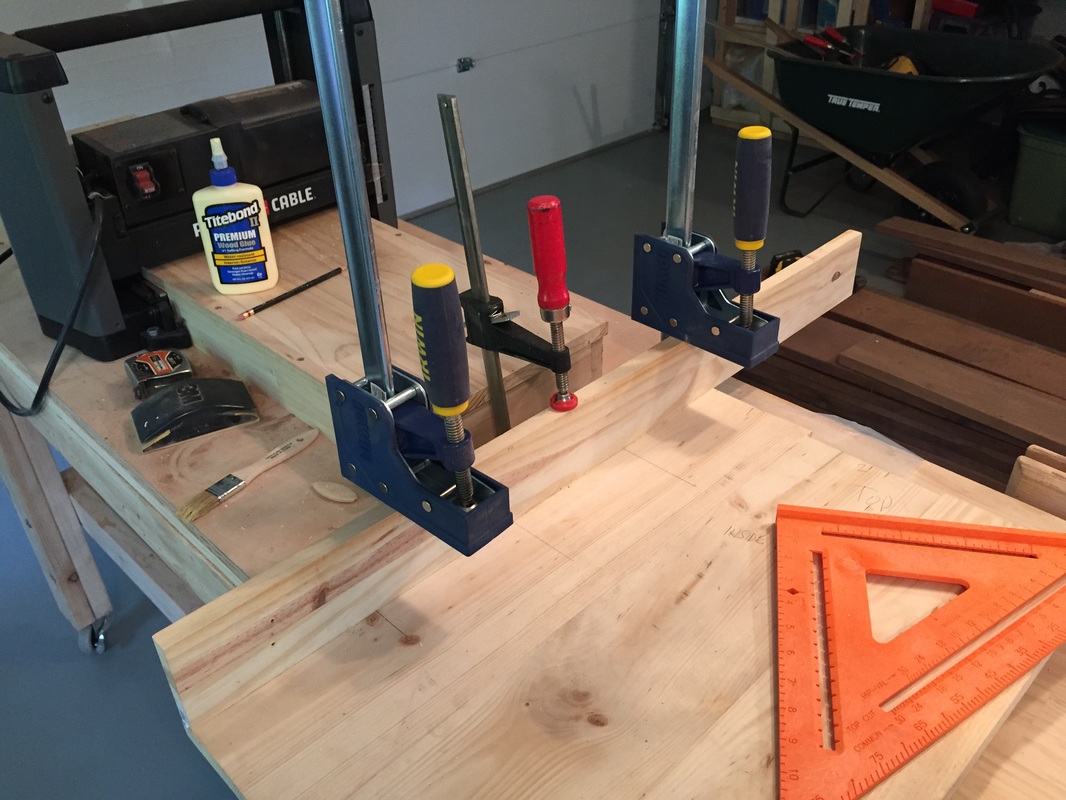
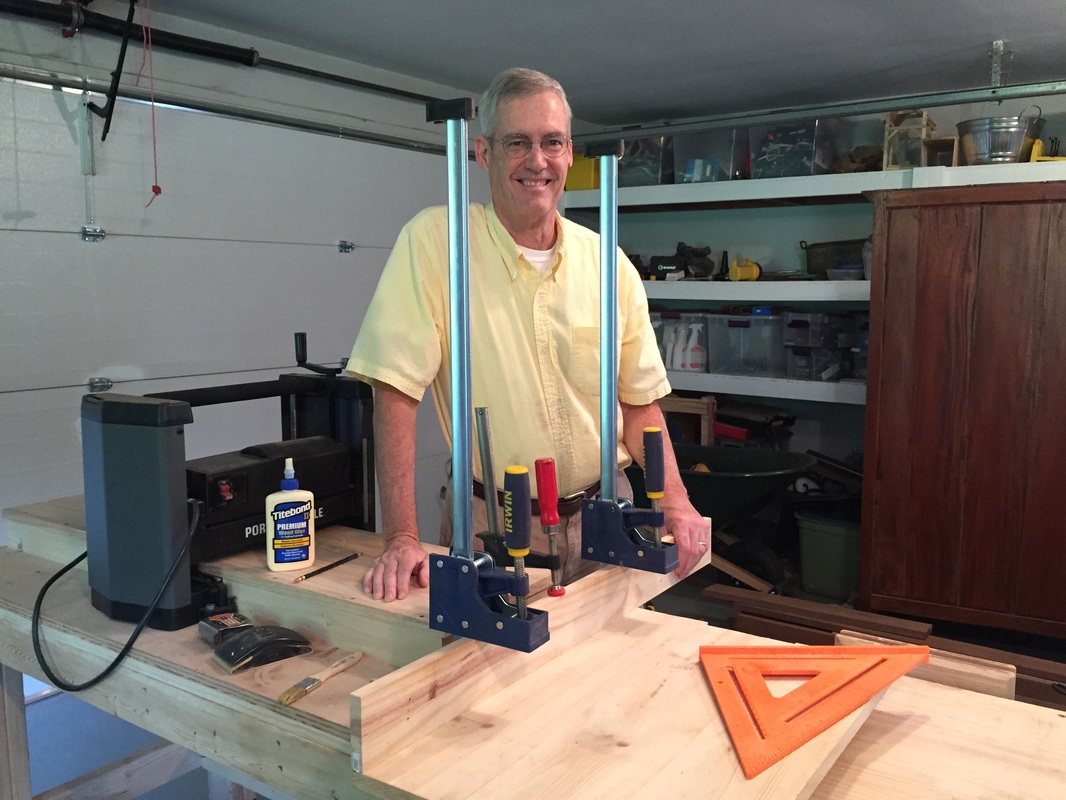
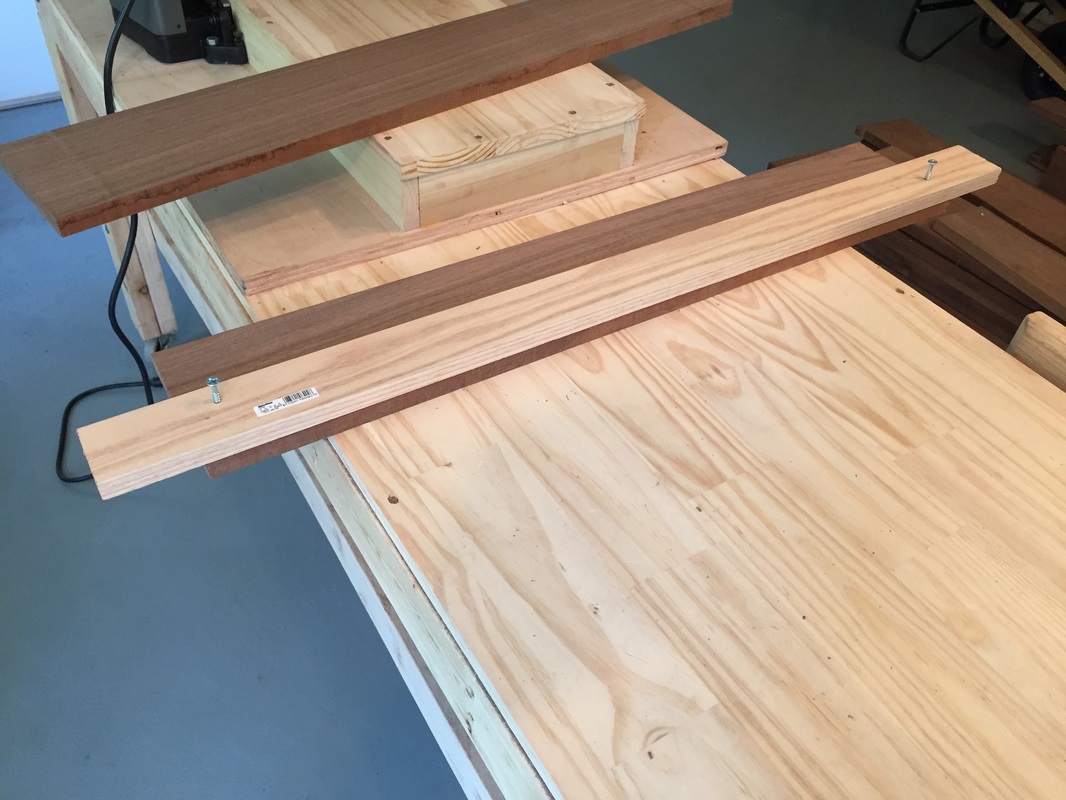
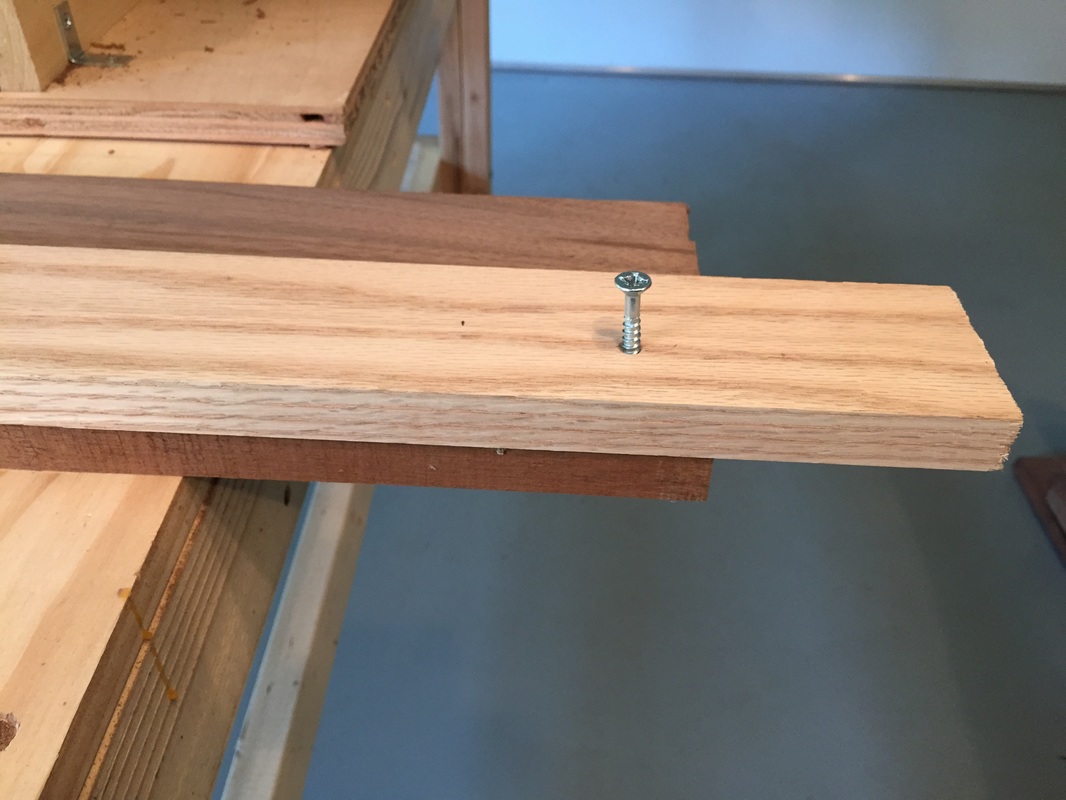
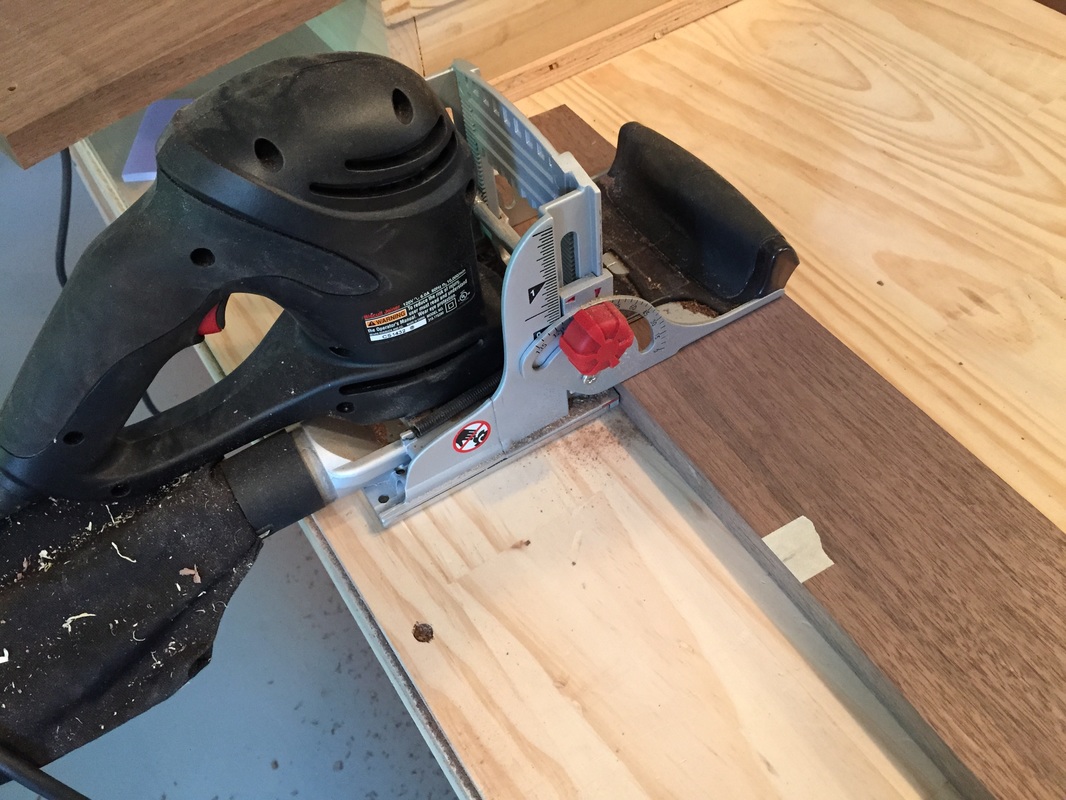
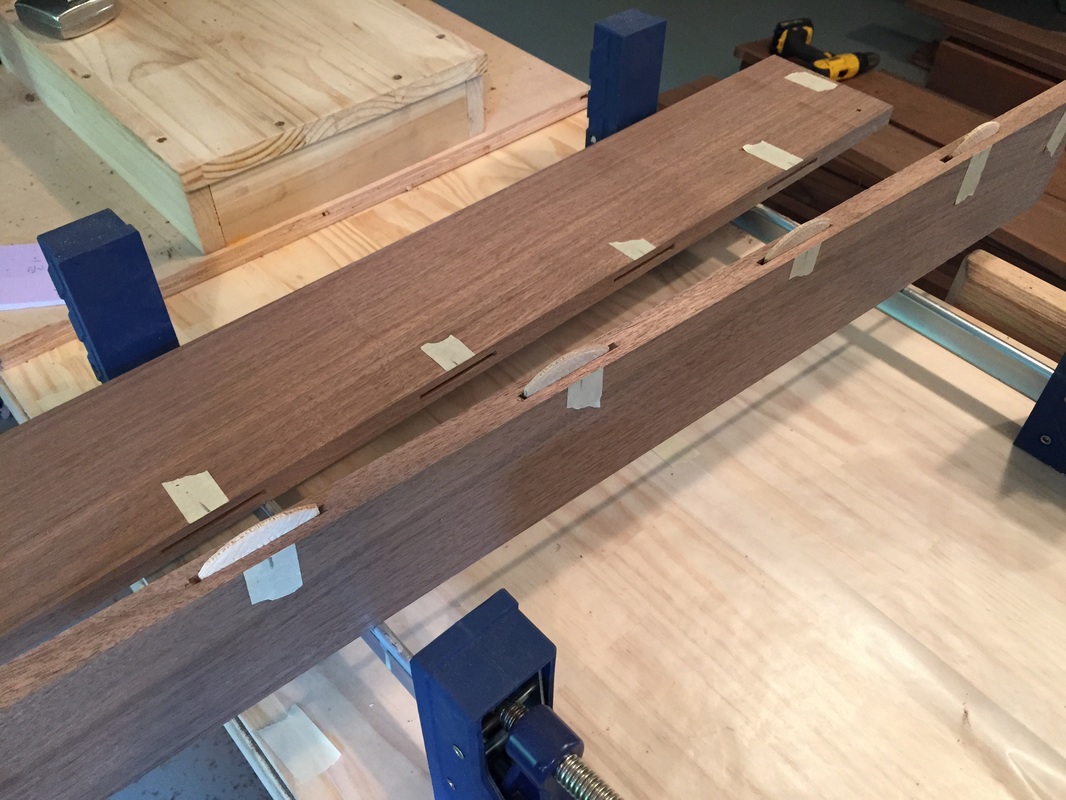
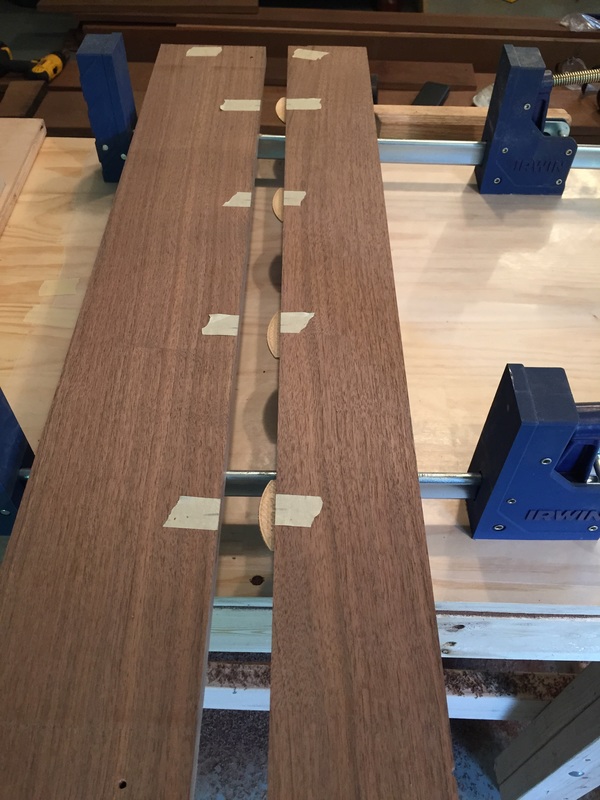
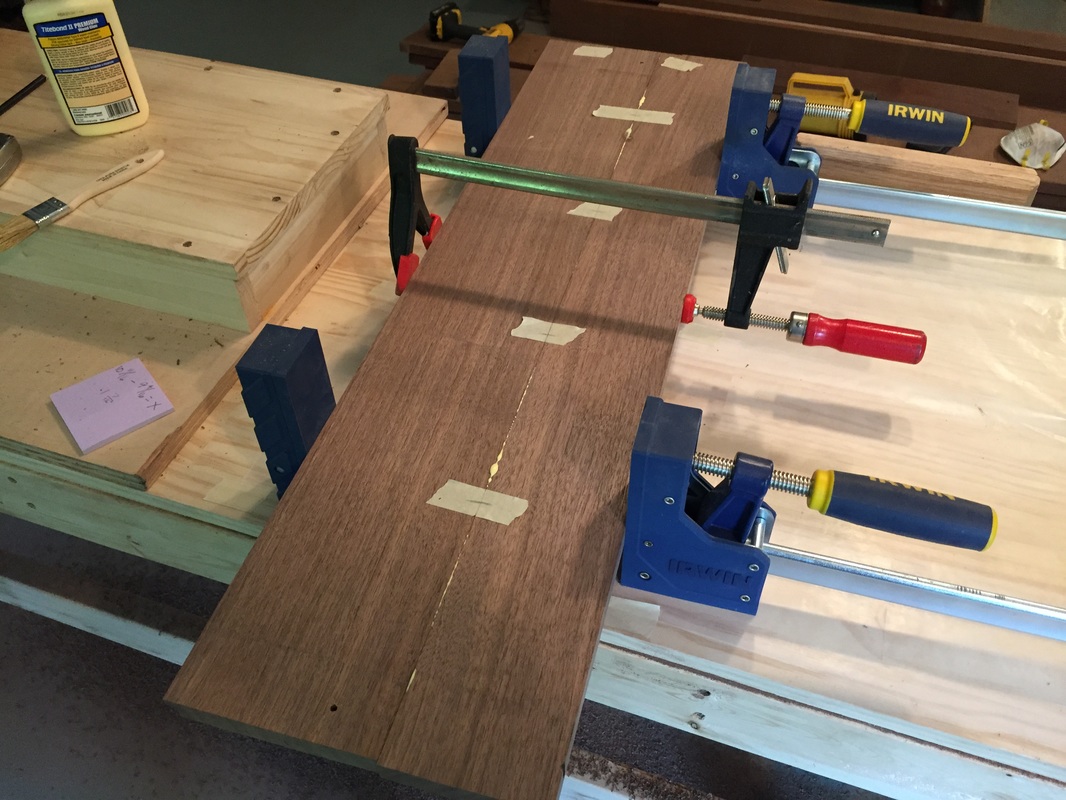
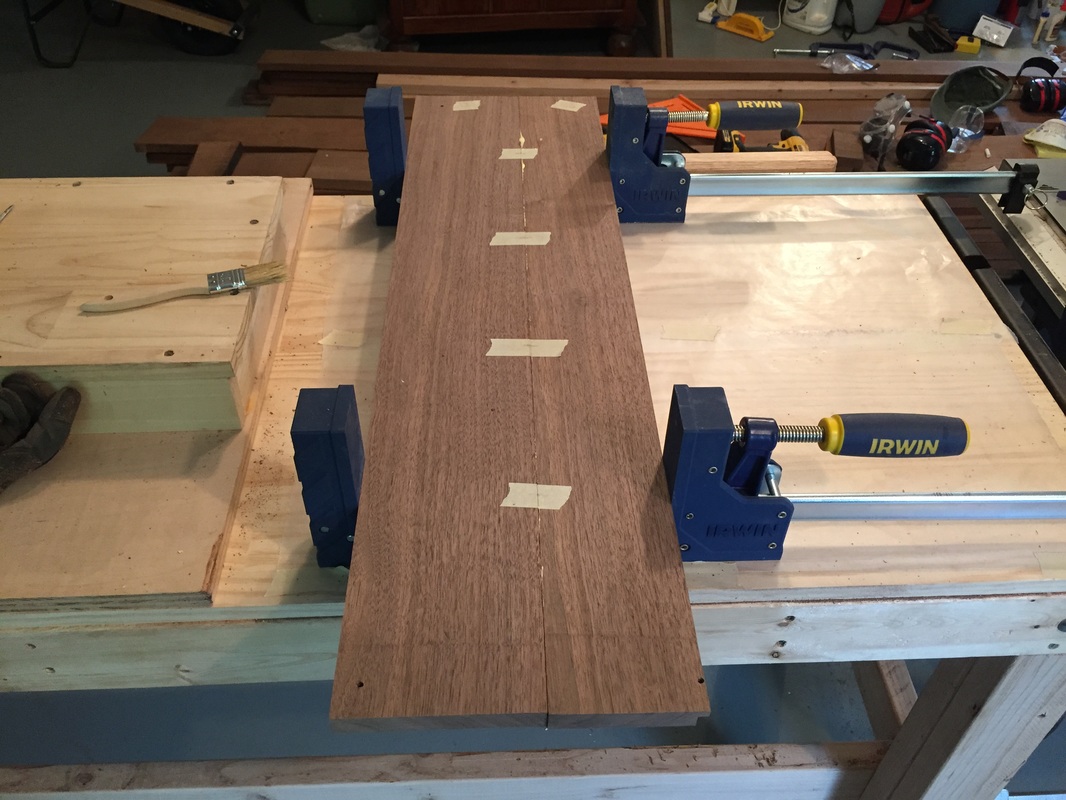
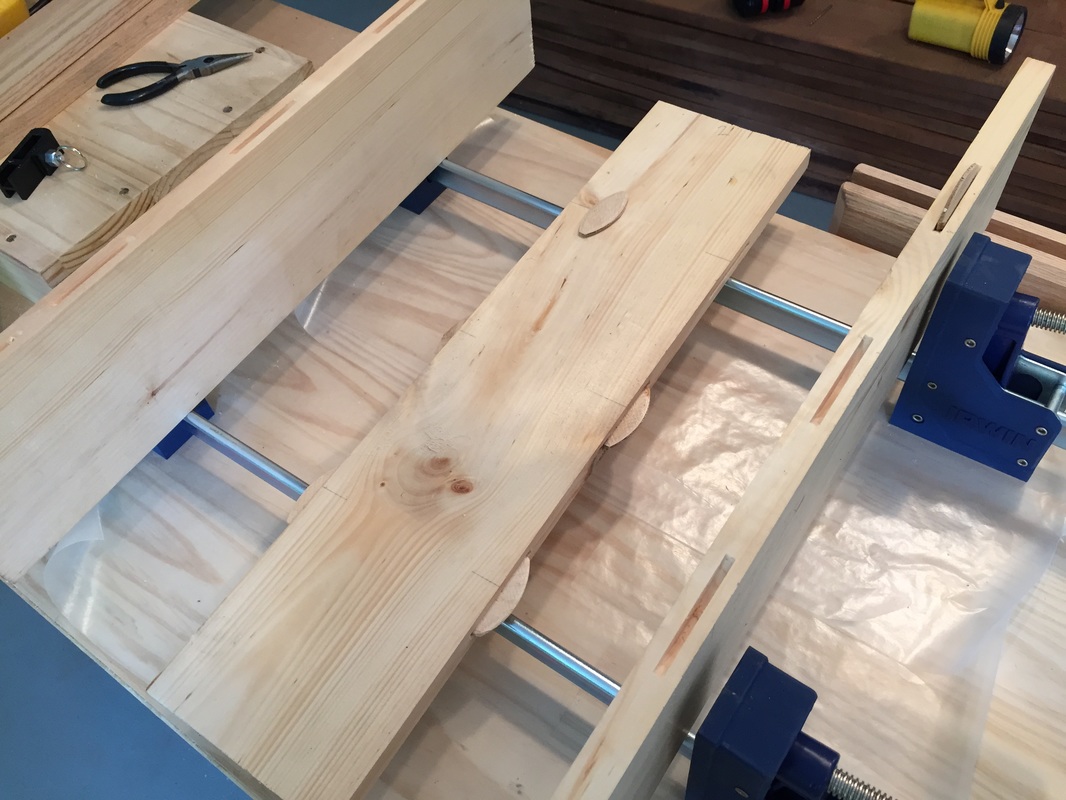
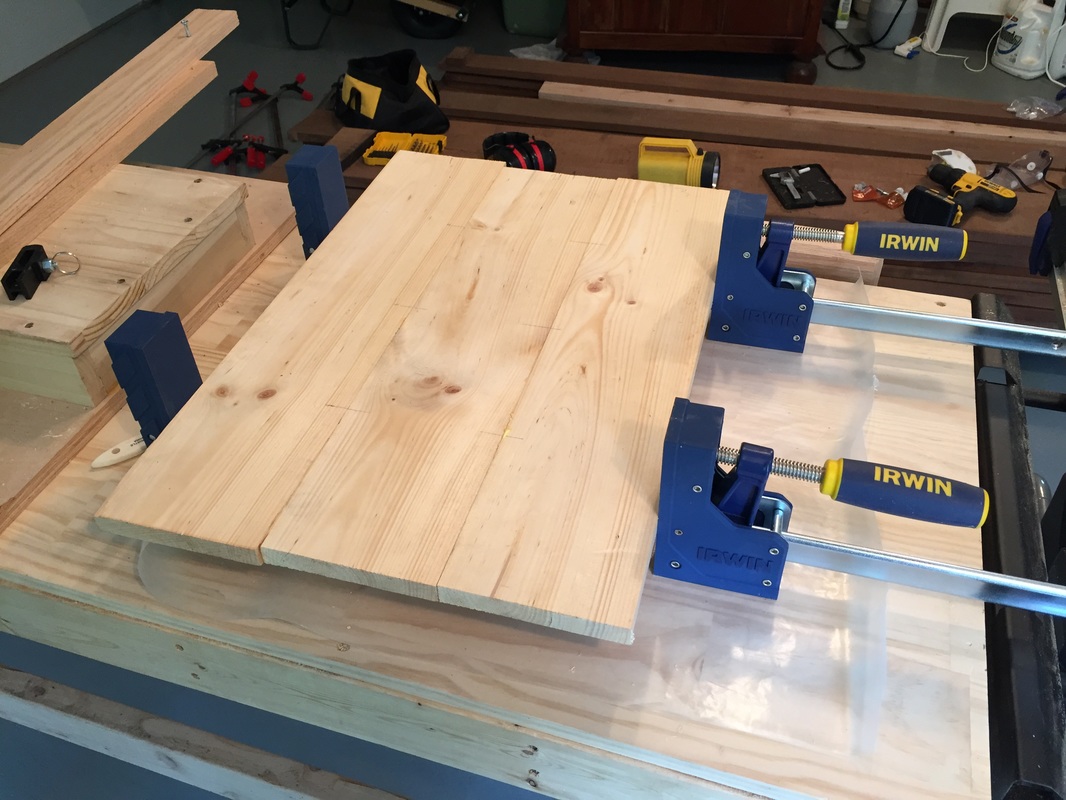
I decided that I'm still not comfortable gluing the sides on yet. Needed to go ahead and makeup the frames. I'll clamp the frames in place right before I finally glue-up the side panels to the front. Here is a dry setup [no glue yet]. I still need to tweak the biscuited frames a bit to make the entire unit fit right. You can see a few gaps but they are more a matter of adjusting the frames. The sides are square to the front panel. Click on photos to enlarge.
0 Comments
This morning I unclamped base side two and trimmed and sanded it. So the next step is to fasten the base sides to the front. But before I do that, I wanted to test the entire process using the pine test panels I had built previously. I cannot be too cautious here as it all needs to fit together and be square and level. Further, I wanted to test using the biscuits in this glue-up. I am using the smallest [size 0] biscuits as the joins are right next to the edges of the panels. Since the biscuits expand considerably [as intended], I need to be sure using them does not blow-out the edge joints. So with my wife's help, today I went through the entire process gluing-up and clamping a test pine board to the pine panel. I have provided pics of side two, the front and sides temporarily setup, and the production process using the pine boards. If all goes well, tomorrow I will proceed with fastening walnut side one to the front panel. Click on photos to enlarge.
Today I prepared the pieces for S2 of the base, followed by getting it trued-up and glued-up. Tomorrow I will trim the top and bottom and give it a good sanding. As with S1, S2 has a rabbet cut in the back side to accept the backplate. I've provided some photos of the methods for truing-up stock and of biscuit joining. Click on photo to enlarge.
ps Since May, I have been running the dehumidifier in my garage workshop to ensure a low humidity throughout the build process. This morning I unclamped, trimmed and sanded S1. Here is a picture of it temporarily clamped to the front. The butt vs. miter joint will look just fine! Next up is to plane some more pieces of walnut lumber as candidates for S2. Click on photo to enlarge. Hard to believe that's 5 pieces of lumber.
I have settled on my width and depth measurements and so today I built one of the base sides. It included rabbeting the inside back edge so it can accept the backplate. You can see the rabbet cut in the lower right corner below. As with the front, I used biscuits and clamps to join the two pieces together. Tomorrow, I will cut the top and bottom and give a thorough sanding. Then, on to side two! If you are wondering why there is no framework, I intend to add considerable support framing once the sides are in place. See the earlier blog from this morning below. Click on photo to enlarge.
I have two options with the important moulding that joins the three sections. They both will look good and I wanted to test them both. The harder one is to make a large cove mould out of a single stock. As I've said previously, buying a huge cove router bit is cost prohibitive. But I do have my $30 hand cove plane. The challenge was to figure out how I would make such a piece. So I got a $5 sharpening stone this morning, sharpened the plane's blade, and proceeded to figure out how this could be done. Fortunately, the cove plane blade was a perfect size. I cut a 1" walnut stock the same width as the plane. I then put the stock in the vise so the cheeks would form a fence guide for the plane. After I tested the plane, I put the stock through the table saw at 45 degrees, then ran it through the router to put a small round over on the edges. Looks good to me and the size is just right. So this design is an option. I'll save option two for later. Click on pic to enlarge.
Today I removed the box clamps, cut the top and bottoms, and sanded the base front section. It looks good if I do say so myself. While I have 4 candidate pieces for the sides, I only like one. So today I am going to plane several more pieces of lumber to give me more candidate pieces. I'm in a pause mode on the base side dimensions until I make sure that the clock case waist is not so narrow as to hinder the pendulum swing. All is interconnected. Since there is a mitered moulding strip between the case base and waist, I have to keep width and depth dimensions proportional. That is, if the waist width is 4 inches narrower than the base [2 inches on the left and 2 inches on the right], than the waist depth must be 2 inches less than the base [2 inches on the front] since the case back remains flush and the moulding strip needs to be the same size front and side. So, I must decide the exact waist dimension prior to finalizing the case base. To further complicate this, I need to be sure that the case waist width will accommodate the swing of the pendulum. I thought I had figured that out a few months back when I setup a test stand for the movement, but I guess not. The mathematics of pendulums and the 39 inch length of the pendulum tells me I only have a 2+ inch pendulum swing from center either way, but my math is not to be relied upon so I need to work this out. My preference is to keep the waist narrow. Click to enlarge and enjoy!
Finally, today marked the first actual construction on the clock case. I glued-up the 3 walnut pieces that form the front base. The boards are joined with glue and 8 biscuits and it should be quite solid. I plan to leave the box clamps on for 24 hours. See pics below. The tape marks were for alignment of the biscuit joiner and the boards in general. So tomorrow I will remove the clamps and do a thorough sanding on the joints. Then, I will remove 3 inches from the top and bottom. The added length was necessary due to the planer snipe and the needed screw holes. At that point the base front can be put aside while I build the two base side pieces using the same glue-up process. Click on photo to enlarge. Enjoy!
The pine test piece is now dry and the clamps pulled the seams together just fine. Here is a picture after it was partially sanded. I also received my dark wax in the mail today, so went ahead and waxed the test piece from a few months ago [I had learned that the lighter waxes were not recommended on dark woods]. I have decided that I am NOT going with bevel [miter] joints. I just don't have a satisfactory way to pull the beveled pieces together. Instead, I am going to butt joint the sides to the front. A mockup shows it should look fine. I will biscuit and clamp the sides to the front so the joint should be strong. So, the next step is to trim the front pieces to a total of 15 inches width. Then, proceed with their glue-up. That will likely happen tomorrow so stay-tuned. Click on photos to enlarge.
This morning I went through a trial run of gluing-up 3 pieces of wood. I used scrap pine. It was a worthy exercise as it allowed me to better calibrate the biscuit joiner and test-out the box clamps that will hold it together. Working quickly, I glued the biscuits and boards and closed-up the clamps before the glue completely set. After it dries, I will sand it to see the effect on a finished product. Then, on to the walnut glue-up! I won't get a chance to un-clamp until probably Wednesday. See photos below. Click to enlarge. As Ive been sending updates every day, be sure to check the prior blog entries.
|
AuthorI hope that you enjoy keeping up with my clock's progress! Archives
June 2016
Categories |