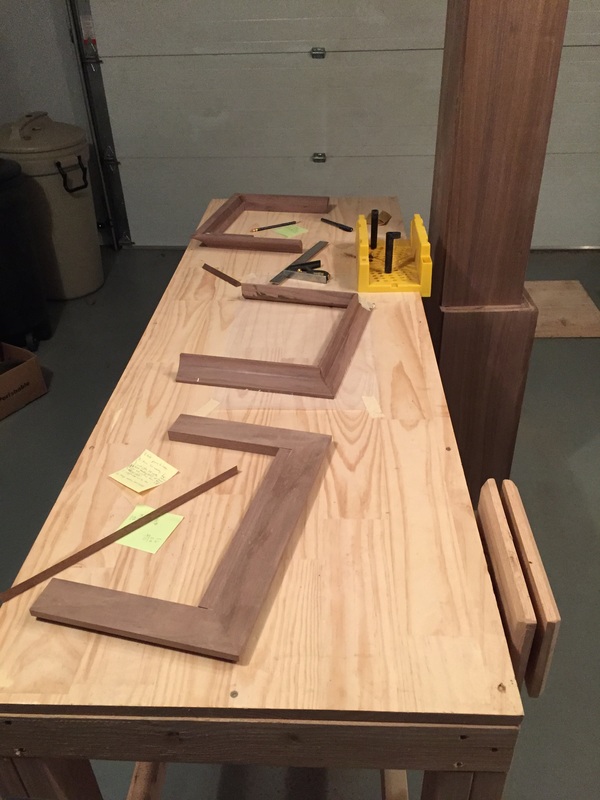
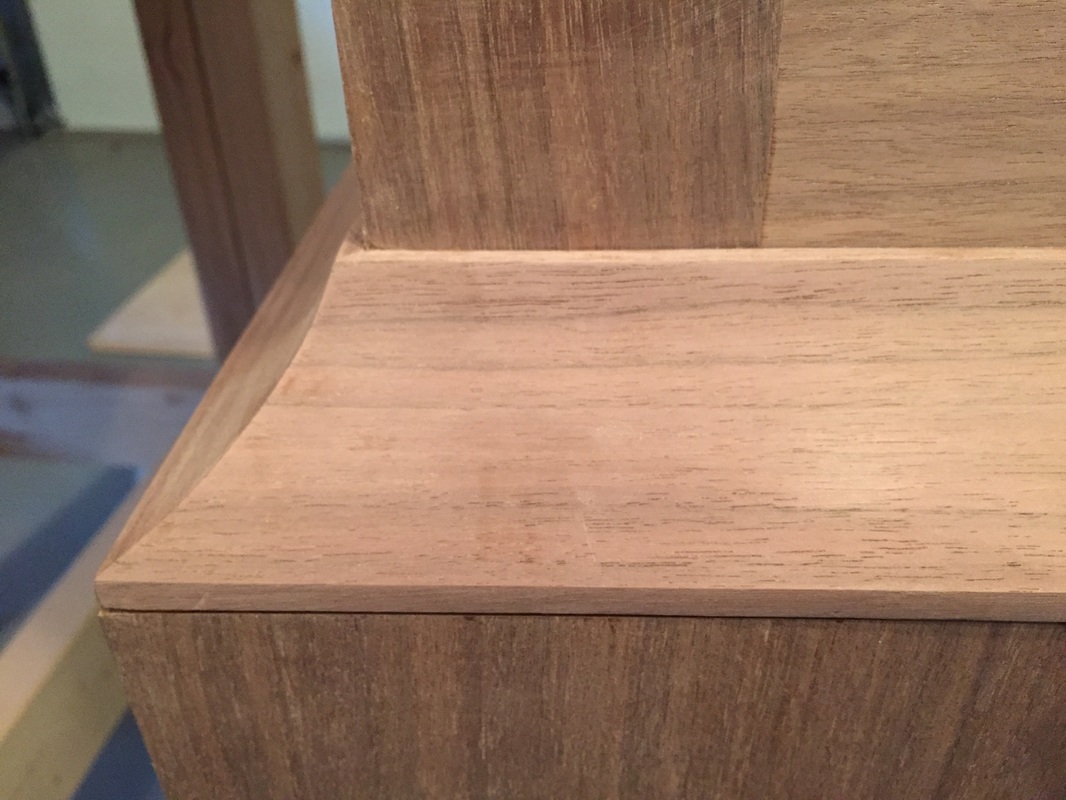
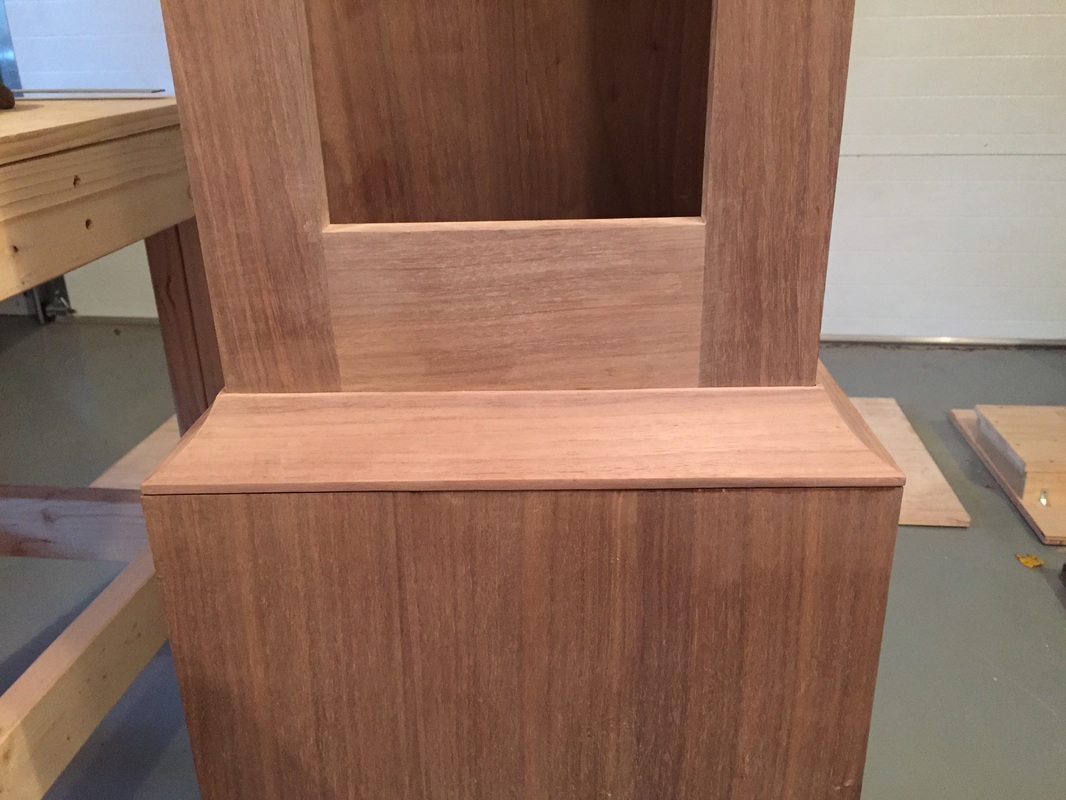
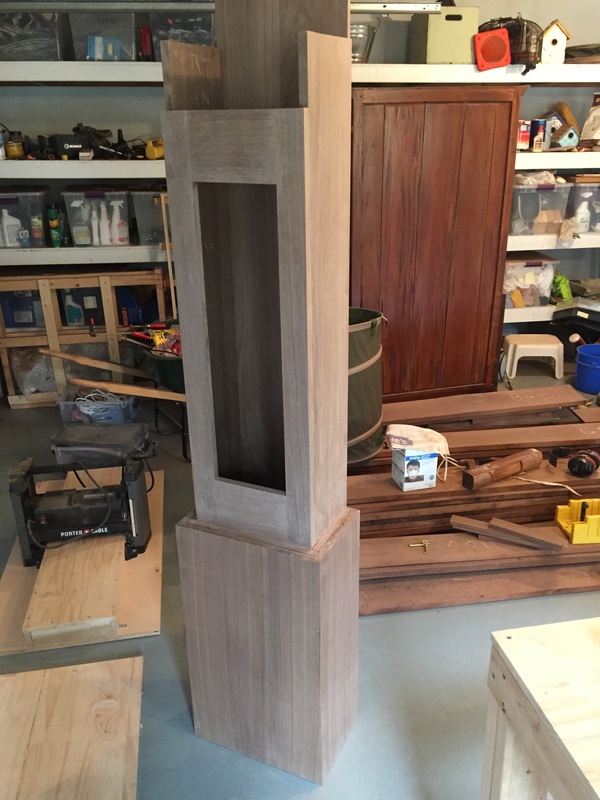
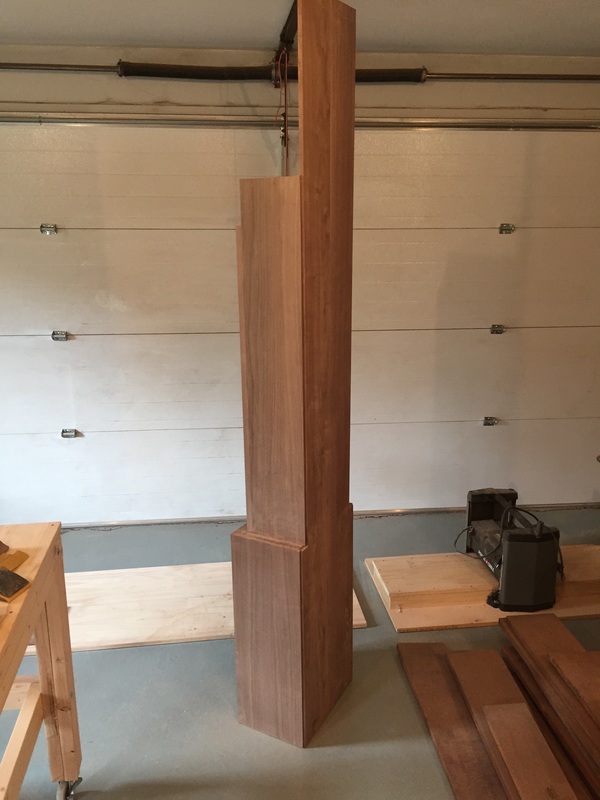
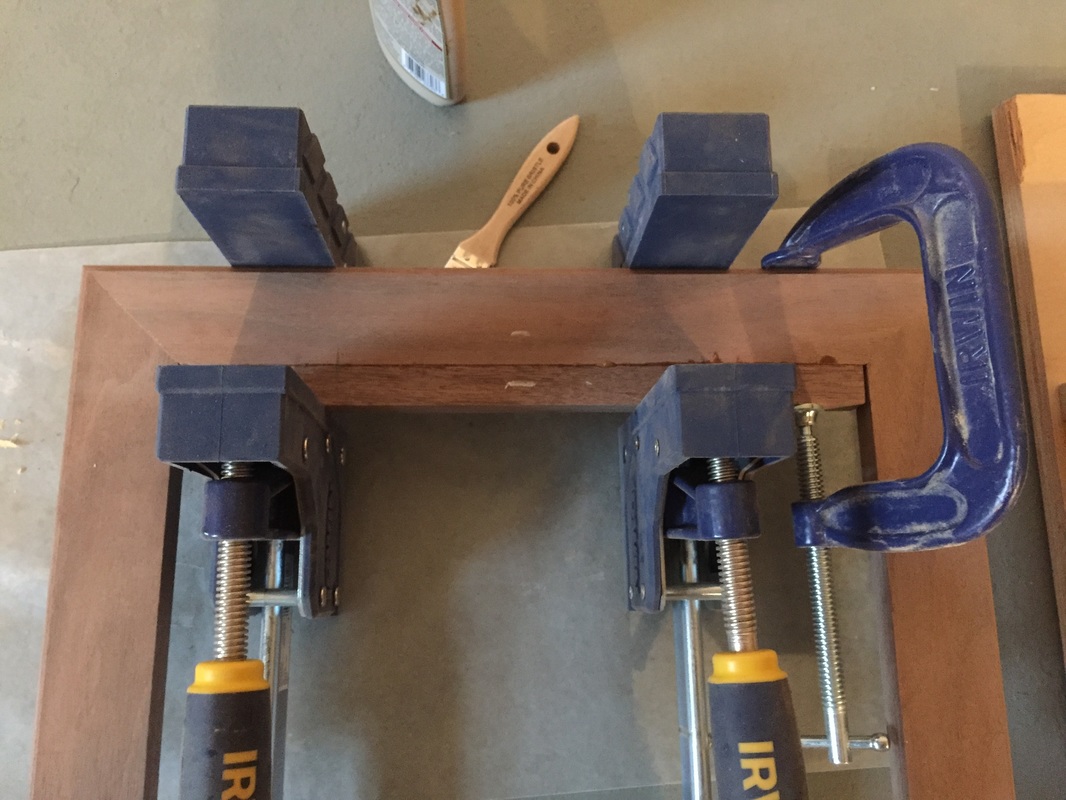
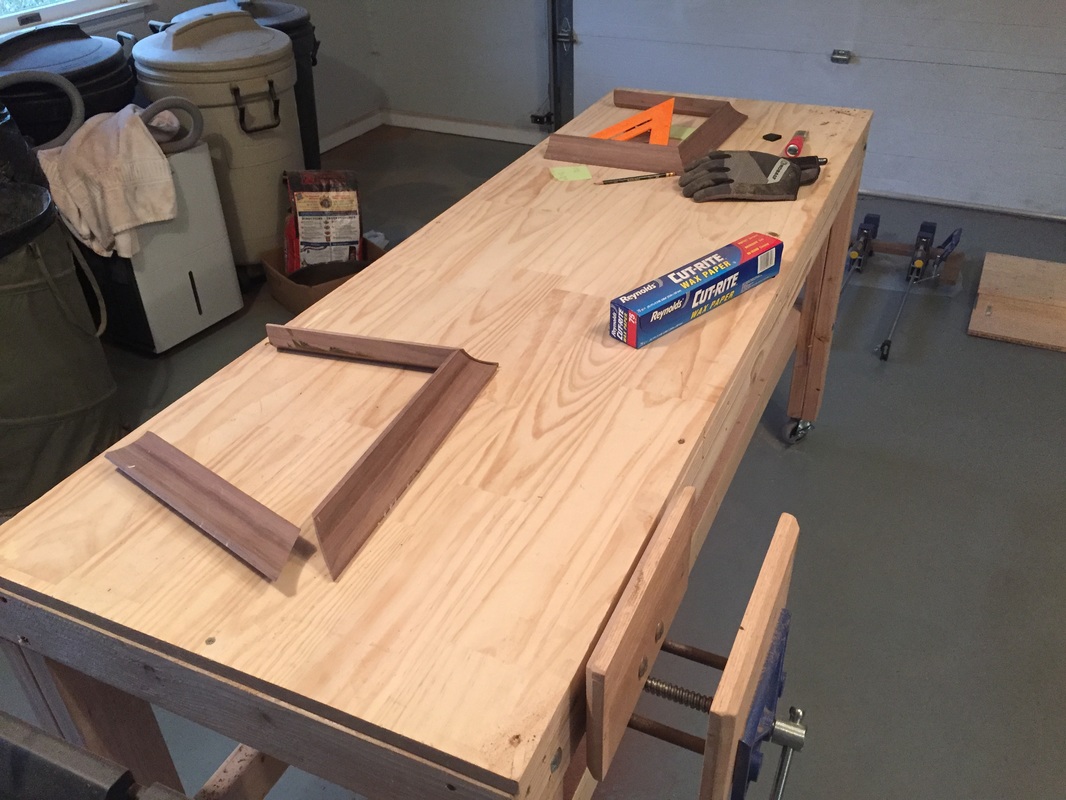
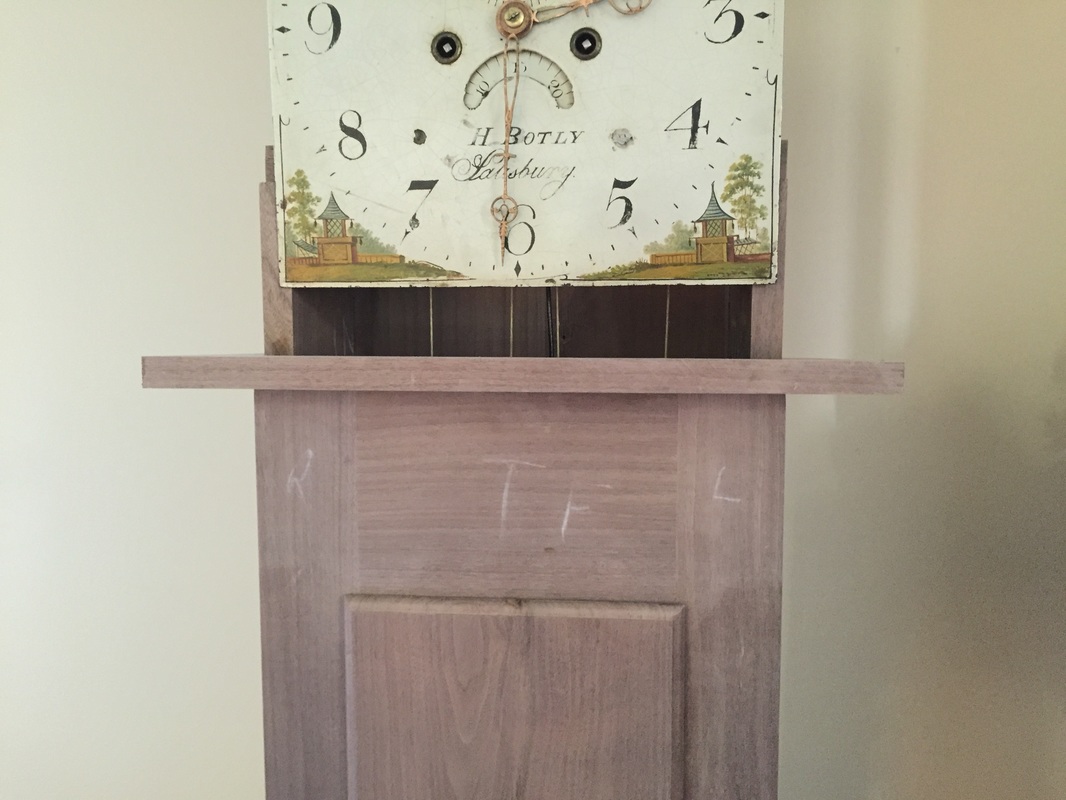
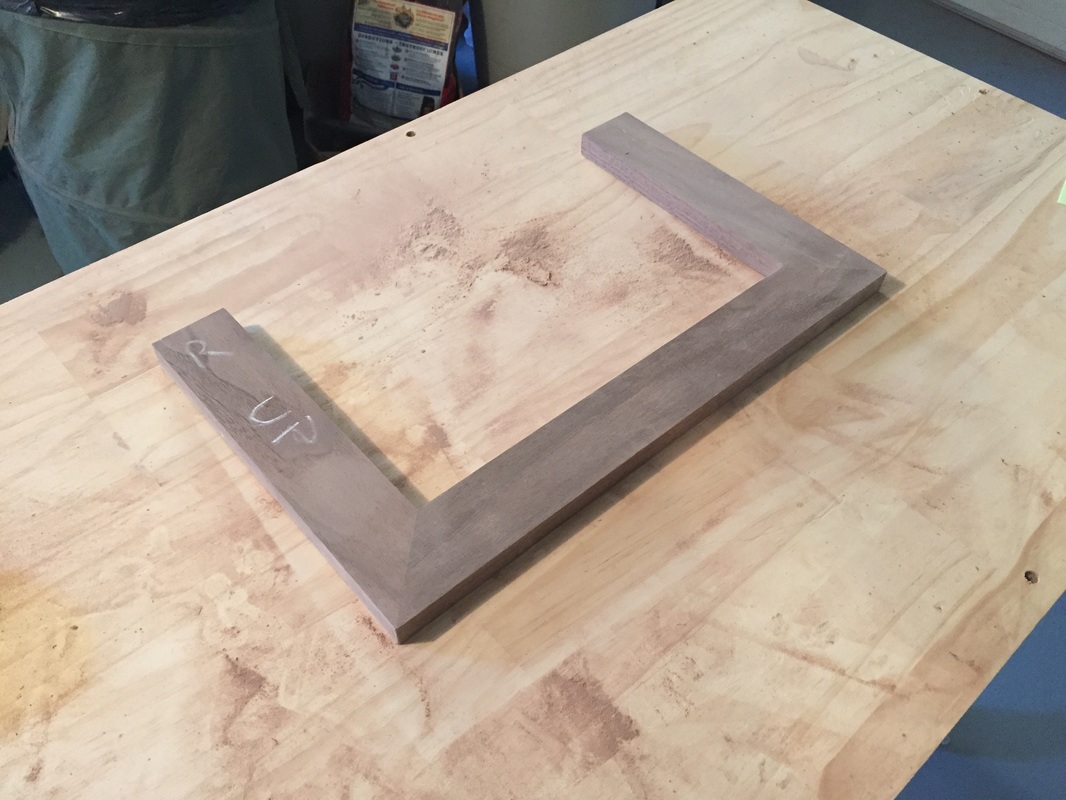
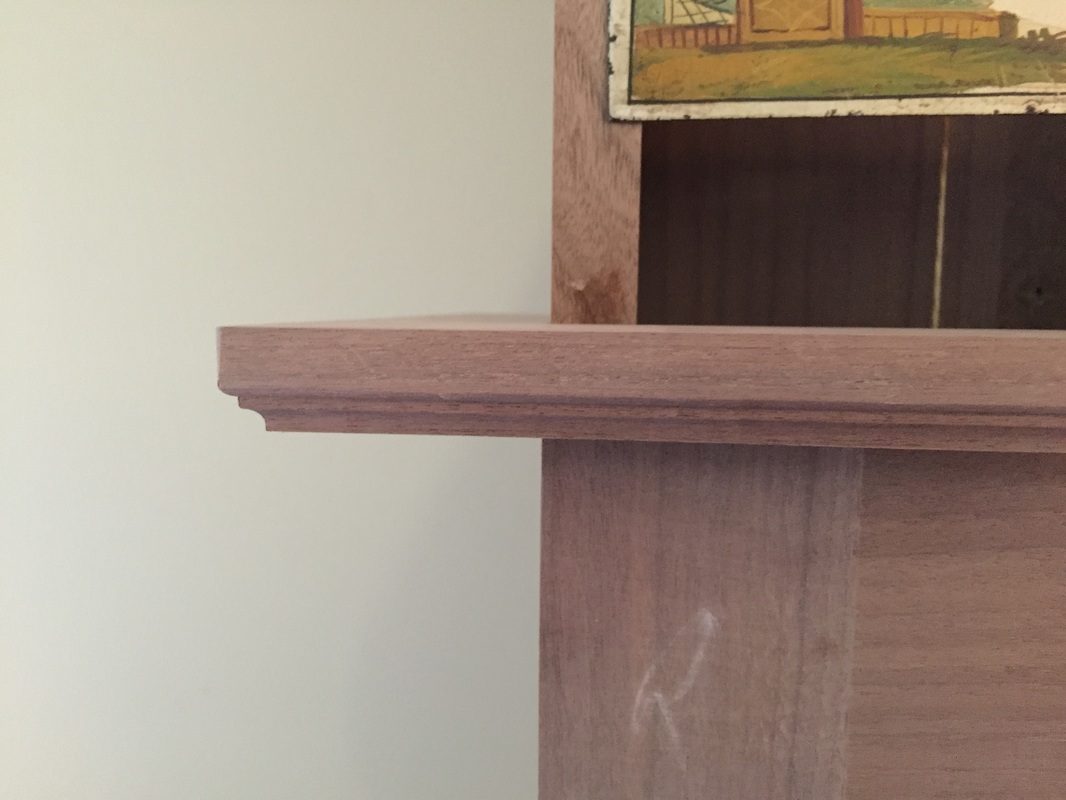
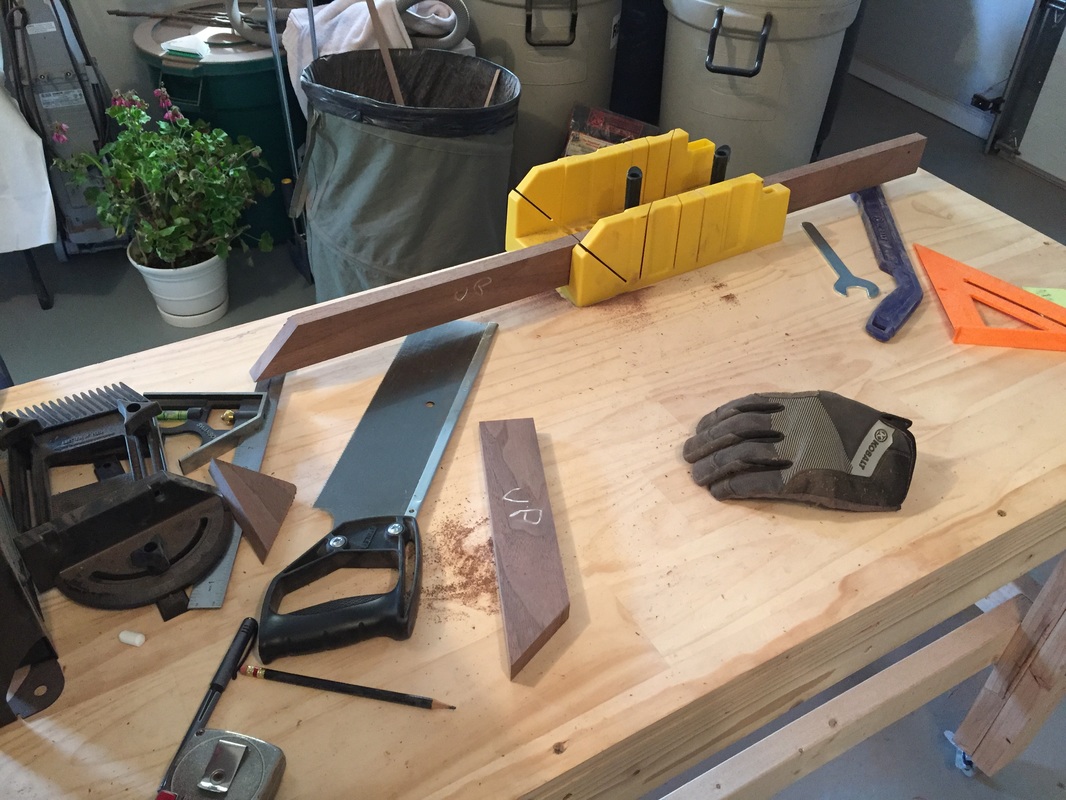
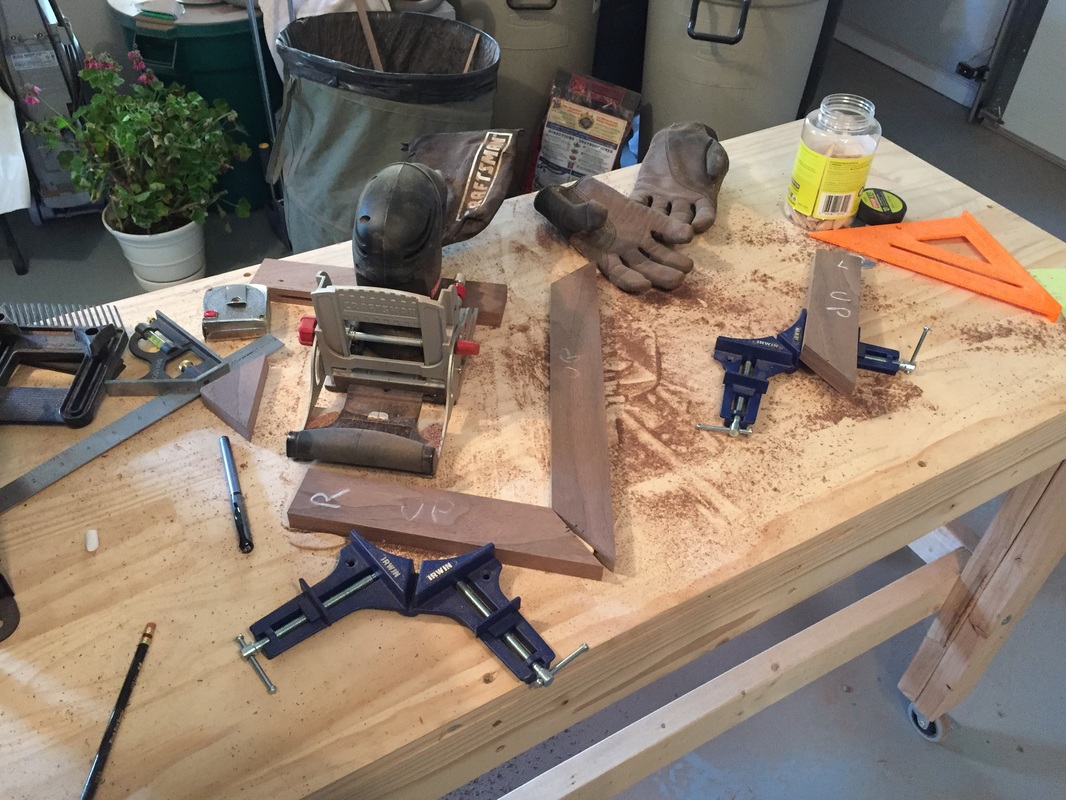
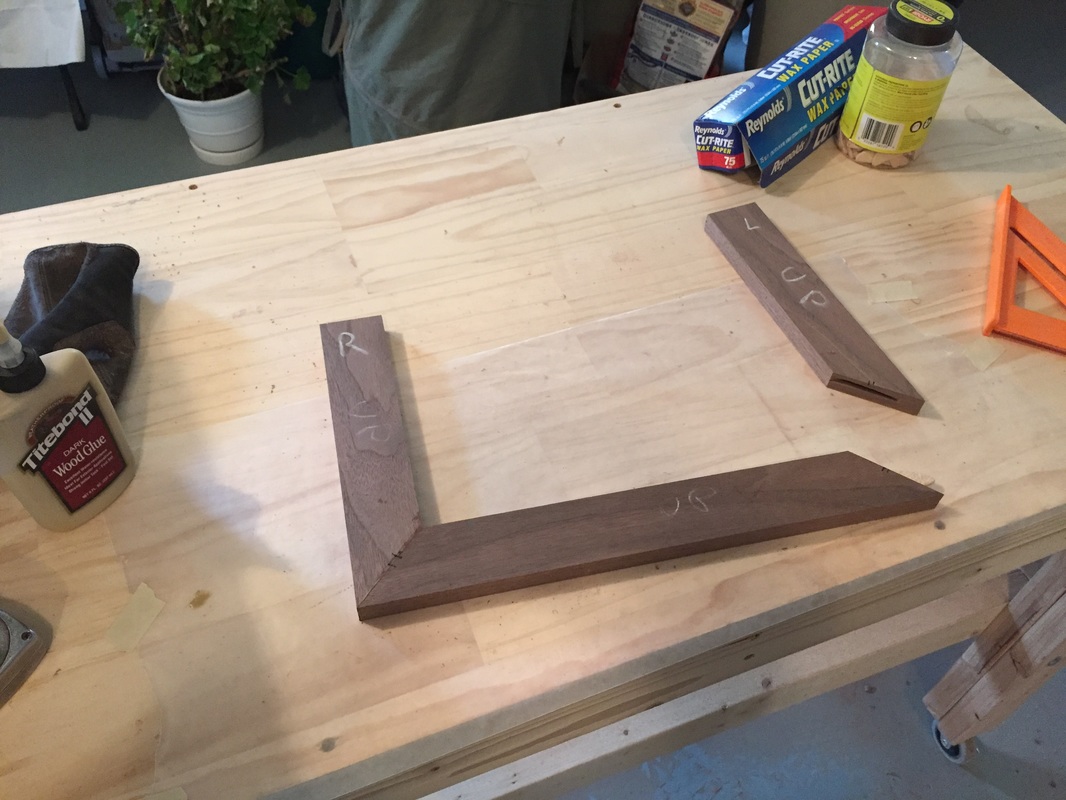
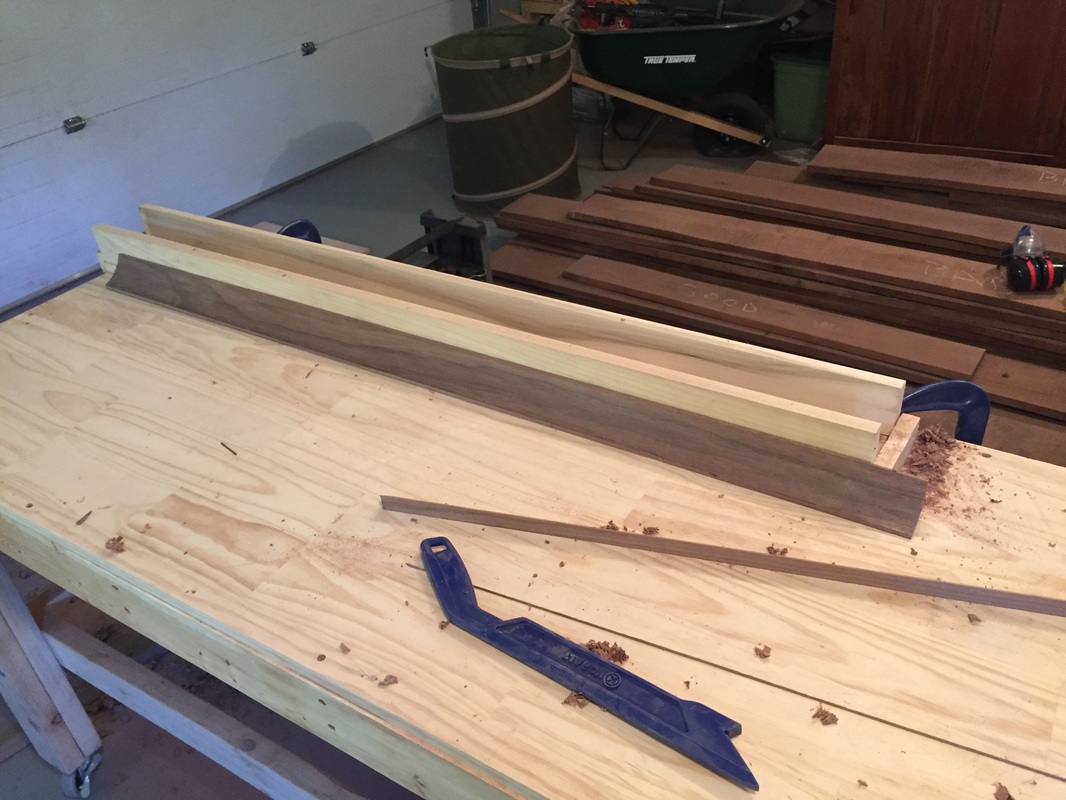
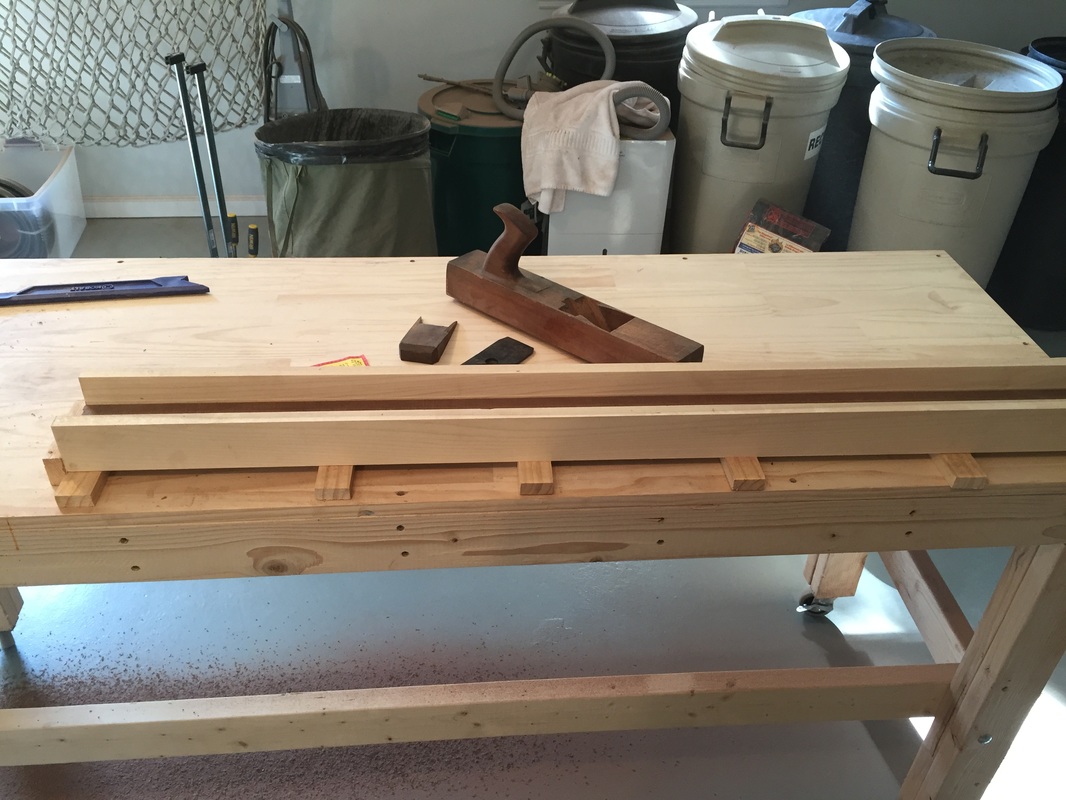
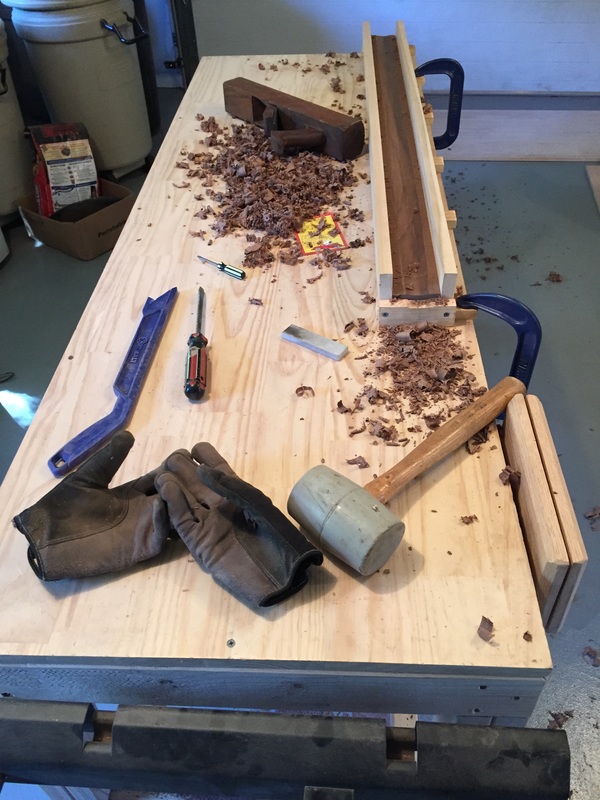
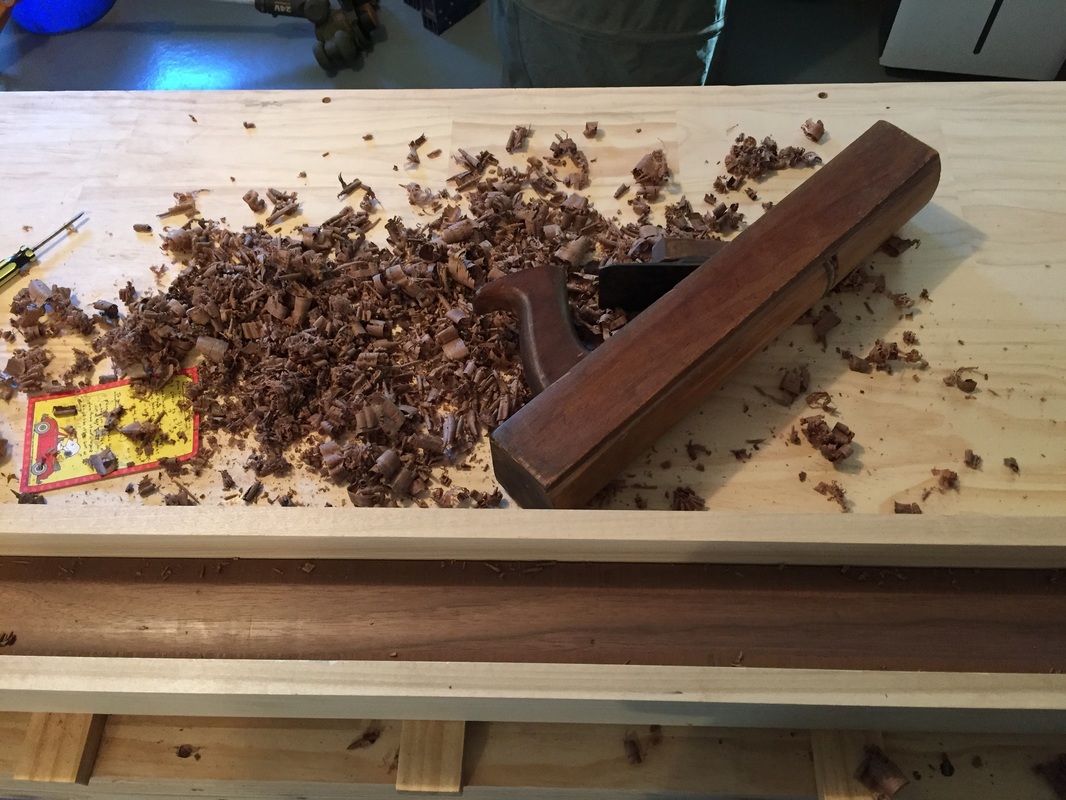
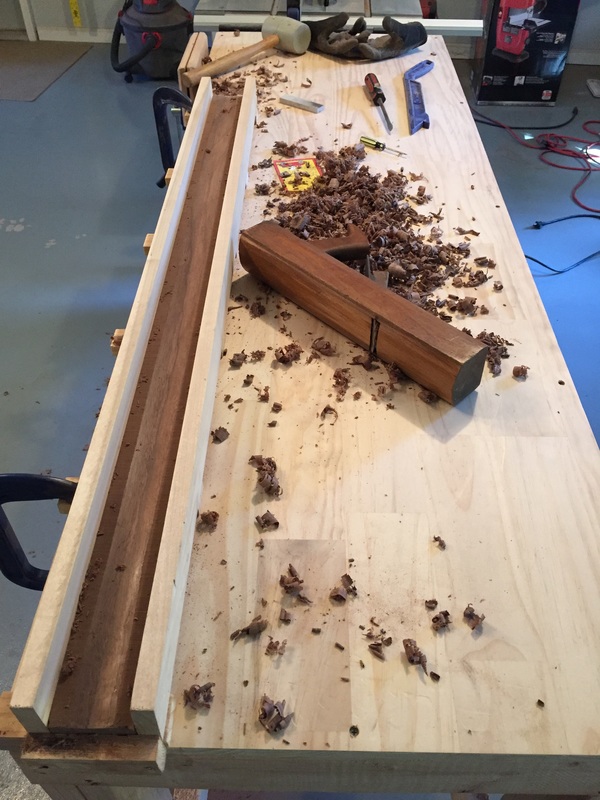
Today I sanded the 2nd large cove moulding and got it glued to the case. Needed to make sure it was quite level as the sill will sit upon it. Then, I added the lower bead moulding by glueing it to the case. Next-up, is to make and add the upper bead moulding. Hopefully, I can get to that tomorrow.
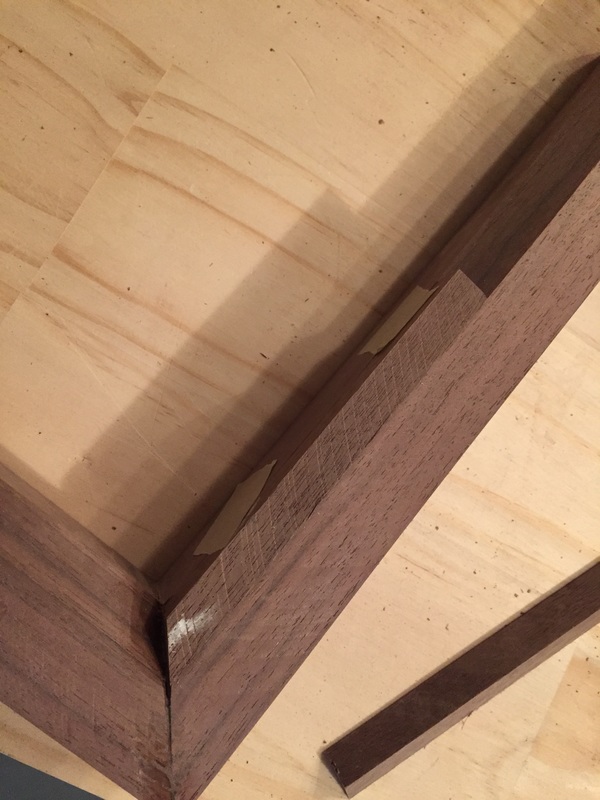
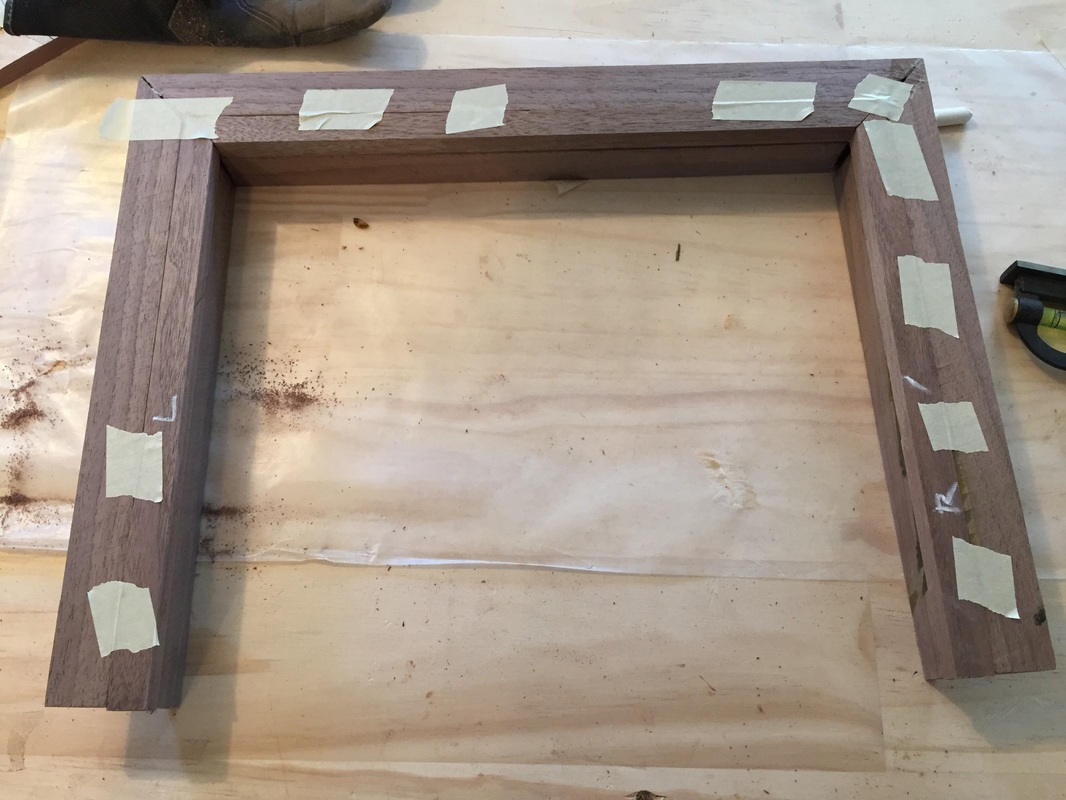
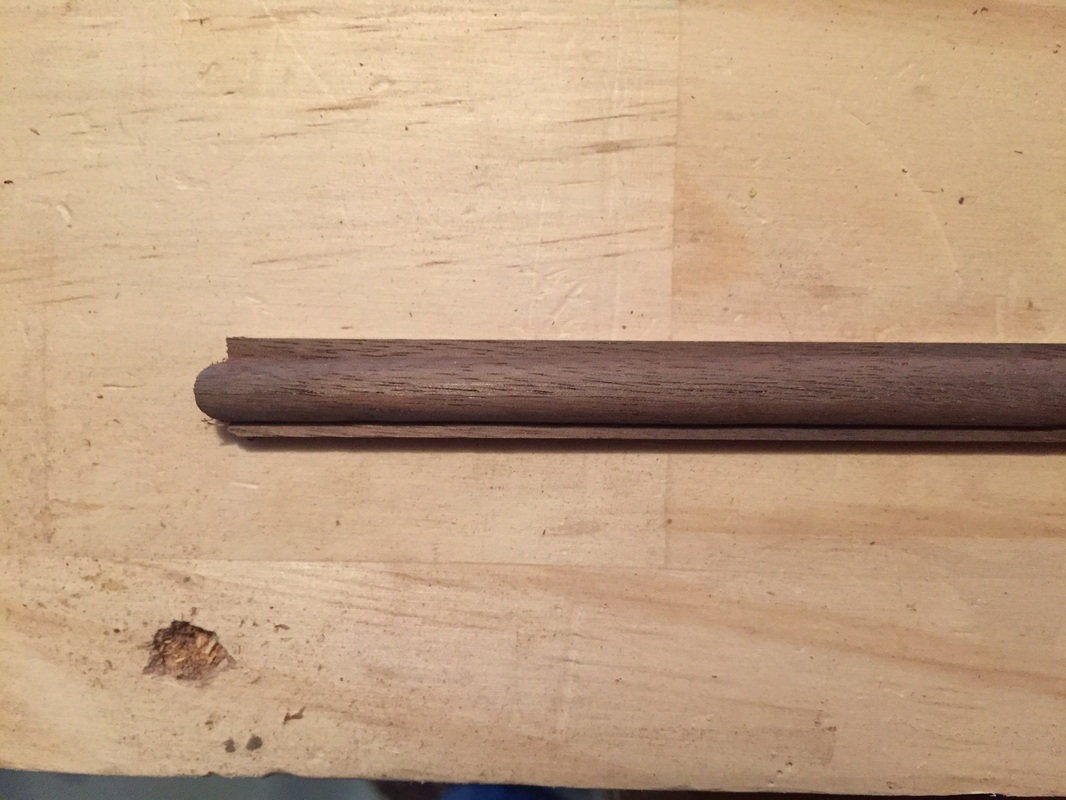
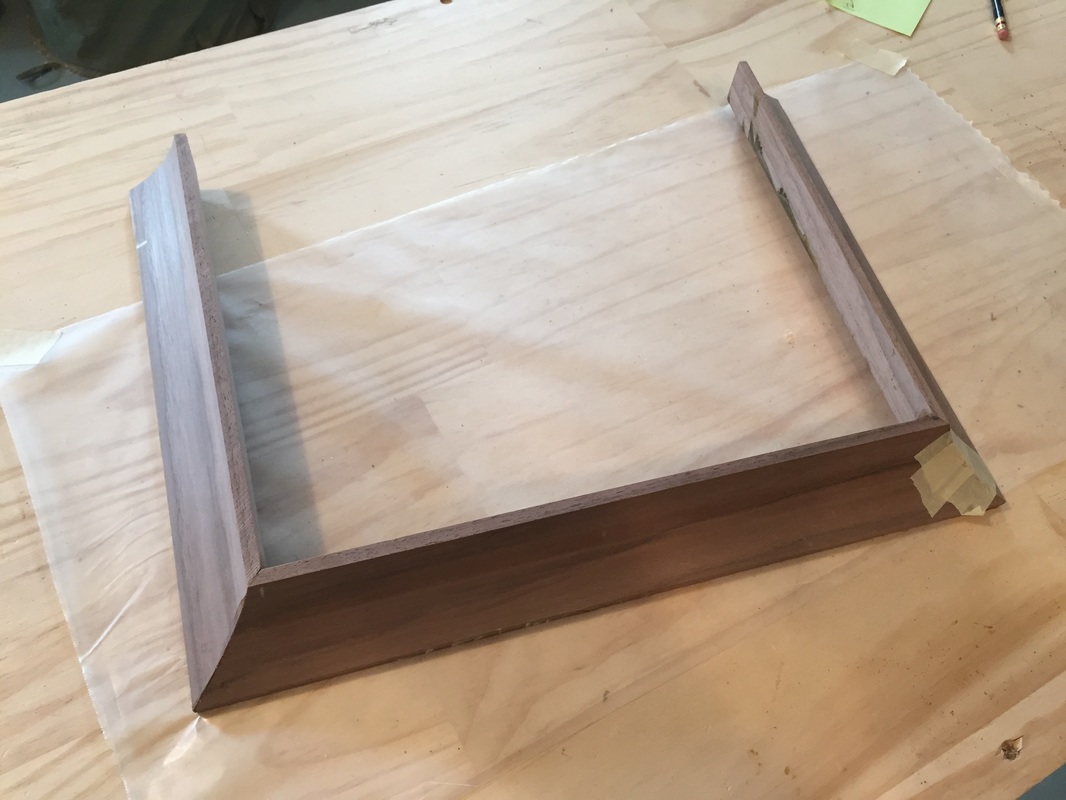
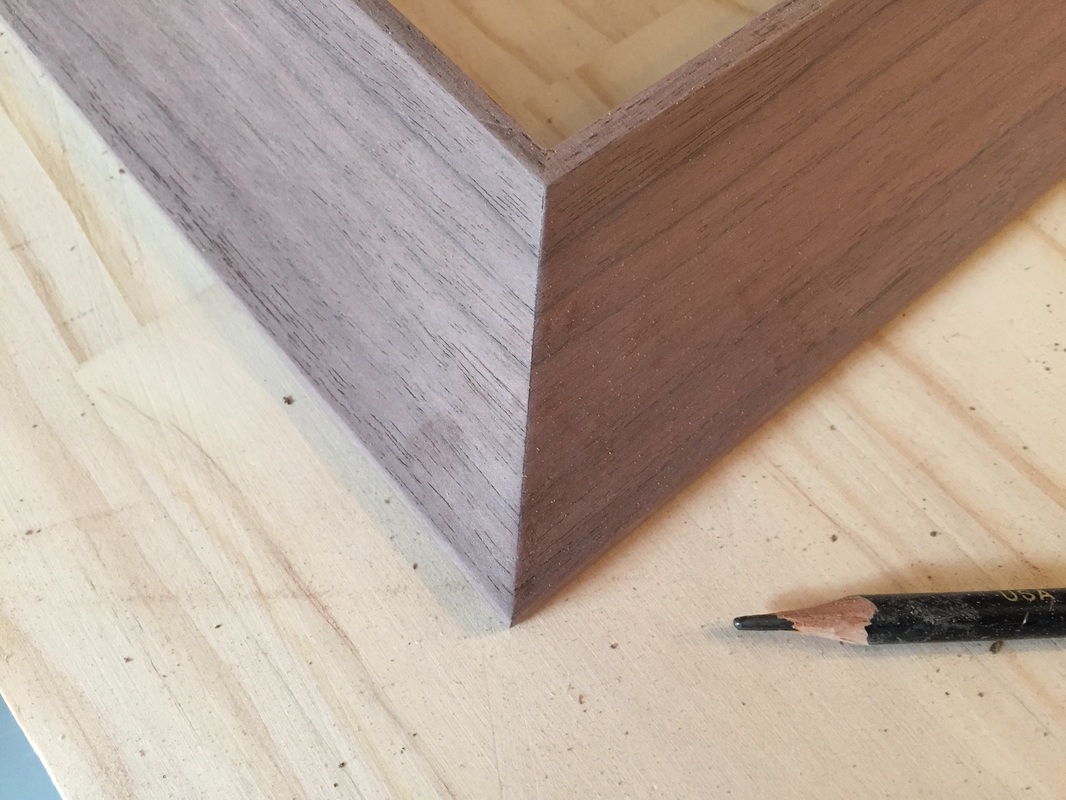
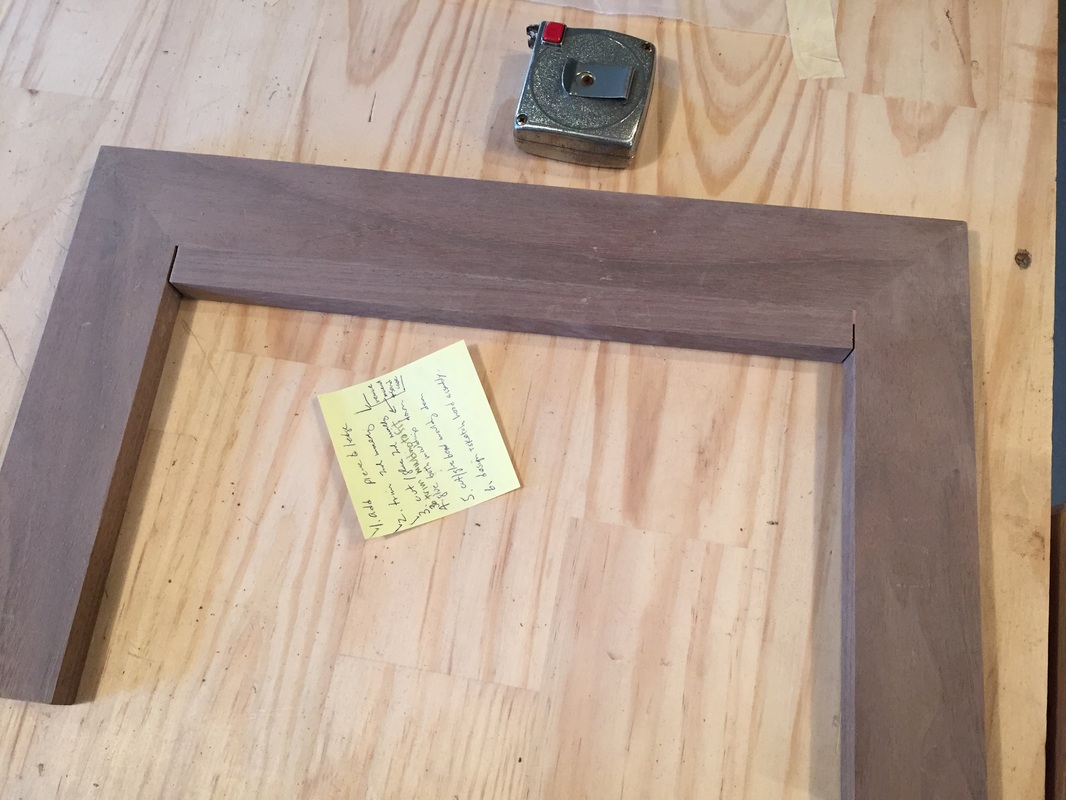
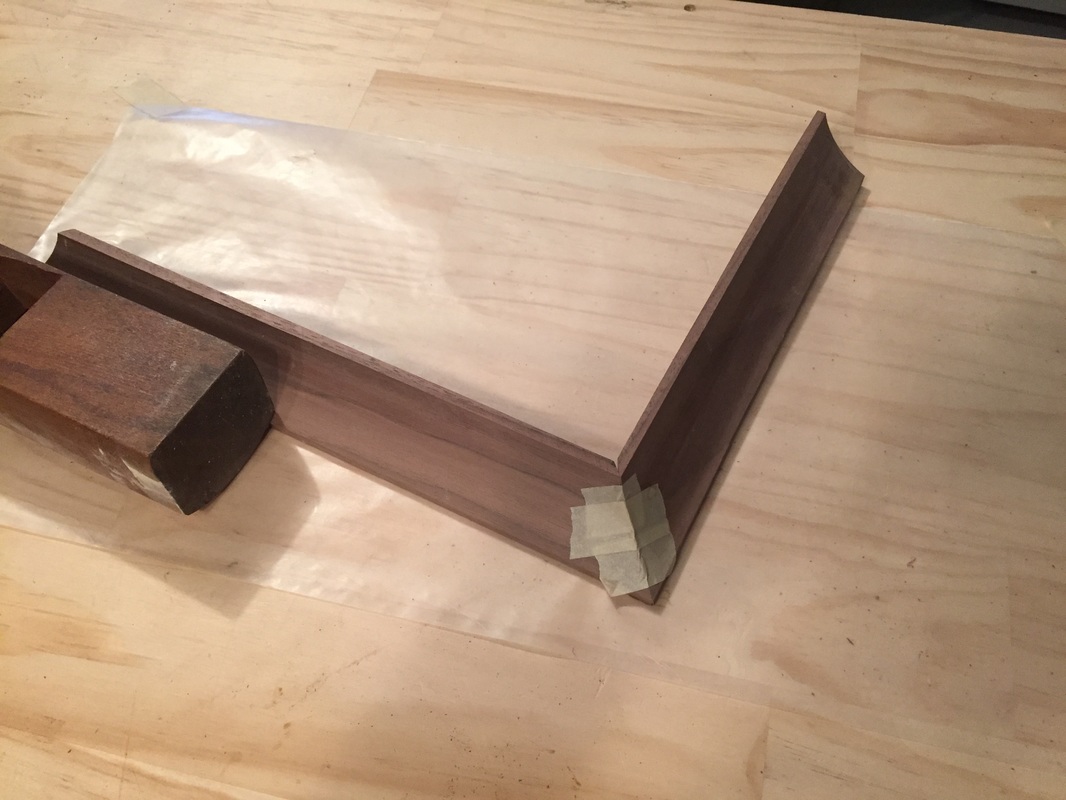
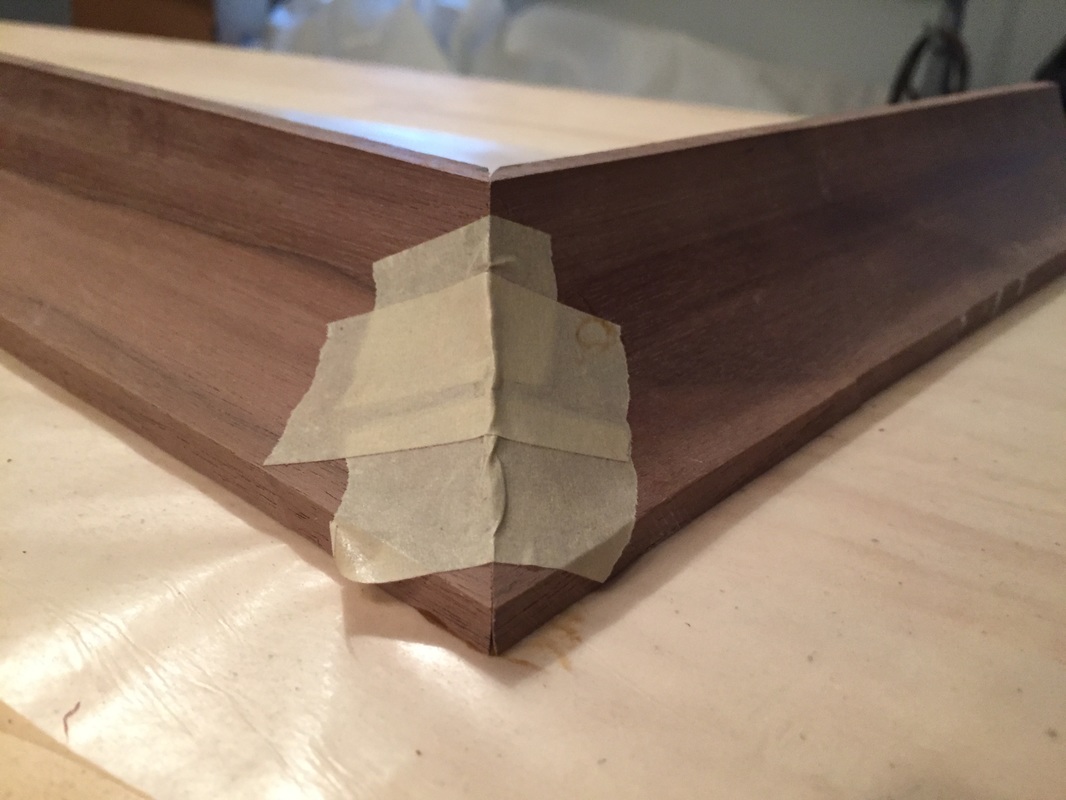
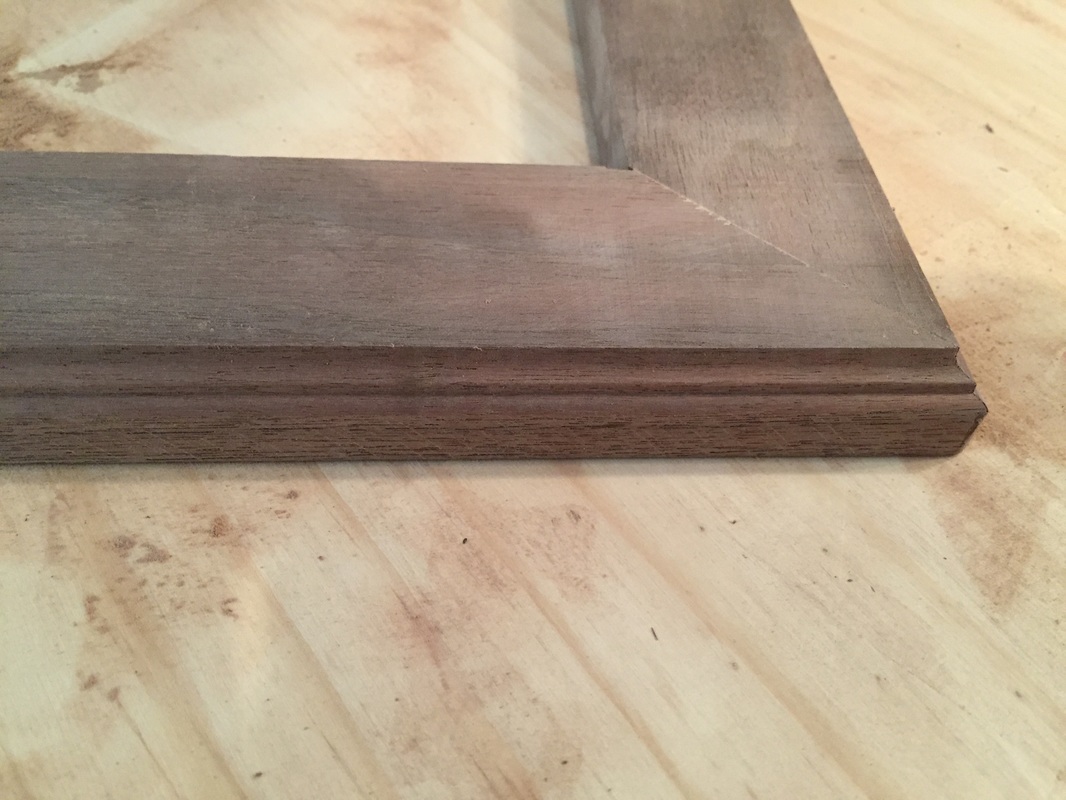
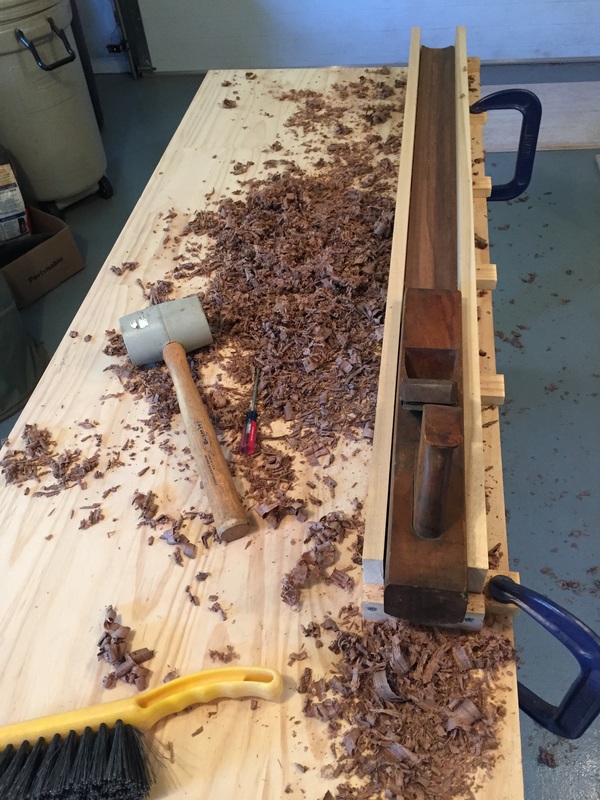
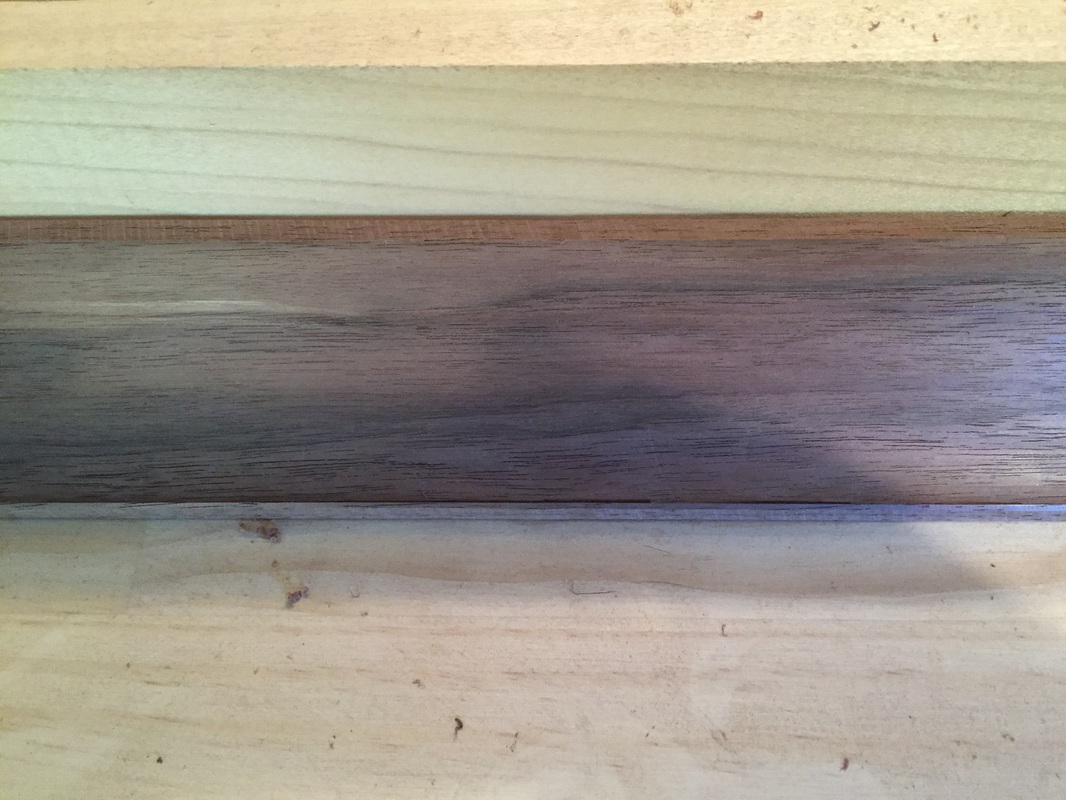
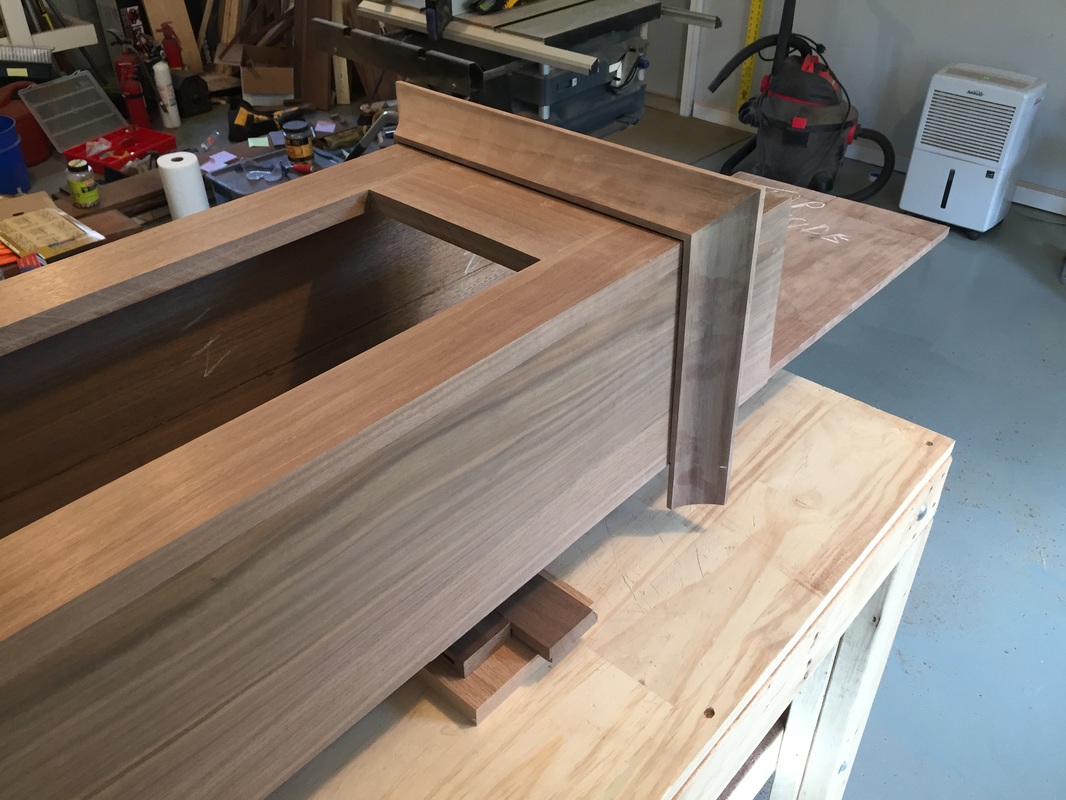 Glueing-up the finished upper large cove moulding to the case | 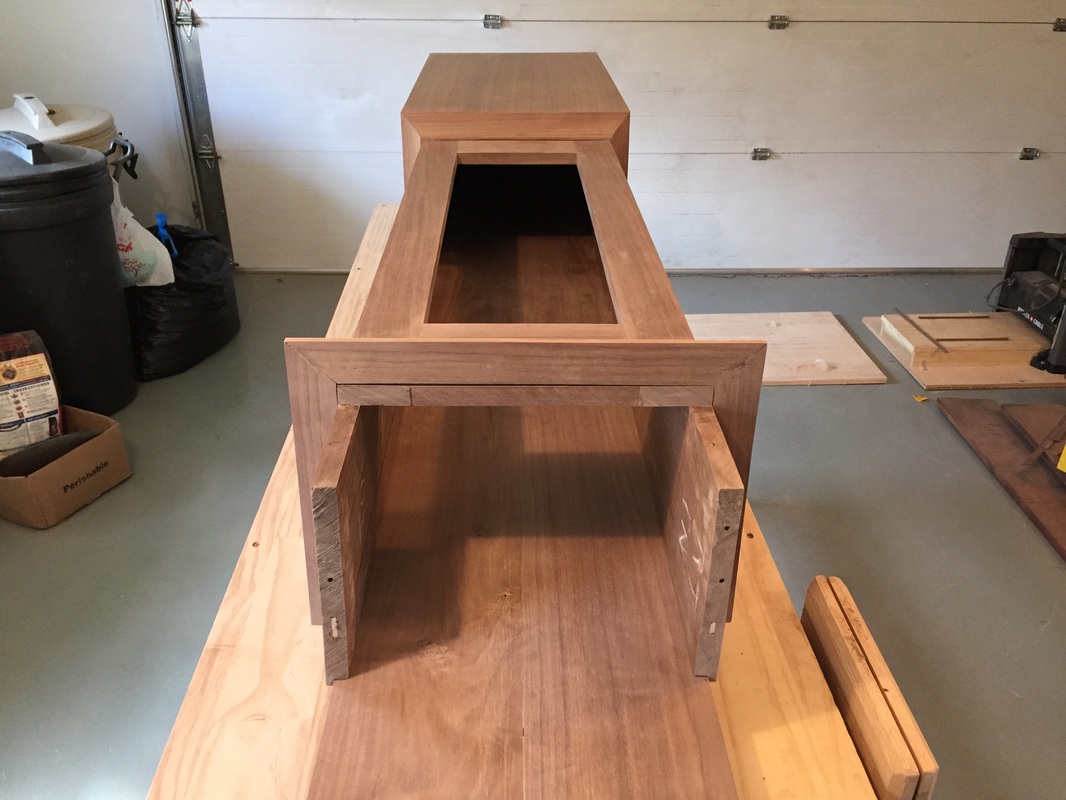 A view down the clock case. Notice that the upper moulding is completely filled-in. | 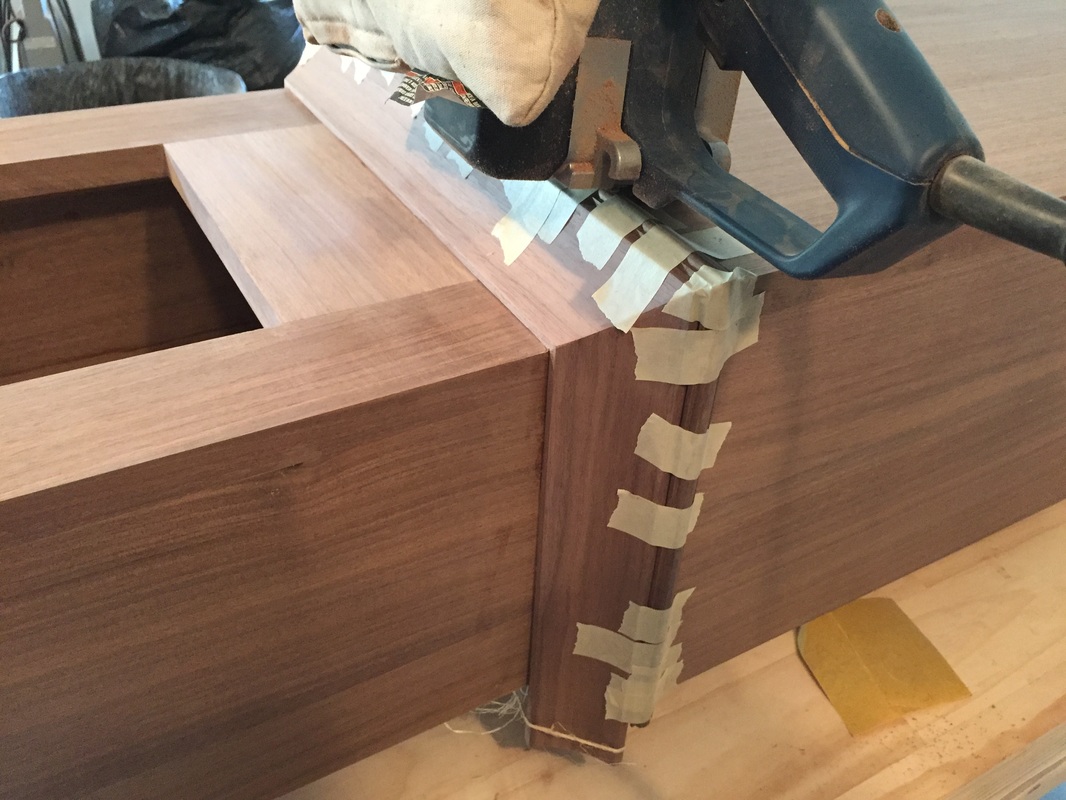 Glueing-up the lower bead moulding | 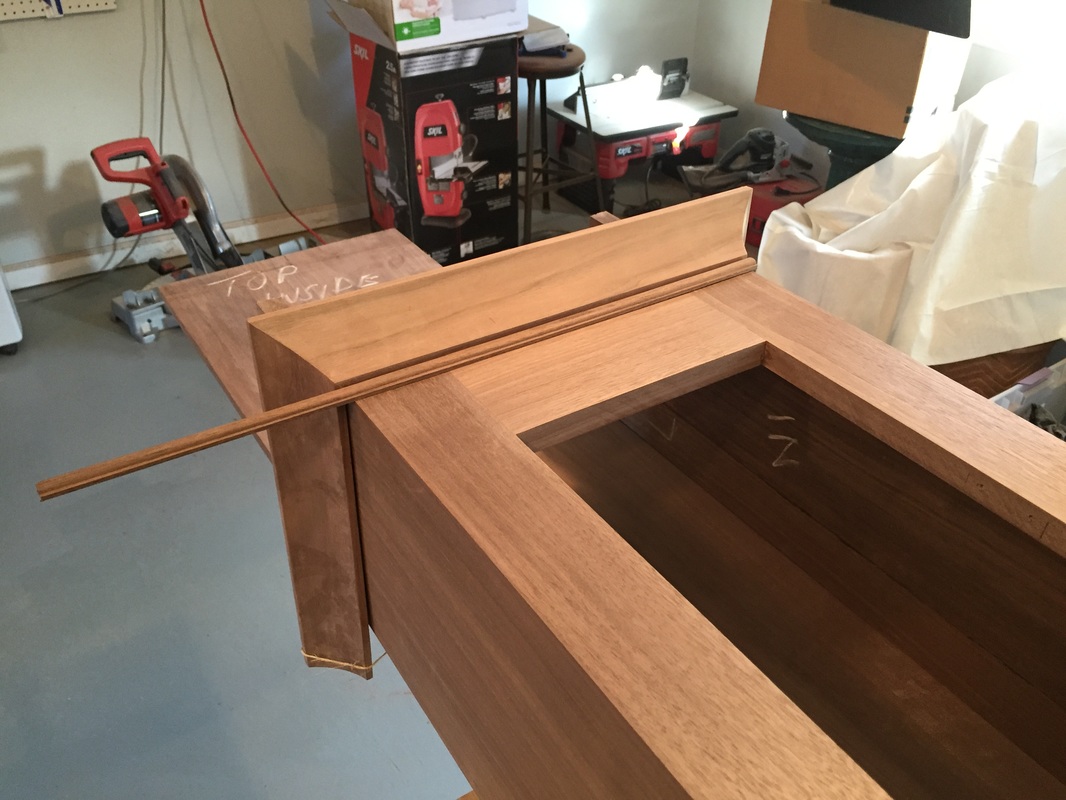 A preview of what the upper bead moulding will look like |


 RSS Feed
