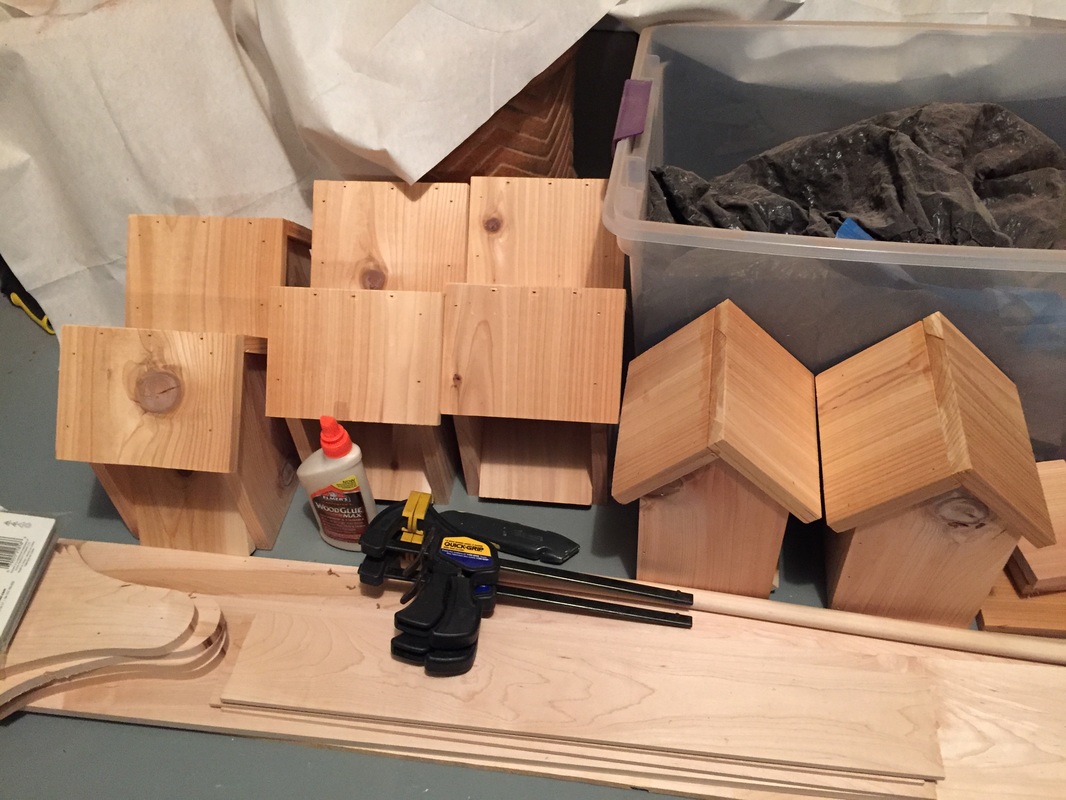
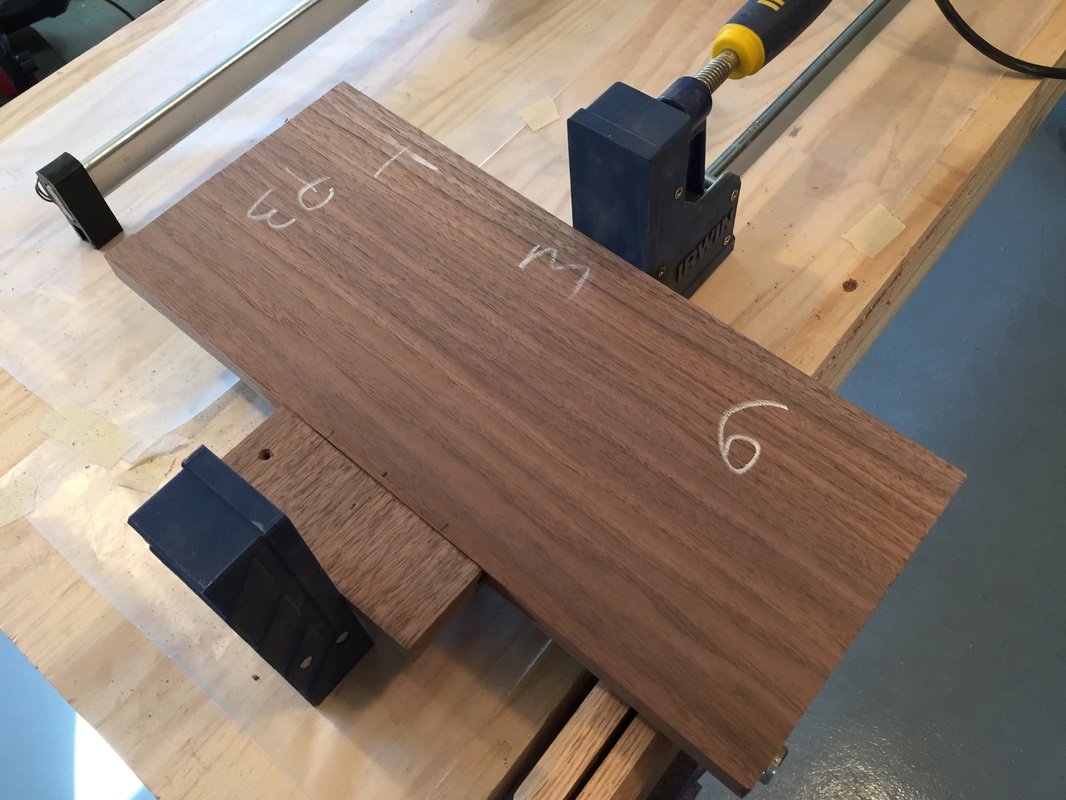
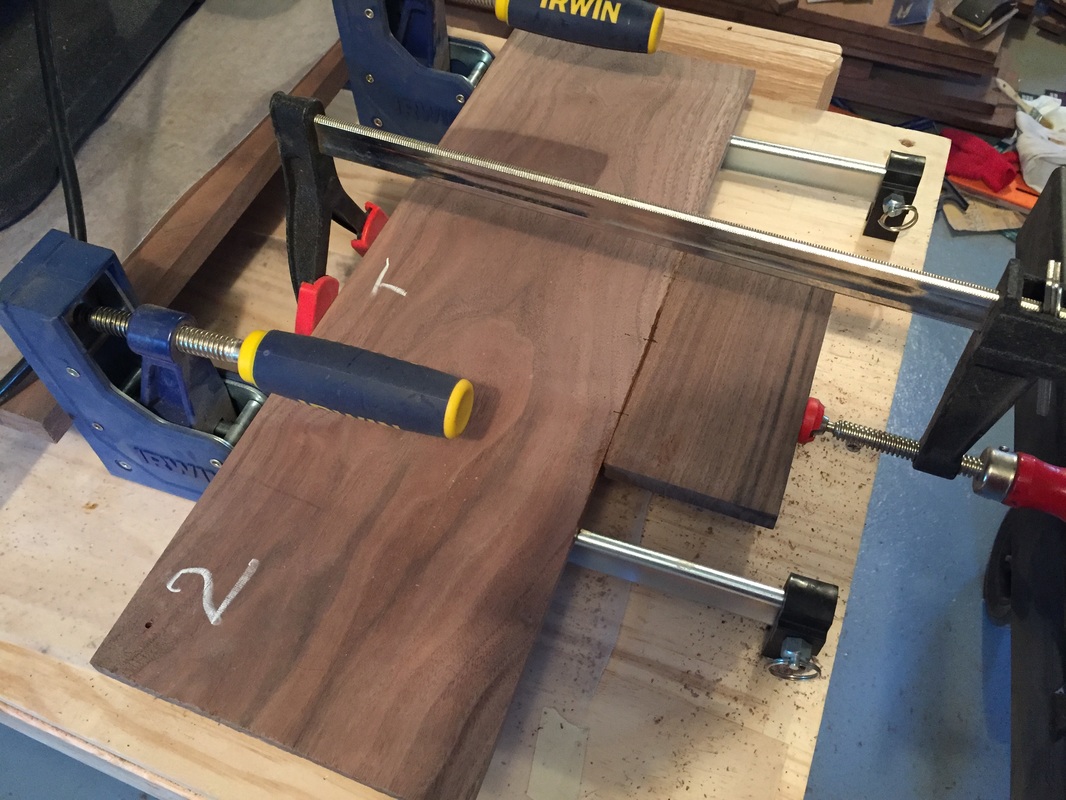
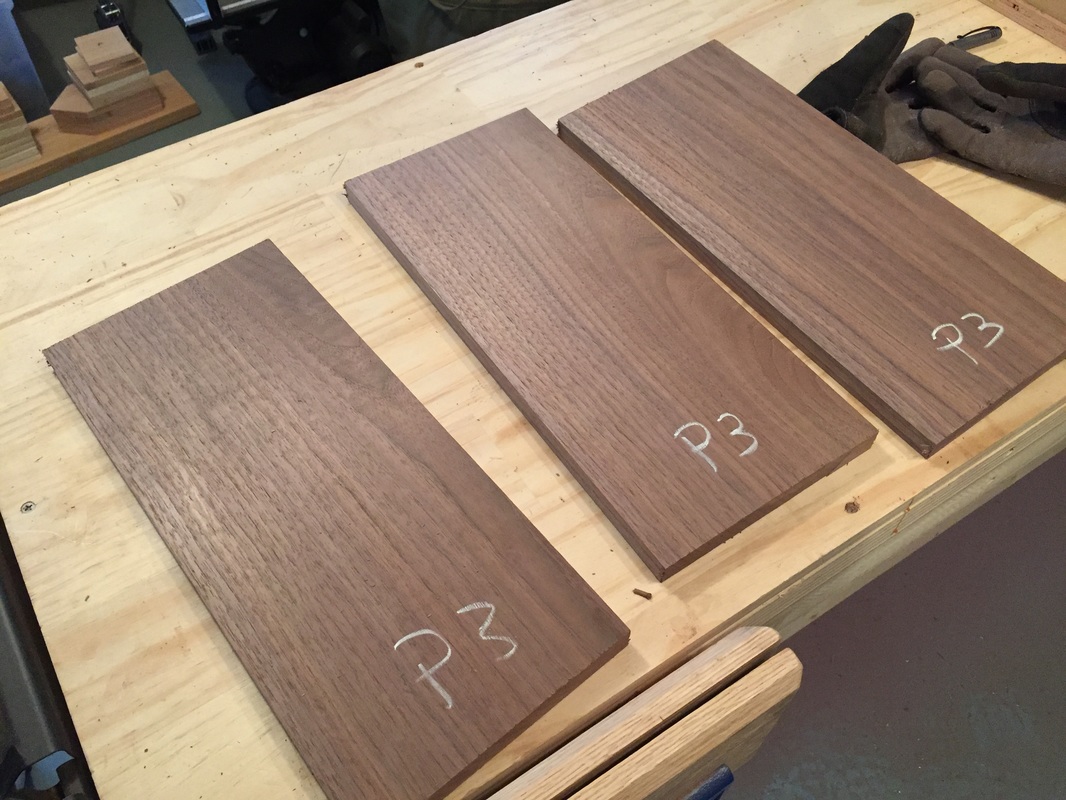
Today I trimmed several of the hood arches and tested the routering of the moulded arches. The moulding worked but I want to come up with a better way to hold the pieces while routing them. That's it in my workshop until Monday of next week as we have numerous visitors for our Thanksgiving feast! Click on photos to enlarge and enjoy!
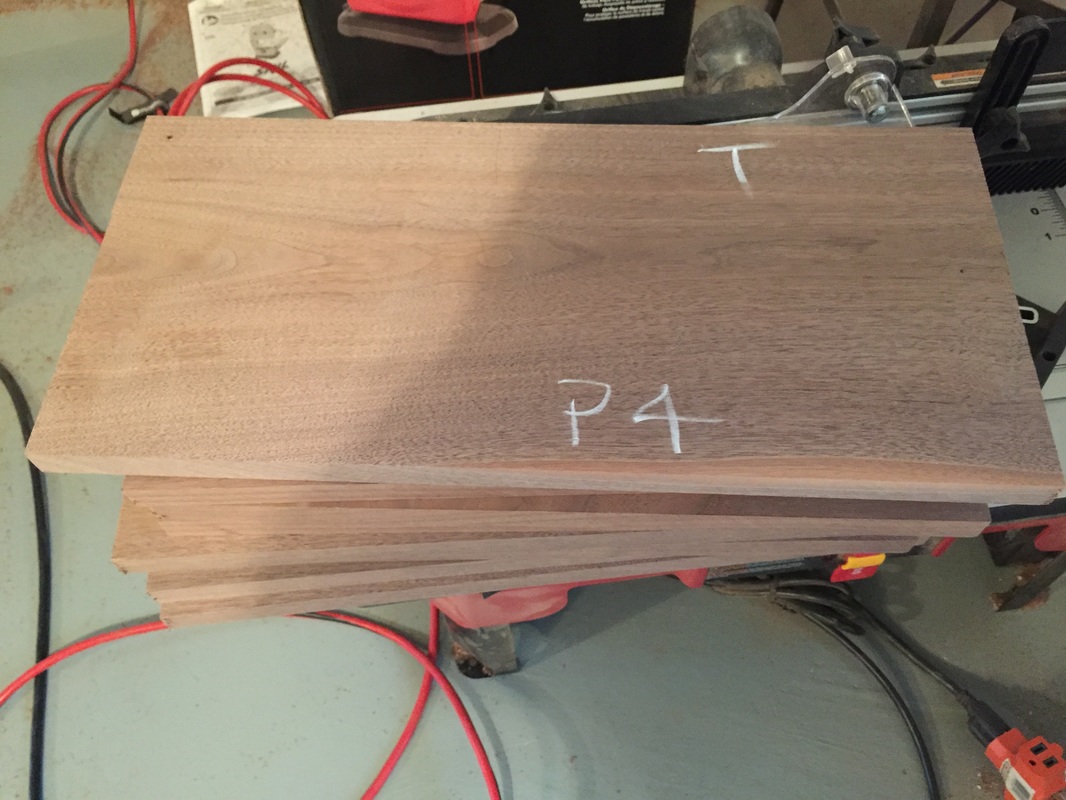
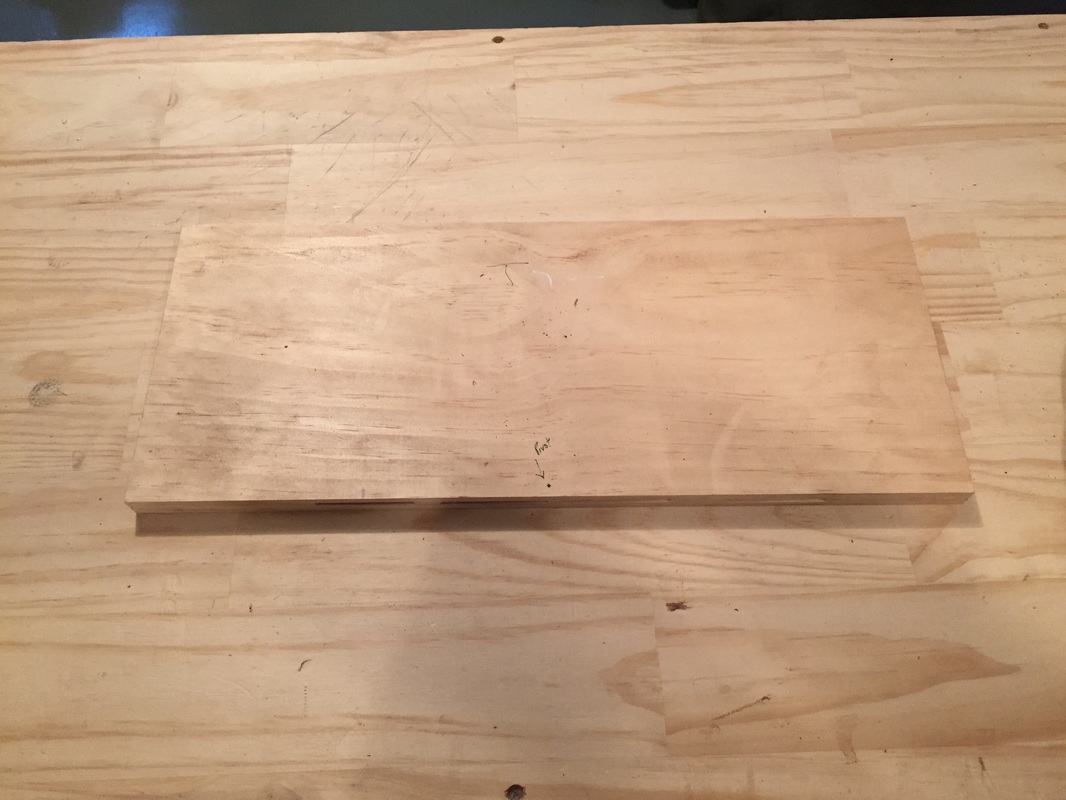
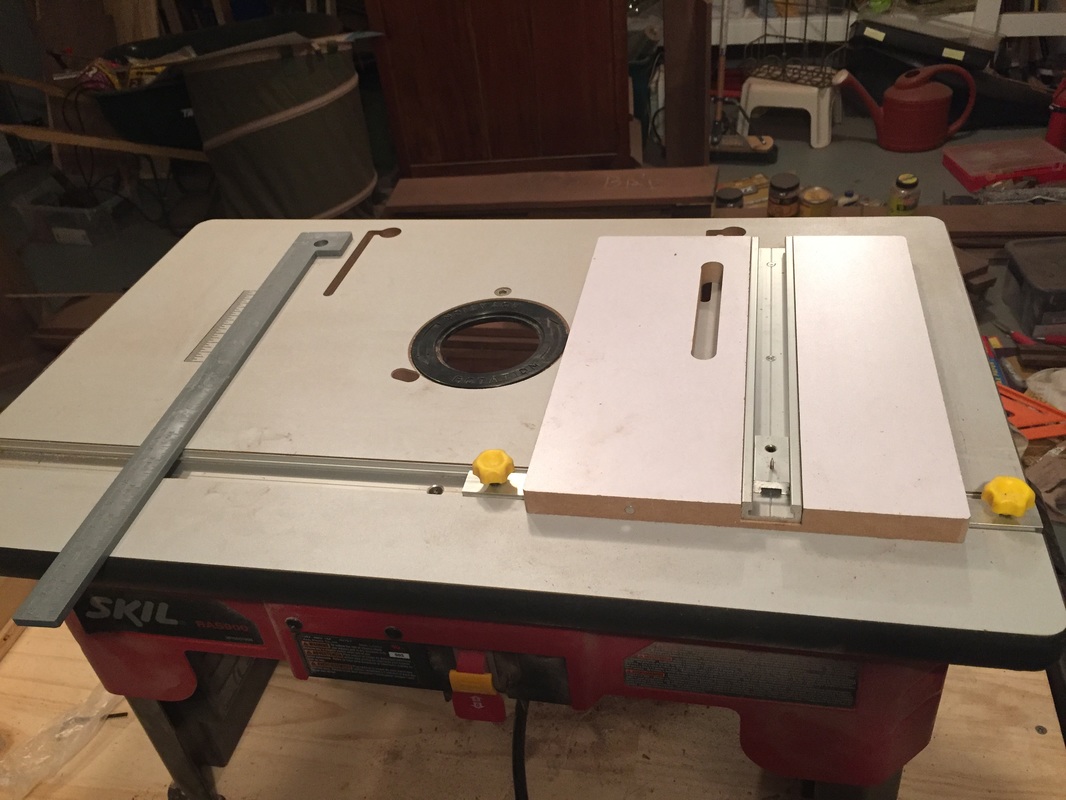
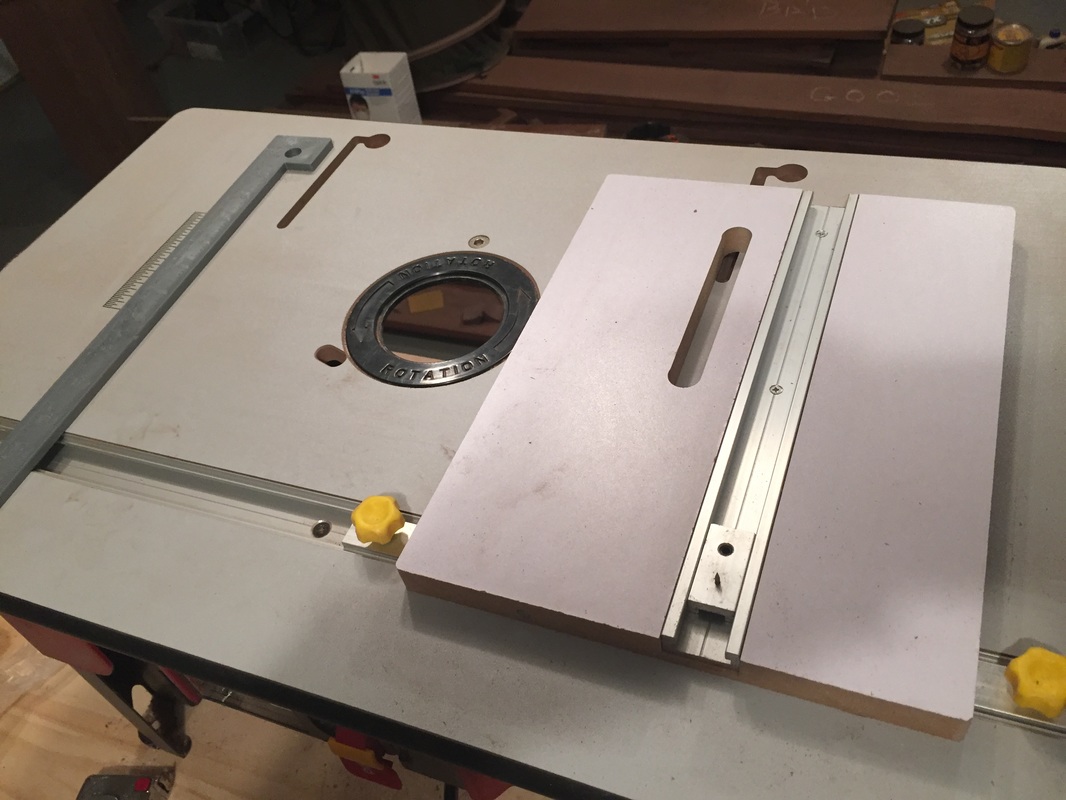
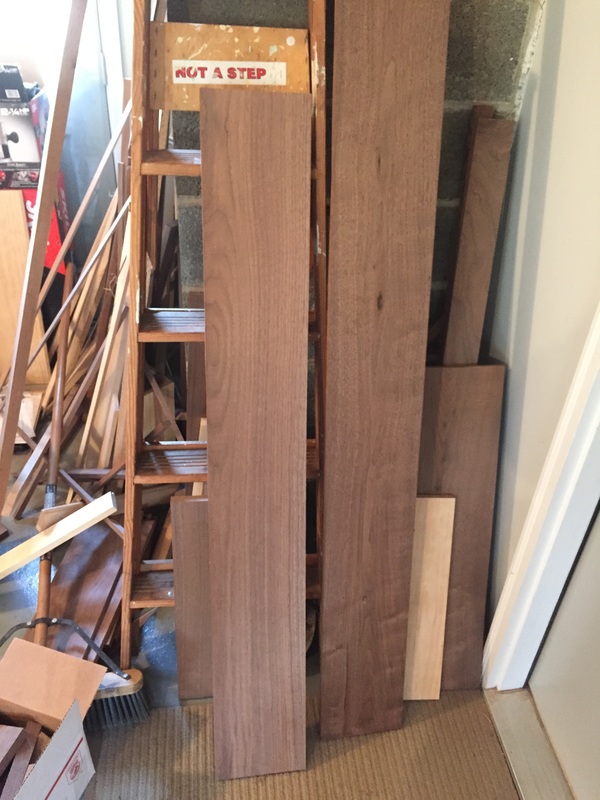
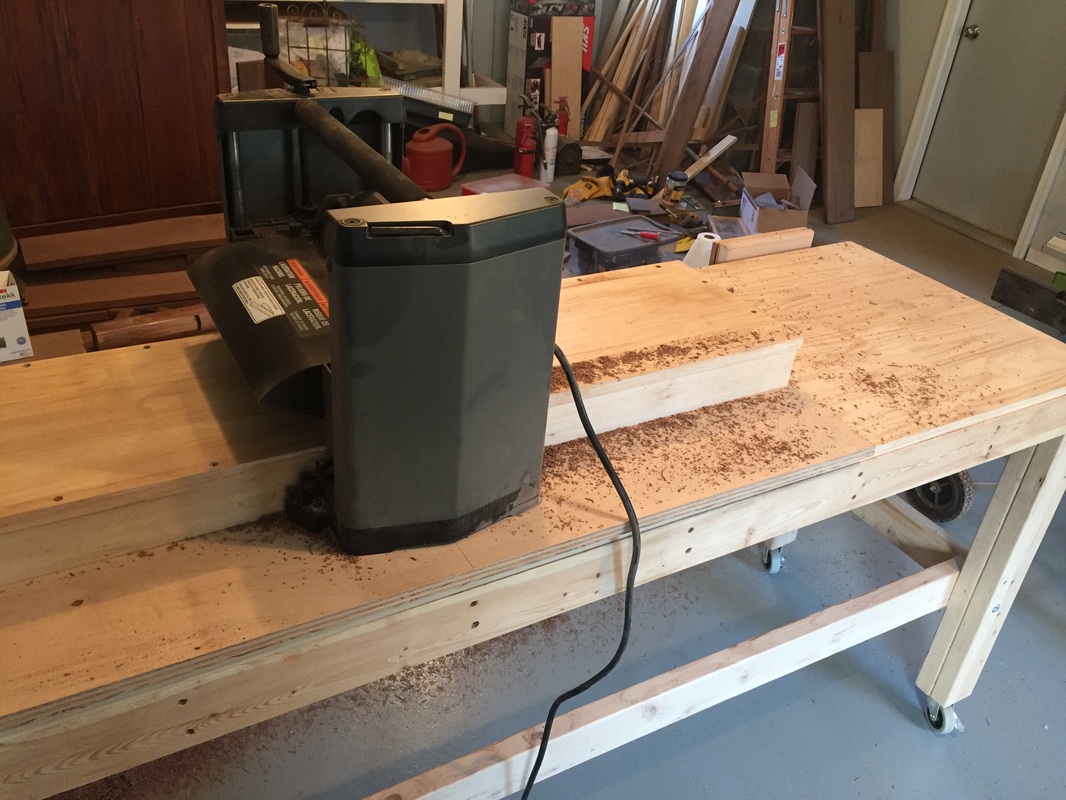
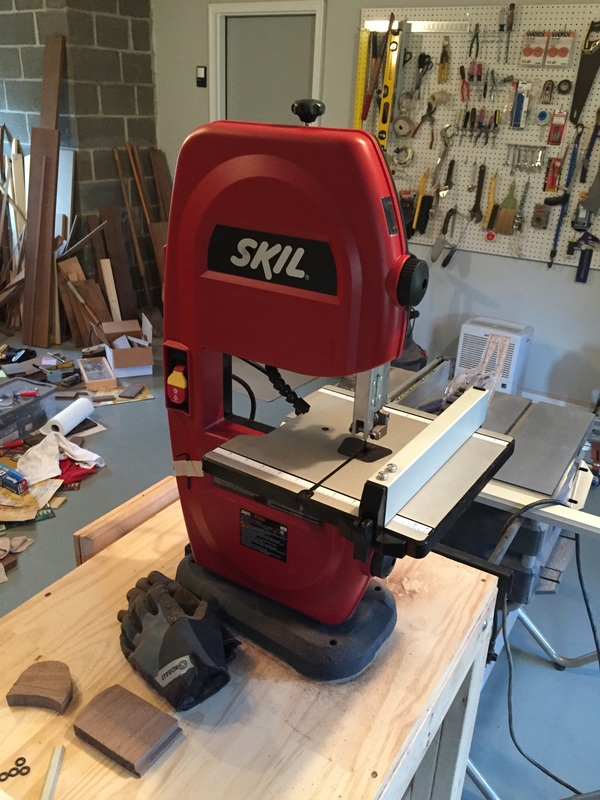
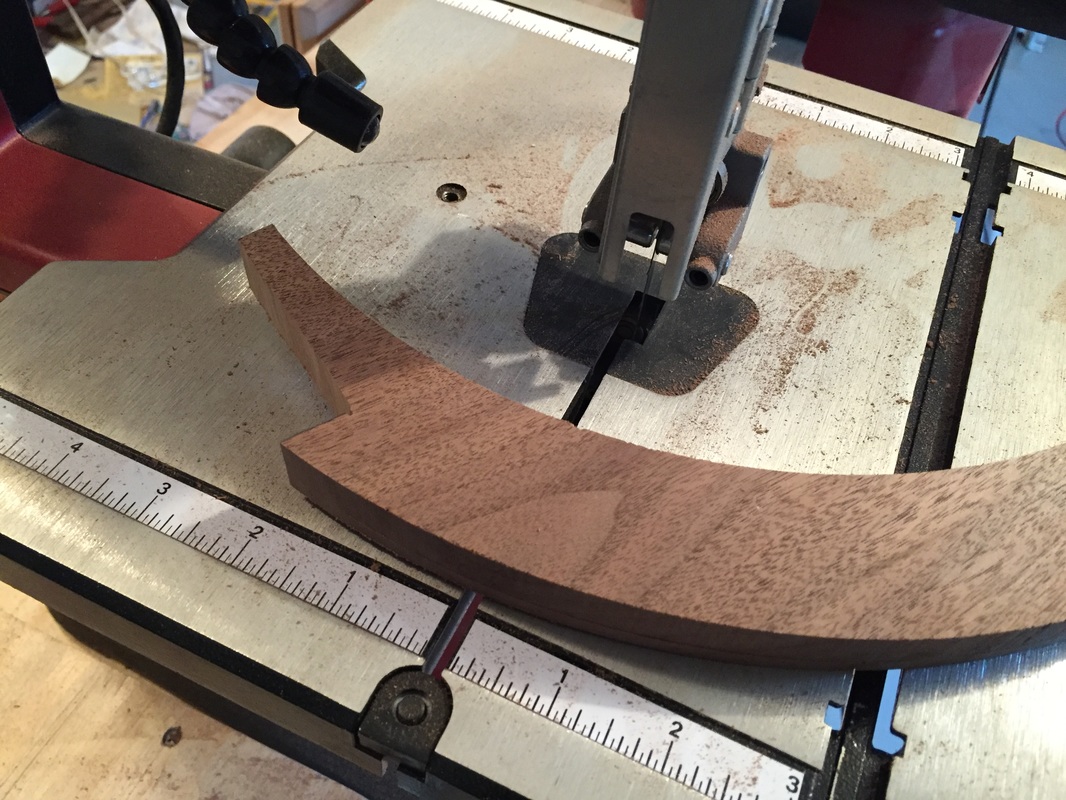 Using the bandsaw to trim-up the arch layers | 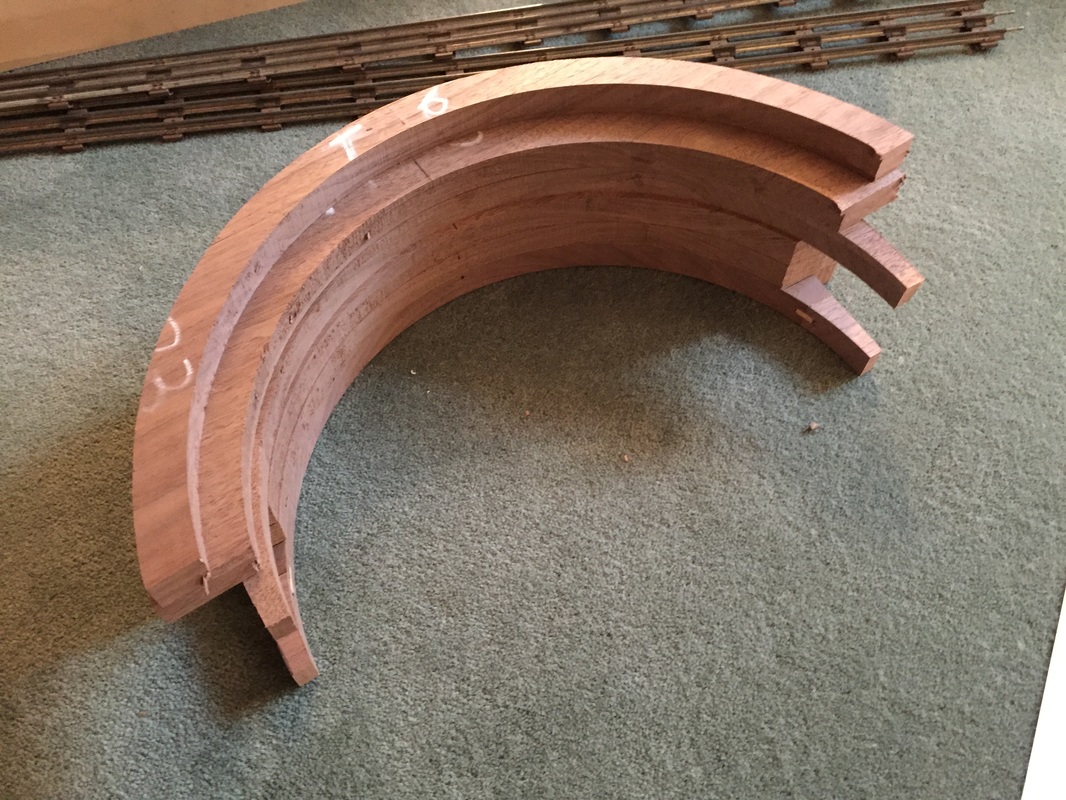 Several of the arch layers are cut and ready to sit atop the hood sides | 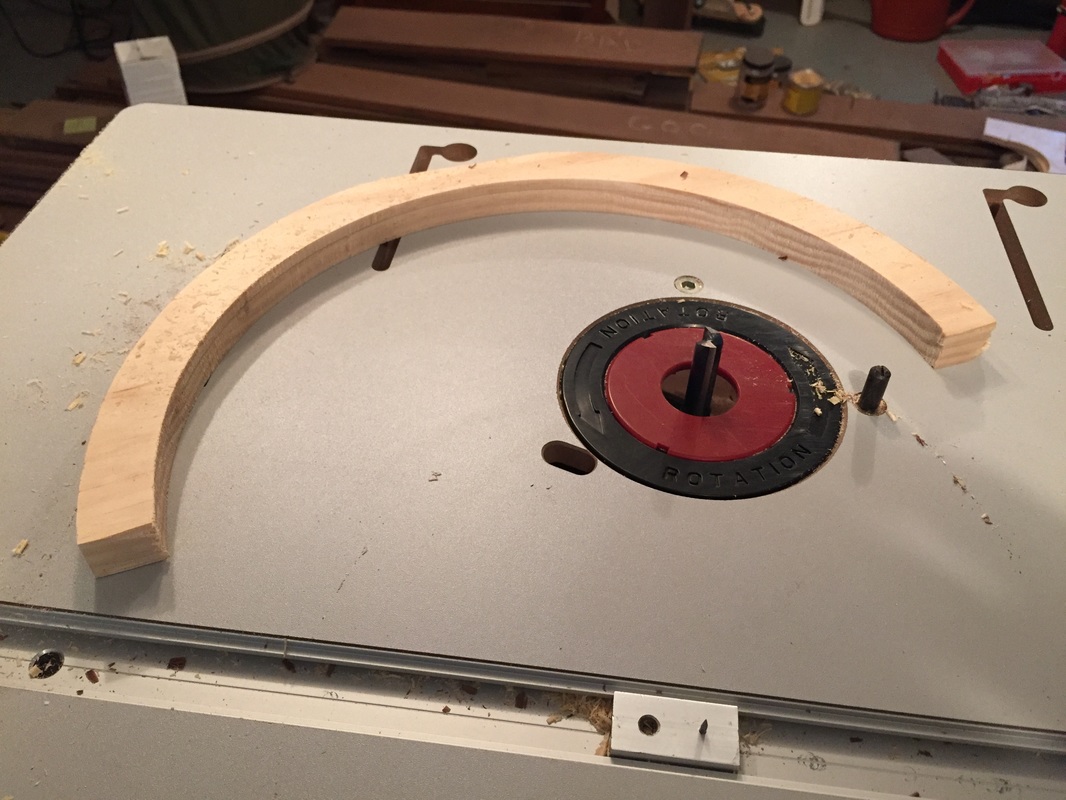 Preparing to router the arch moulding | 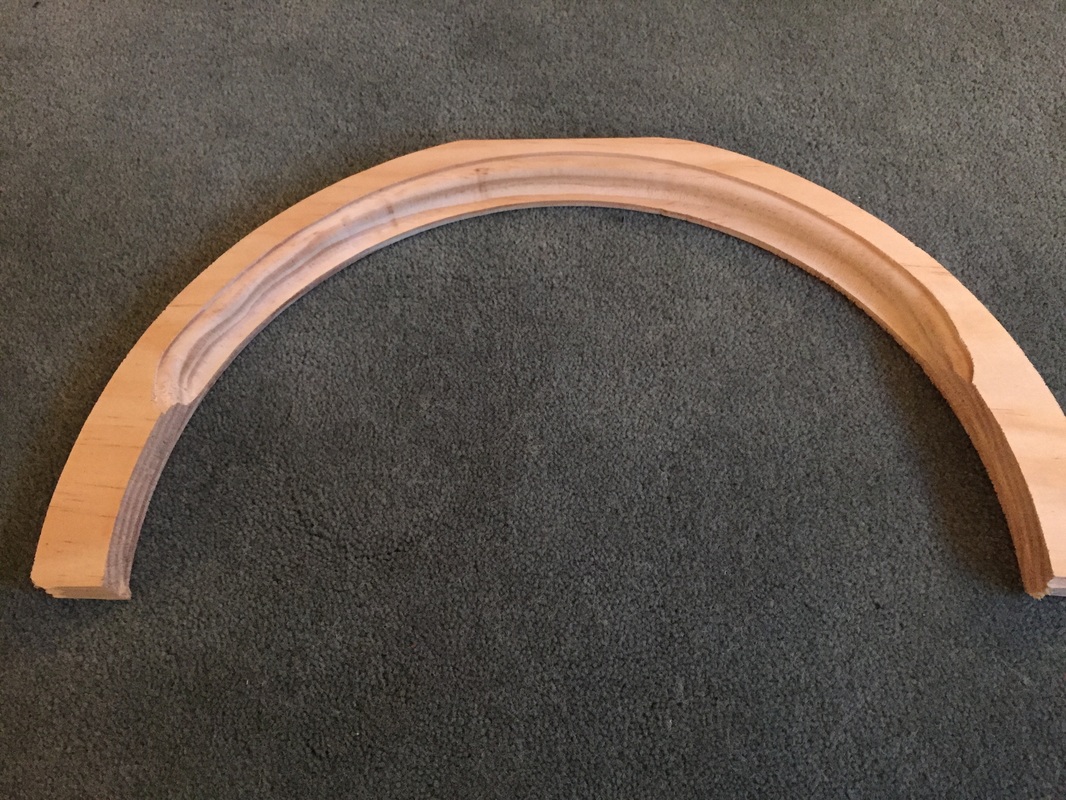 Testing the routering of the arch moulding on a piece of pine |


 RSS Feed
