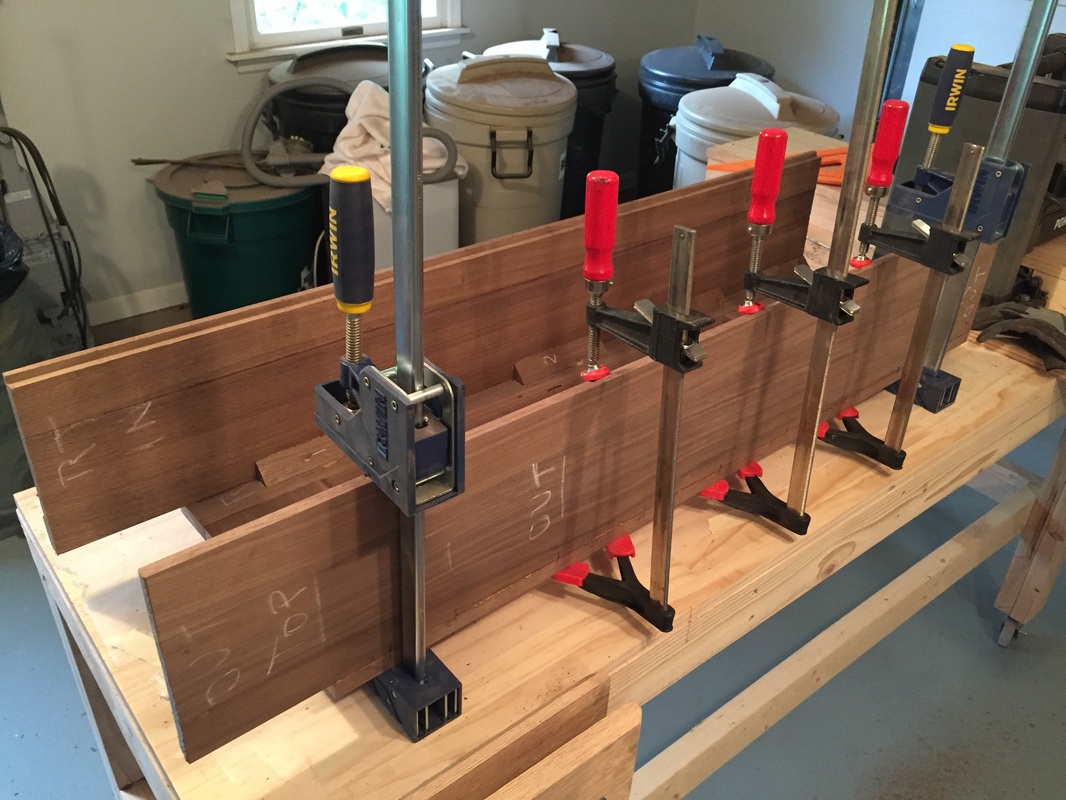
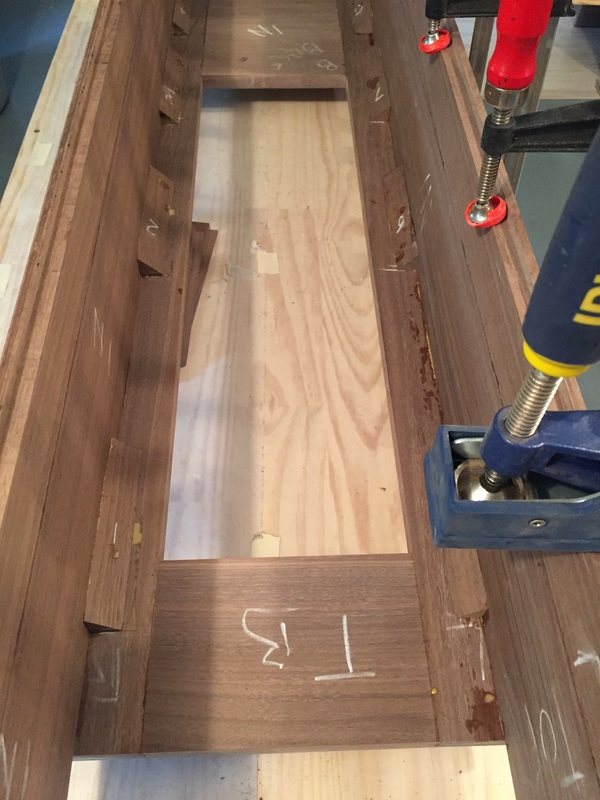
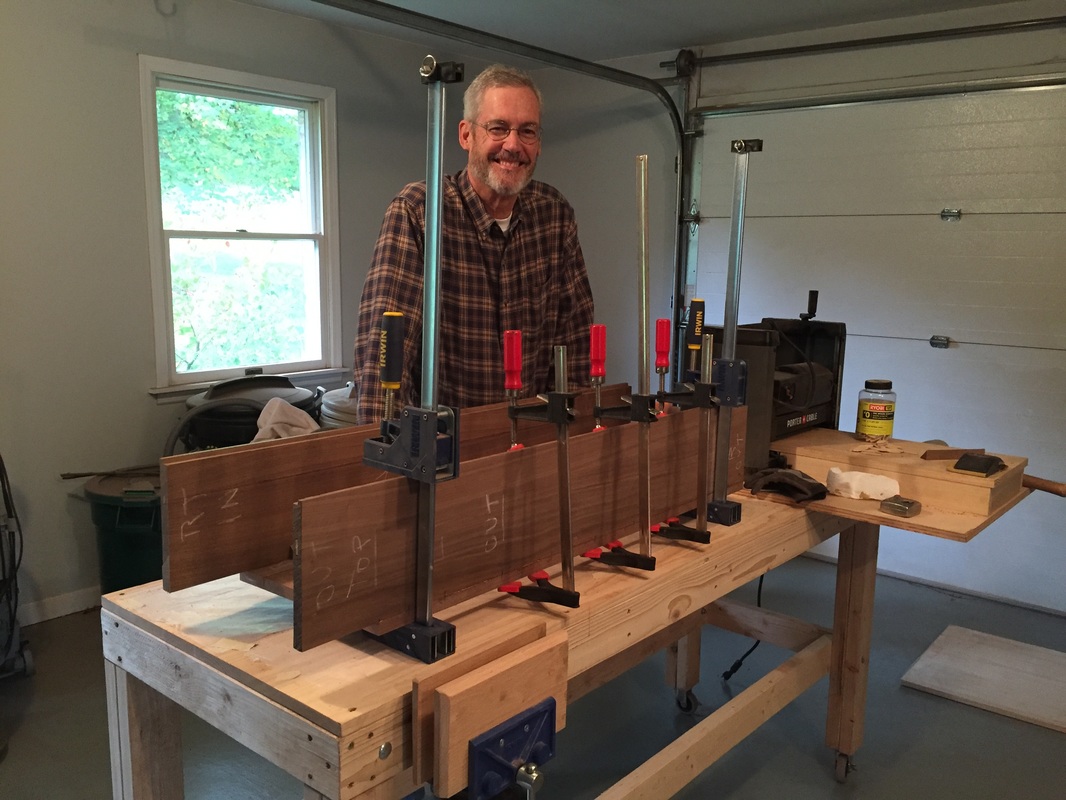
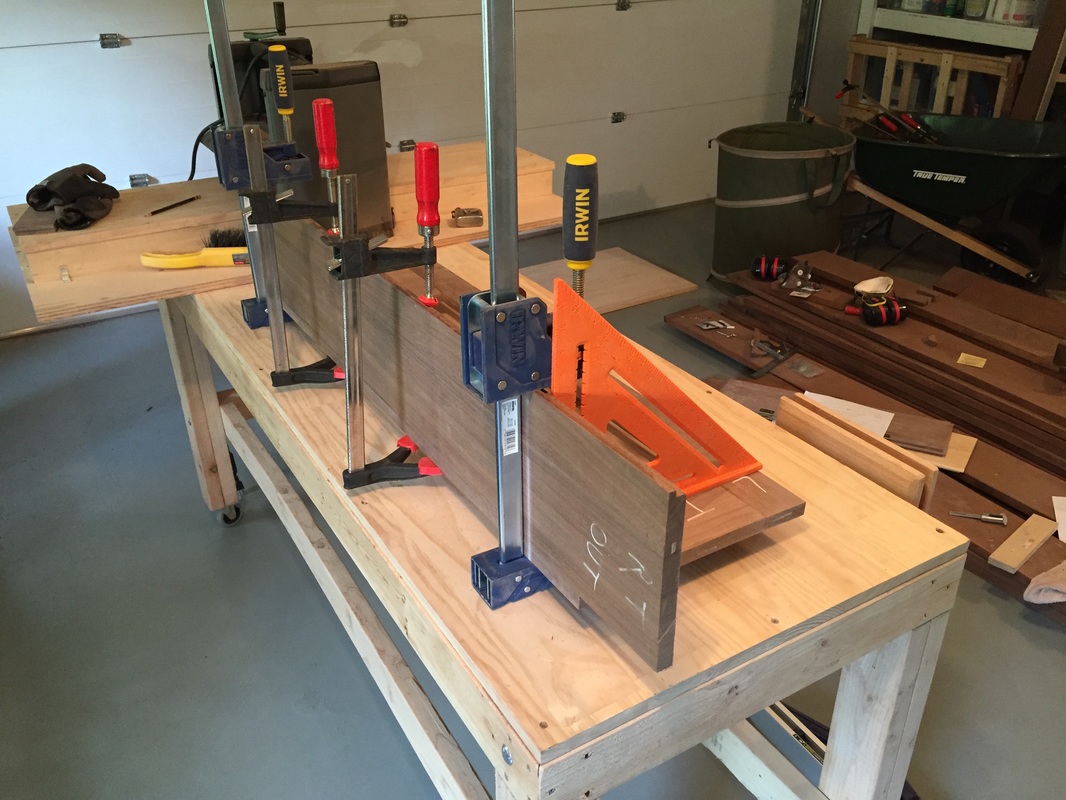
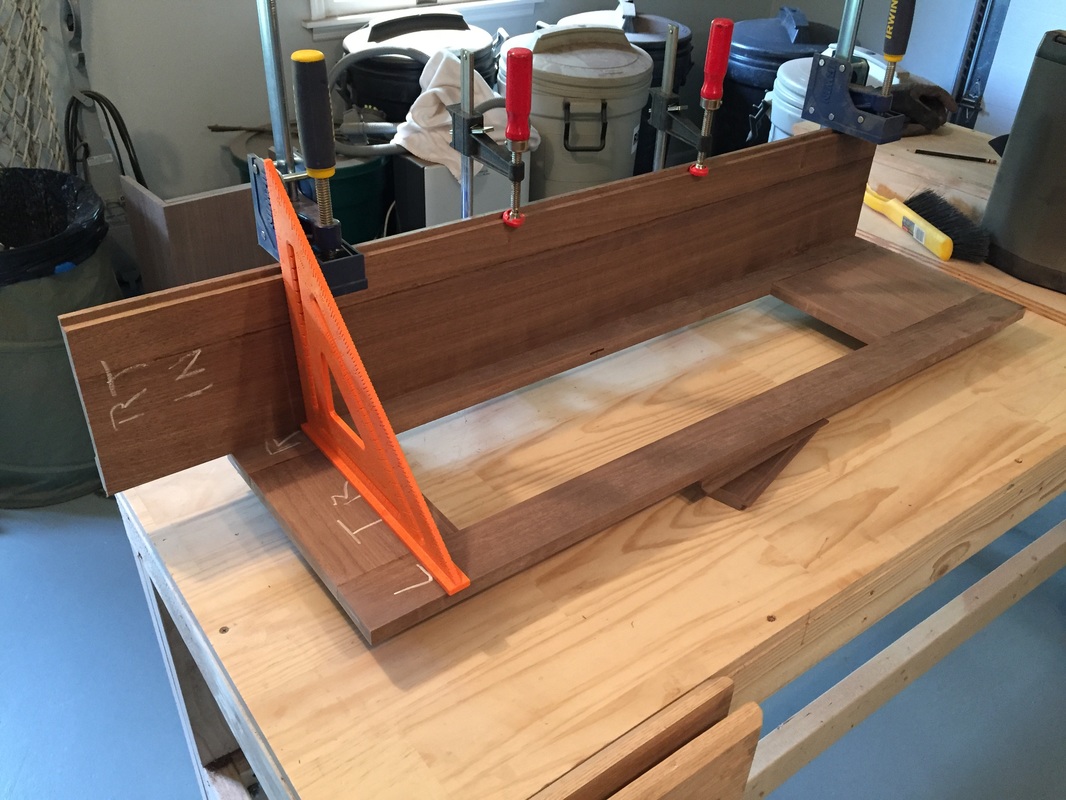
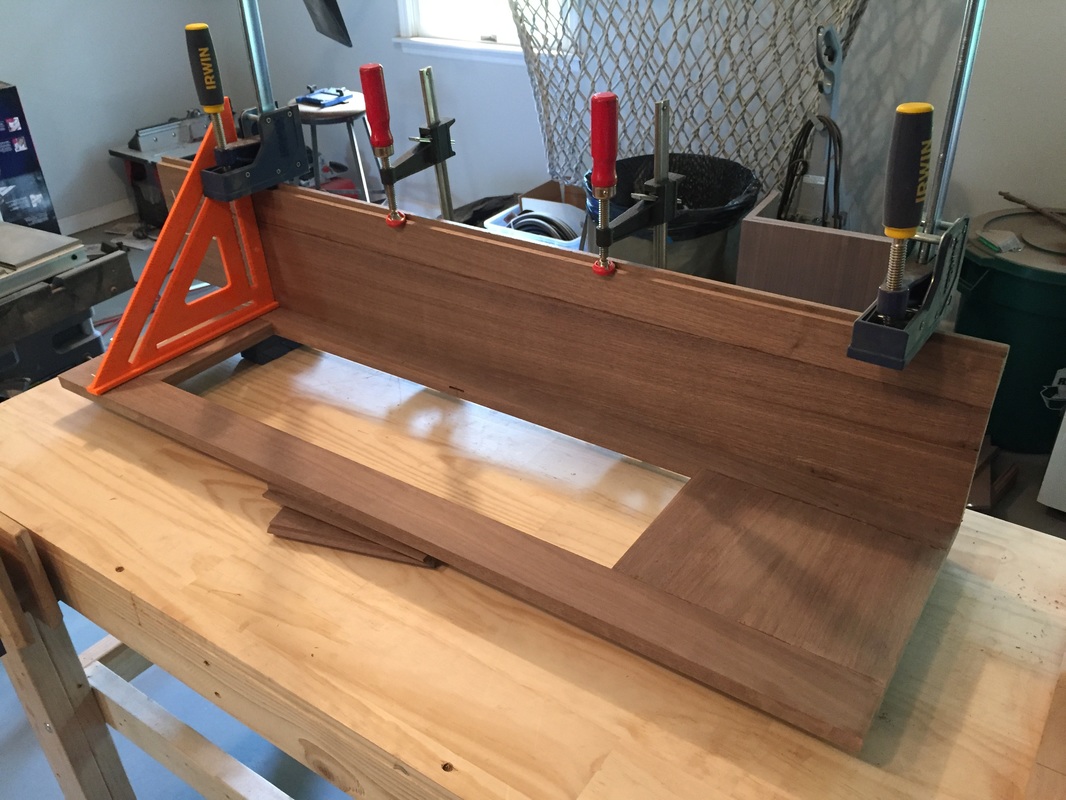
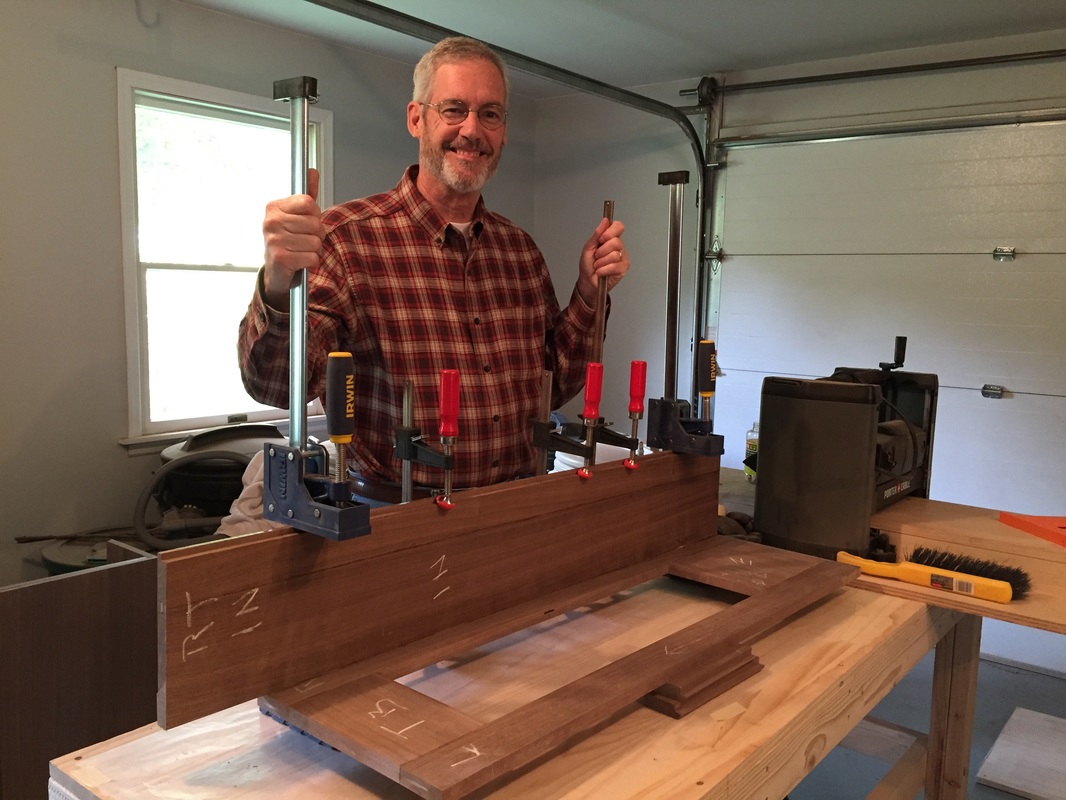
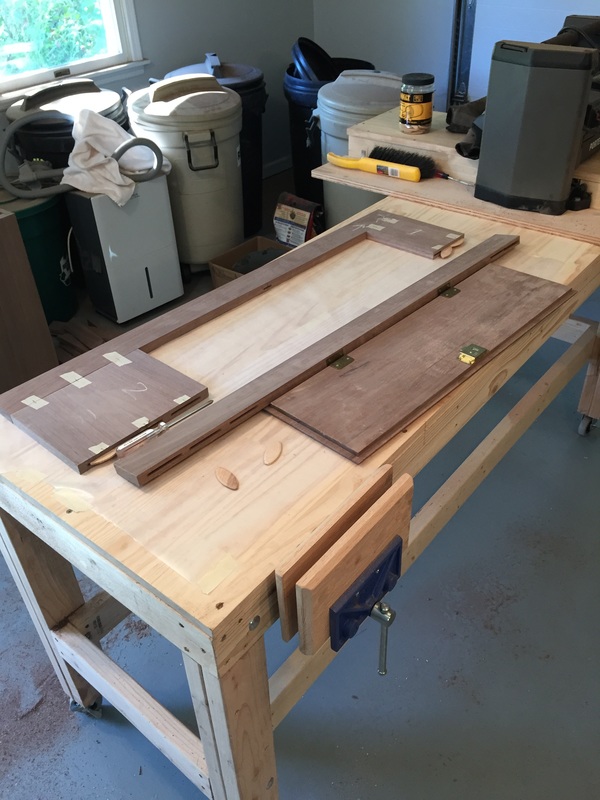
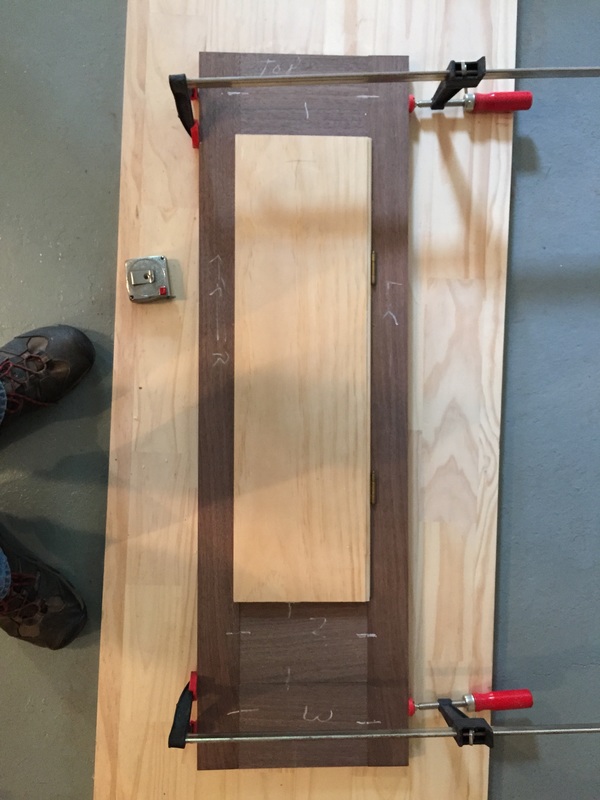
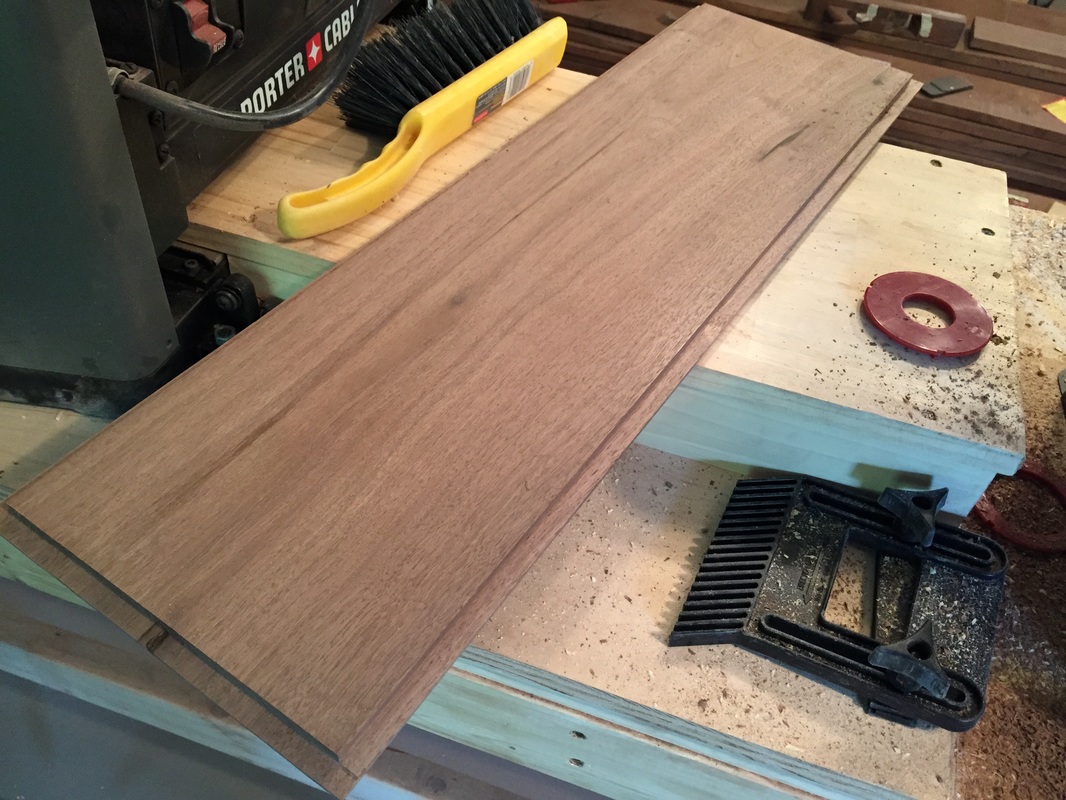
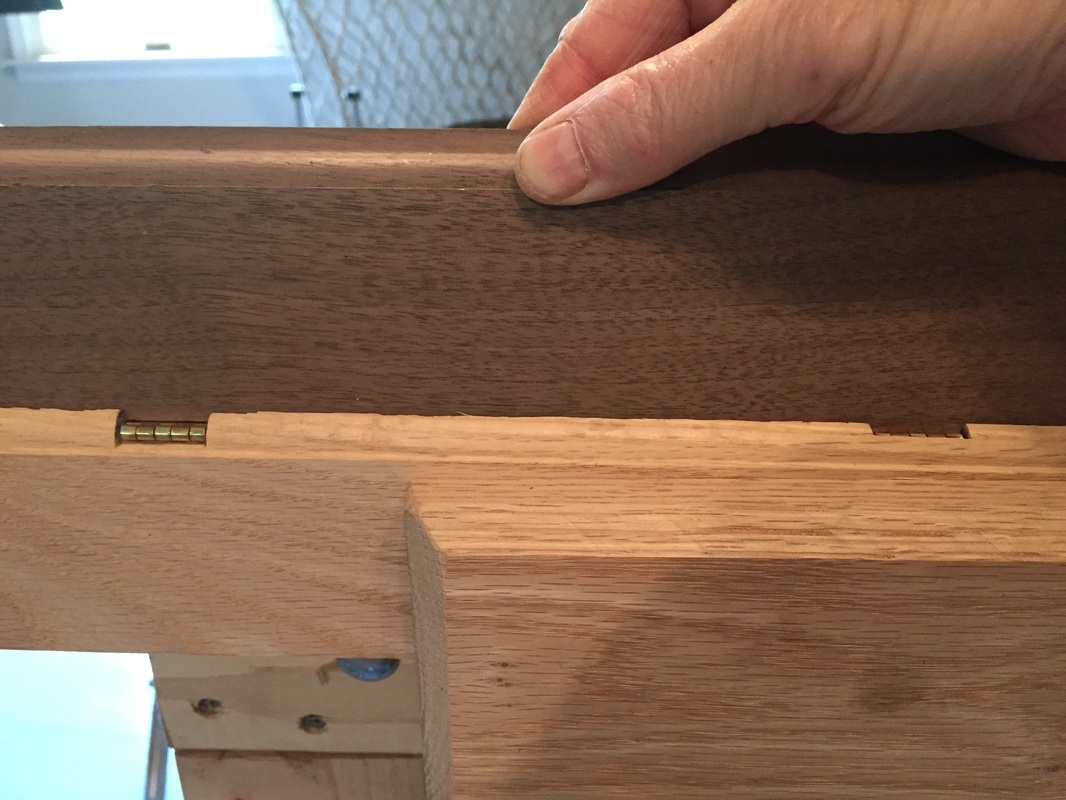
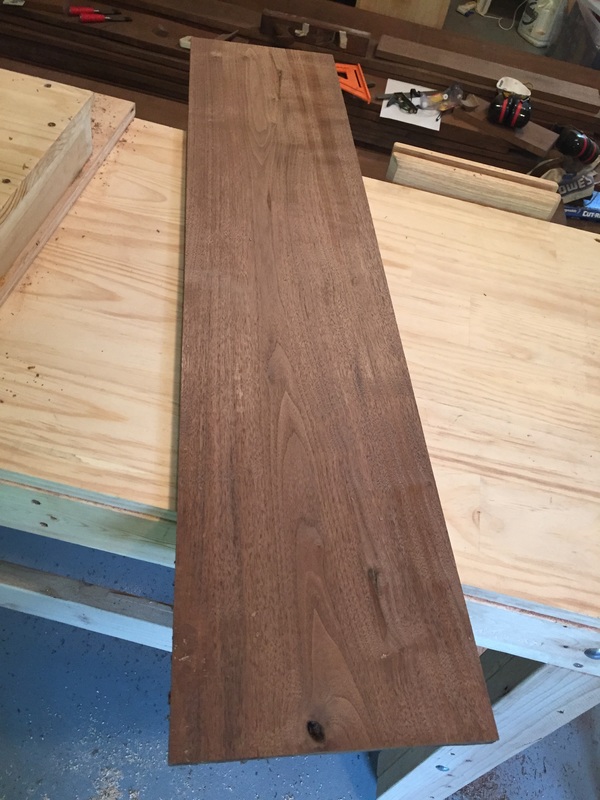
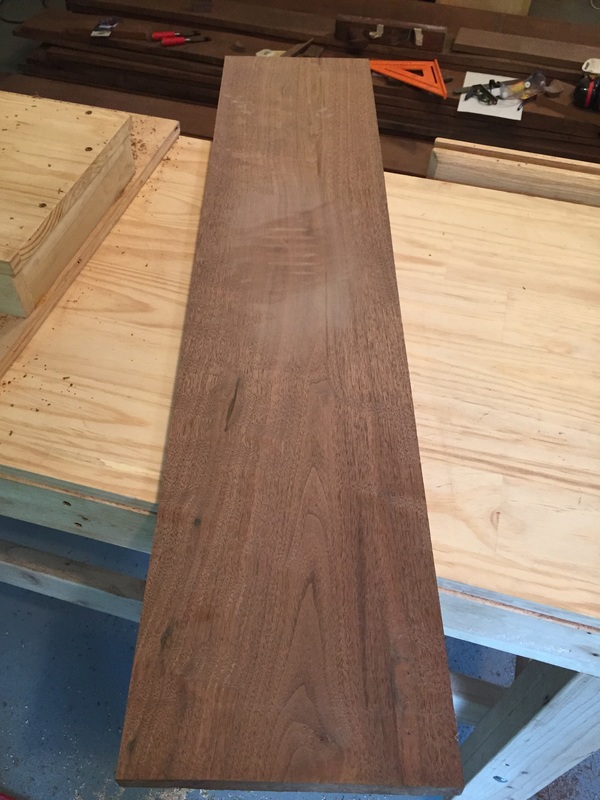
Yesterday, my dog had surgery for bladder stones. He's recovering fine, but I'm understandably spending less time in the workshop. Today, I trimmed the foot of the remaining side, gave the waist a good sanding, prepared the "build table" for joining the sections, checked-out the top-frame for the base, and decided how I will proceed. Tomorrow, or soon after, I will fasten the top-frame to the base using screws and glue. This will set me up to subsequently fasten the waist to the top-frame and base. I'm going to have to be careful that I don't split any wood or drill-through, so wish me luck! Click on photos to enlarge.
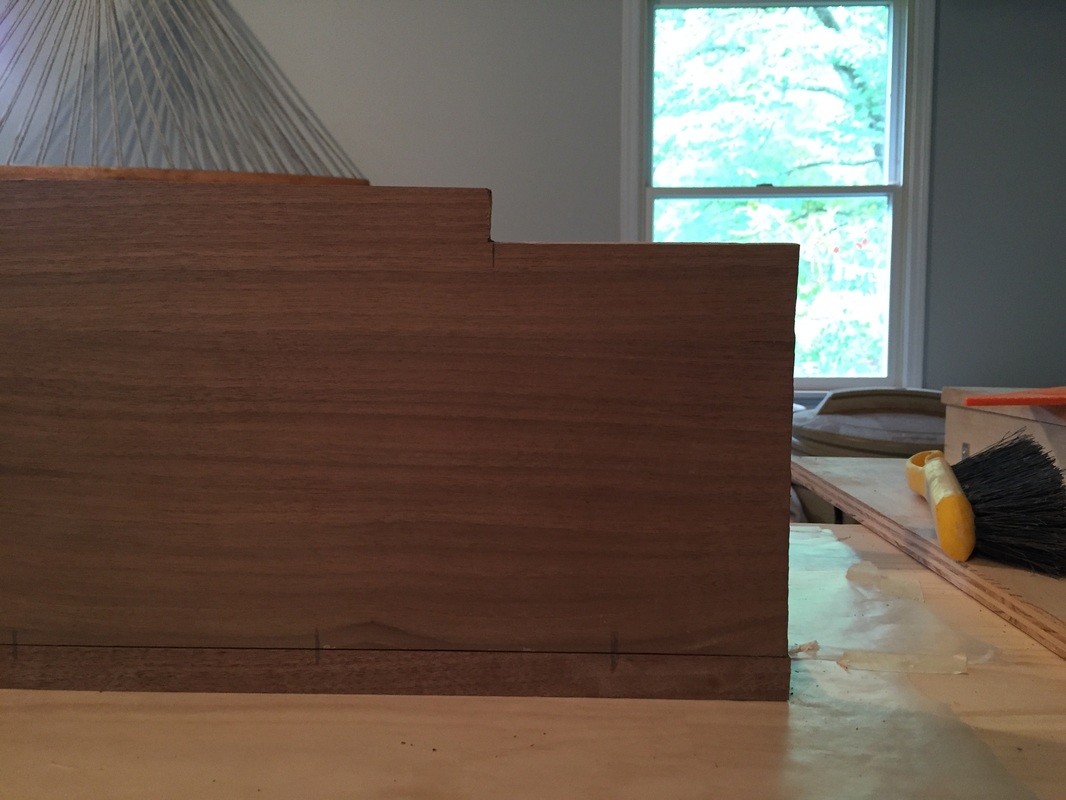
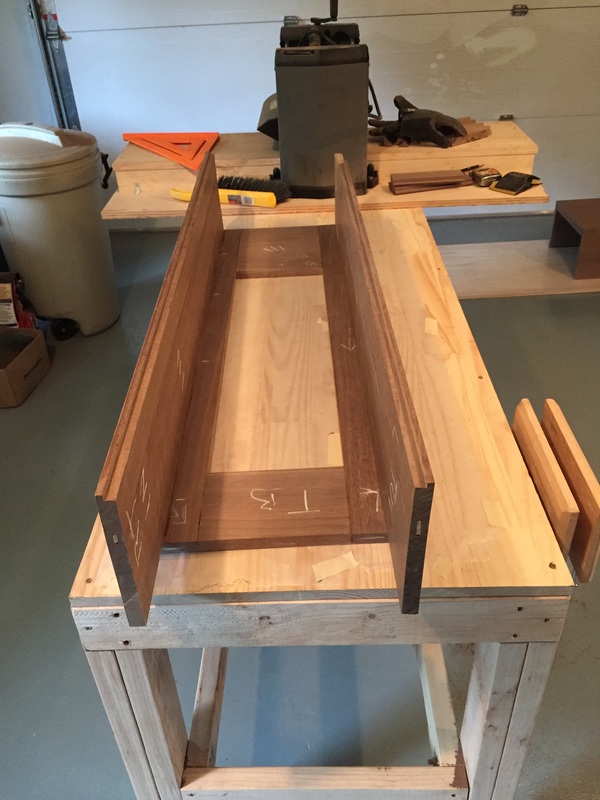
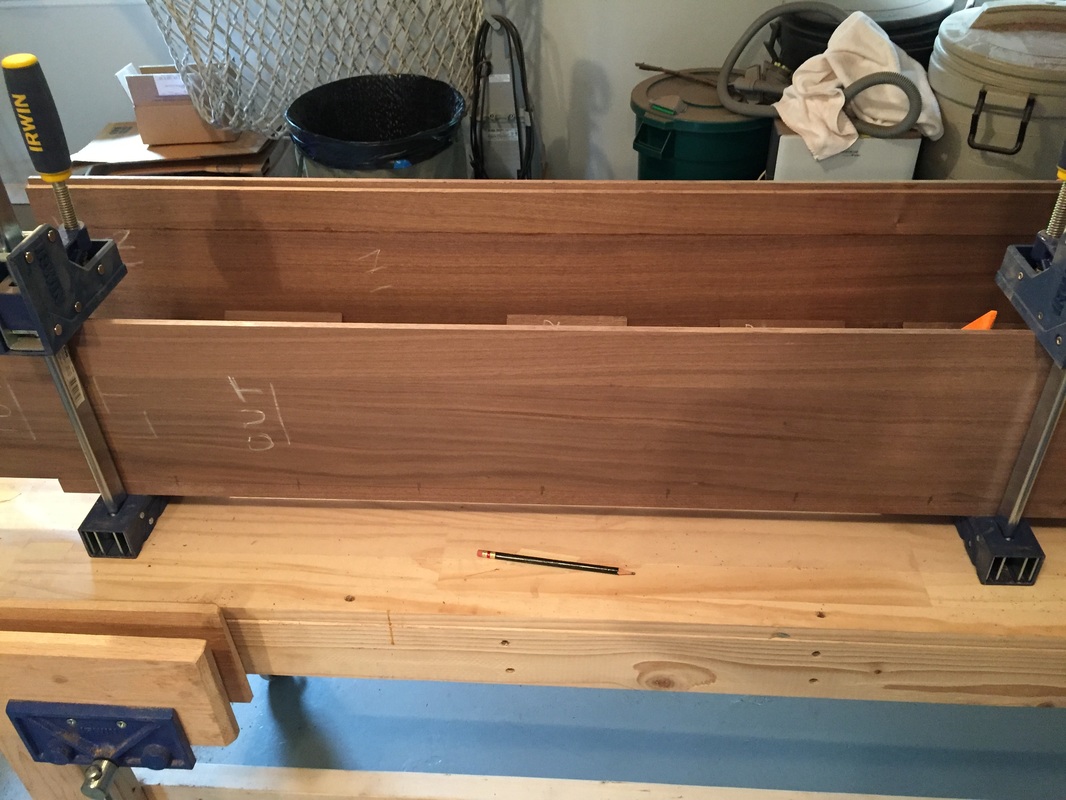
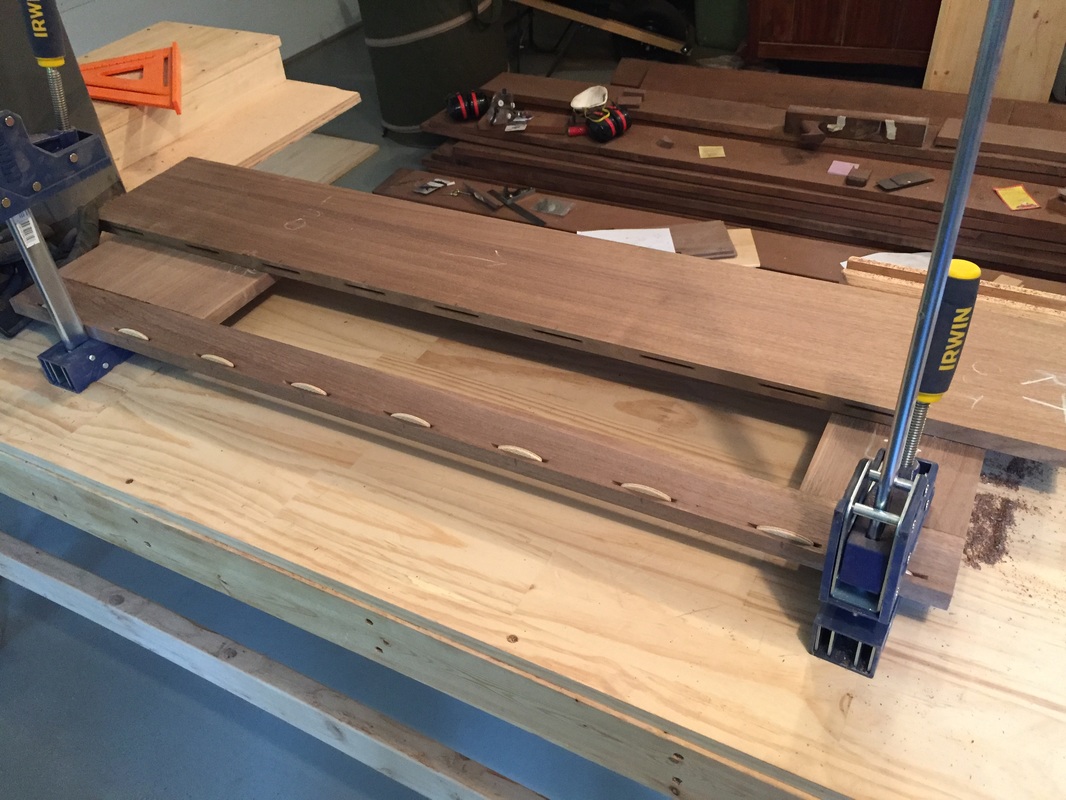
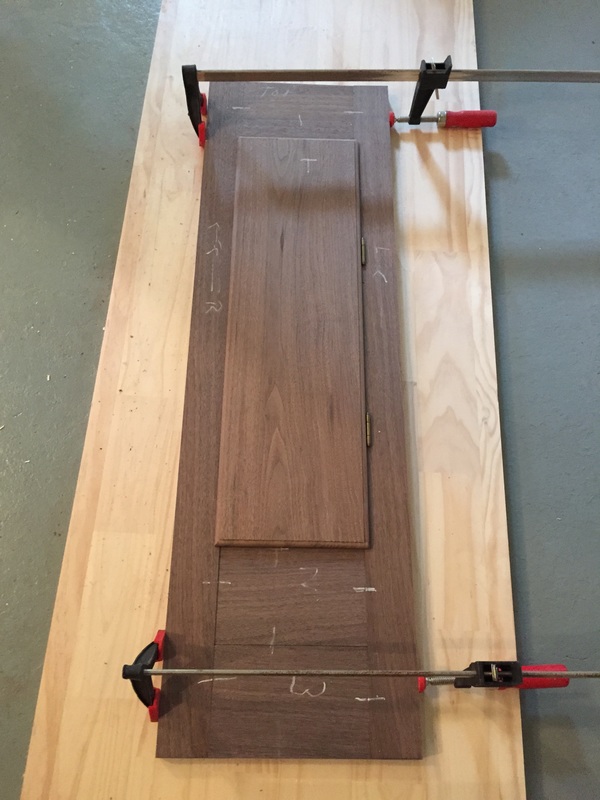
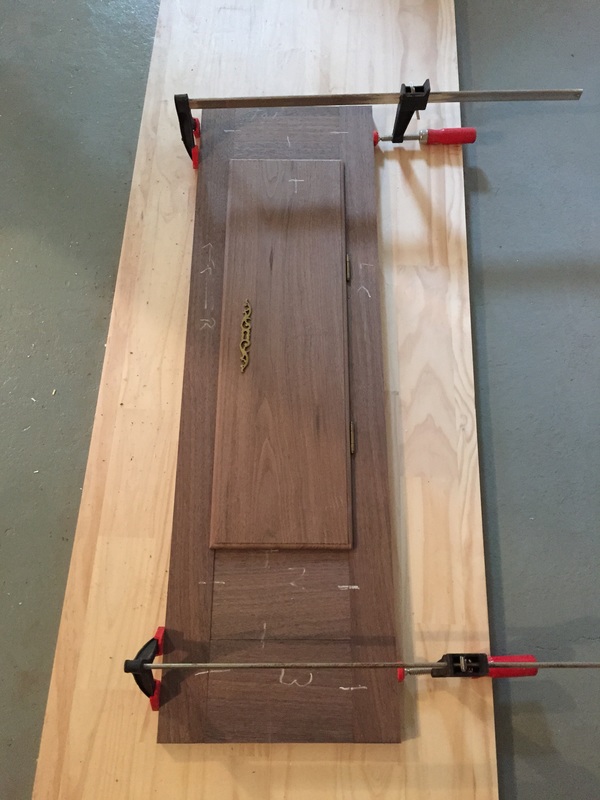
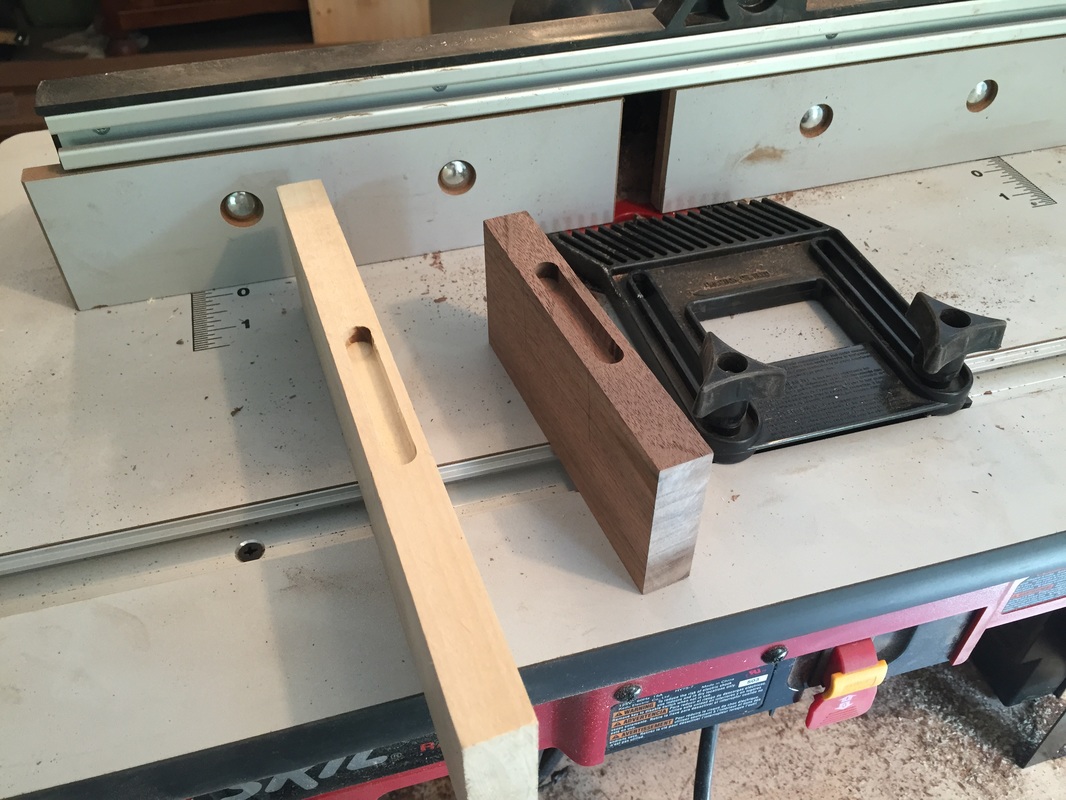
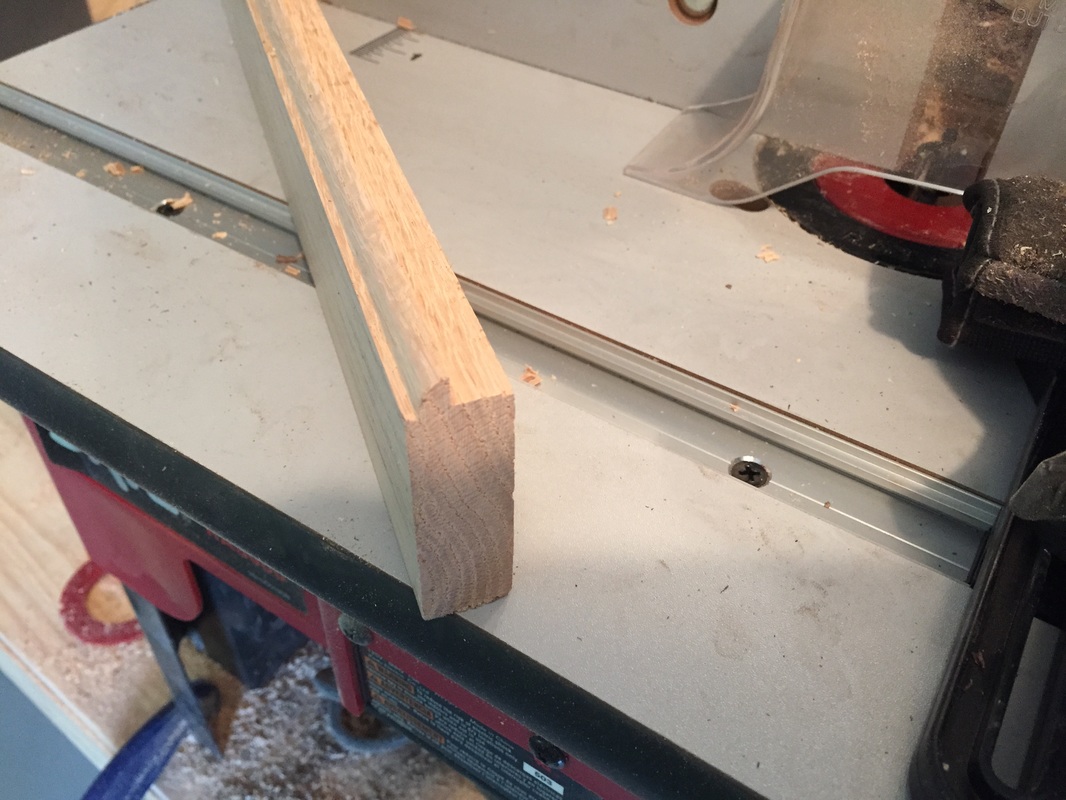
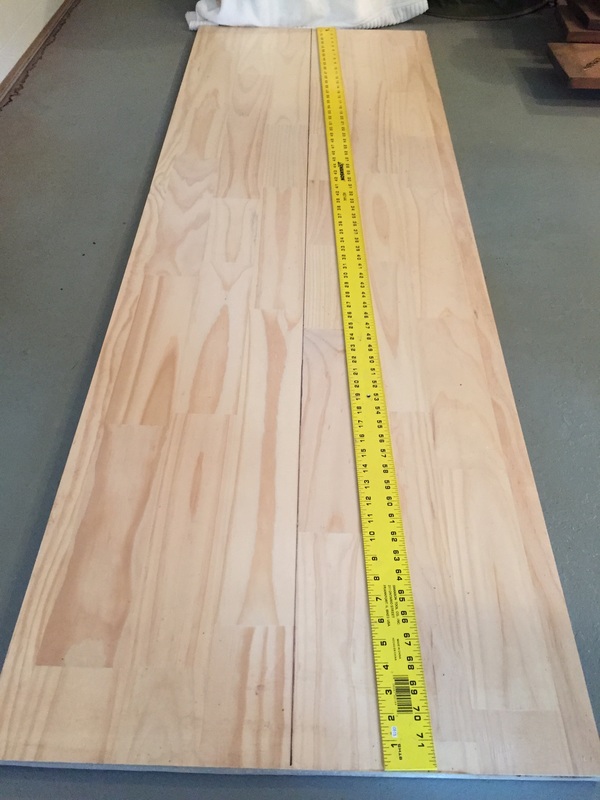 Created a guide to ensure the case remains straight |  Lining-up the center marks | 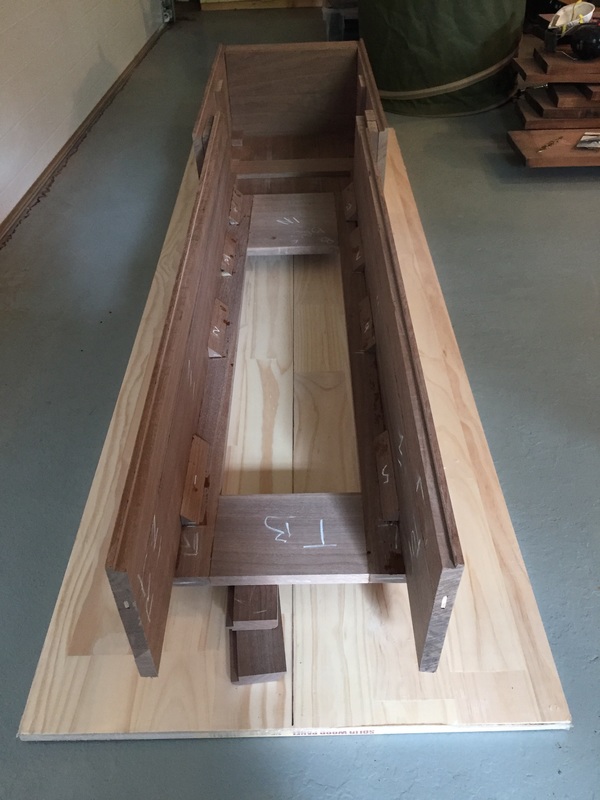 Dry-fitting the waist into the base | 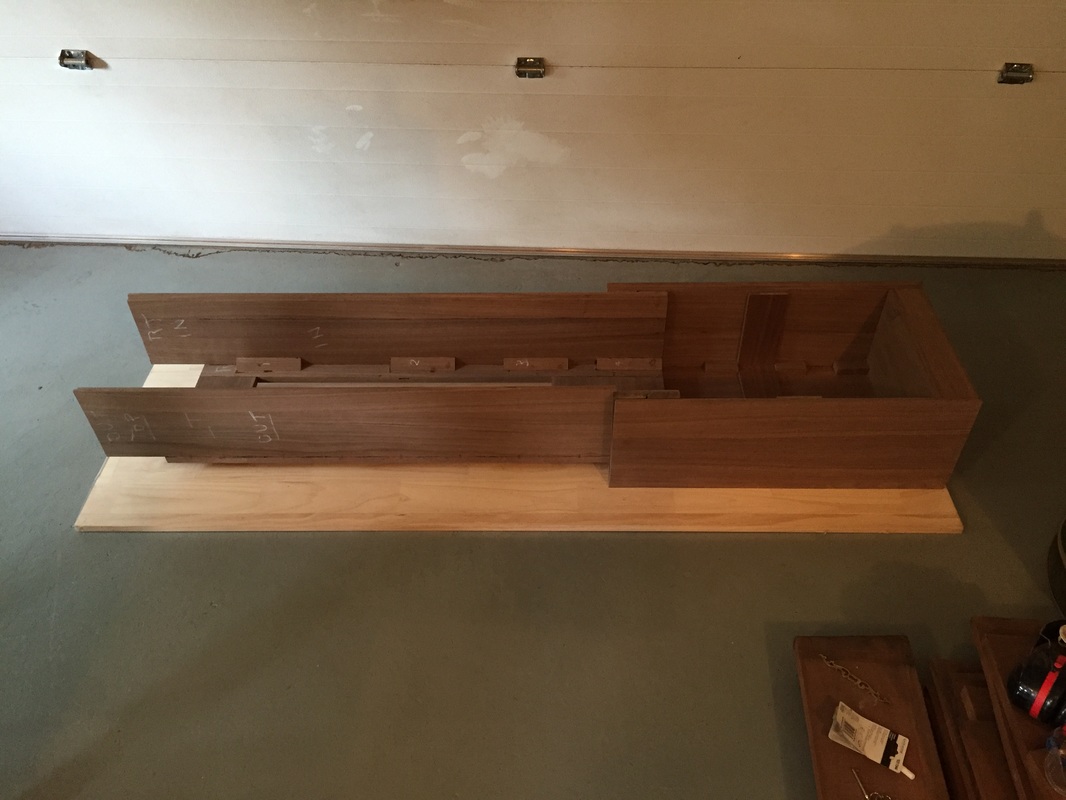 |  More sanding! | 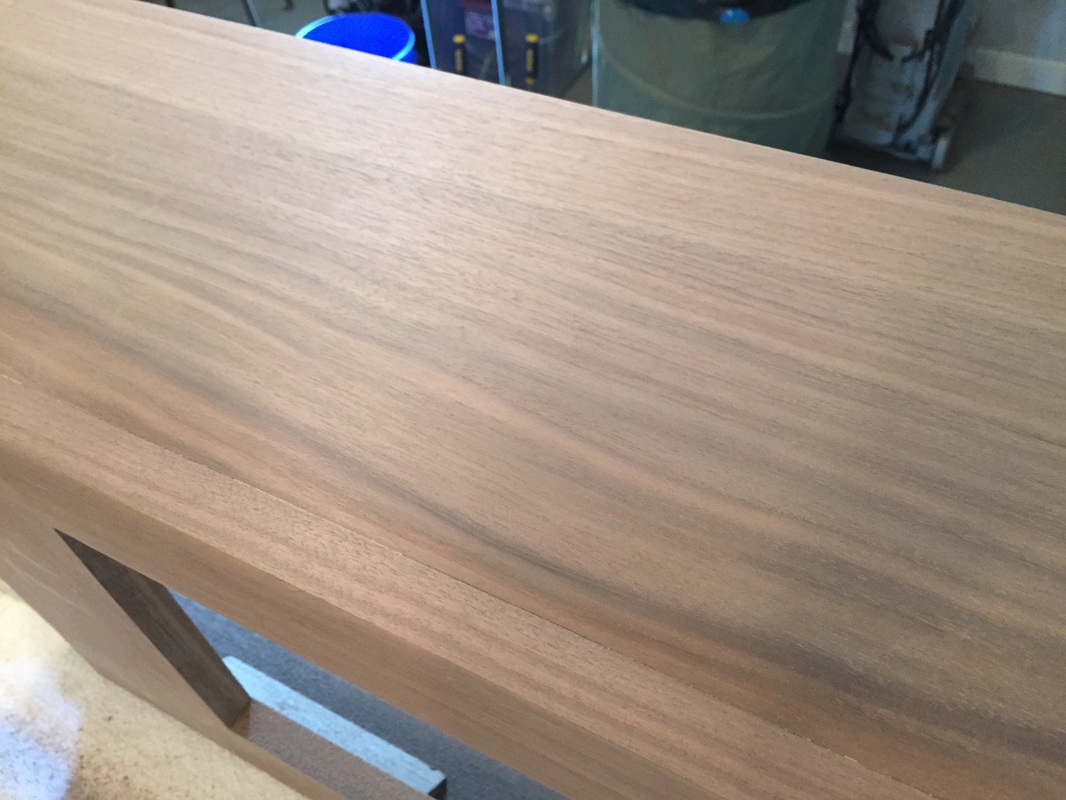 The waist side joined to the front assembly | 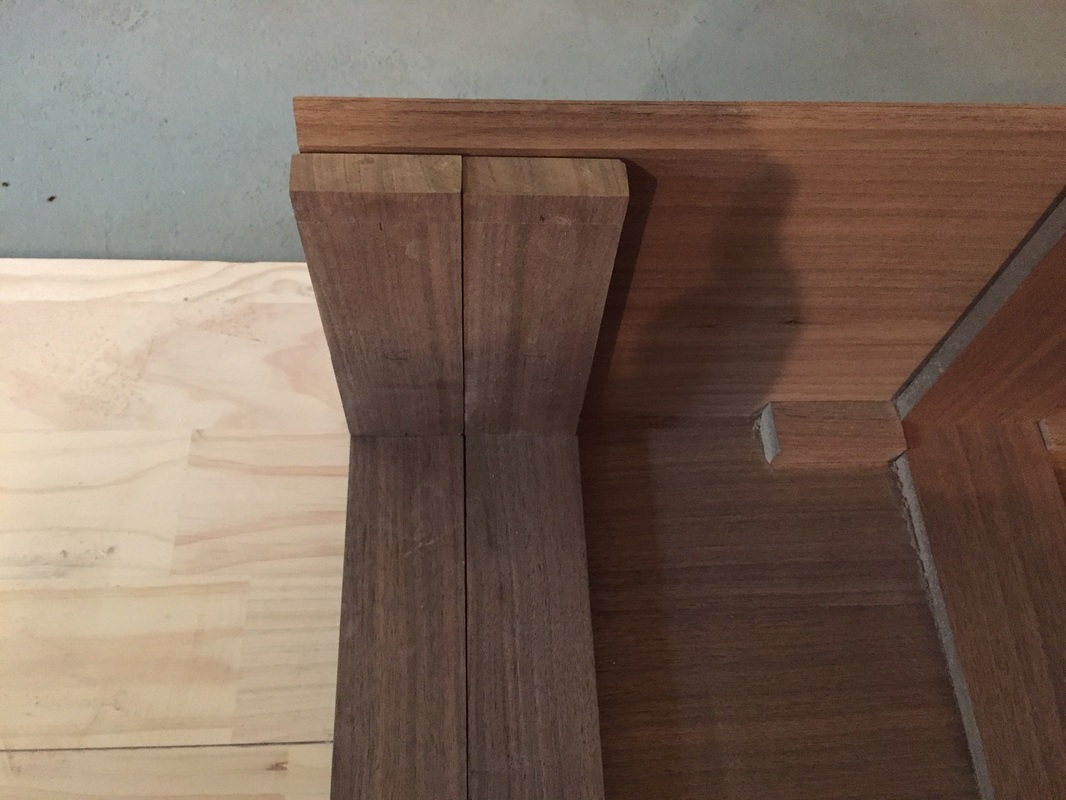 The base top-frame awaiting fastening to the base |


 RSS Feed
