Today I sanded the two waist section sides and began work on the waist section front pieces. I decided to forego any test to make sure the pendulum will swing freely. Of course it will! So onward we go! Built the stiles and rails and have dry-fitted them and all seems well. Of course I still need a door. But I also need to figure out the door lock fit against the stile. I have a nice brass escutcheon to cover the key hole, and just ordered the door lock and key which should arrive early next week. I have some hinges but not sure I like them. Complicated stuff that needs to be worked-out before I can glue-up the waist section assemblies. Guess I'll take a look tomorrow at what Lowes has. Enjoy the slideshow below.
|
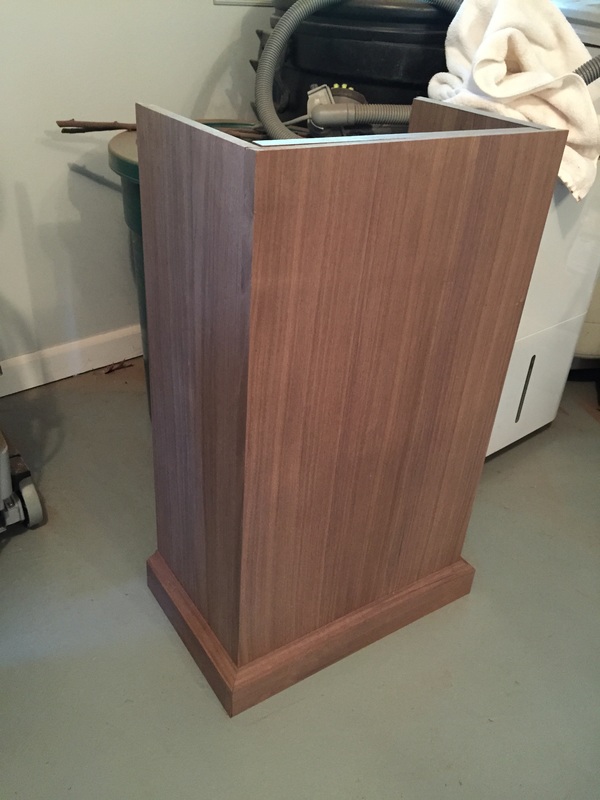
Another good day in the workshop as I ripped, rabbeted, biscuited, glued and clamped the left side of the waist section. My wife convinced me NOT to use a door to lay-out the case assemblies, so we picked-up a 24X72" board at Lowes. This piece will also become a workbench table-top as I've decided to make a second workbench. I've left you some photos. The first is a reminder of what the existing base looks like [top-frame still not glued-up]. The second is a pic of the waist RIGHT side after an initial sanding. The remaining photos are of the new left side. Click on photos to enlarge.
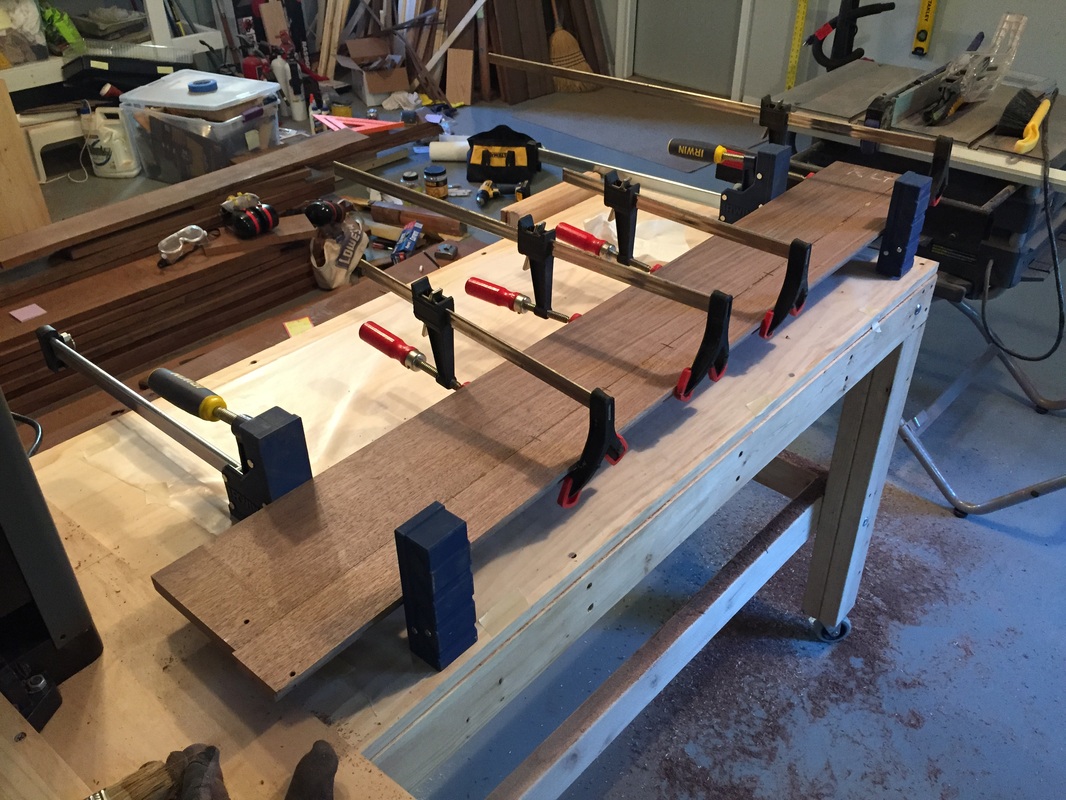
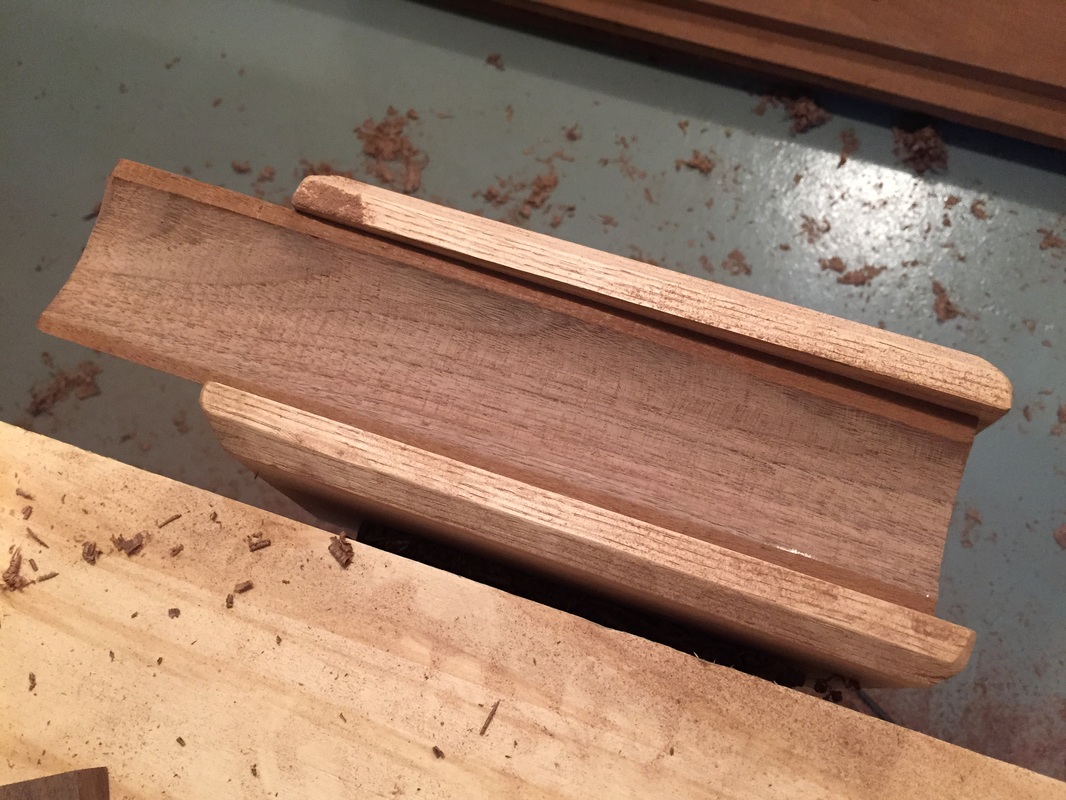
It was a good day in the workshop! Trued-up the waist side sections, and ripped, rabbeted, biscuited, glued and clamped the waist right side. All set to complete the left side tomorrow. My dark wood glue came in the mail just in time to use on the side joinery. Same brand only a darker glue. See slideshow below. I didn't work on the clock case today as I was replacing my daughter's mailbox post. no small task for an old man. With 240 lbs of concrete surrounding it, this post isn't going anywhere. See photo below. Tomorrow, I start the build on the clock case waist section. I've decided to start with the sides. They will each require 2 pieces of walnut lumber. Once they are completed, I will build the seatboard that holds the clock movement. Then I will attach the seatboard to the two sides, clamp the sides to the case base for support, and place the movement on the seatboard for a test-run of the clock movement. This test will prove that the pendulum will not get hung-up and bang against the sides. Following that . . . I will build the waist front assembly. 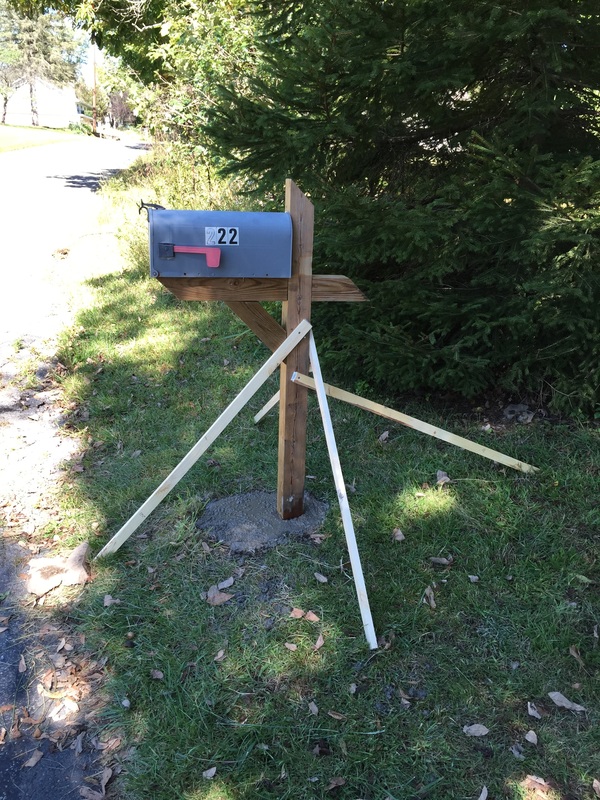 My daughter's new mailbox post. OK, since I went shopping and out to lunch with my wife, all I have for you today are some technical specs as I move-on to the waist section build. One unknown is the correct height of the sides, and thus the seatboard, vis-a-vis the positioning of the hood. That height and positioning also effects the door placement. I also need to test to see if I can build a 1/2" rabbet on the door as that too impacts the dimensions. But I won't let details get in the way, so onward with the build! I'm trying to get to a point where I can set the [new] seatboard, along with the entire movement], on top of the sides, start the clock, and be sure the pendulum can swing freely within its confined, allotted space [a fear my wife has had from the beginning]! This test can be accomplished without joining the waist section to the base section. Did you know?: That wood glue is also available in a dark color; used especially for dark woods like mine. I have 2 bottles being delivered on Wednesday. 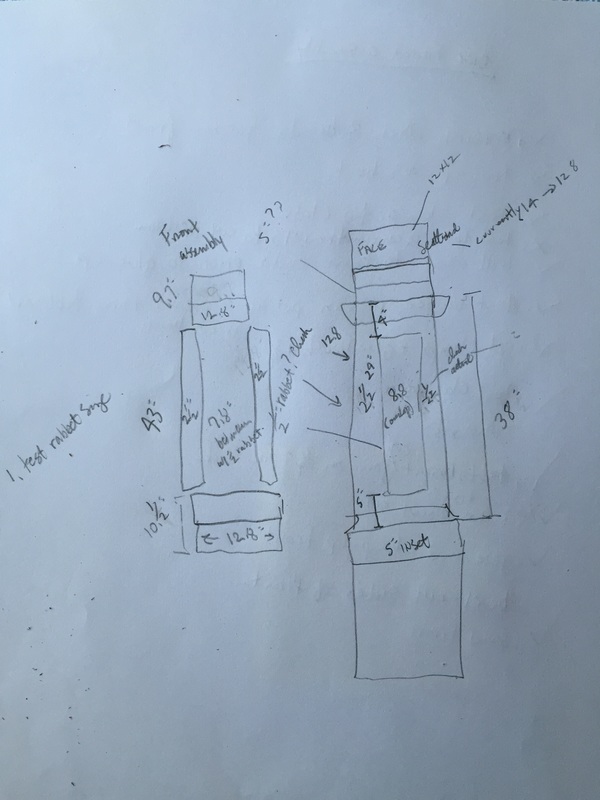 I decided to go ahead and trim the cove moulding on each edge. It will now be better defined plus it reduces the width by 1/3rd of an inch. It, along with the sill, was otherwise going to hang over the base too much. Should be OK now. I also planed-down a pice of stock to 1/2". This will be used for the sill which will be routered to the design shown on the sample below. Click on photos to enlarge.
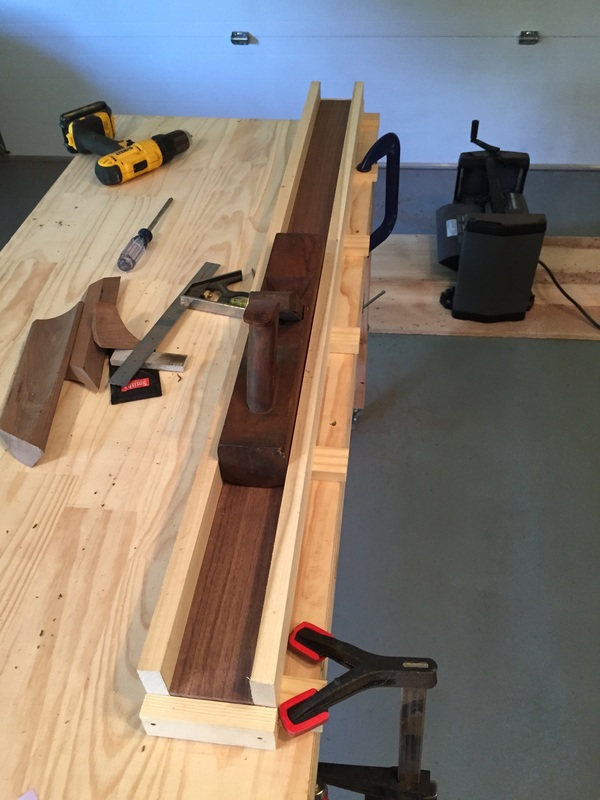
Plenty more planing today as I finished-up the base-to-waist moulding lumber. I made the necessary 45-degree cuts to the bottom of the moulding and gave it a preliminary sanding. I also routered a few sill designs and picked one. The moulding will sit on the sill [ledge]. I still have to make a second similar cove moulding piece for the waist-to-hood moulding, but that's gonna wait. I don't want to make any miter cuts to moulding completed today until the waist section is in place, and besides, I need to let this moulding piece settle. Click on photos to enlarge.
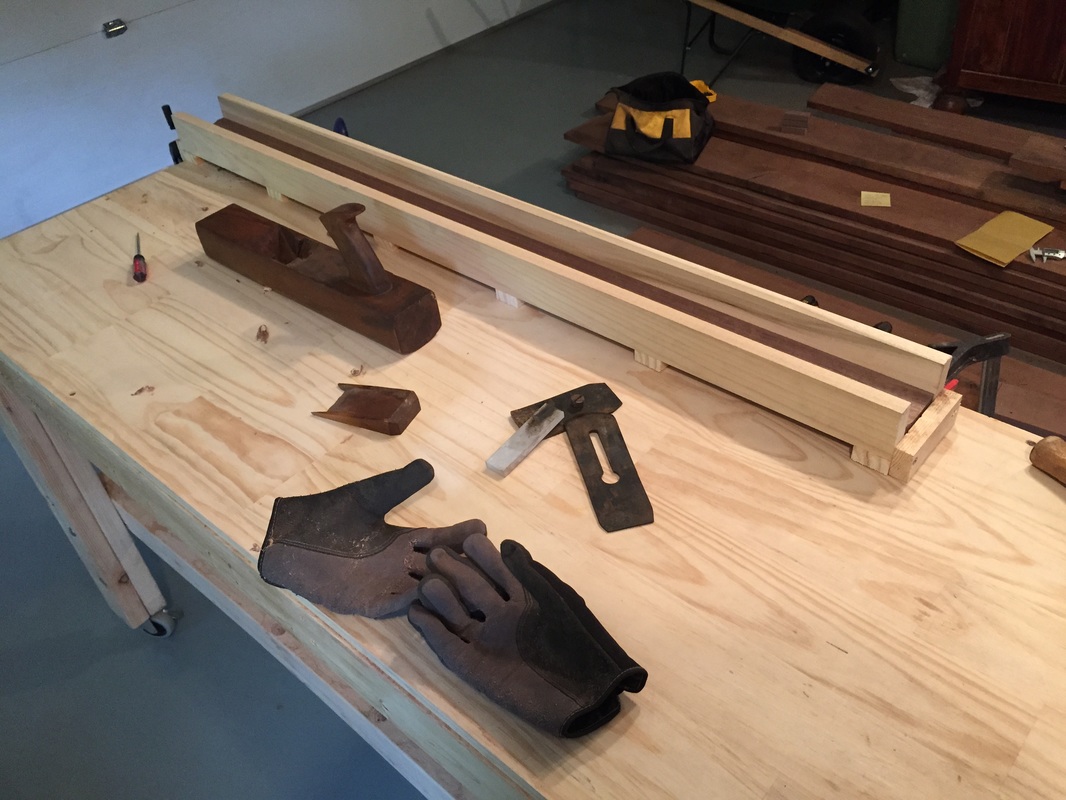
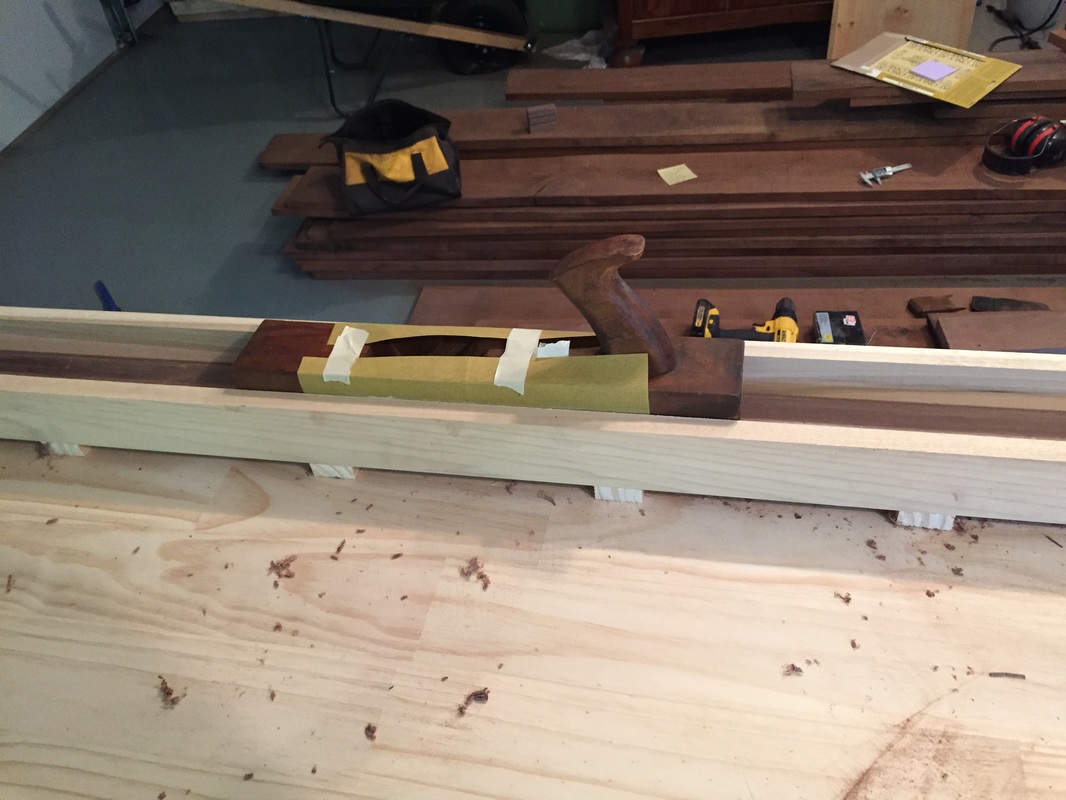
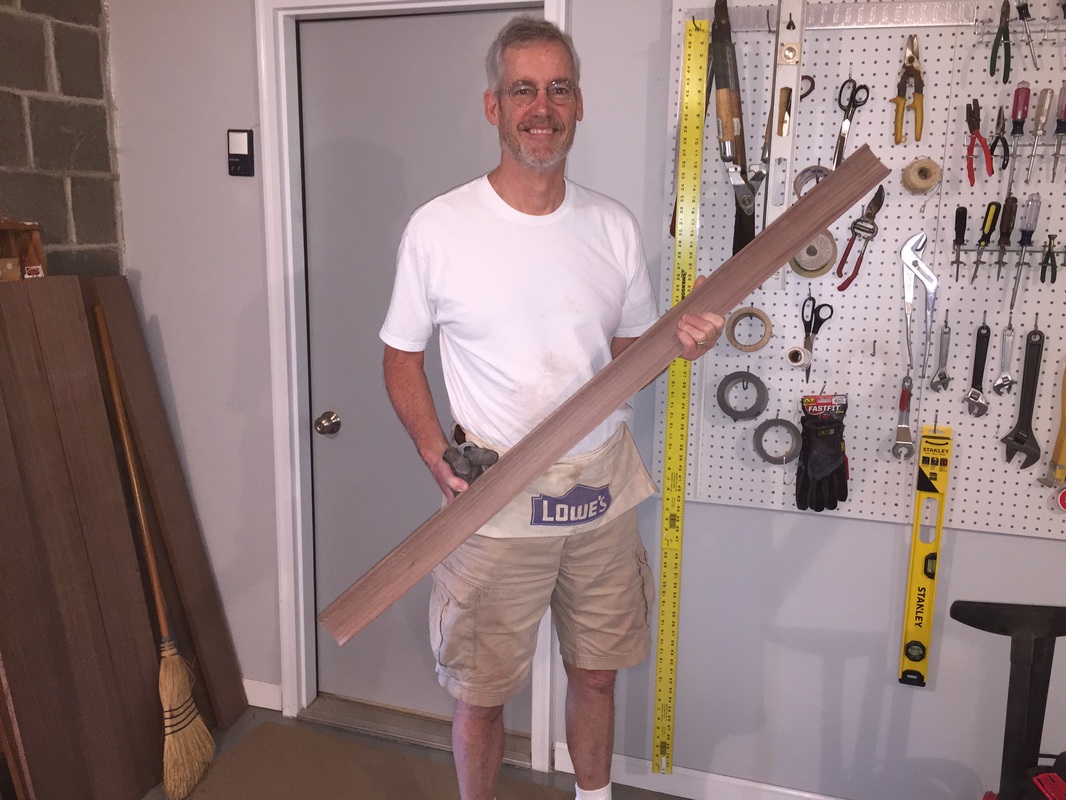
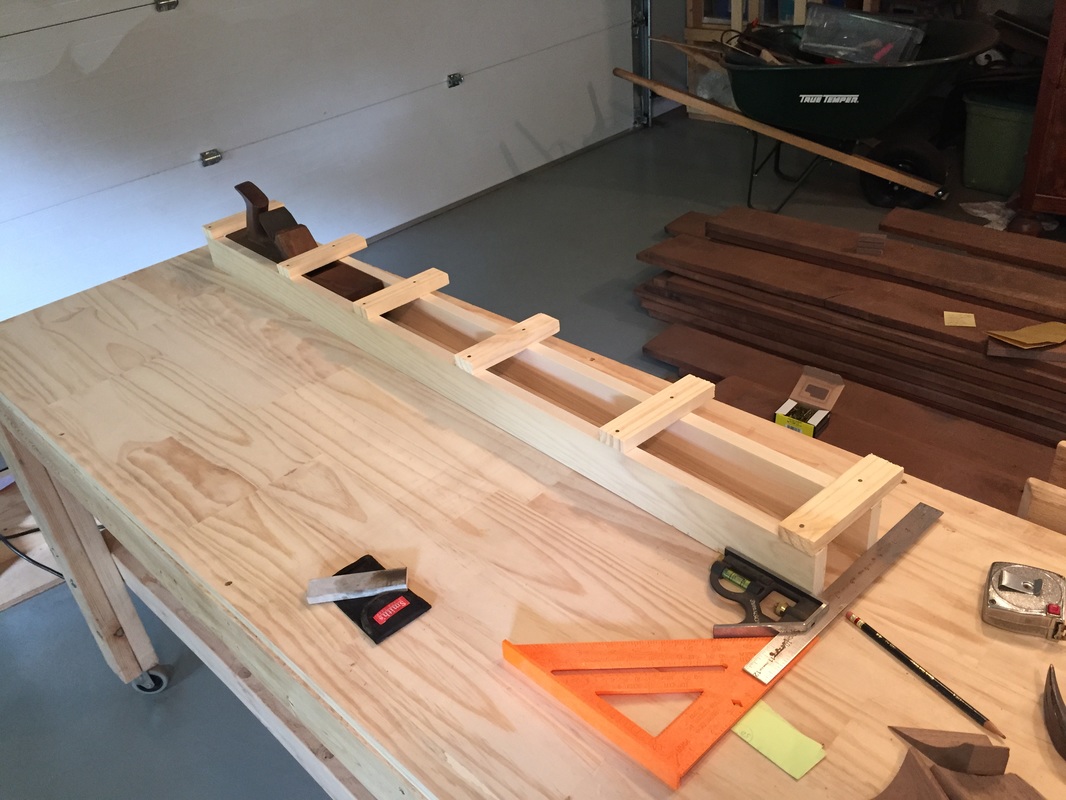
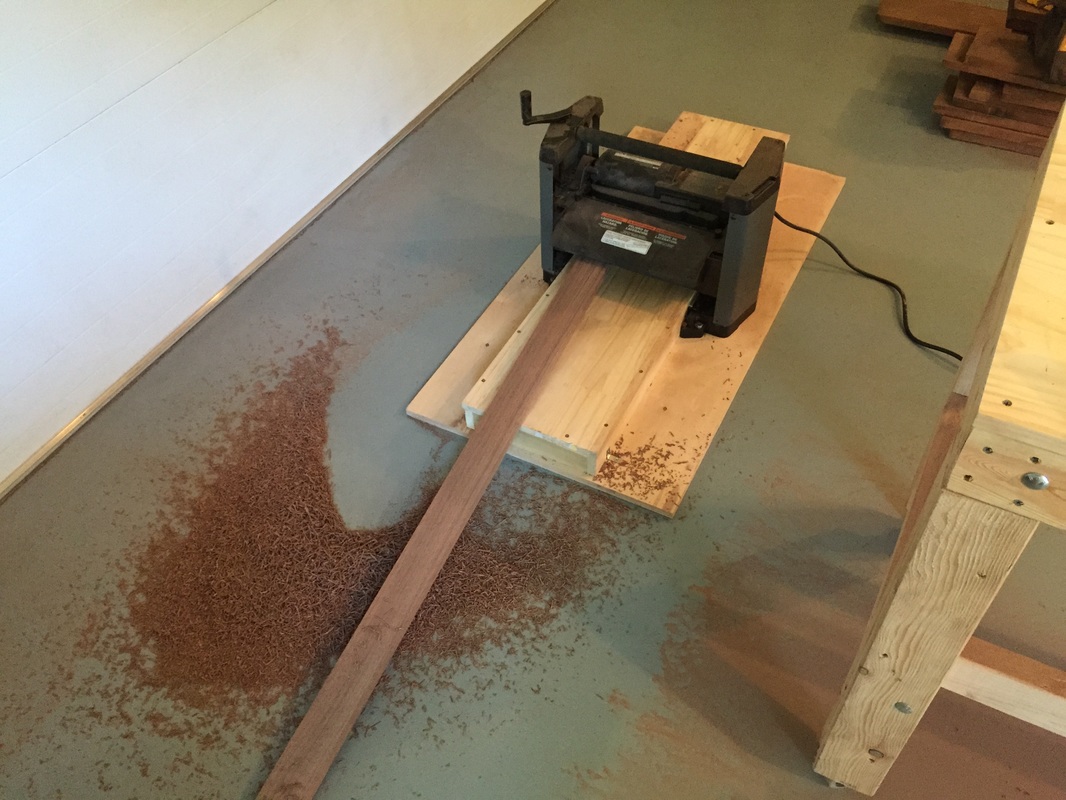
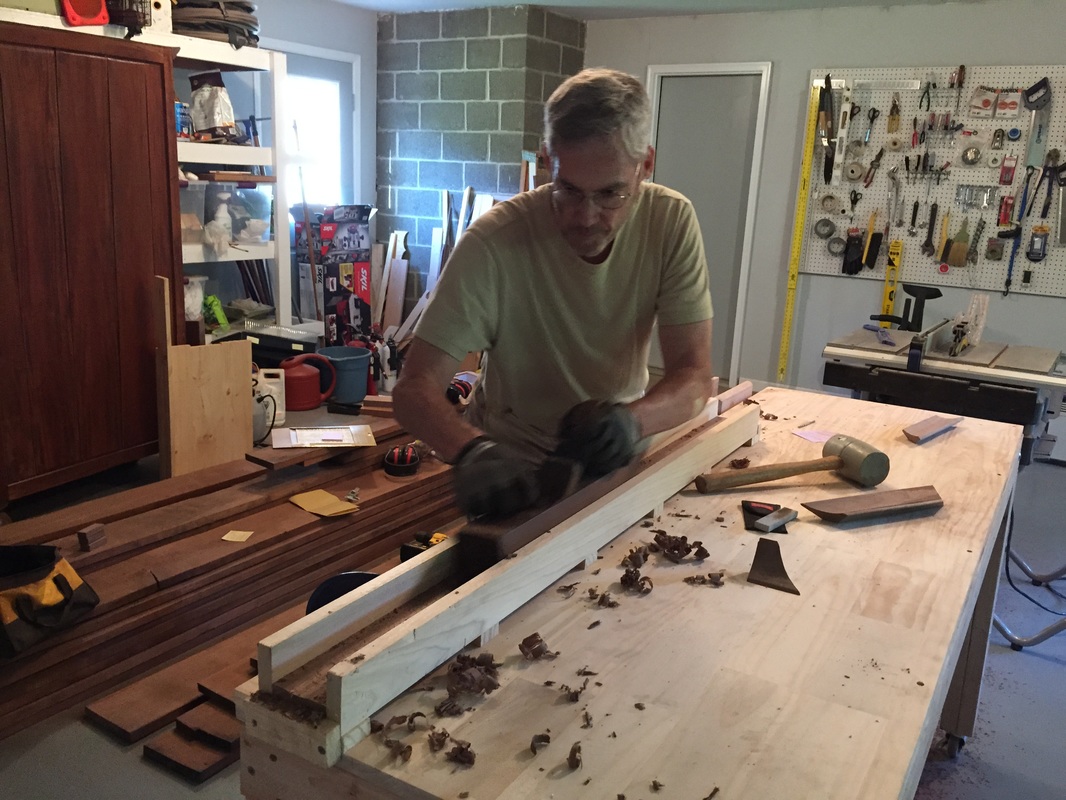
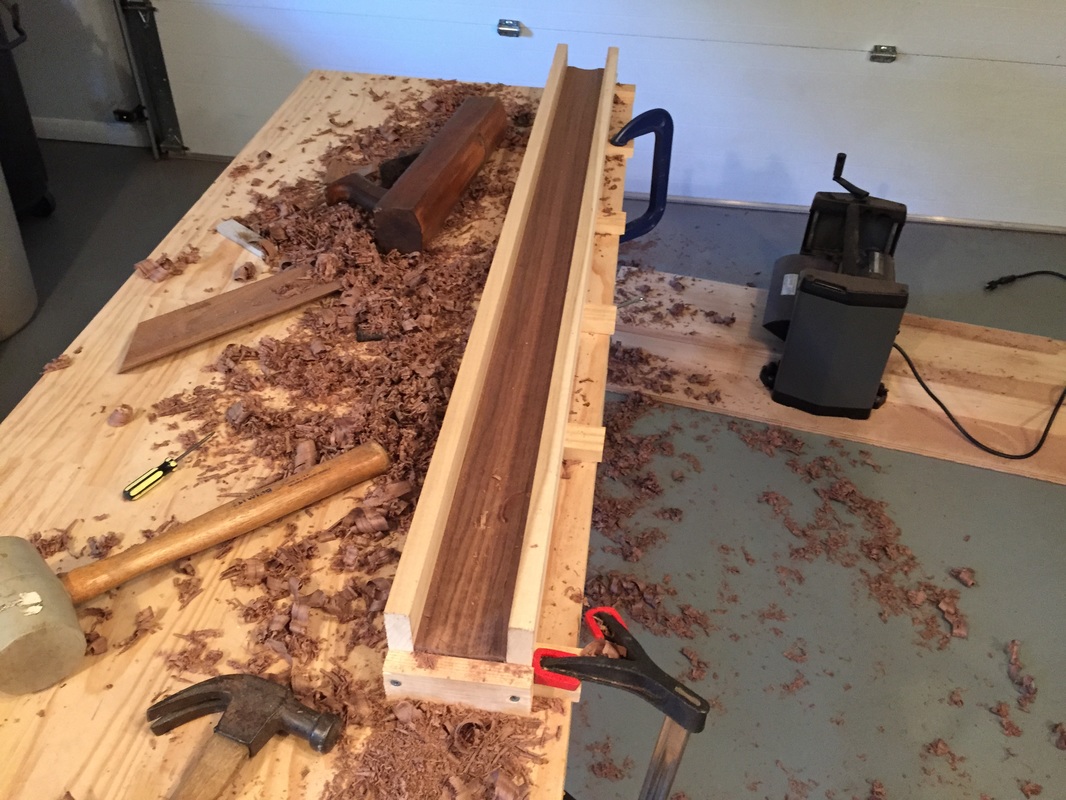
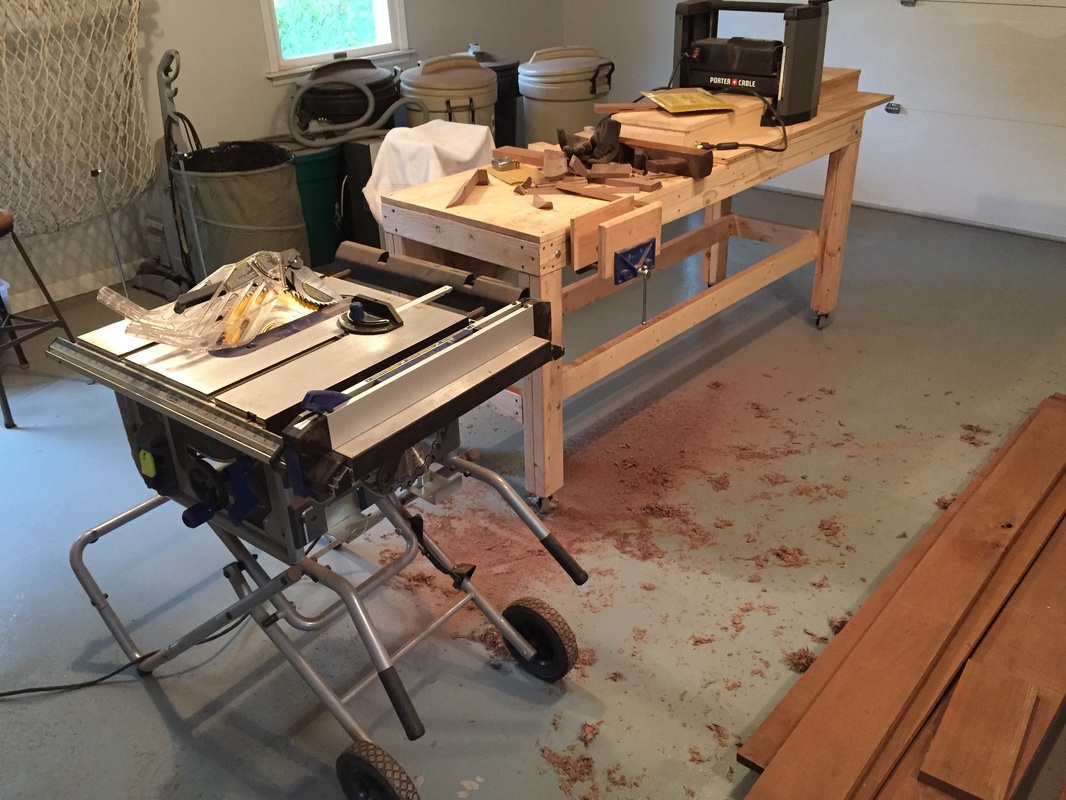
I decided last night that a jig was the way to go with planing the large cove moulding. So, today I picked-up some poplar 1X3's and built a jig. Then I ripped a 50" piece of walnut and planed it down just to be sure it was equal thickness. Then I re-sharpened the plane blade and proceeded to plane-away to build the large cove moulding. It was a long day but I am nearly finished with this first large moulding strip. Certainly by tomorrow. I made a real mess as I used the miter saw, table saw and the planer. More tomorrow! Click on photos to enlarge.
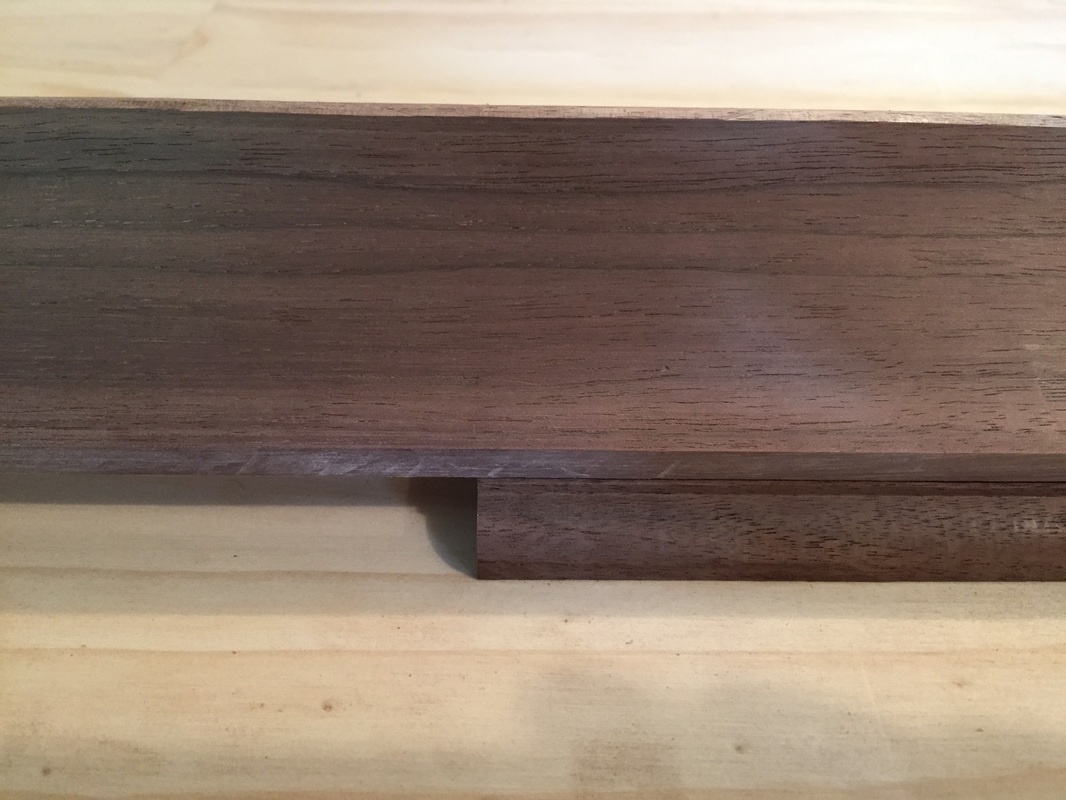
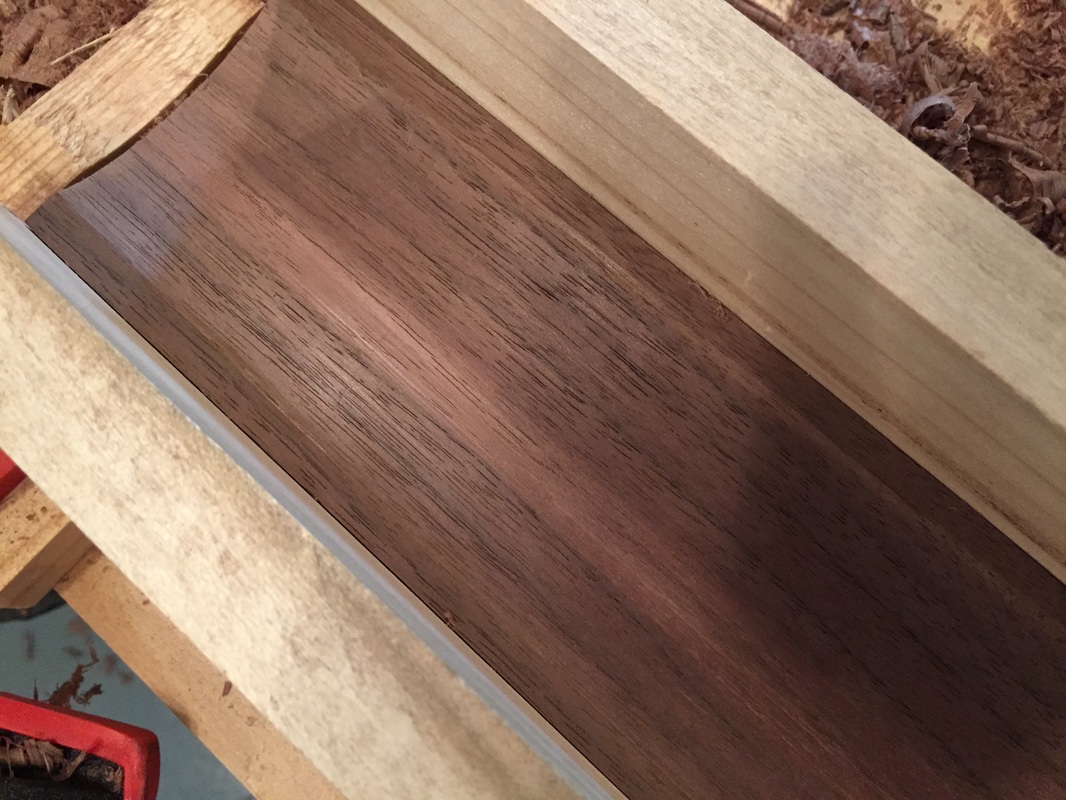
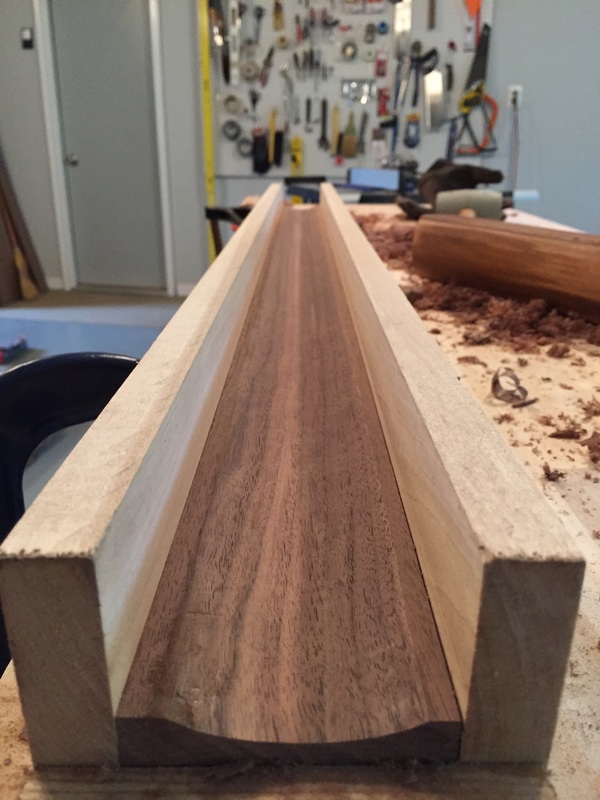
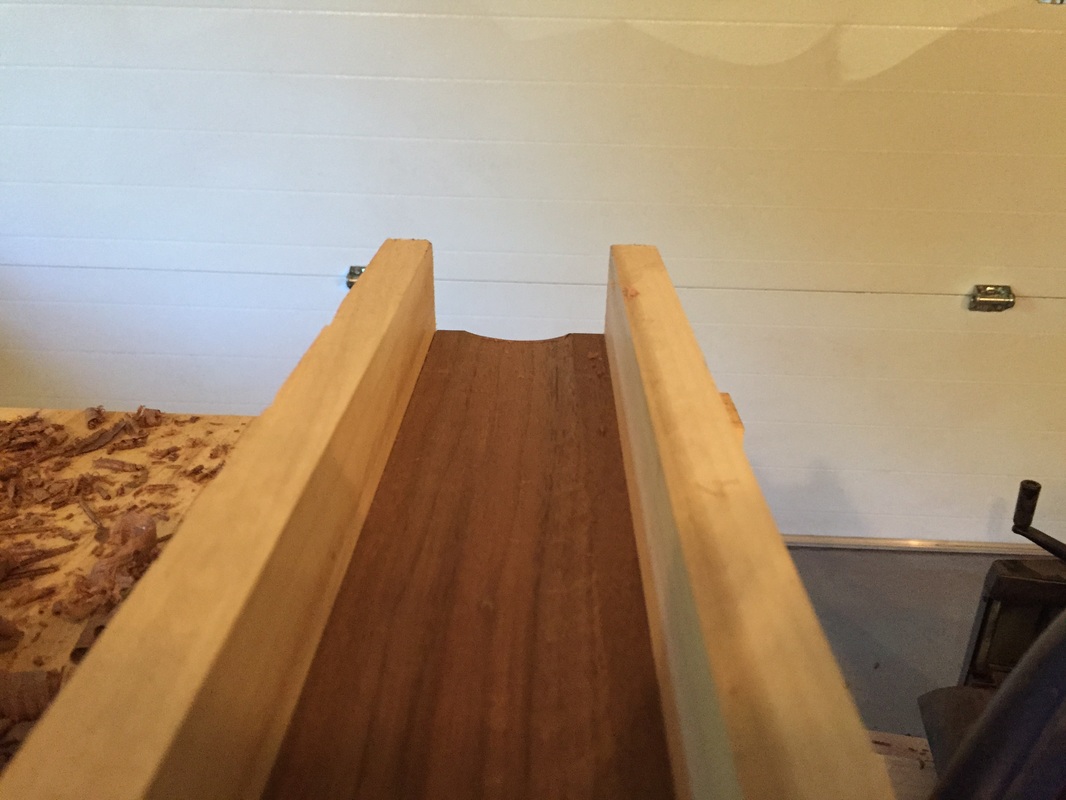
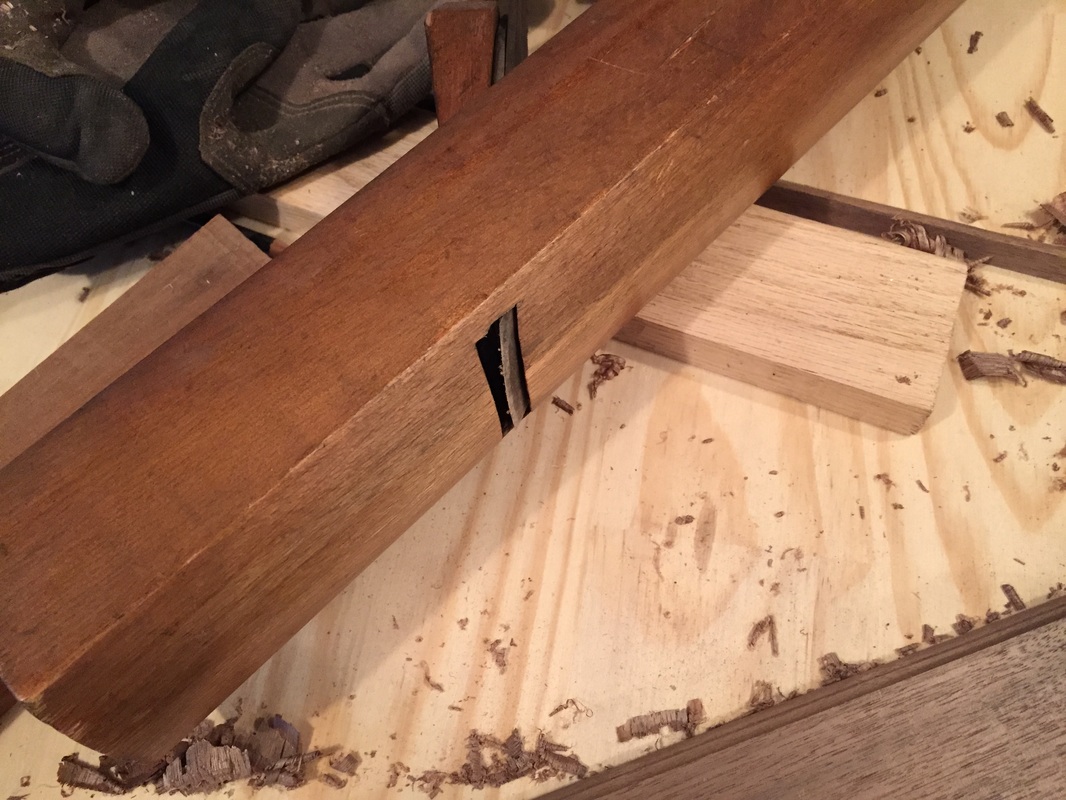
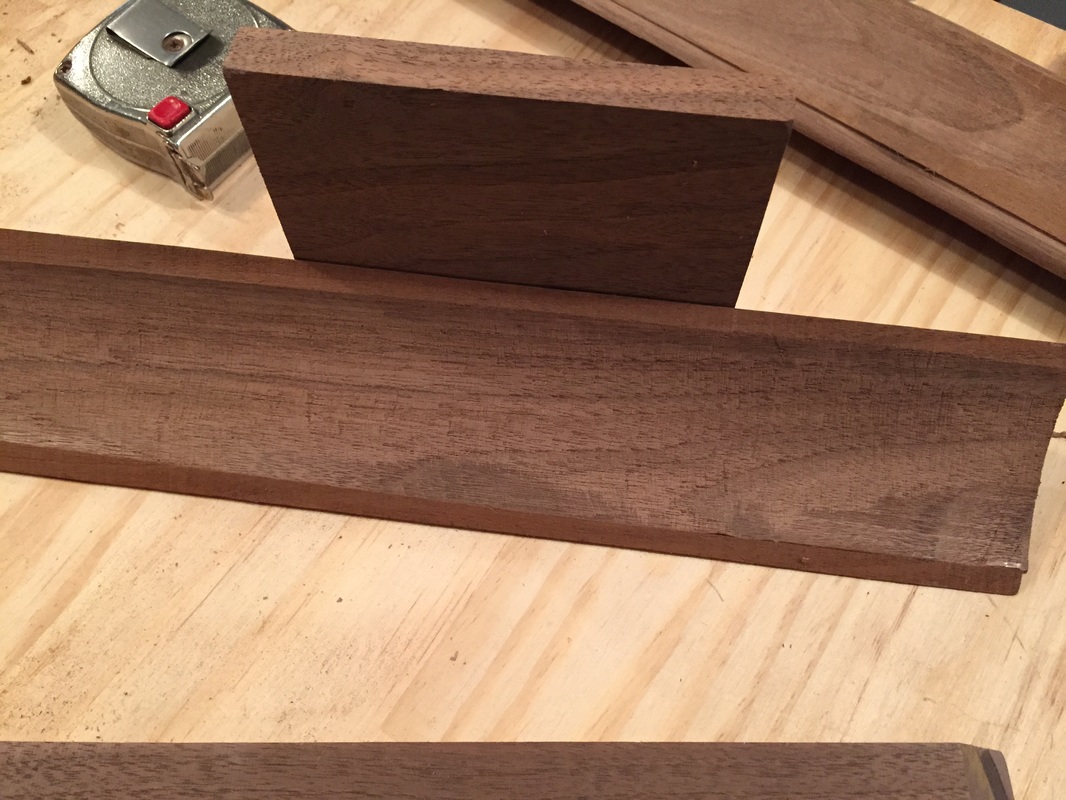
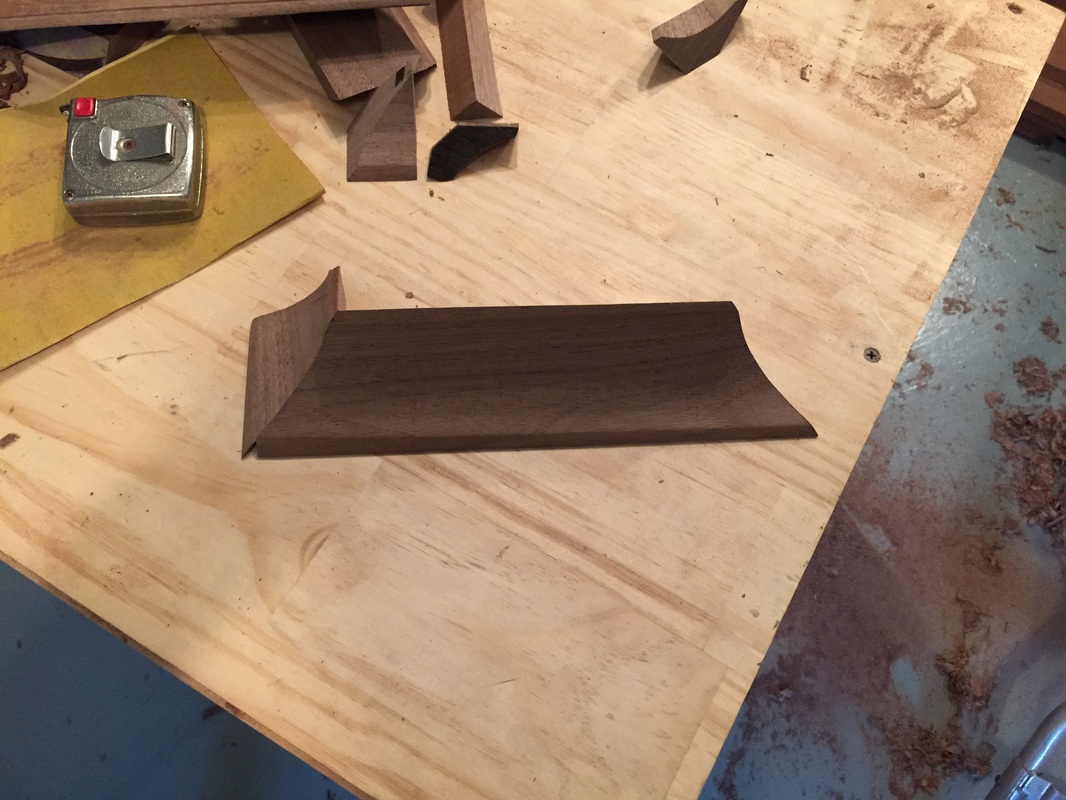
Since I have to wait on the waist section lumber to settle anyway, I decided this is a good time to complete the large cove moulding that joins the 3 sections together. Interestingly, I was at the Philadelphia Museum of Art yesterday, and 11 of the 12 longcase clocks they had on display had the large cove moulding similar to what I intend to use. I could simply build-up several moulding styles made on my router, but grandfather clocks look great with this distinctive moulding design. After re-sharpening my cove hand-plane blade, I spent several hours today repeating an earlier test whereby I rip a piece of walnut the width of the planer, and use the vise cheeks as a fence to guide the cove cut. The result is a piece 2" wide, and slightly larger than I really want, but the blade size is what it is. After much work and even longer trying to figure out how to cut the miter joint, the test piece was completed. See photos below. What a mess. My intent, is to see if I can plane all 3 pieces of the moulding from one piece of stock. To do that, I will need to maneuver a 45" piece of stock within the small vise. Hmmm, I may devise a jig instead. Anyway, I intend to get started on it tomorrow. So stay-tuned! Click on photos to enlarge.
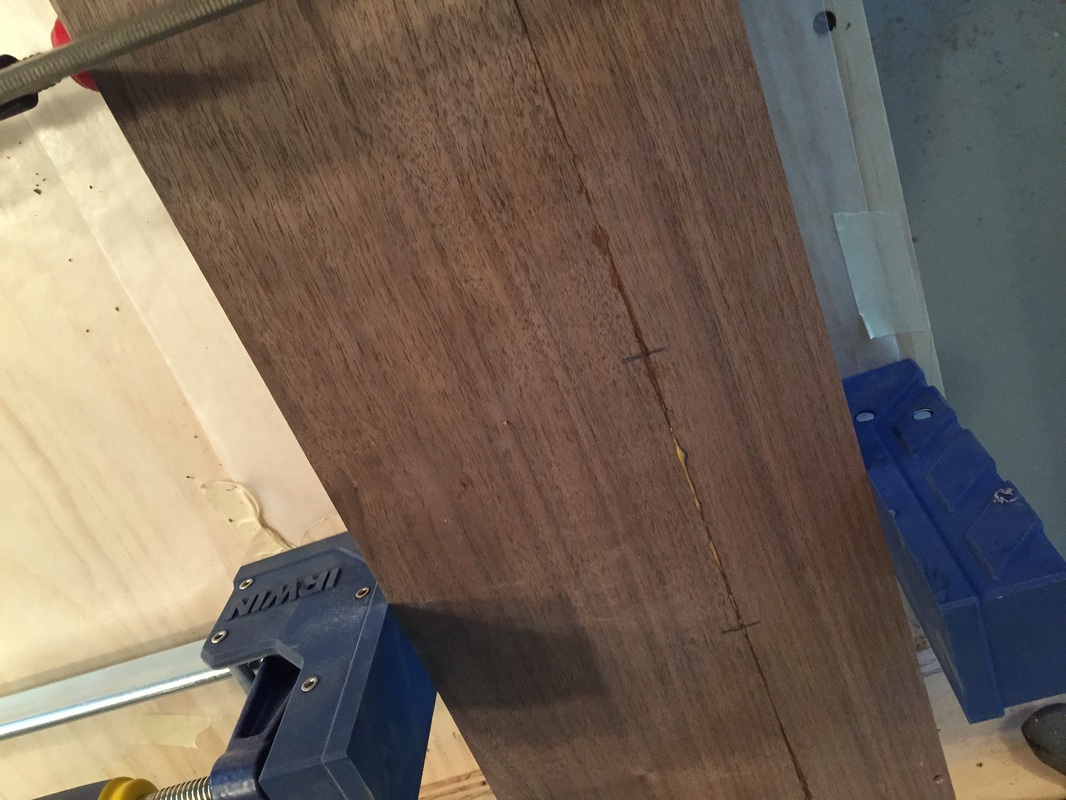
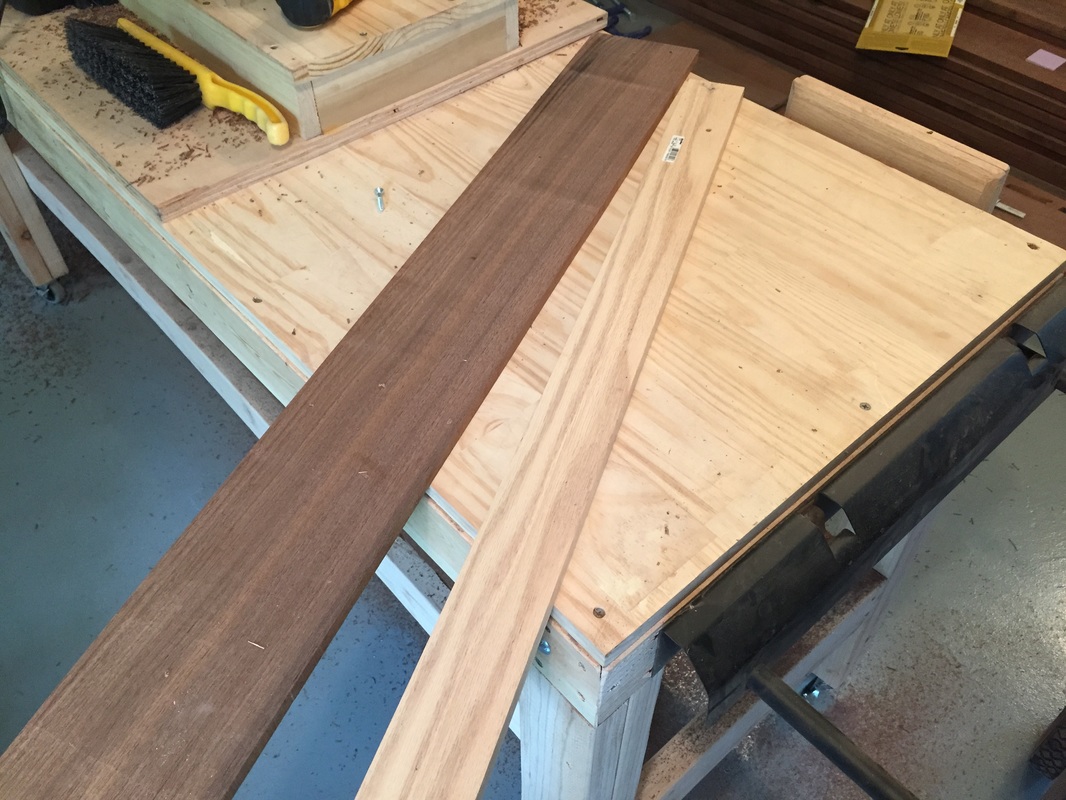
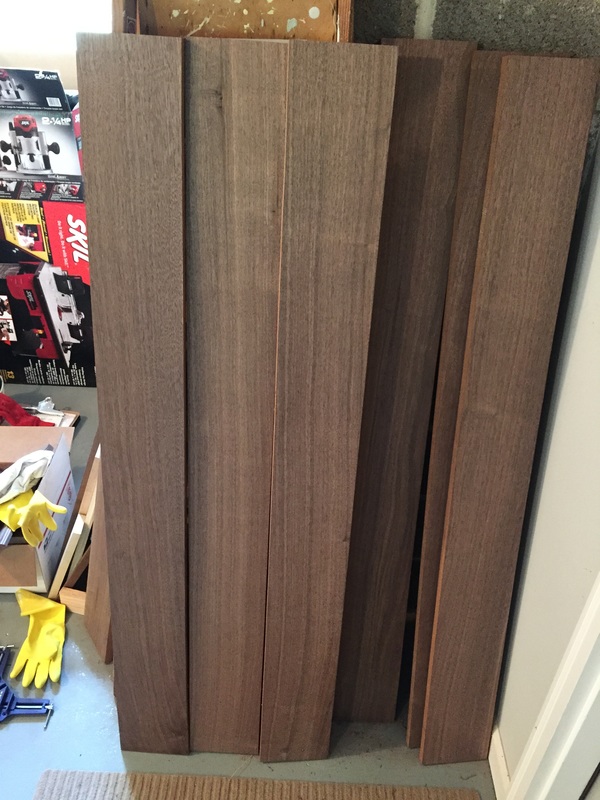
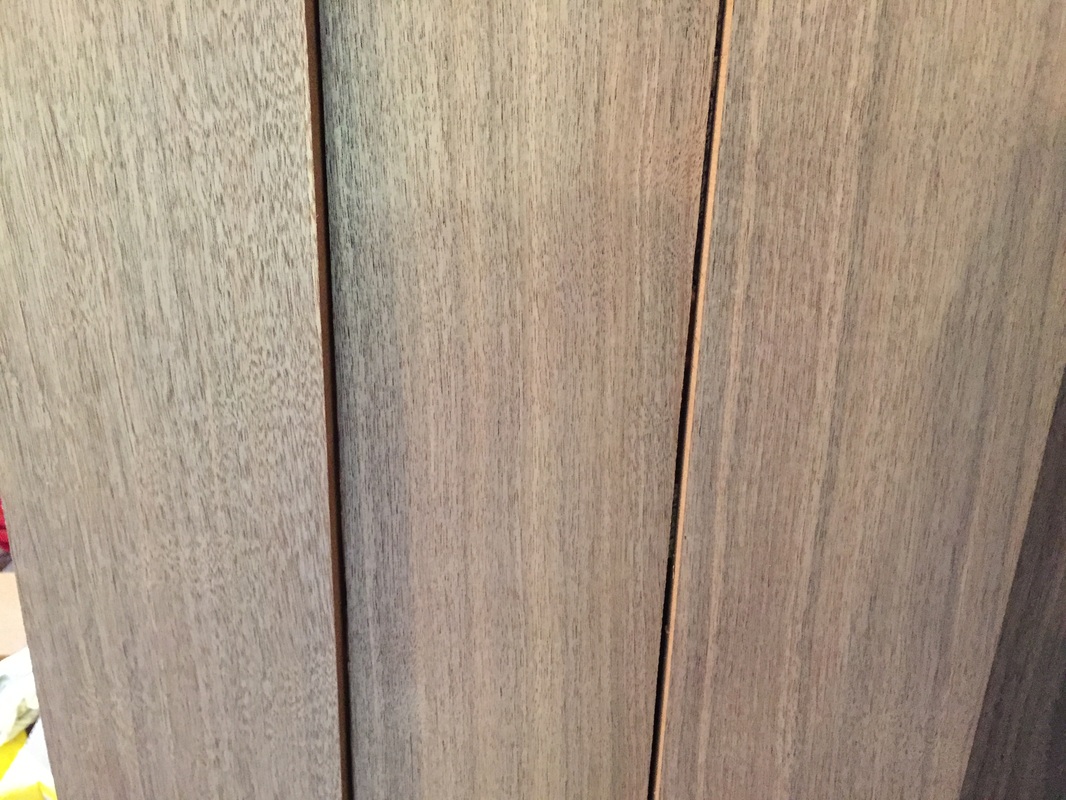
I figure it will take me 6 pieces of 54" planed lumber to make-up the waist section's 2 sides, 2 rails, 2 stiles and a door. That's assuming I don't have any major disappointments in the joining process. Today, I completed the planing of pieces 5 and 6, so I should be all set. I now need to let them sit for a while to "breath" and "move" as described in an earlier blog. Good timing as my wife and I have a day-trip planned for tomorrow. I do not intend to update the site tomorrow so no need to stop by. Click on photos to enlarge.
|
AuthorI hope that you enjoy keeping up with my clock's progress! Archives
June 2016
Categories |


 RSS Feed
