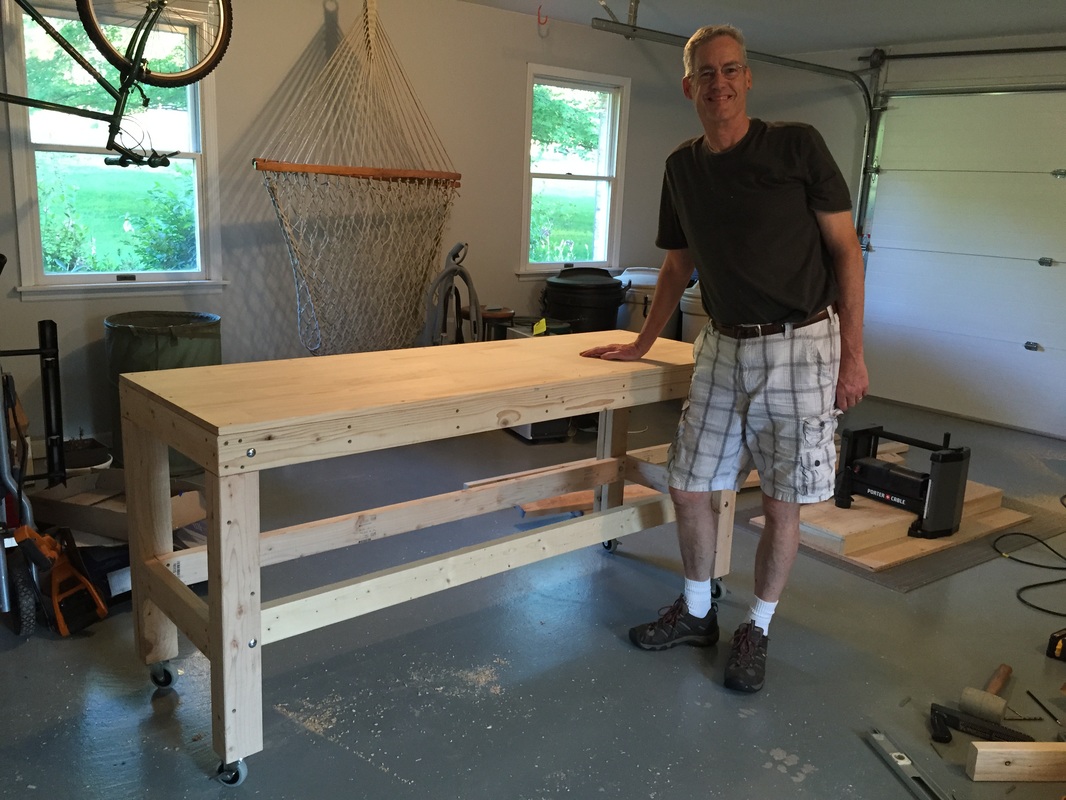
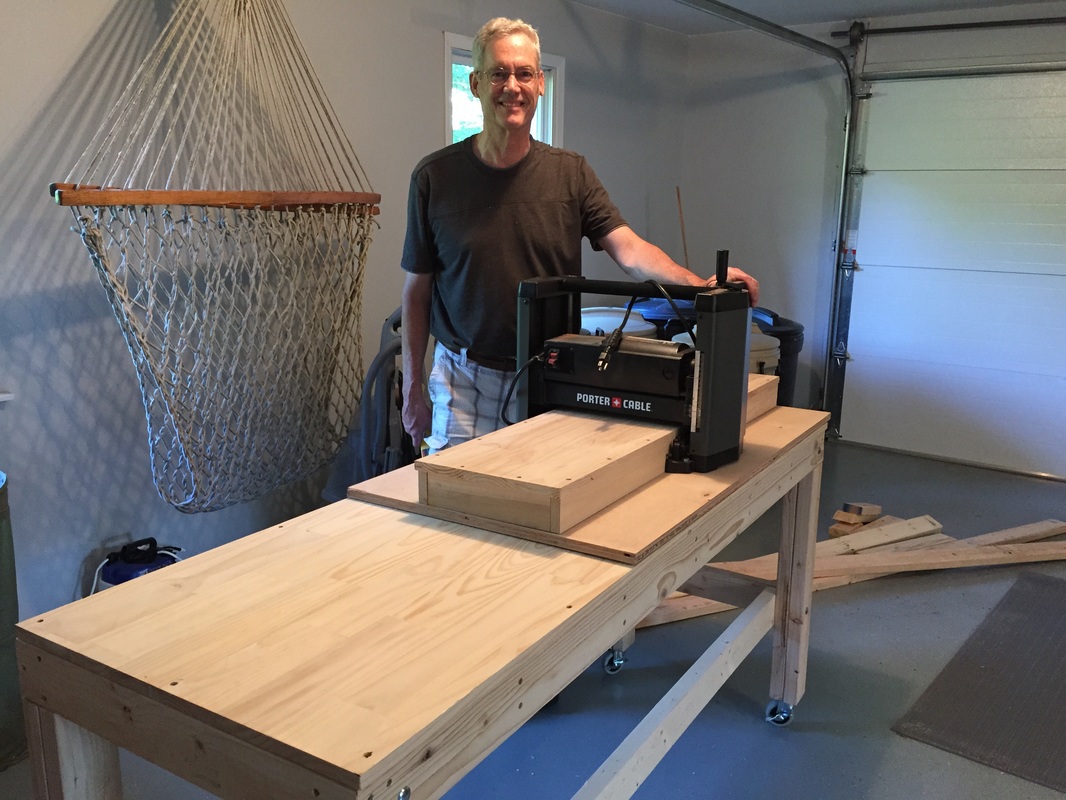
Today, I completed a wood-working bench that should keep me off the floor while building the grandfather clock case. I modified a design I saw on the Internet. 6' X 2'. It's the same height as the table-saw so should be a good out-feed table for that. It also will be a support table for my (heavy) planer. It has locking wheel casters to enable me to move it around as necessary. I'll be adding my new vise to it in the next day or so. That will allow me to "grasp" wood as I'm working on it. Next-step on the clock case is to detail my design measurements and then get started on the base. Meanwhile, I have to paint our Family Room this week! Enjoy the pics below. Click to enlarge.
While I would like to get going on the actual building of the clock case, there are important preparatory steps that will help me avoid any disappointments. For example, selecting the best walnut lumber pieces for the clock case is critical. I've learned that the best pieces to join are from the quarter-sawn wood - of which I have plenty. Quarter-sawn wood will shrink the least in the width thus helping to keep the joints together. Quarter-sawn means having the grain run close to 90-degrees with the flat side. See examples below: As I was planning-out the building tasks, I realized that I would need as many as 9 pieces of walnut that formed a large "cove" molding. Router bits this large are pricey, so I opted to get an antique wooden cove molding plane. I will need to glue-up several pieces of walnut to accommodate the required needed size. So, more testing on this before I proceed with that step. See pics below showing the curve of the plane bottom [note that the blade is not extended]: Finally, I need a place to carry-out much of the build OTHER THAN the garage floor. And so, tomorrow I will be getting some 2X4s to build a work bench. I'll show some pics over the next few days. Enjoy!
While both the "canted" and the bevel [miter] corners were successful, we decided to go with the bevel corners. They will be stronger using the biscuits and the bevel look goes with our simpler design. I held-off showing the result of the bevel corner test on the walnut until I could apply a few coats of boiled linseed oil and paste wax. Here are a few photos. Click to enlarge. The first is the pieces all wedged-up, and the second and third are the result after a few finishes.
The next steps are to: 1. build a workbench so I have a more convenient work area 2. detail the design on paper with all of the measurements - using the basic design shown on the clock's planned design page. 3. find, and plane, two pieces to pair-up and join for the front of the base. When I picked a piece of lumber to use for the testing, I purposefully chose one that was rather knotty and thus not suited for the clock build. Fortunately, most of the pieces of lumber I have inspected have a nice straight grain that will look very good when finished. Once the glue dried, I unclamped the pine test piece was it was successful. This was a pre-test of the biscuit and bevel joint. Here is what it looks like. Click to enlarge. I have gone ahead and biscuited the walnut test piece as well and it is clamped awaiting a verdict tomorrow. I had some problems getting a tight fit due to the rope clamps not being tight enough, even with the wood wedges.
In my blog of earlier today [see below], I completely forgot that the beveled option test also required me to join the pieces with the biscuit joiner. My wife suggested that, before I try the biscuit joiner on the already-beveled wood, that I try it first on another test piece. So that is what I did. It was a good idea as I found that the corner clamps alone will not push the edges together sufficiently tight. I've rigged some wooden wedges that should help me in that task. The biscuits add another level of complexity [and something that can go wrong], however, they add considerably more strength than simply glueing-up the beveled edges. I've taken a few pics of the test piece and also a picture of the biscuit joiner that looks like some type of bug. Next, I will try the biscuits on the beveled walnut test pieces shown earlier today. BTW, I painted the ceiling of the bathroom, but still need to do the walls! Enjoy.
The test of a beveled [miter] corner, rather than a canted corner, was a success. So now, we need to decide. From there, we need to attempt to find 2 boards that belong together - and thus, can form the joined front pieces to the clock base. Then, I need to detail-out the actual plans based on whether I am going with the canted or beveled corners. Before I get to all that, I need to paint a bathroom and finish my grandson's radio-controlled catboat sailboat! Here are some pics below. With help from my wife, and recalling our rusty high-school/college geometry, we determined that the walnut wedge that would form a canted corner would need to be cut from a .5303 inches thick piece of stock. So I planed-away half of one of the walnut planks and arrived at the correct thickness. From there, I had to make two 45-degree cuts to make the v-shaped wedge that would fit between the front and side pieces of the clock base. This was no easy task on the table saw. It should work if I chose to go this route, but I'm still undecided. One down-side is that I would not be able to join the pieces with anything but glue, although either way I do plan to provide an inside frame support. The canted corner would need to carry-over to the base and waist molding as well. Next-up, I think I'll go ahead and put bevel cuts in the original test boards, and join them using my new biscuit joiner. Then, I'll decide which approach I'll move forward on - canted corners or beveled [mitered] corners. BTW, I also use a mask while wood-working as the sawdust and chips are in great supply. I keep the garage all cleaned-up. Please enjoy the pics from today. Getting close to beginning the build process! I made good progress on the table saw today. Before I began getting familiar and testing the saw, I bought a new 80-tooth blade - 4X the number on the blade that came with the saw. I need to have very fine-cut seams in order to make a furniture quality clock case. After installing the new blade, I tested the saw with some sacrificial lumber I had lying around, and then tested my ability to true-up the seasoned walnut lumber. All went well. The true-up technique calls for screwing the ends of the walnut lumber to an already "square" piece of scrap lumber, and then passing them both concurrently through the saw. Wish I had taken some photos of that process, and will in the future so you can see how it works. Once one side of the walnut is trued-up, I flipped it over and passed the walnut through again to true-up the other side. For now, the ends haven't been worked. They will be cross-cut as a last step. See the photo below of the original, previously planed, test pieces of walnut. Note the screw-holes from fastening them to the scrap pieces. Of course, these pieces will not be married together but it does show a good seam. The sides are now square and both pieces are precisely 3/4-inch. Next-up is to test "canted" corners as an option over beveled [mitered] corners. May get to that tomorrow. Also, I had meant to mention that I got a new shop-vac and, while not yet tested, I have rigged it up to the saw to collect the blast of saw-dust that comes out of the saw. Wish I could do the same with the planer. BTW, I am wearing gloves, eye and hearing protection and am following an abundance of safety precautions.
|
AuthorI hope that you enjoy keeping up with my clock's progress! Archives
June 2016
Categories |