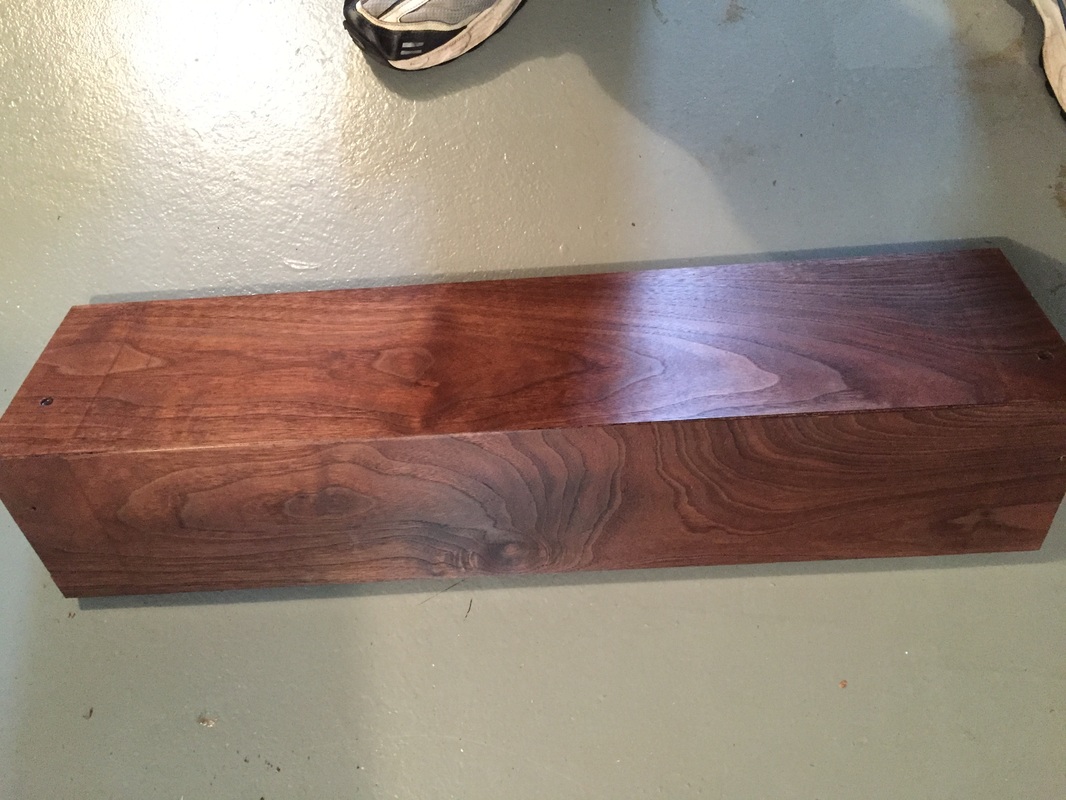
While both the "canted" and the bevel [miter] corners were successful, we decided to go with the bevel corners. They will be stronger using the biscuits and the bevel look goes with our simpler design. I held-off showing the result of the bevel corner test on the walnut until I could apply a few coats of boiled linseed oil and paste wax. Here are a few photos. Click to enlarge. The first is the pieces all wedged-up, and the second and third are the result after a few finishes.
The next steps are to:
1. build a workbench so I have a more convenient work area
2. detail the design on paper with all of the measurements - using the basic design shown on the clock's planned design page.
3. find, and plane, two pieces to pair-up and join for the front of the base.
When I picked a piece of lumber to use for the testing, I purposefully chose one that was rather knotty and thus not suited for the clock build. Fortunately, most of the pieces of lumber I have inspected have a nice straight grain that will look very good when finished.
 Biscuited, glued and all wedged-up! | 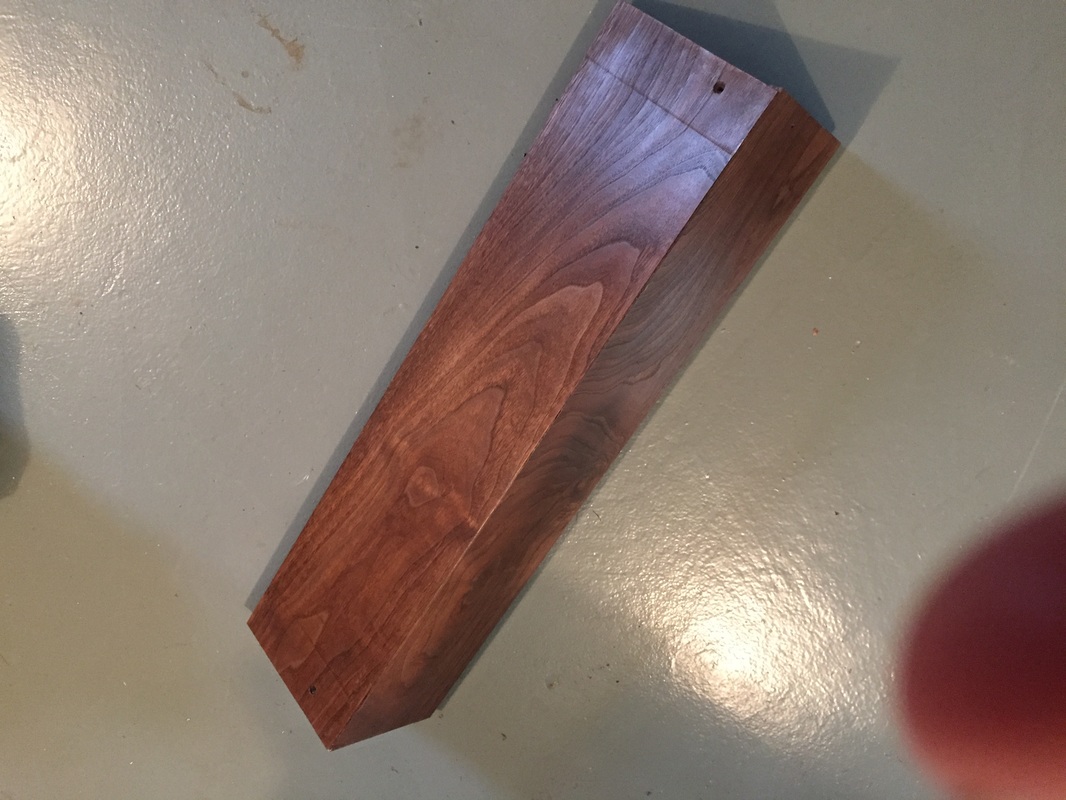 After applying boiled linseed oil and paste wax |
 RSS Feed
