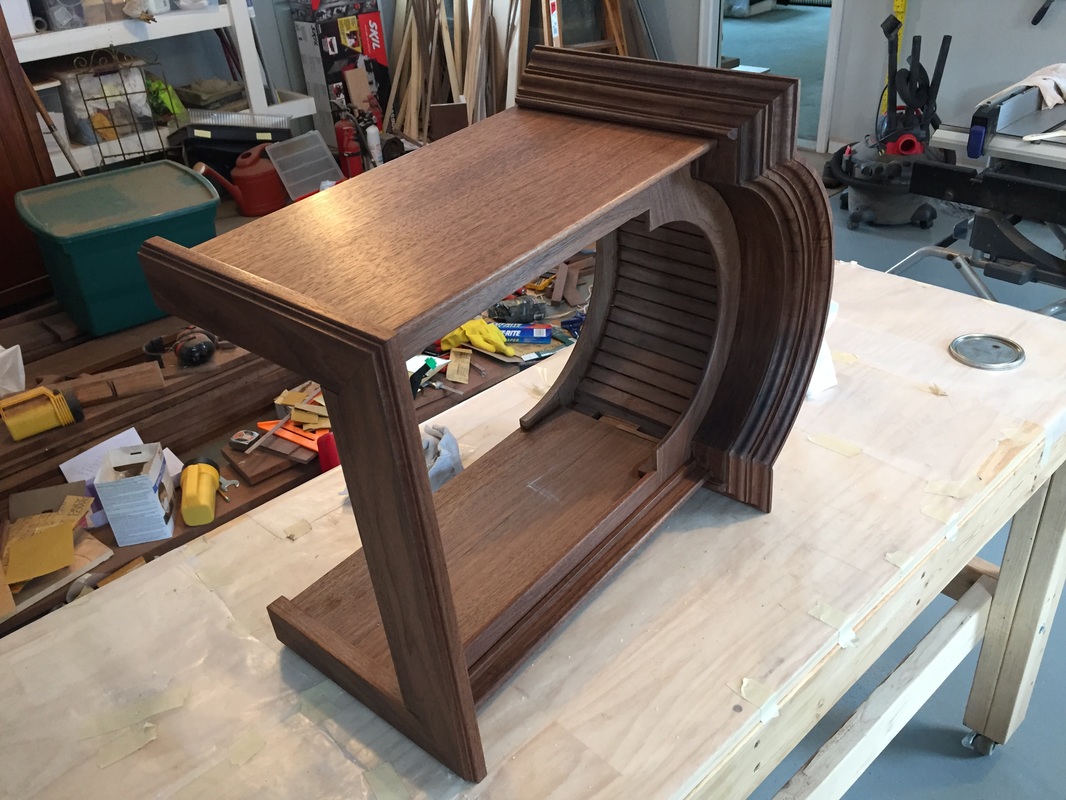
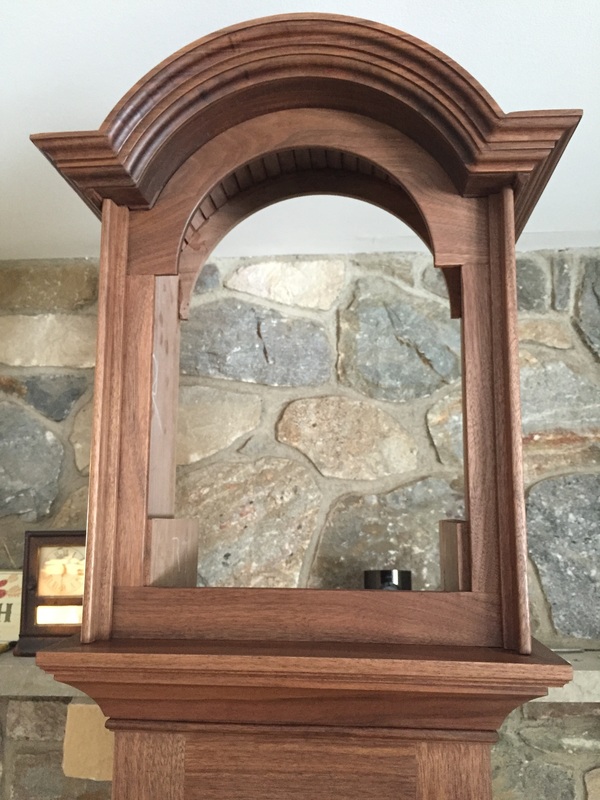
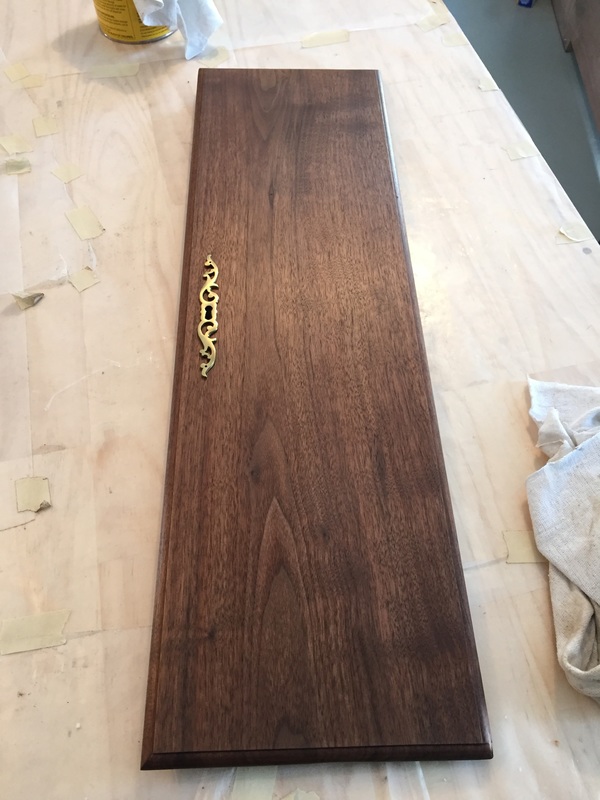
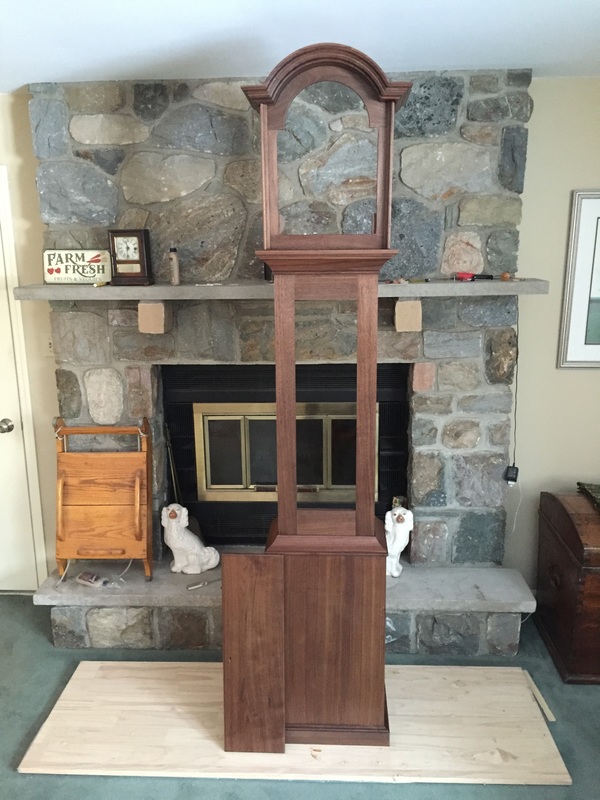
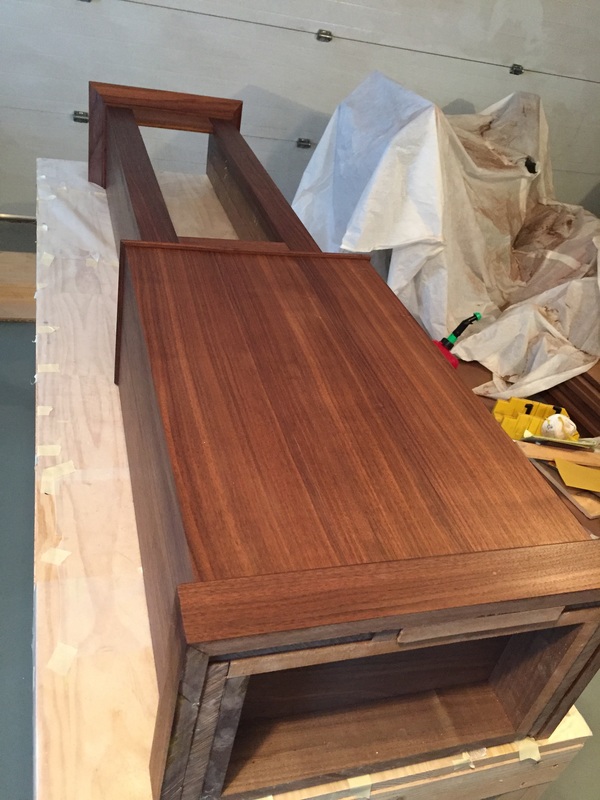
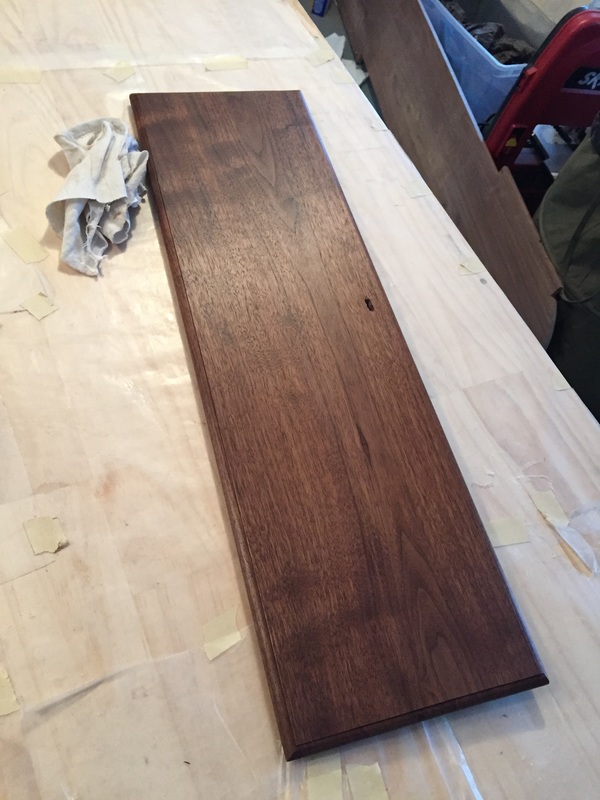
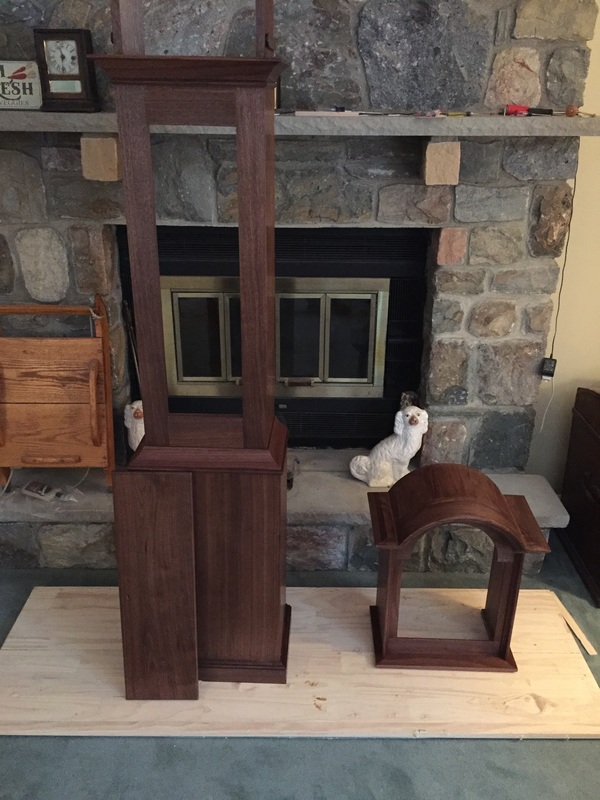
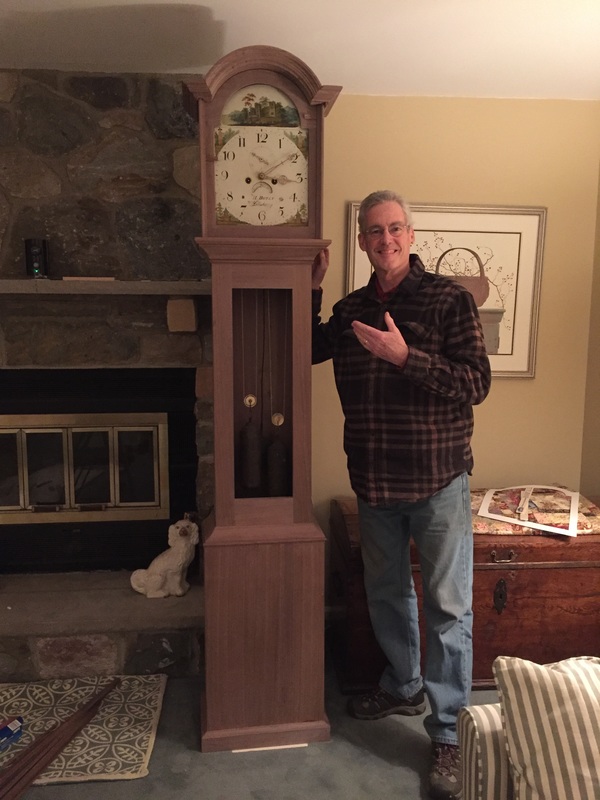
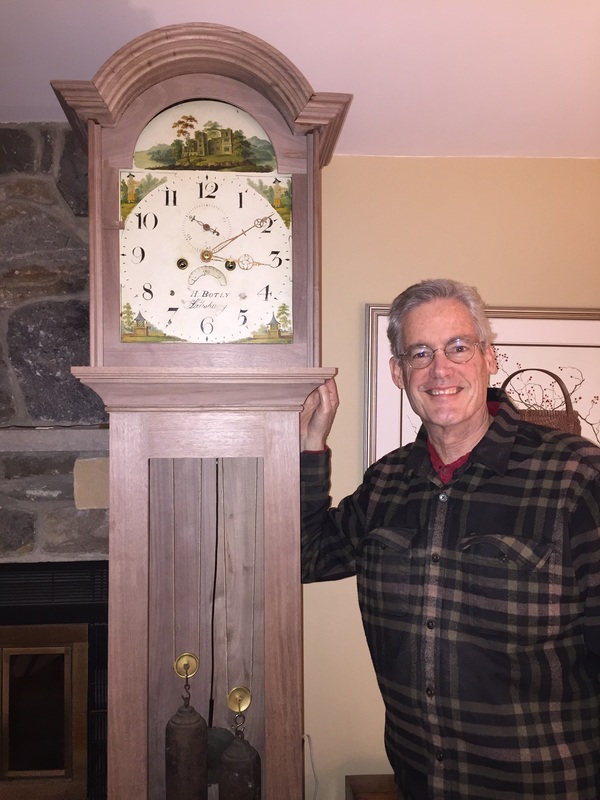
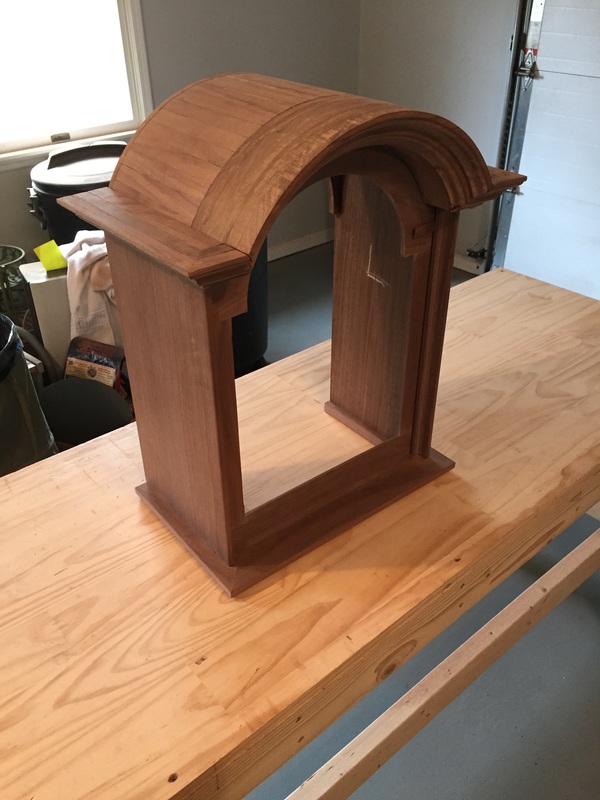
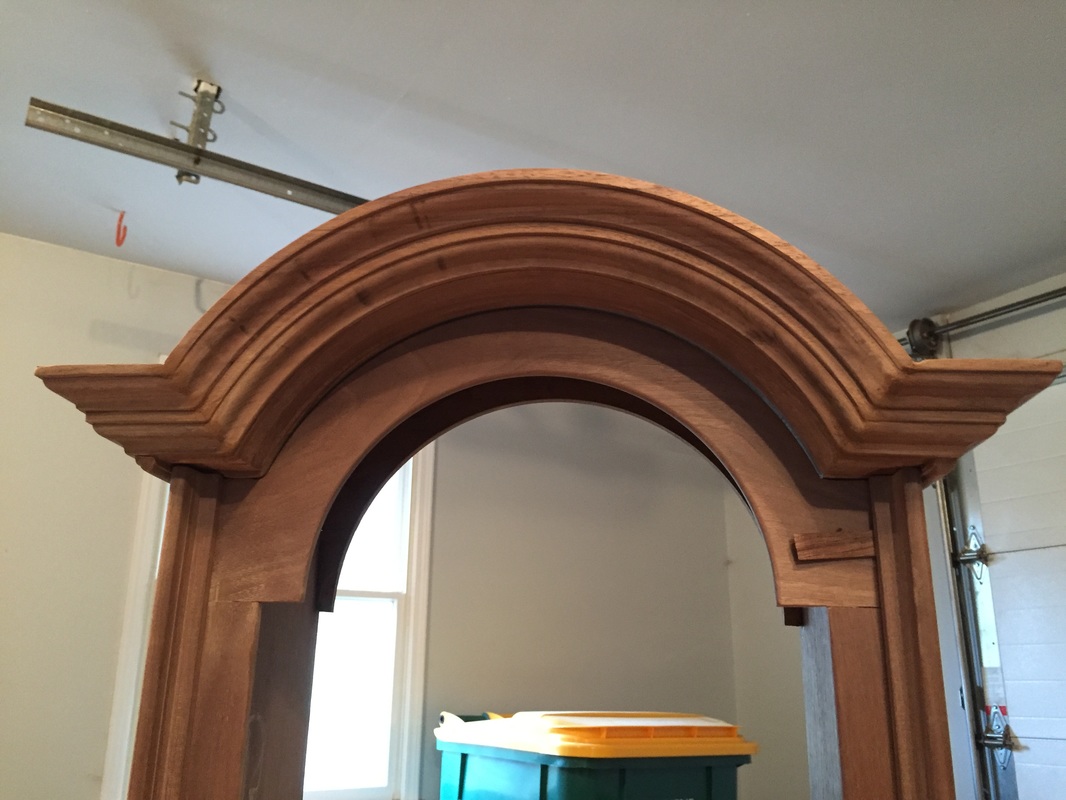
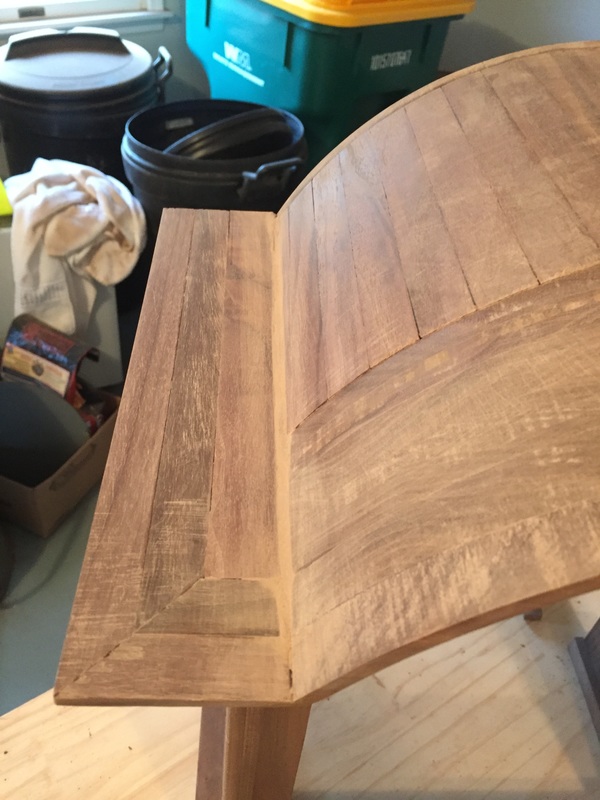
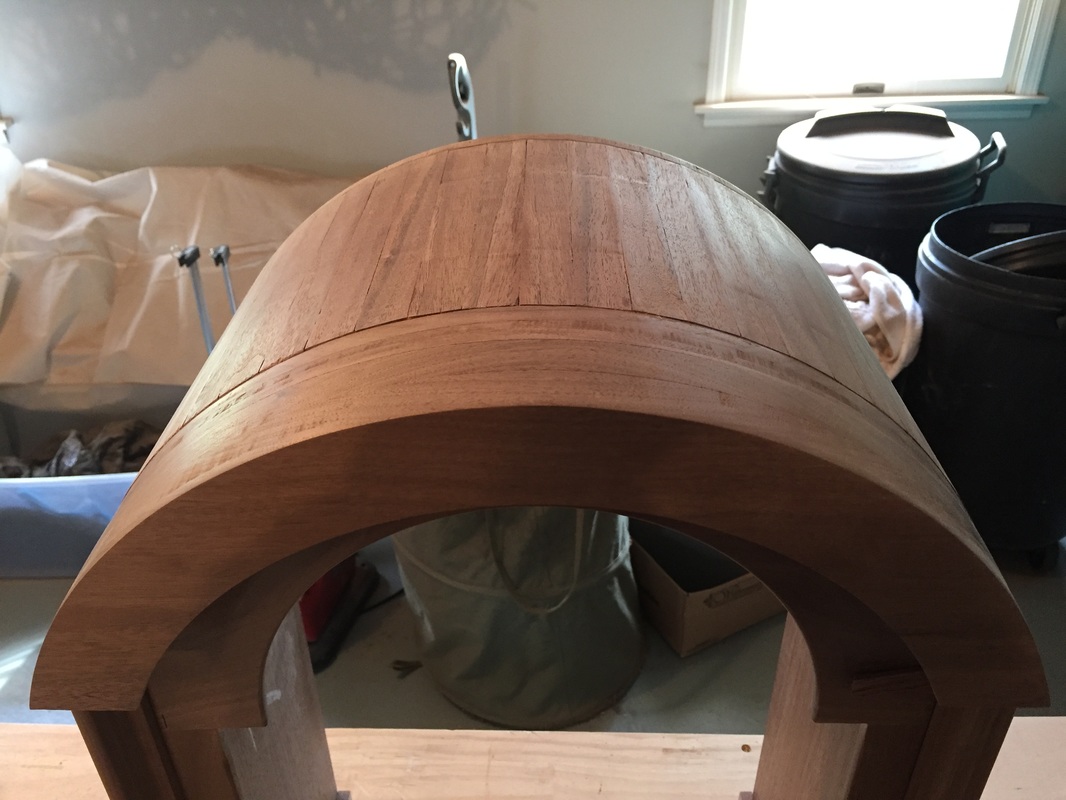
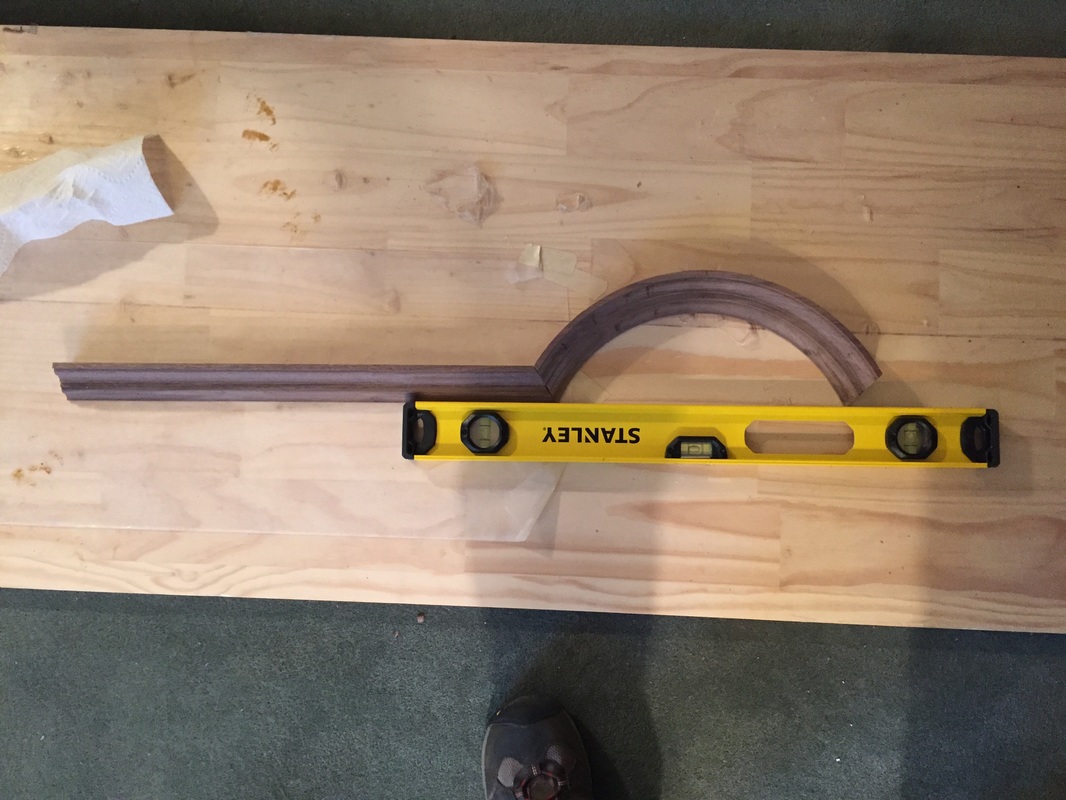
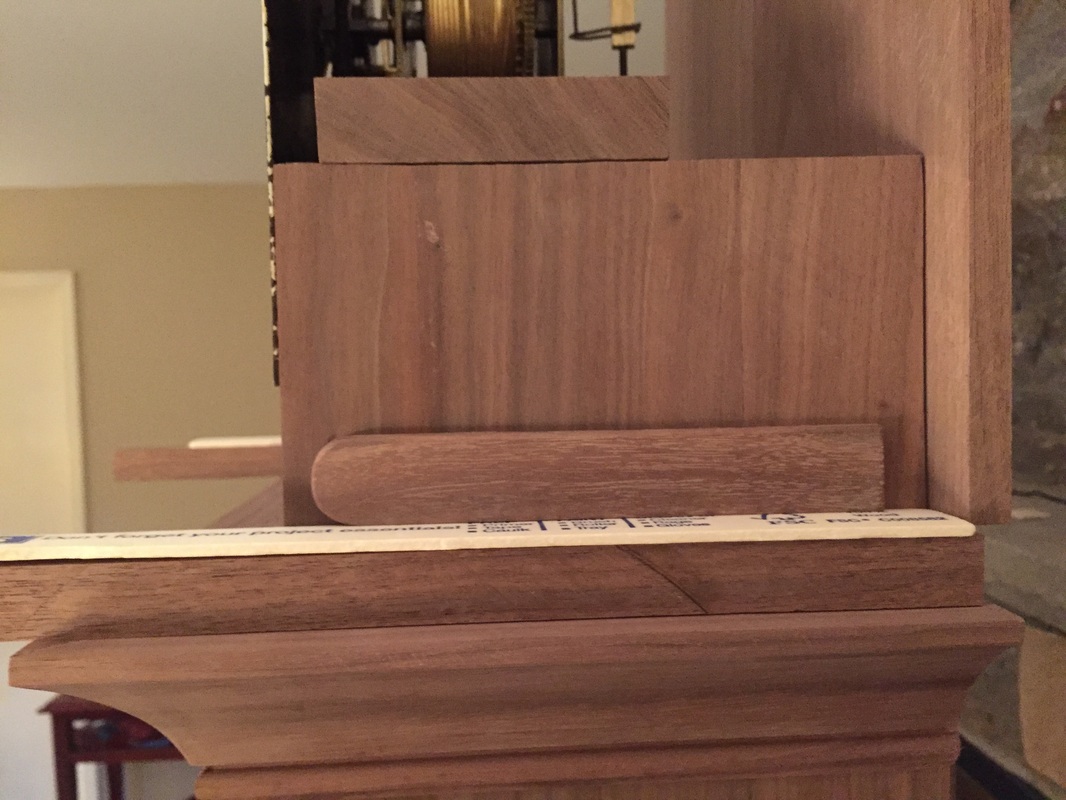
Today I put on a 3rd coat of wax, installed the door, remounted the clock movement, put on the back-plate and positioned the clock where we believe it will reside! I made it as far as I had hoped before taking a hiatus to work on another project. But I'll be back to the clock in early March to add the dial door and scribe my name to the dial! Thanks for visiting and please enjoy the photos below. Click to enlarge.
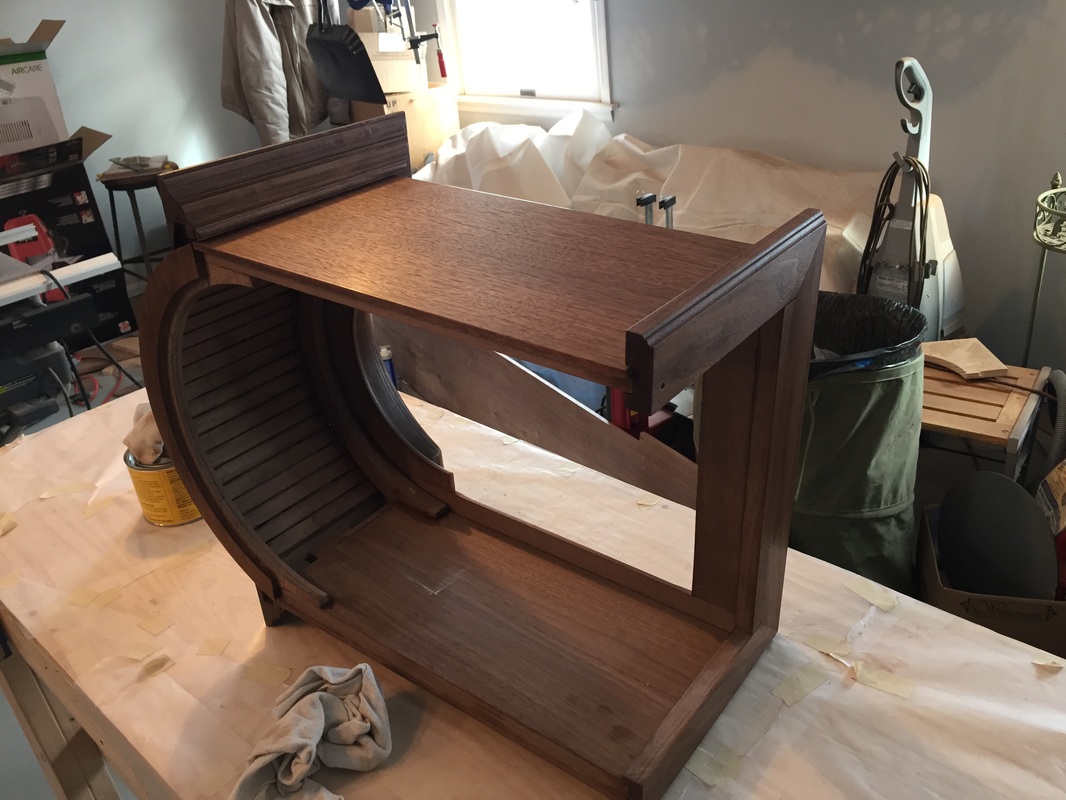
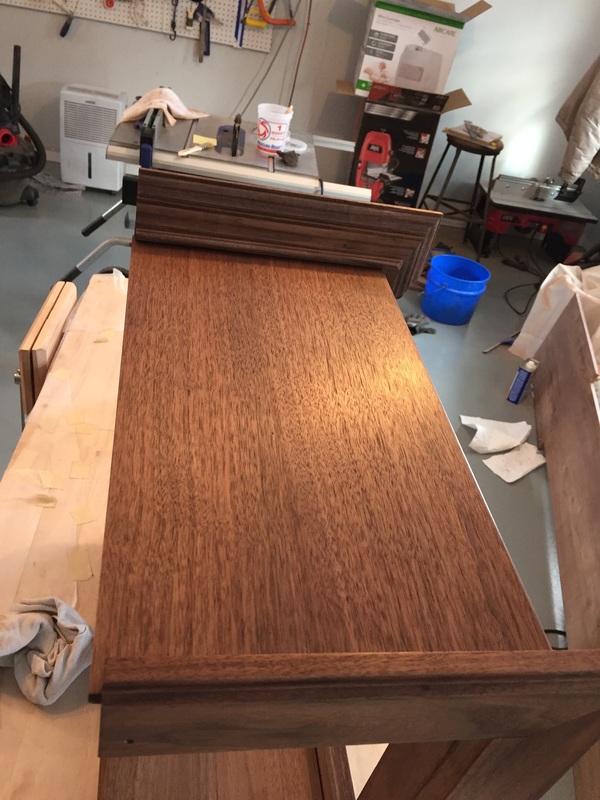
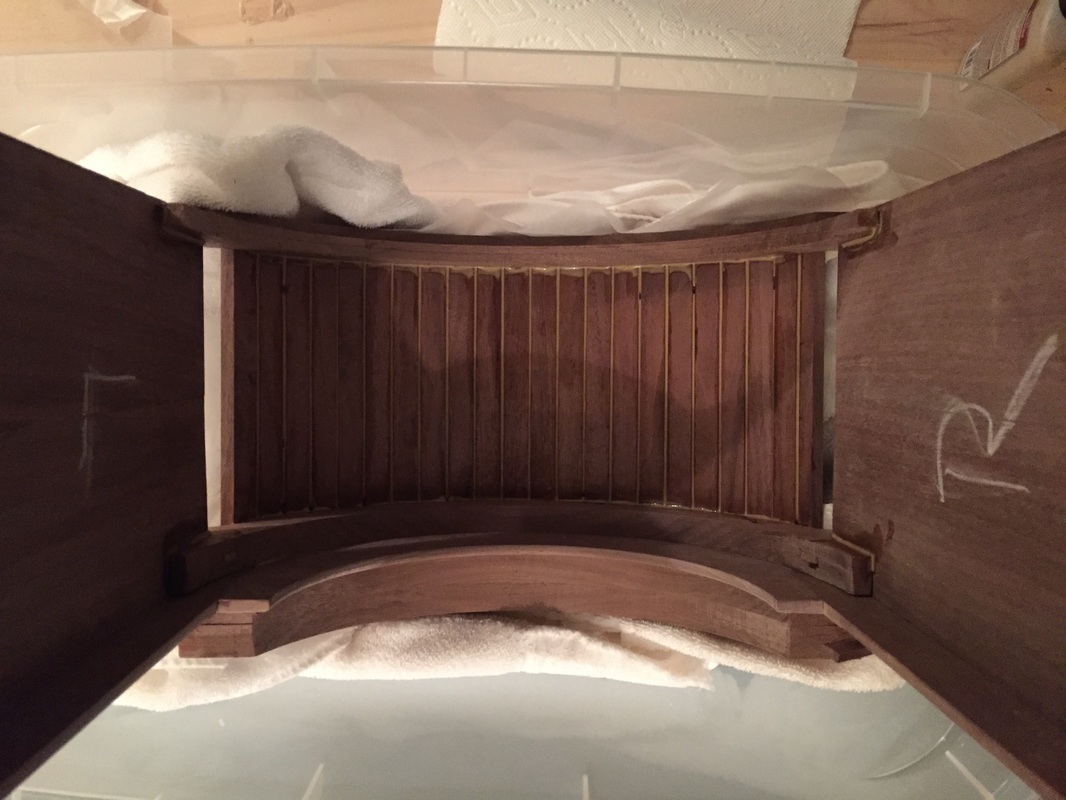
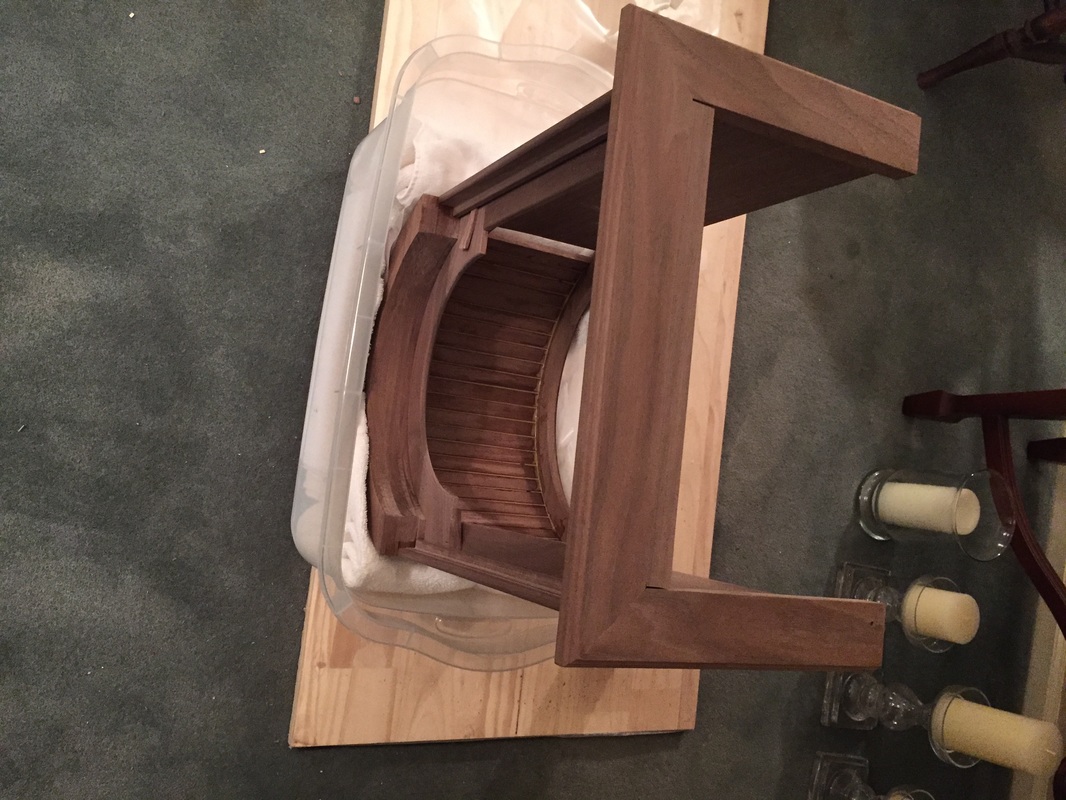
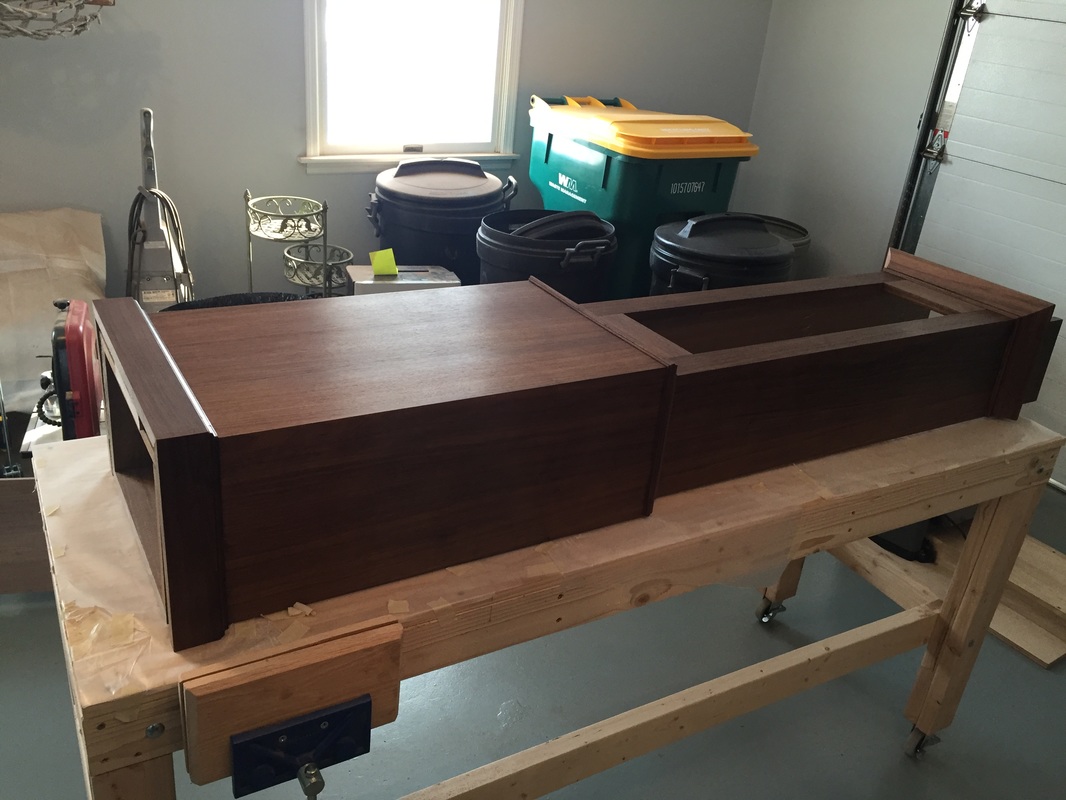 Following the 3rd coat of wax | 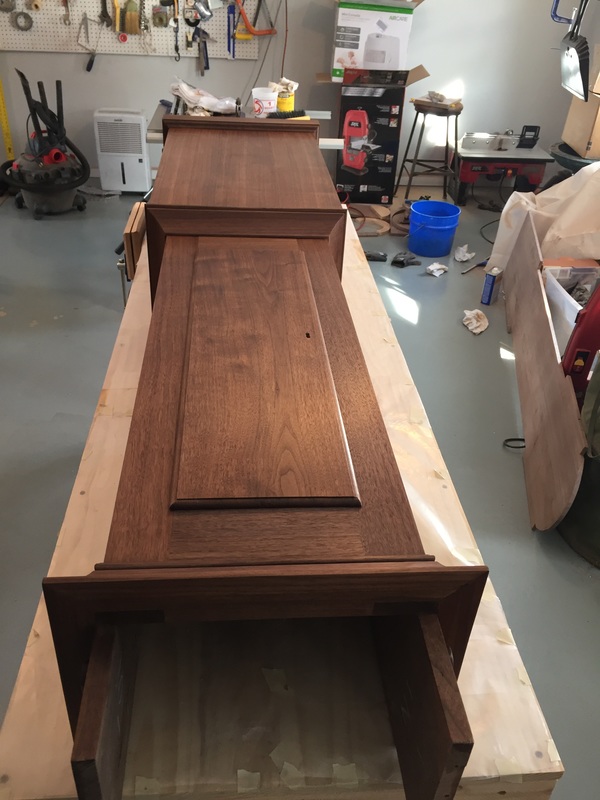 A view down the case | 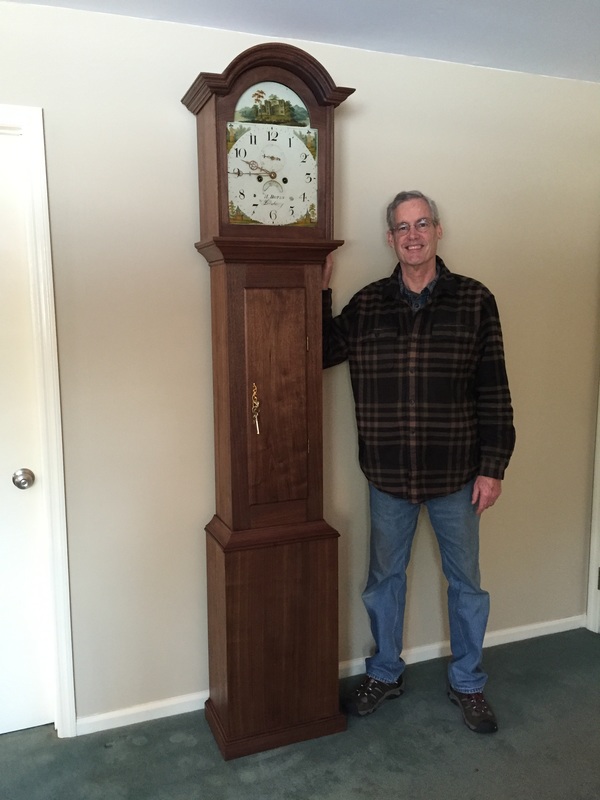 Me and my clock! | 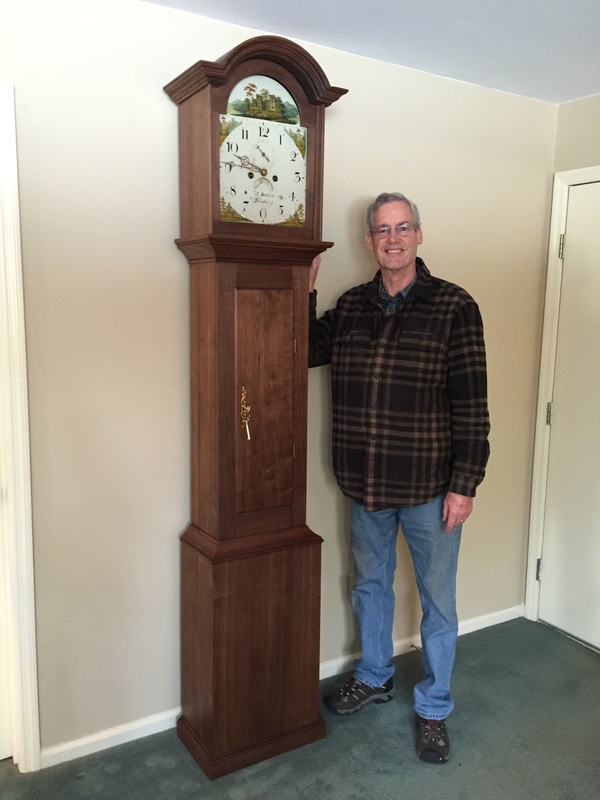 | 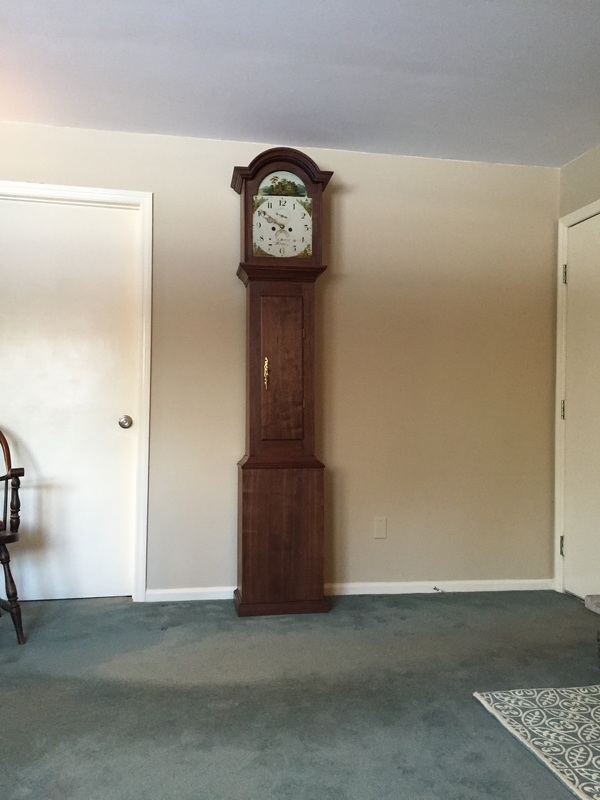 My clock's home | 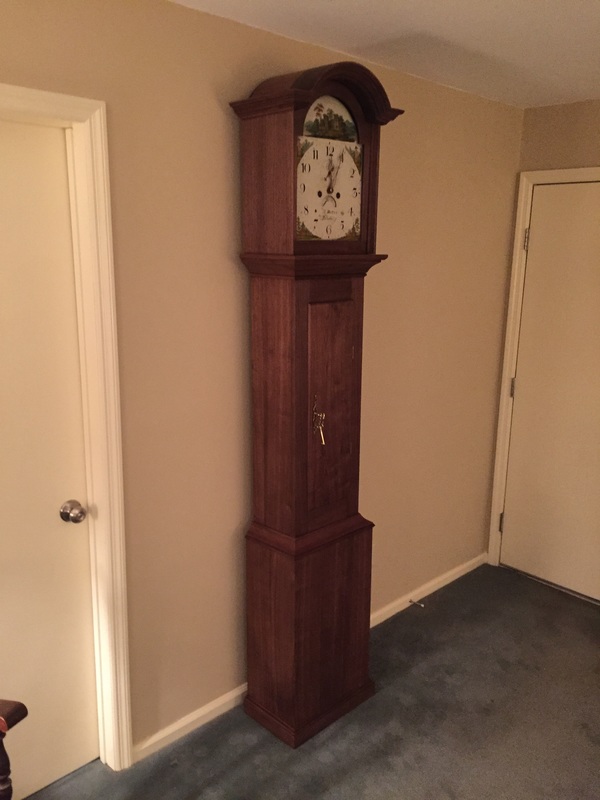 |

 RSS Feed
