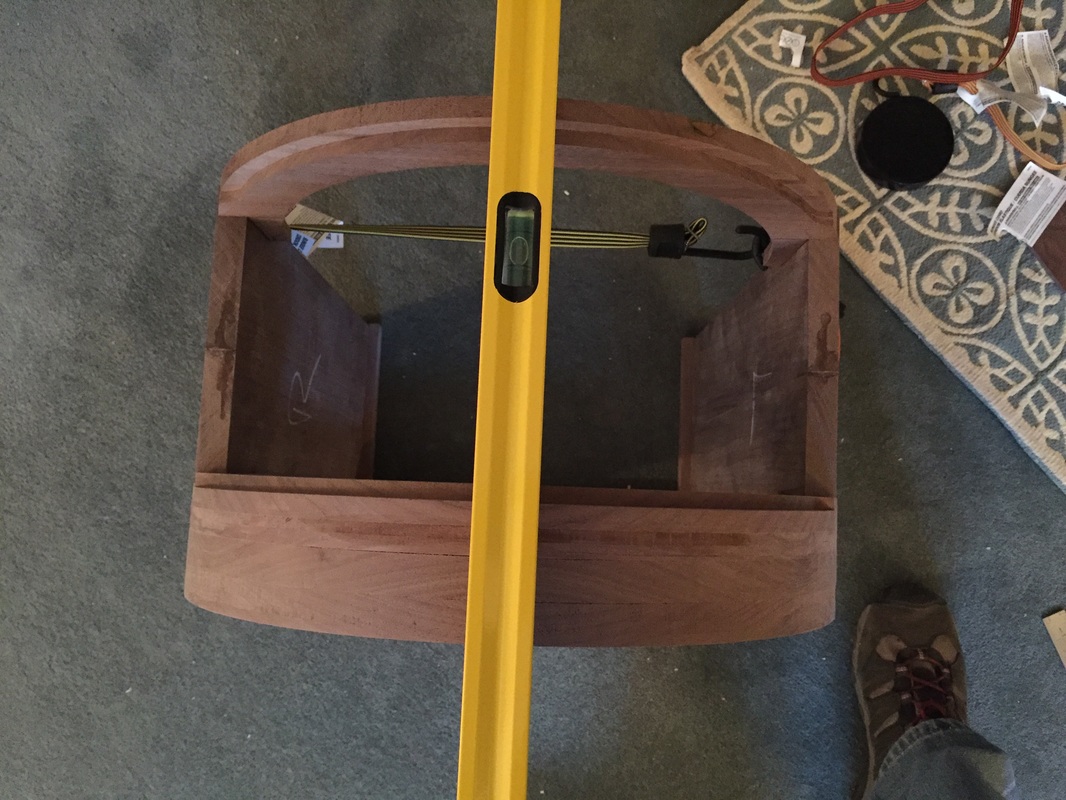
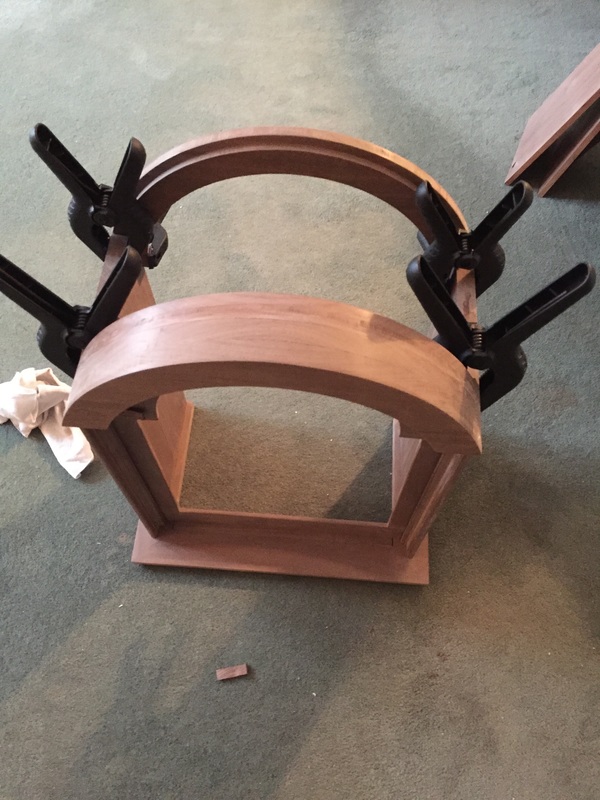
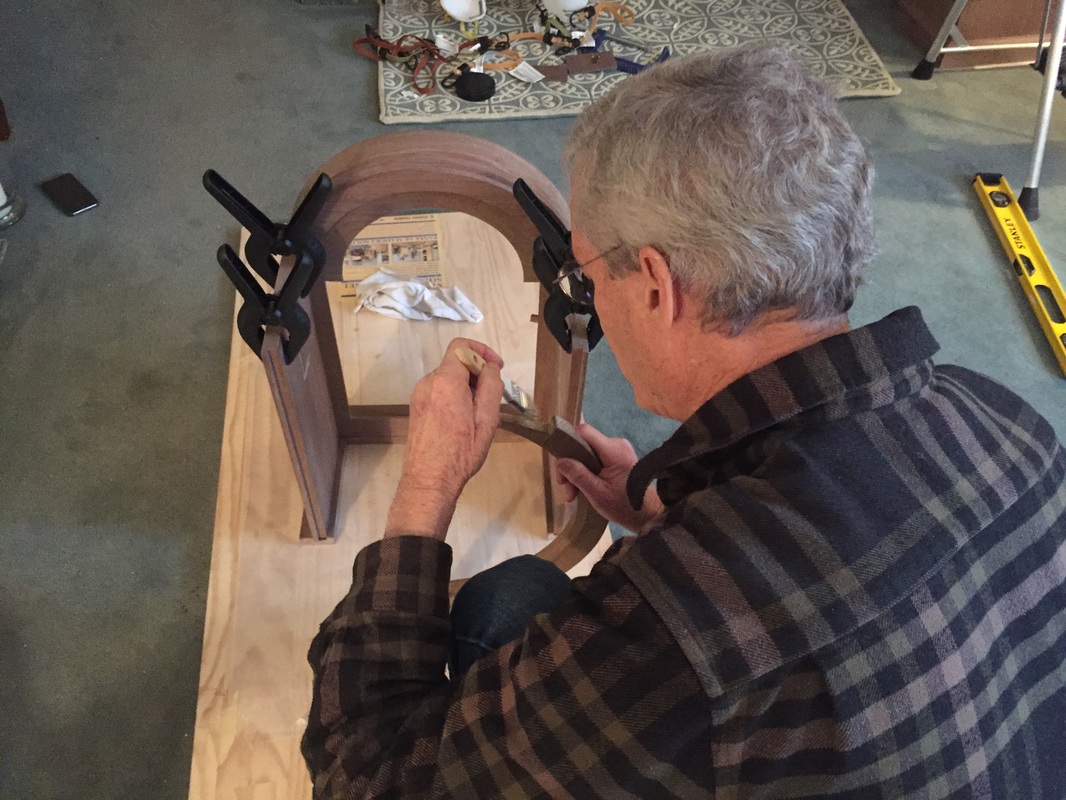
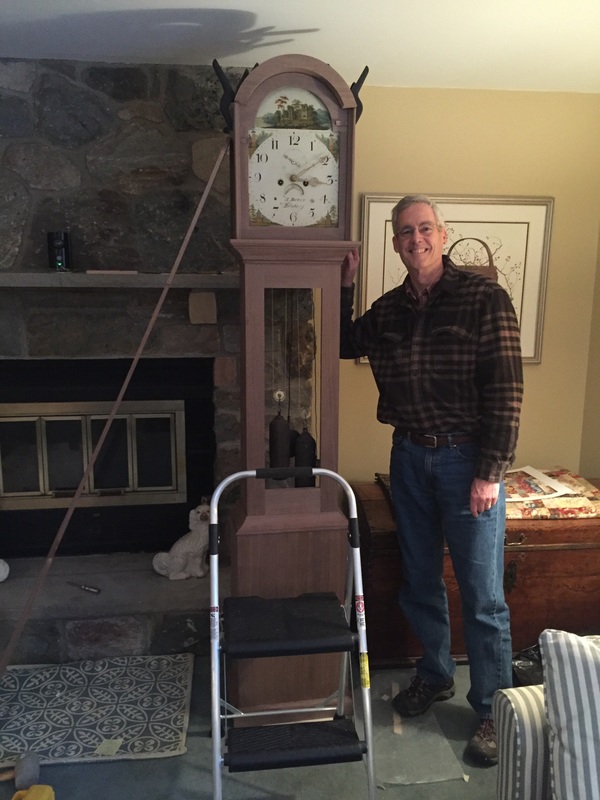
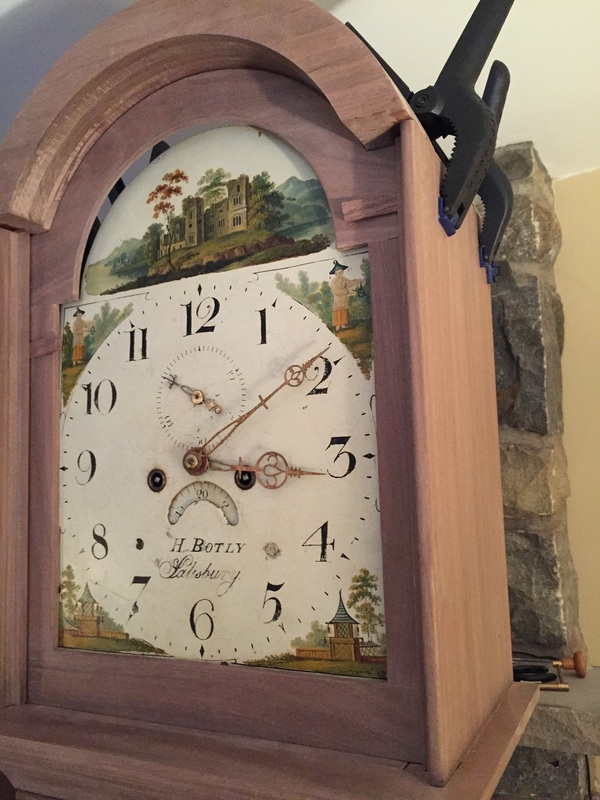
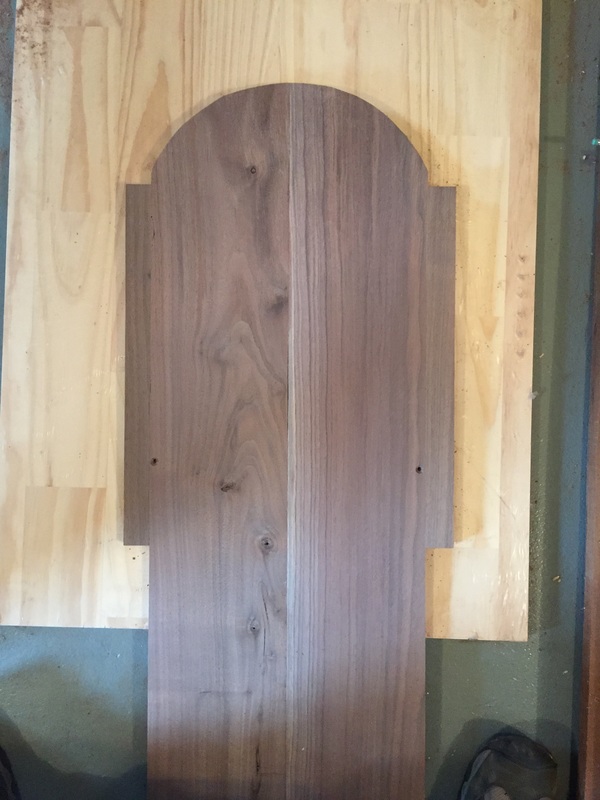
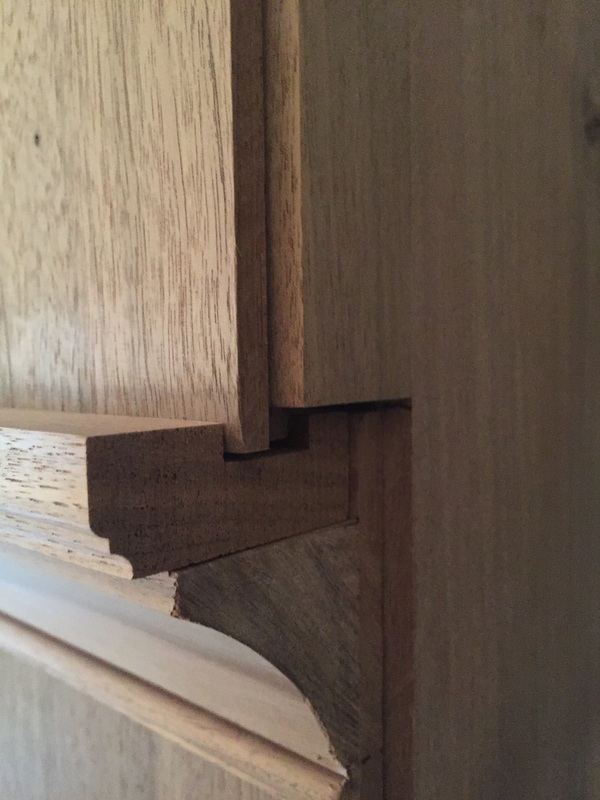
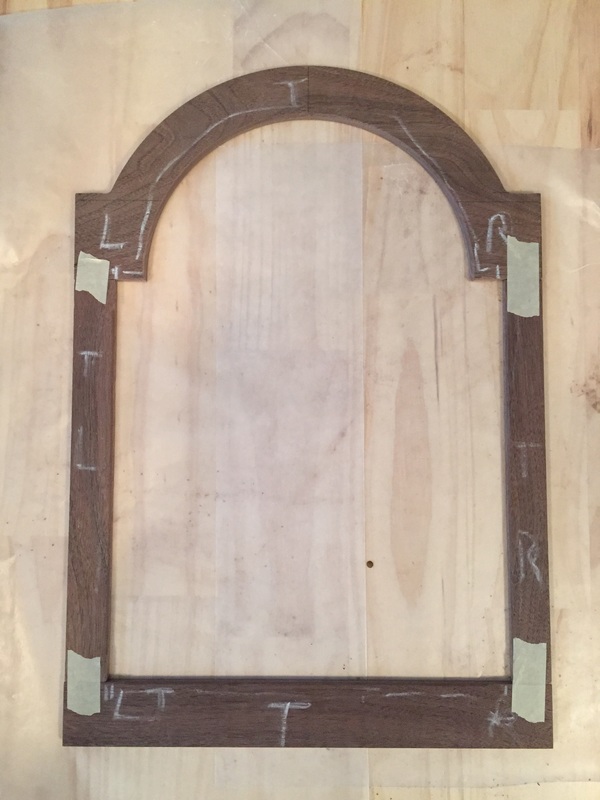
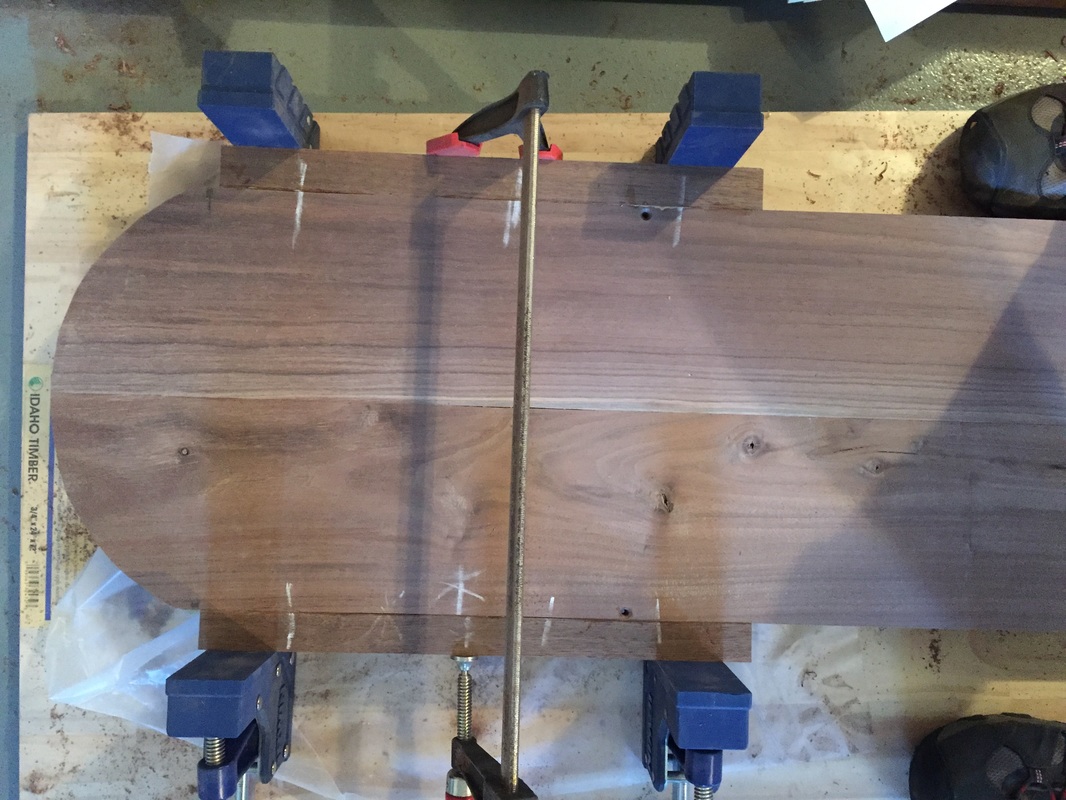
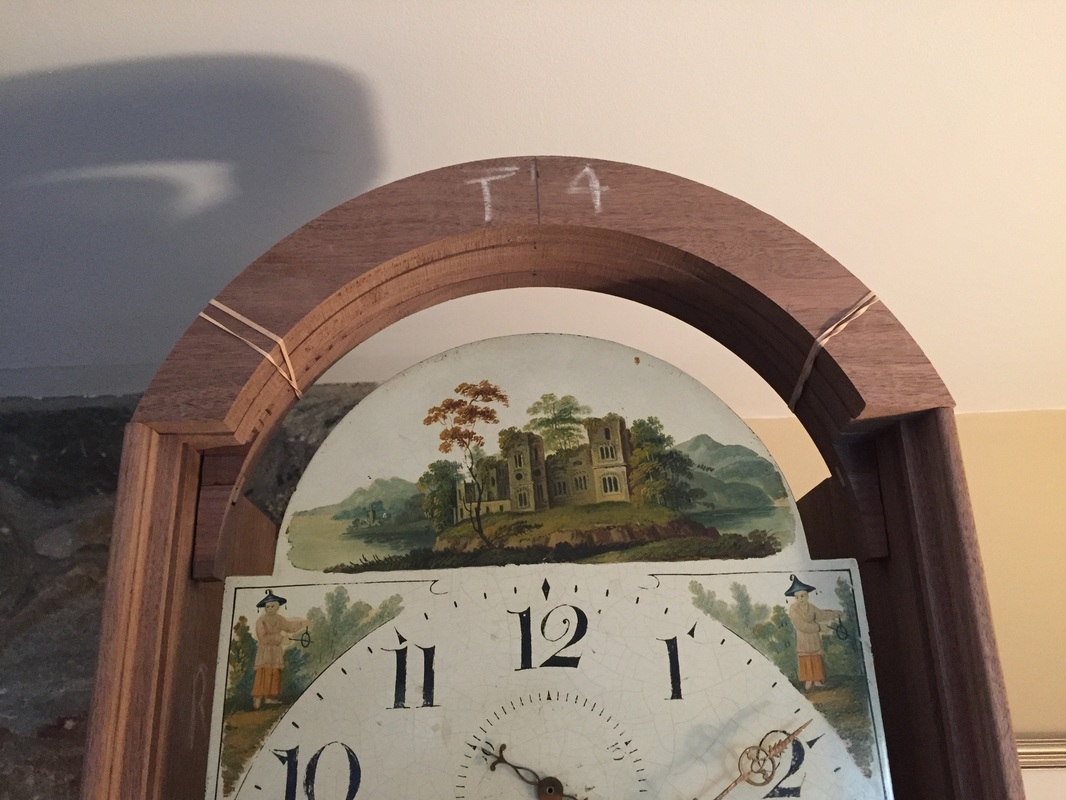
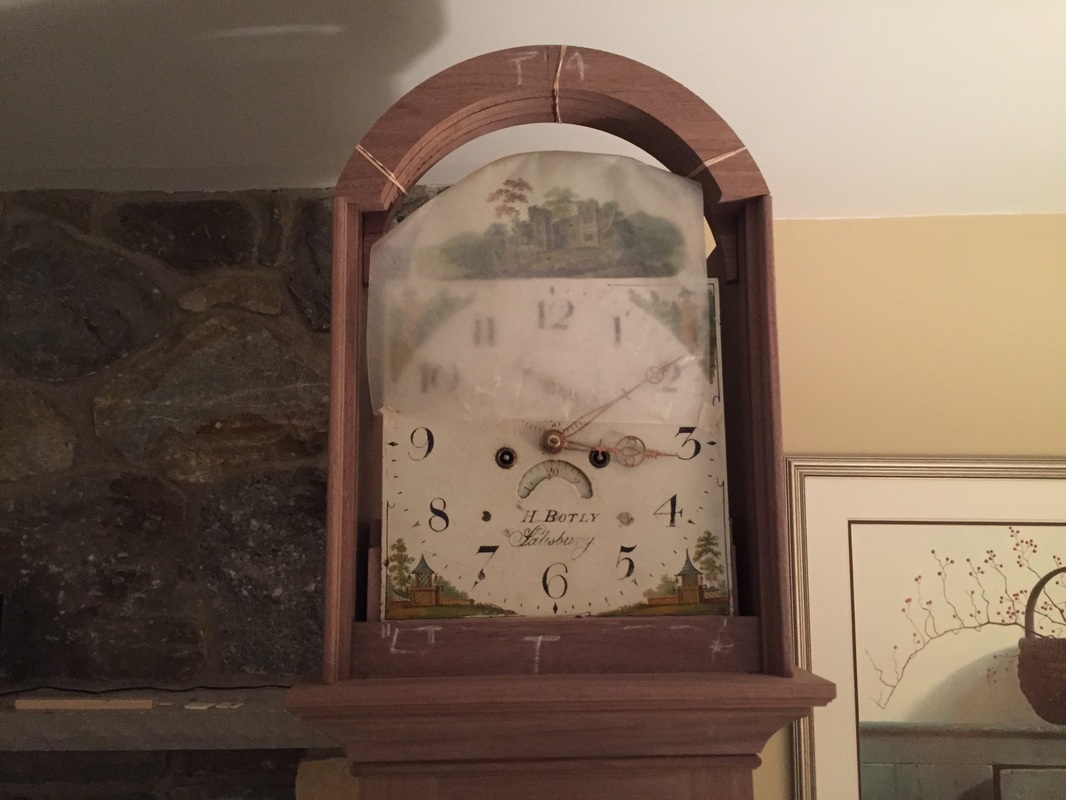
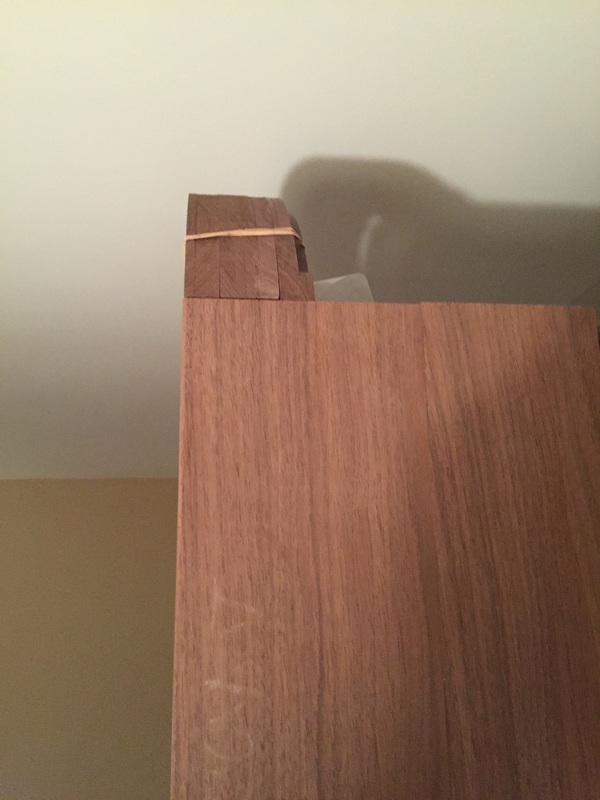
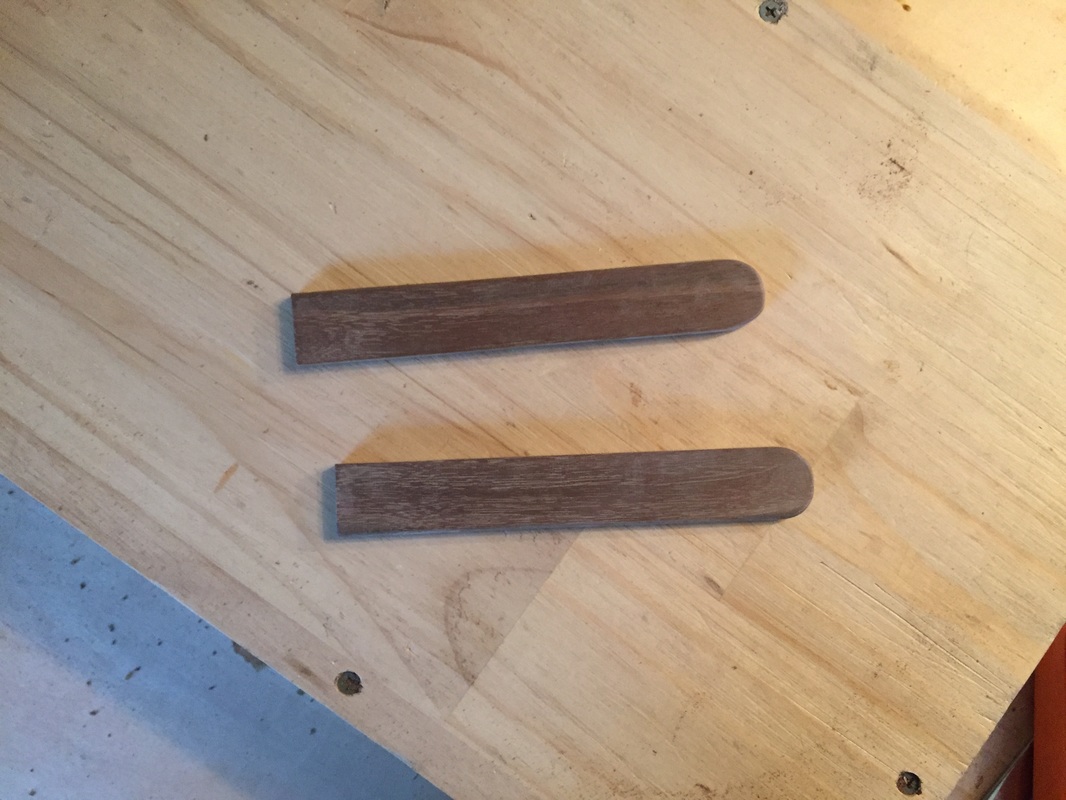
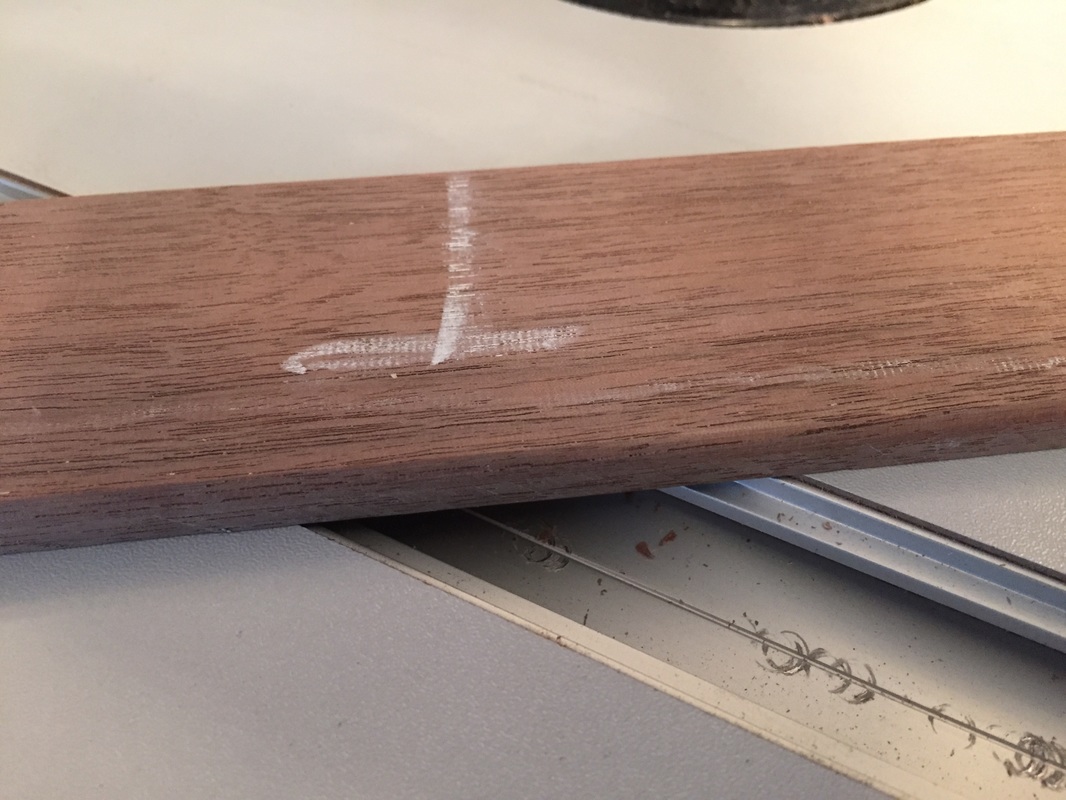
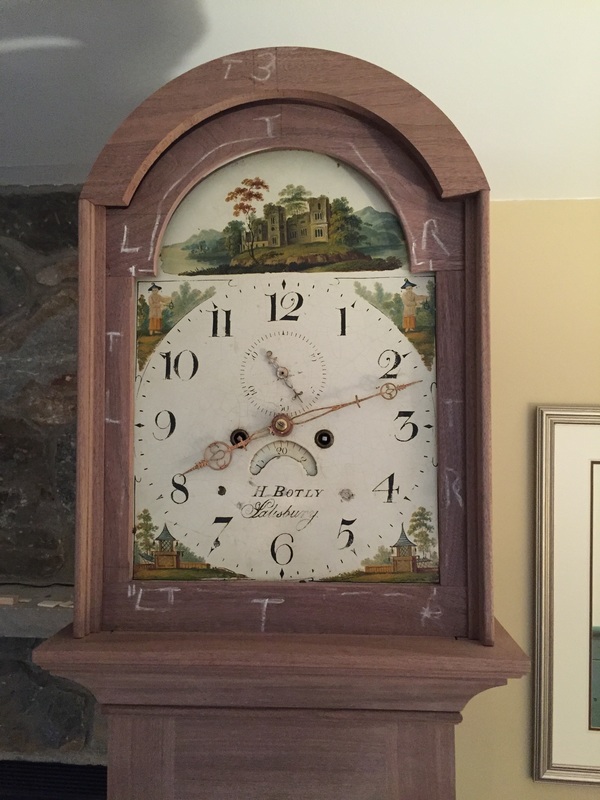
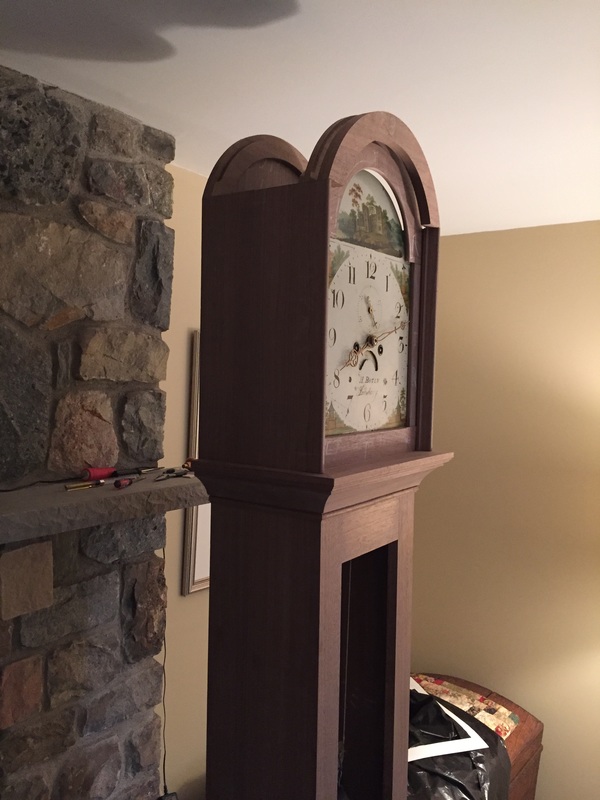
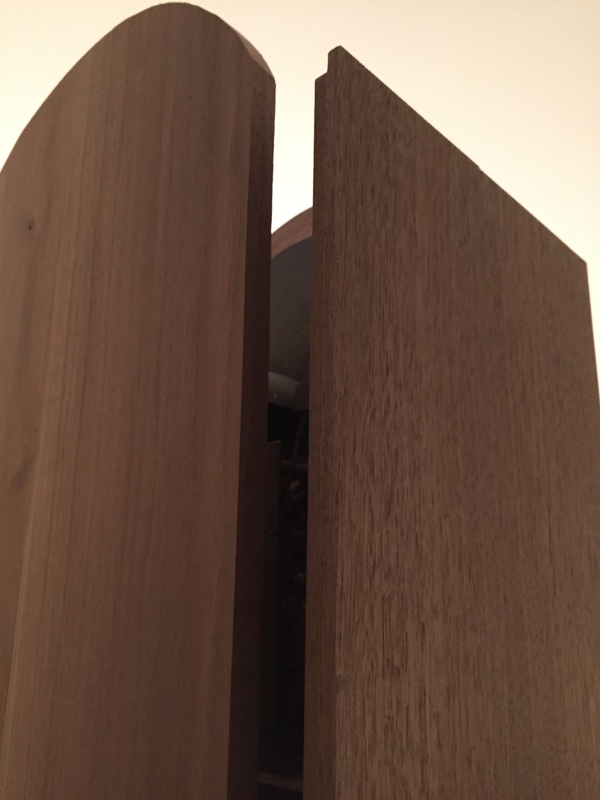
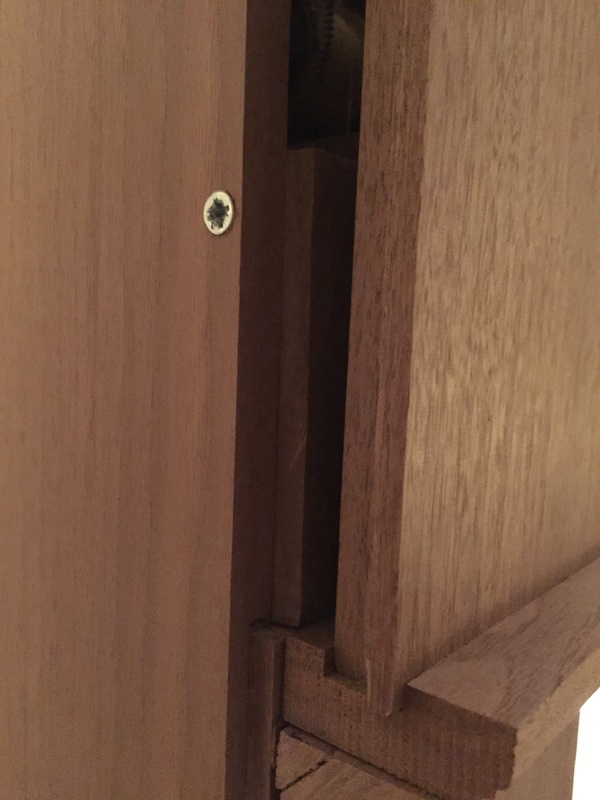
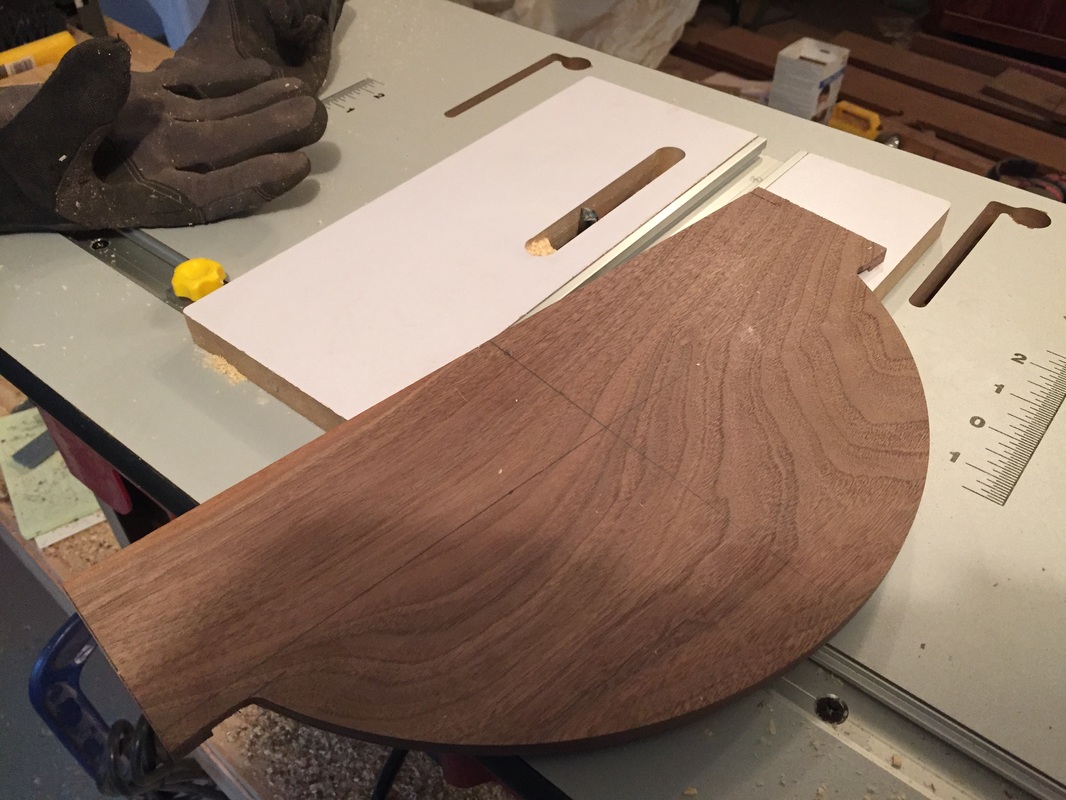
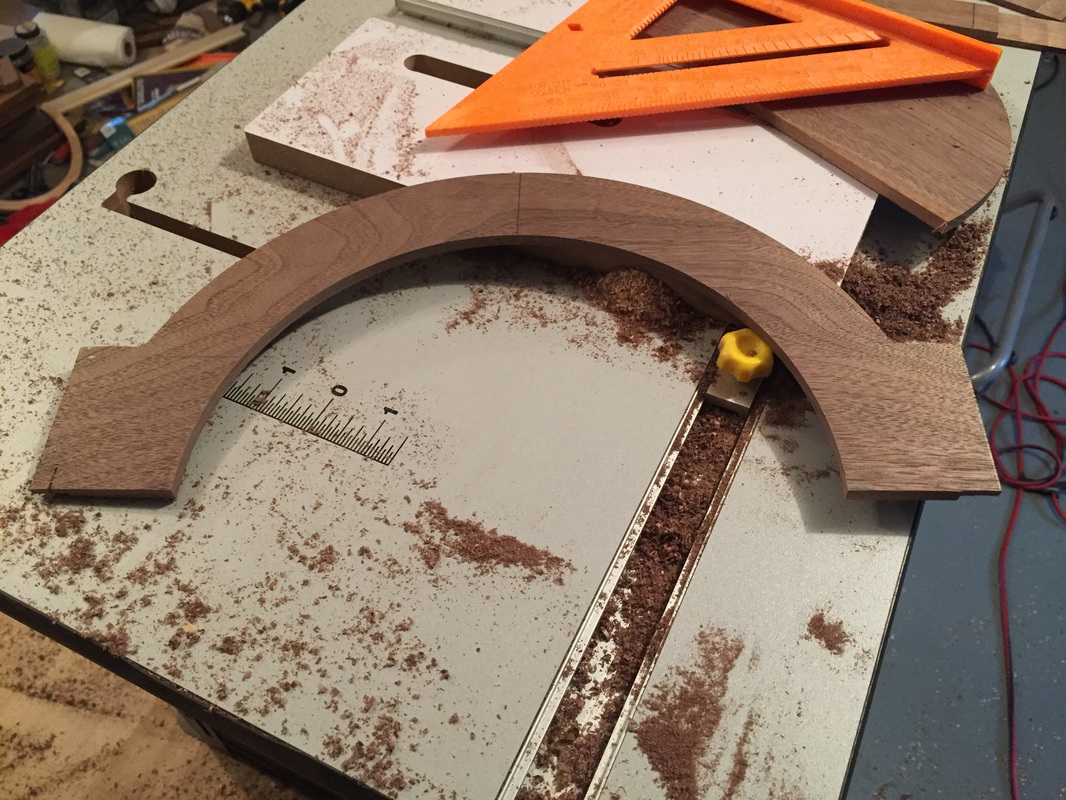
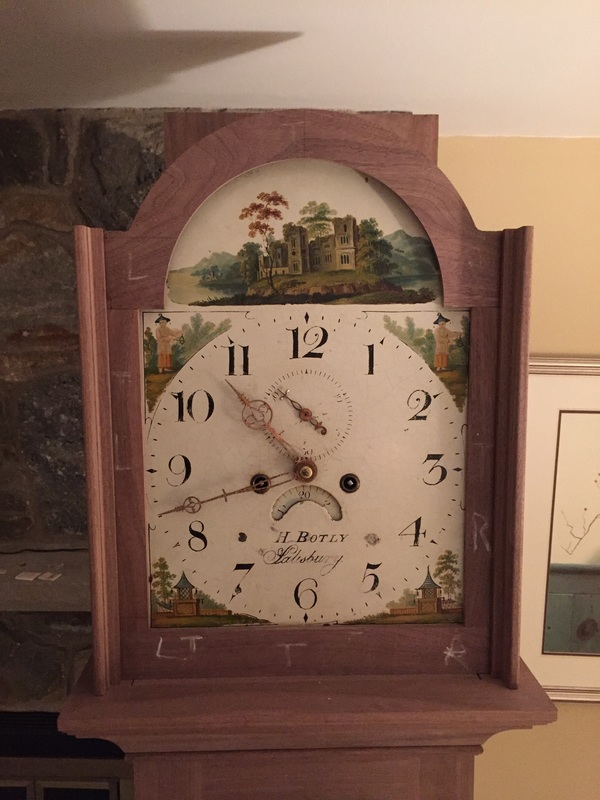
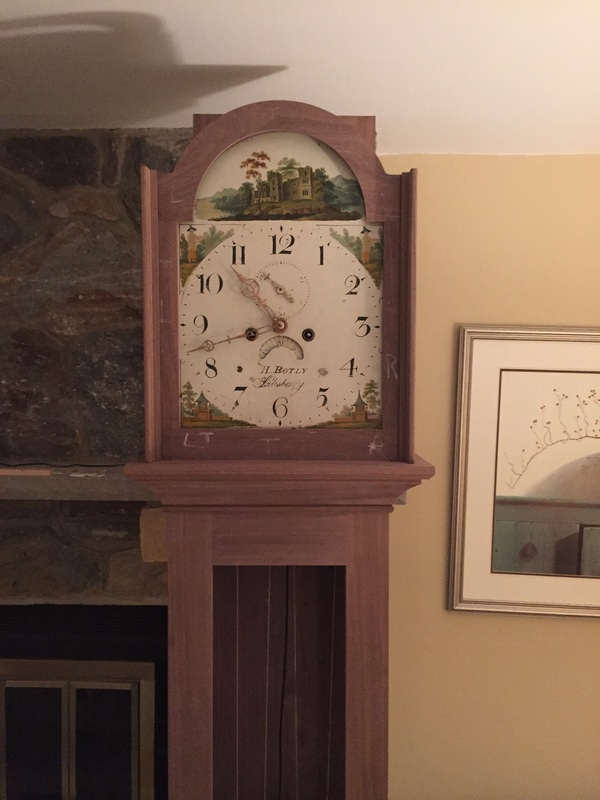
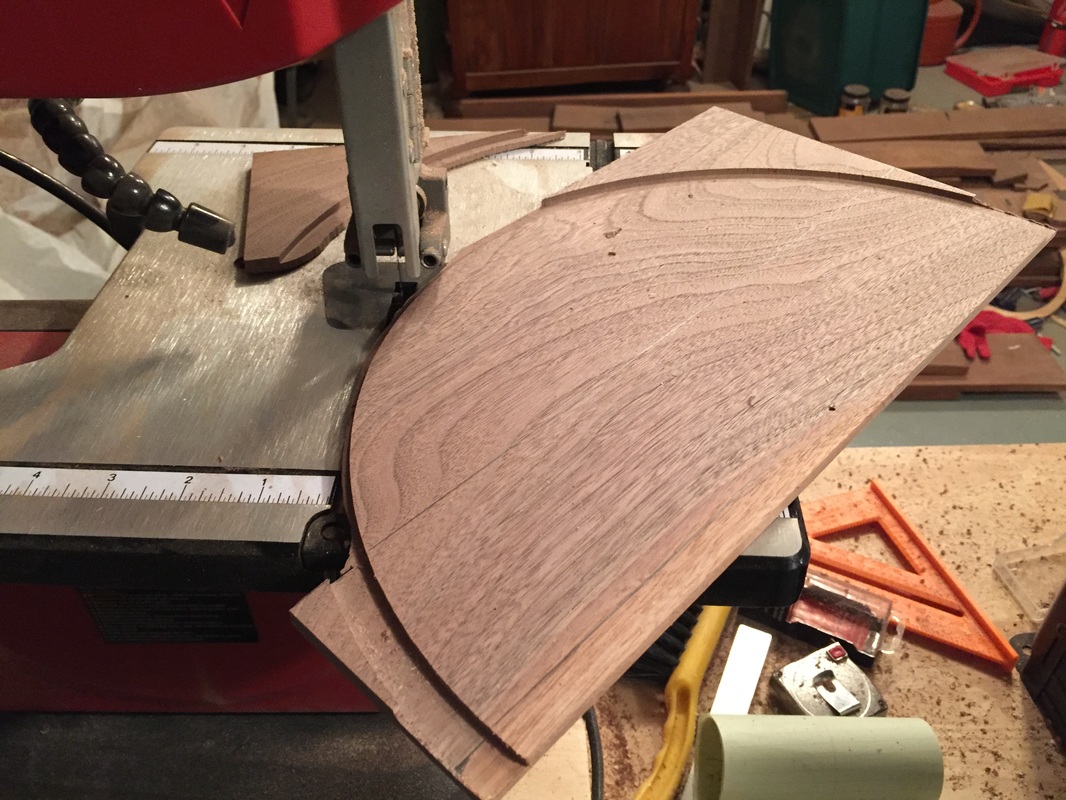
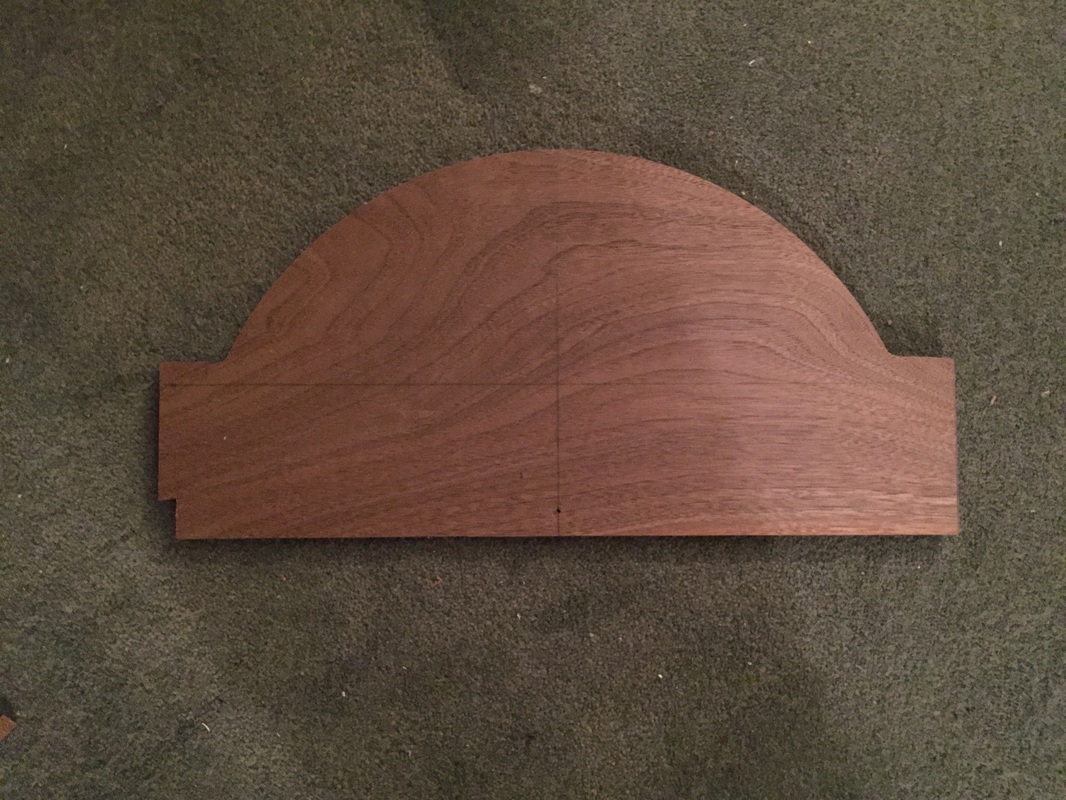
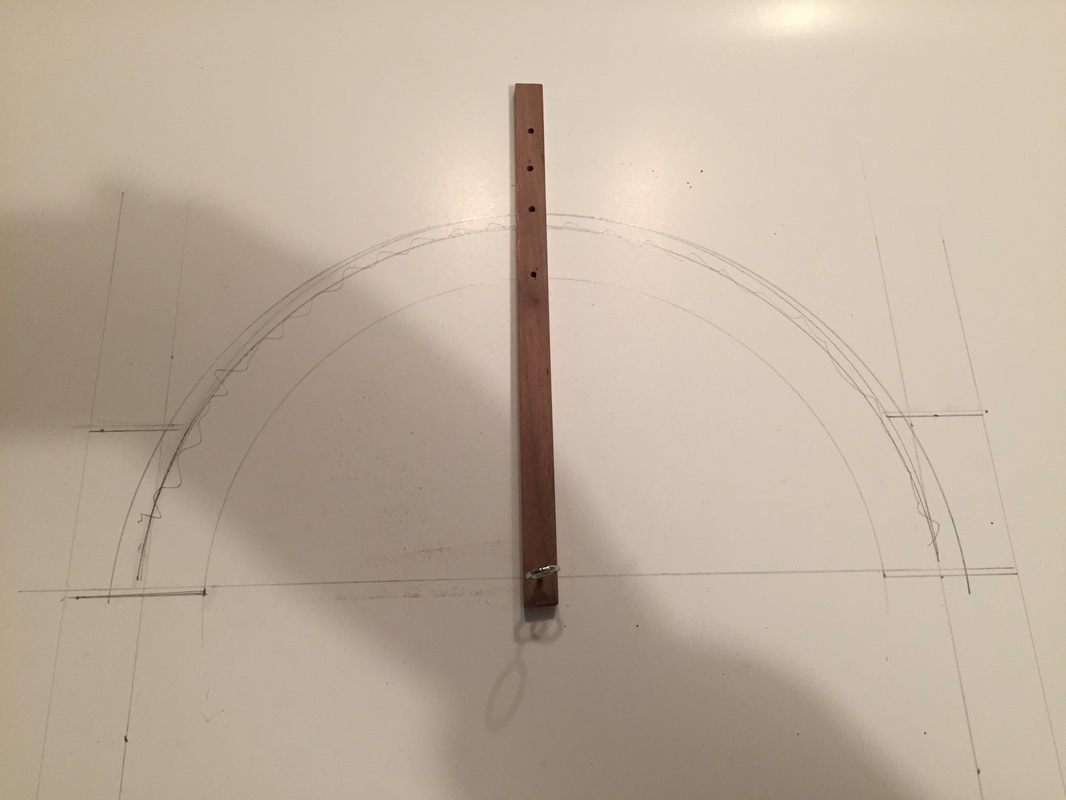
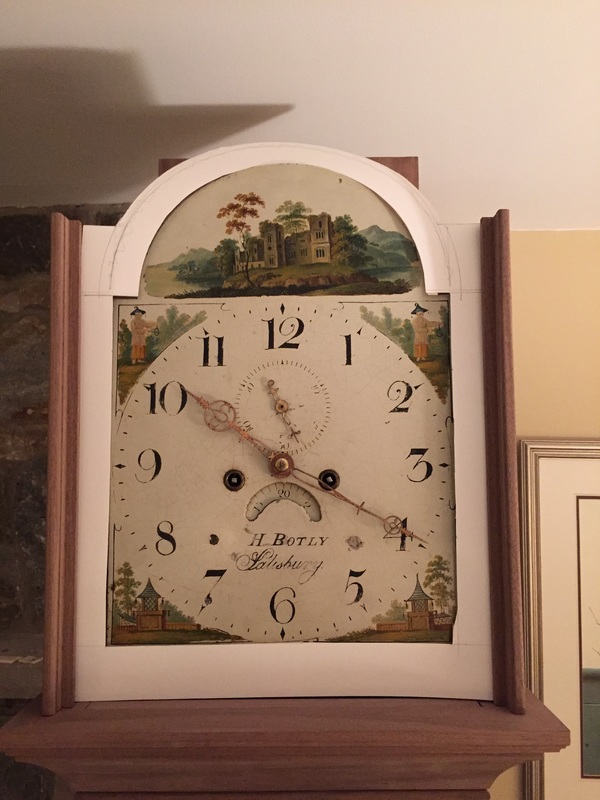
Figuring out the top-plates was a little more tricky than I thought. I needed to plane some more off the lumber to make for a precise fit on the hood. Also needed to true-up the lumber. Finally, I needed to come up with the correct bevel to allow the plates to engage with themselves as they were applied around the rabbeted curve. Those tasks took a few hours. But the top-plates are now glued-on to the hood top. Tomorrow I will turn the hood over and add some more glue to the top-plates and perform some general hood reinforcements. I will also likely add the hood glides to the waist. You will then see how that works. Then, on to the moulding which will be yet another challenge. My hope is to get the moulding completed by Wednesday. That's my hard-stop date before I start applying an oil finish to the clock case. I have another project that will take up the entire month of February, so the hood door and, if necessary the moulding, will be completed in March. Click on photos below to enlarge. And thanks for stopping by!
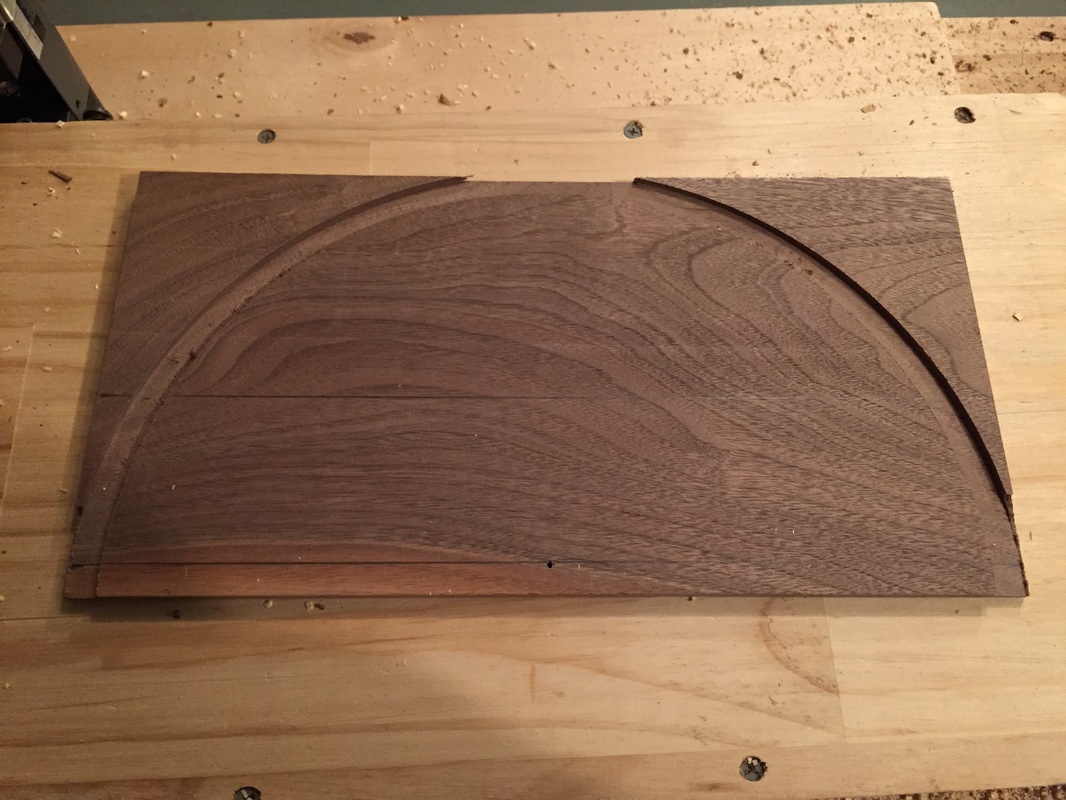
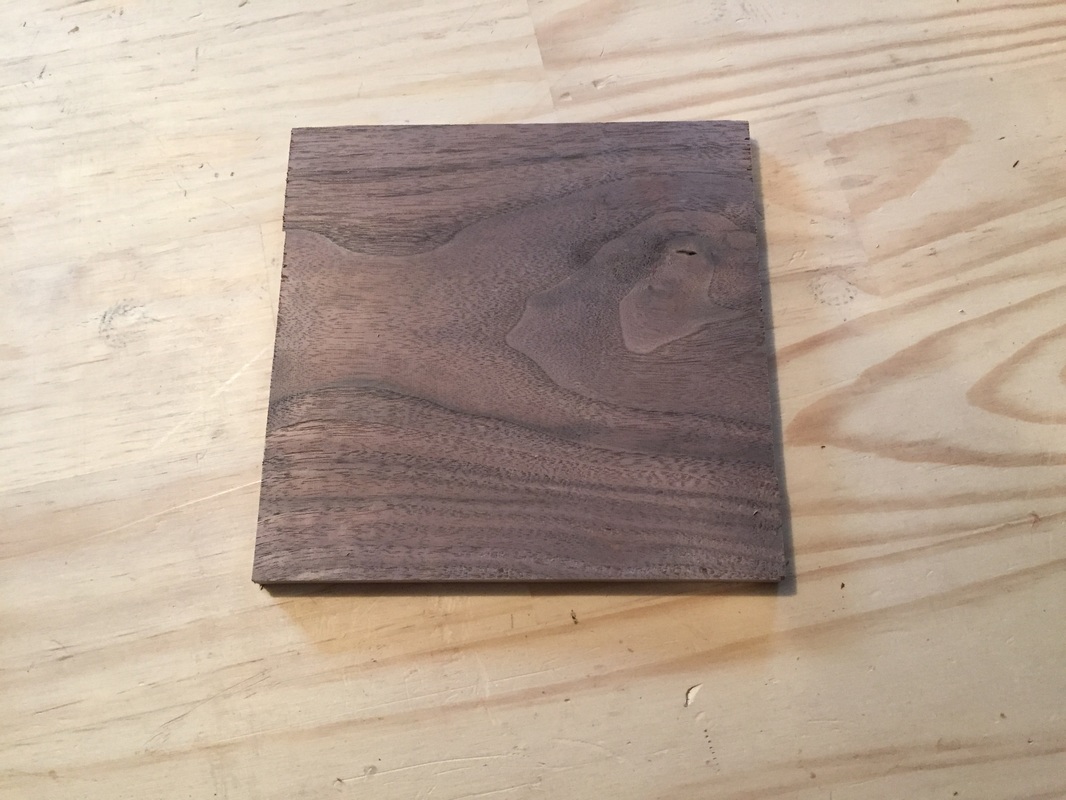 It all starts with the right thickness of walnut lumber | 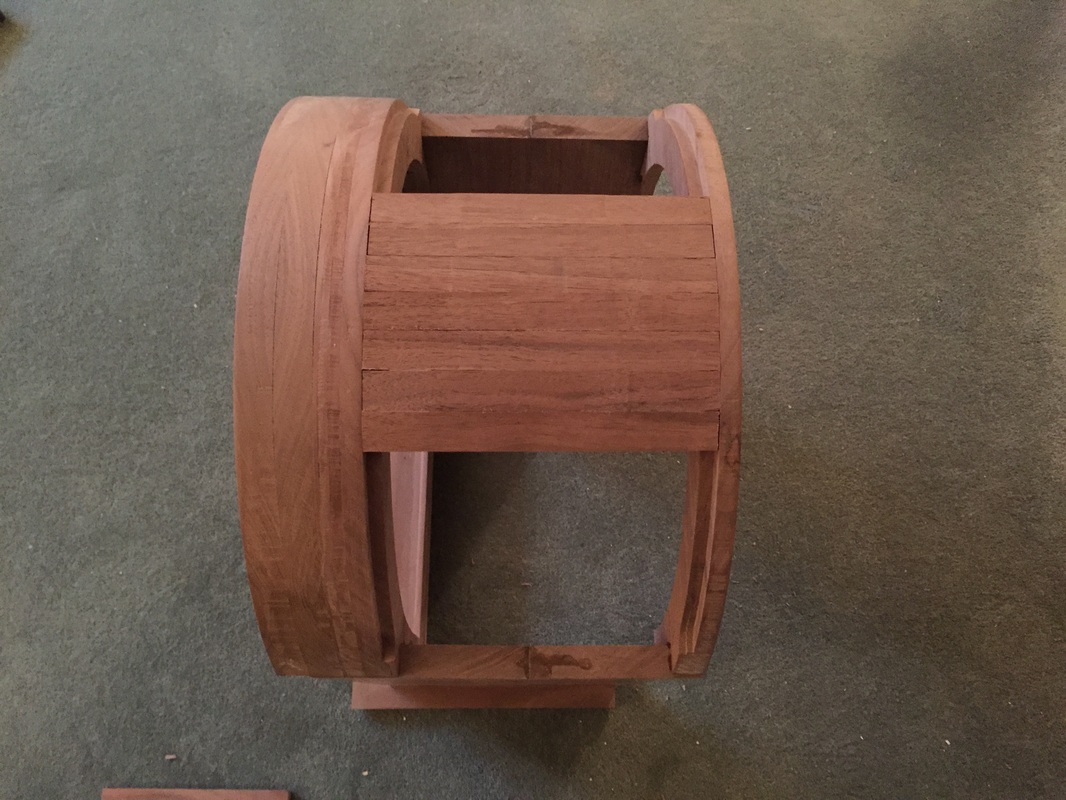 Cutting and laying the plates one at a time | 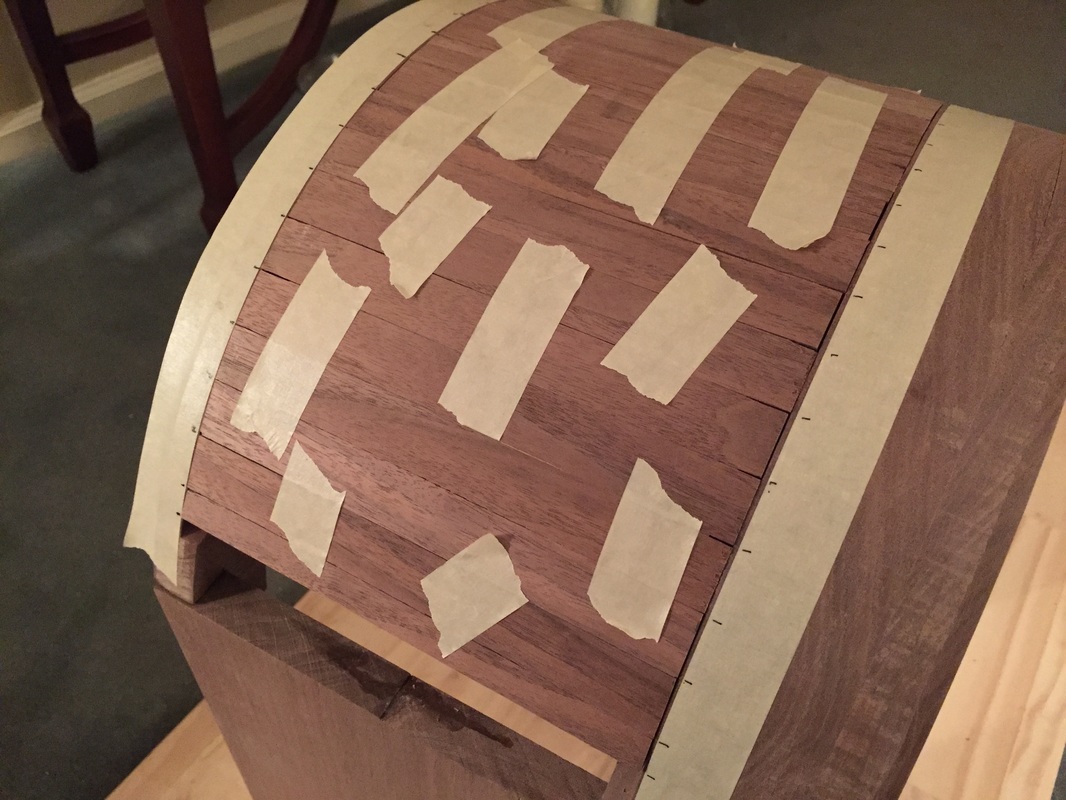 Using masking tape to manage the many plates |  Here the plates are all glued-up | 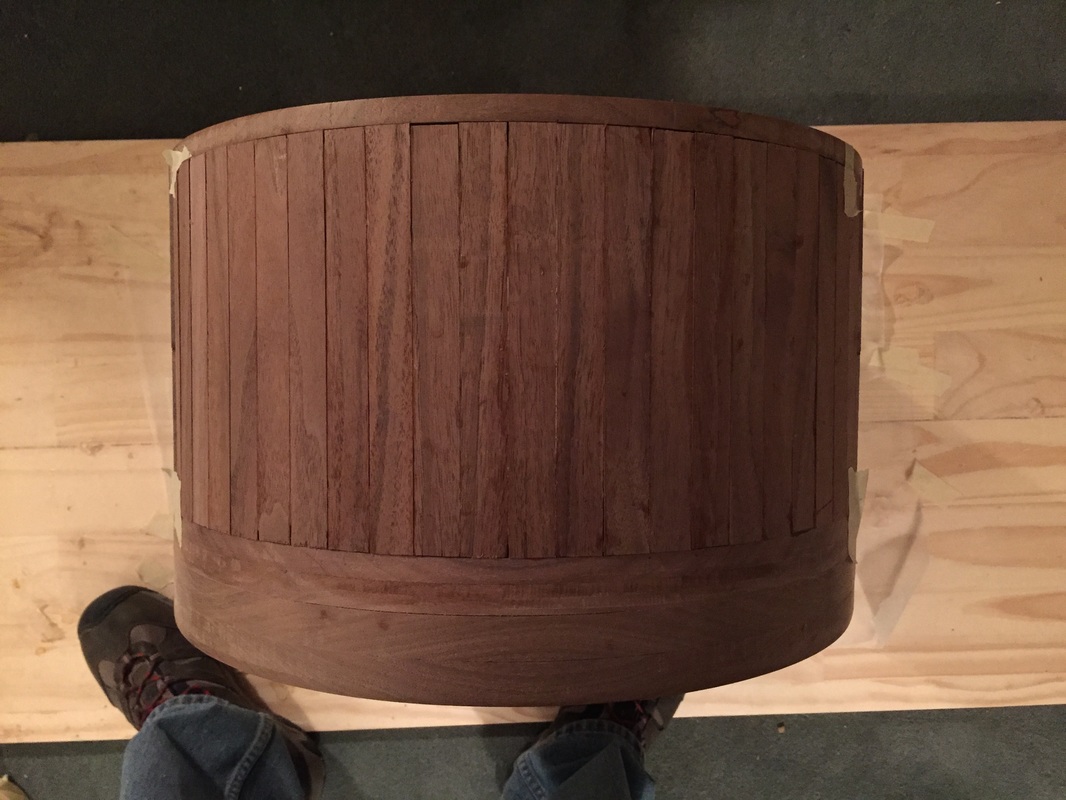 Ready for a thorough sanding tomorrow | 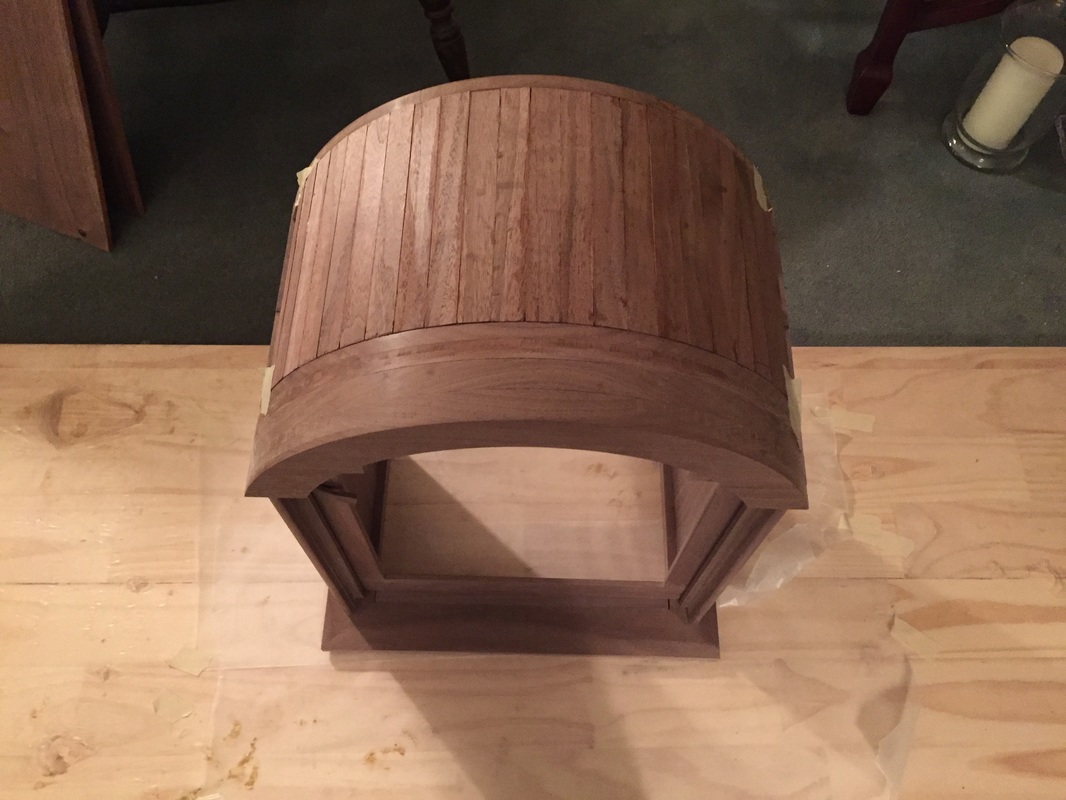 A front view |


 RSS Feed
