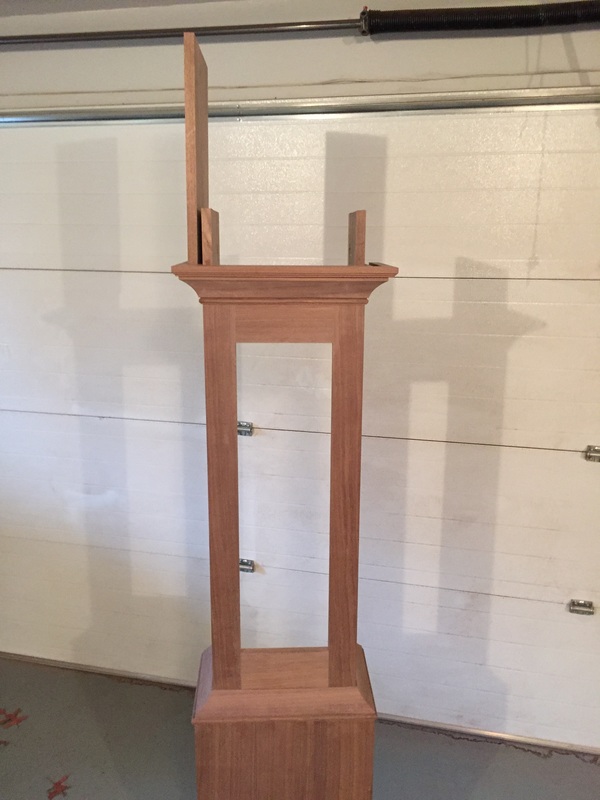
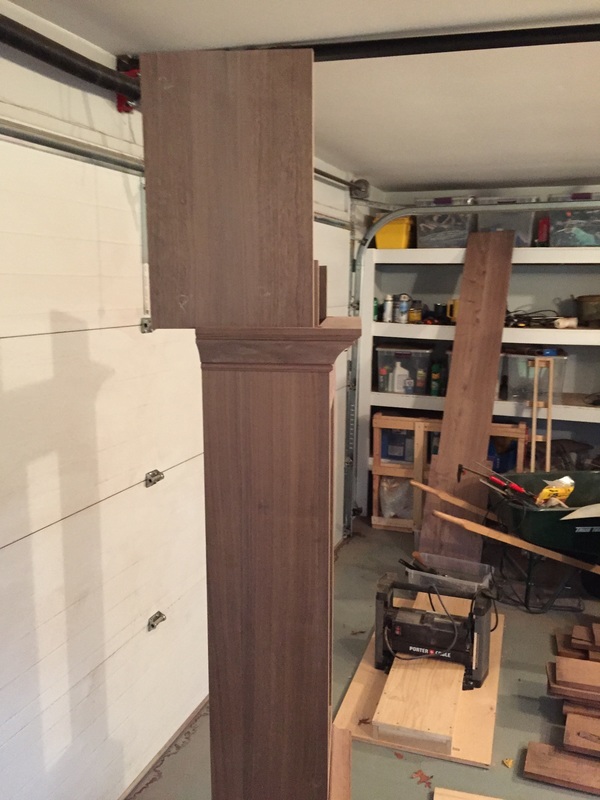
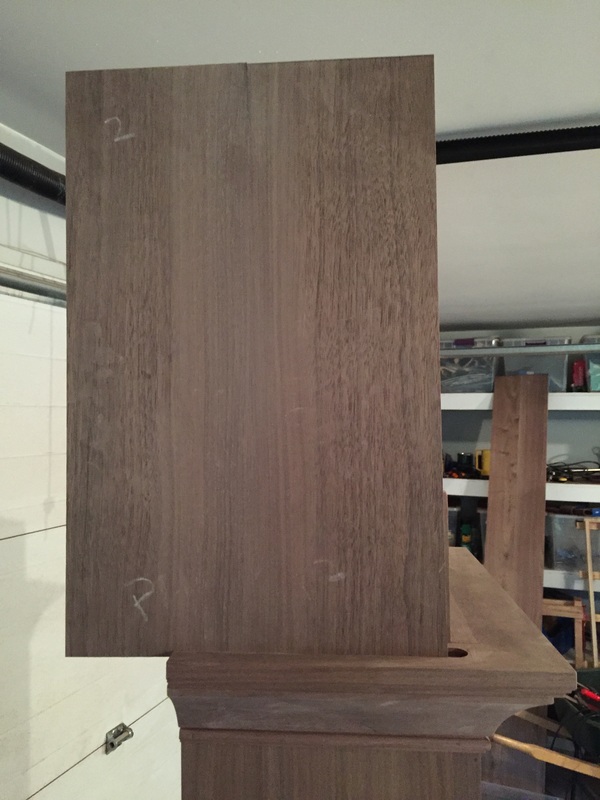
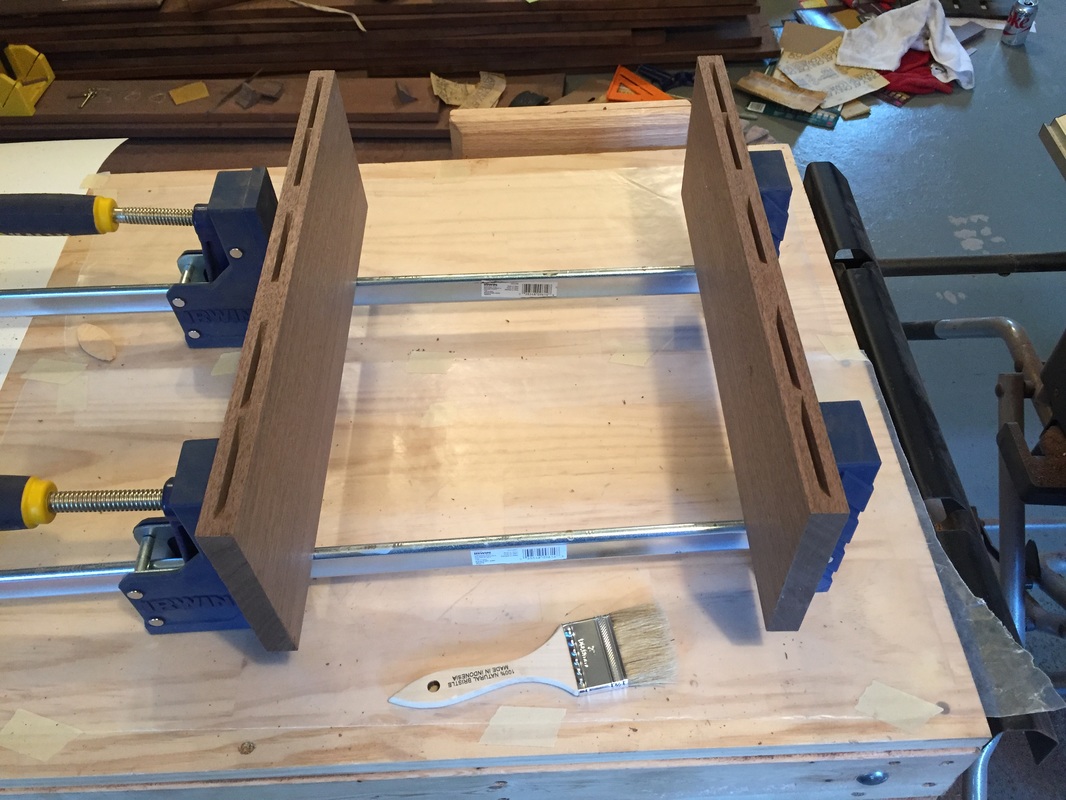
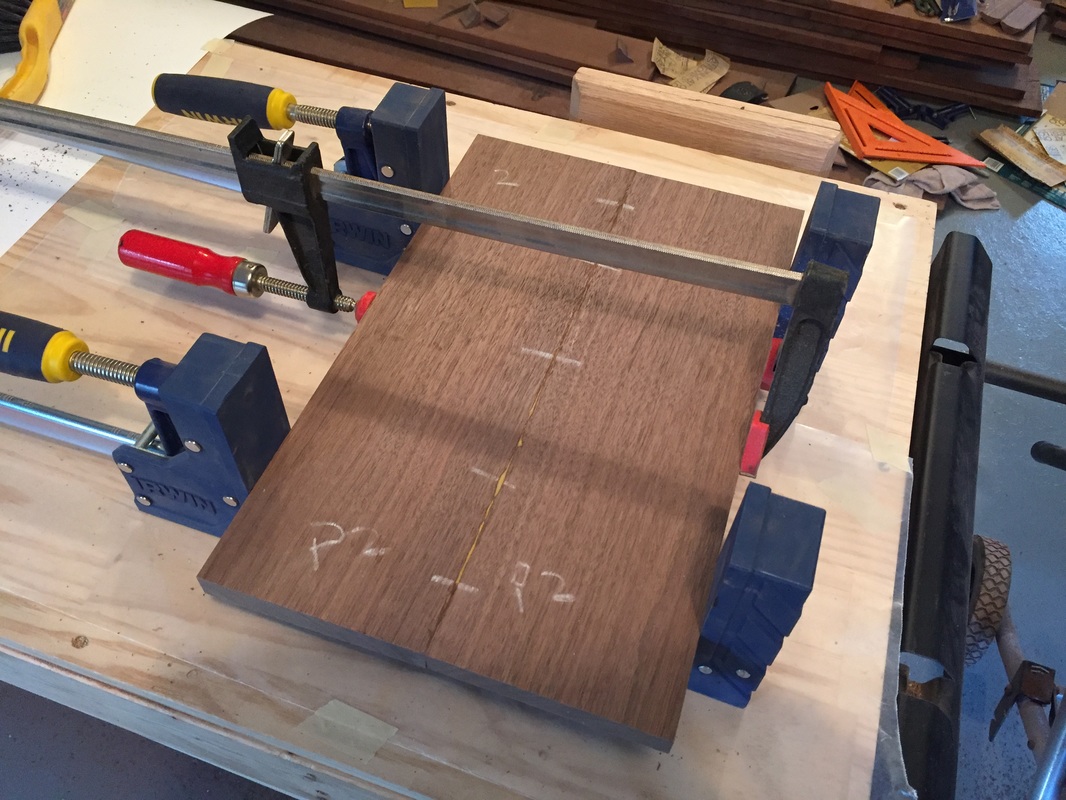
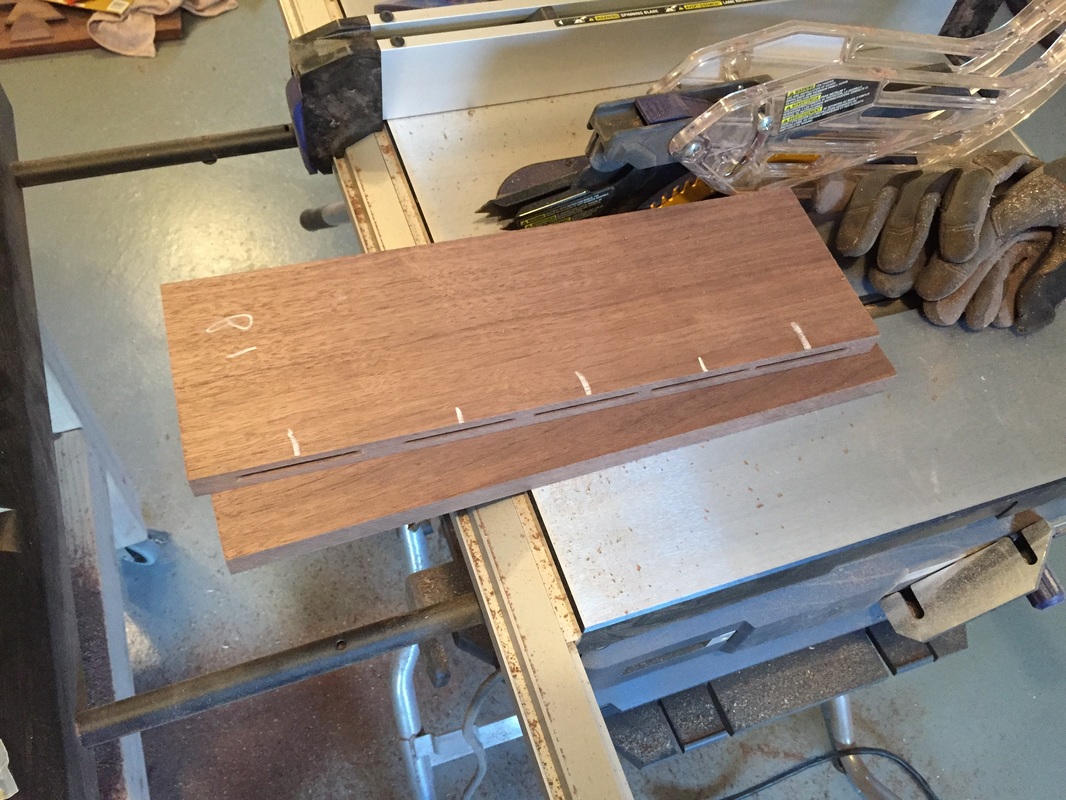
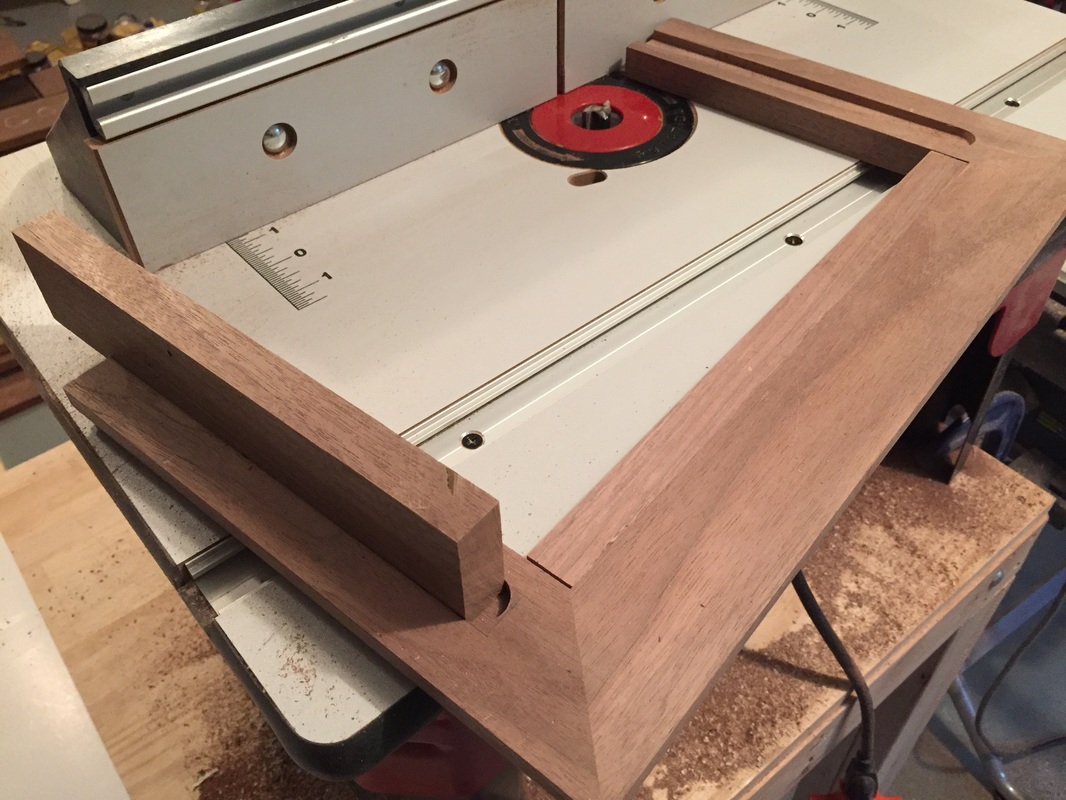
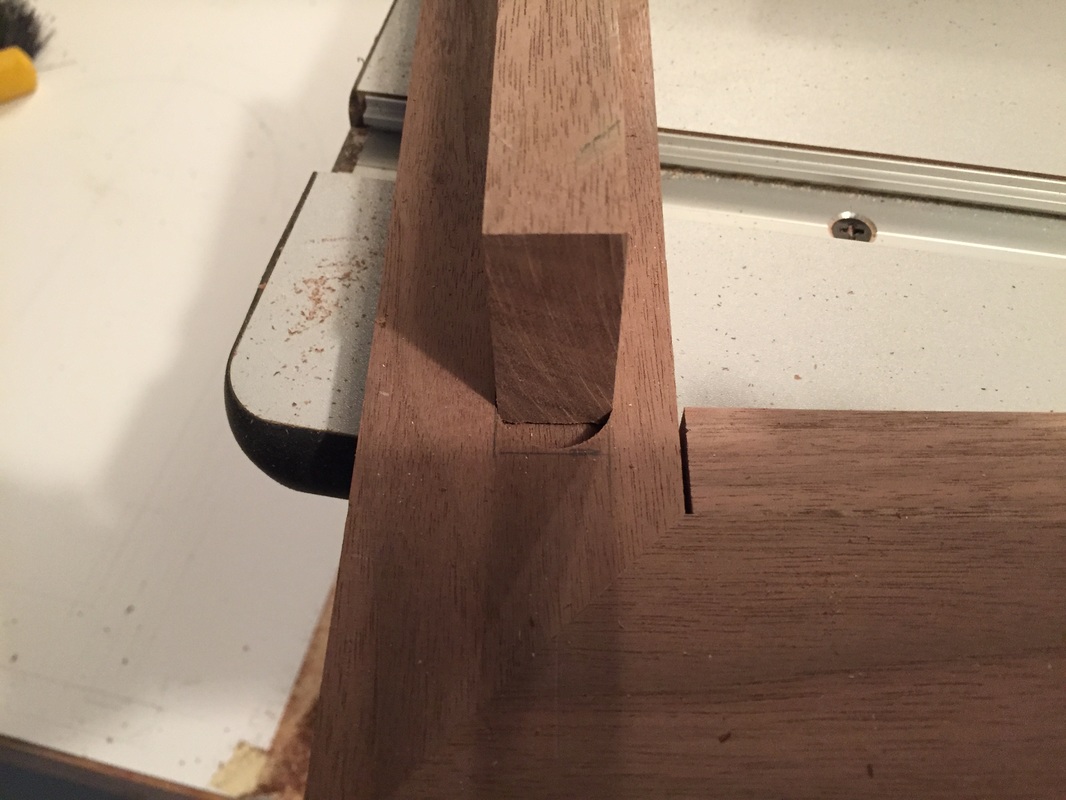
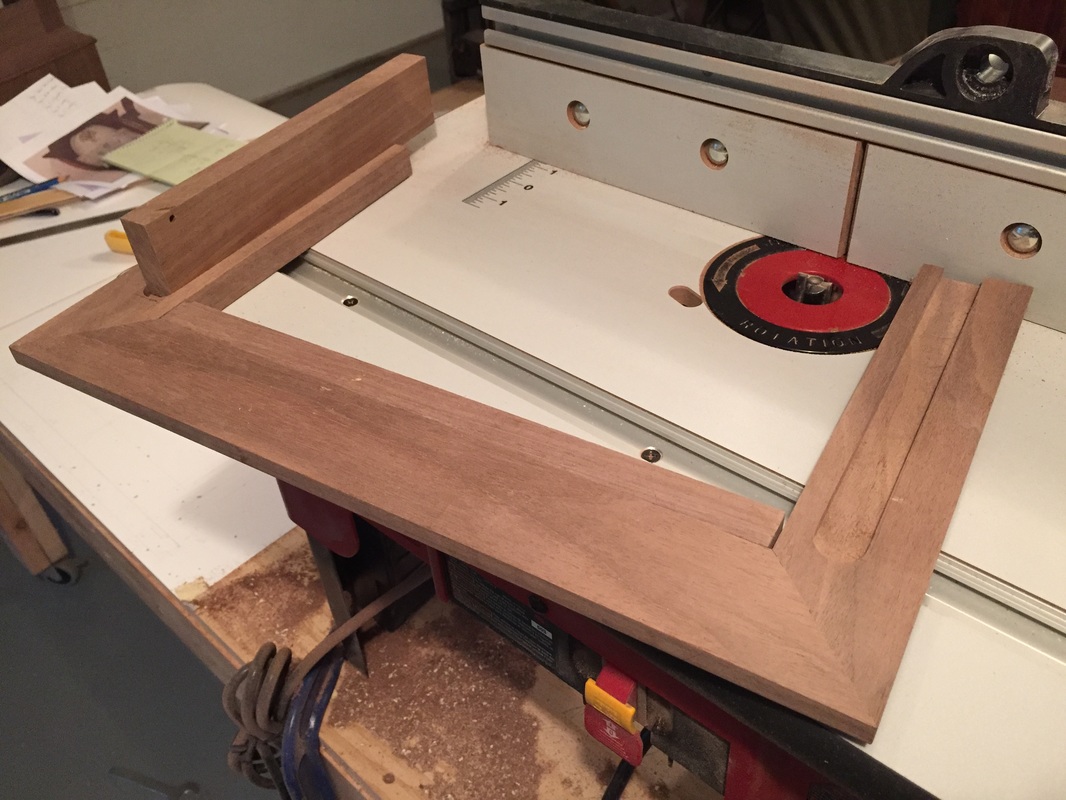
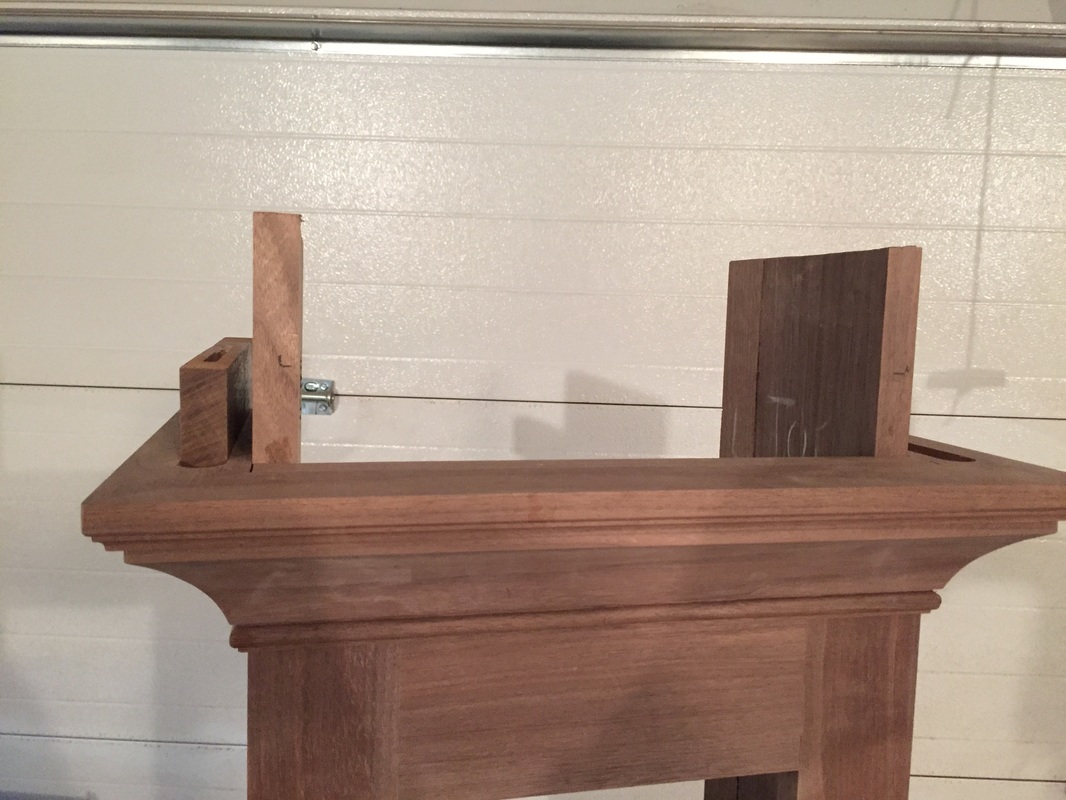
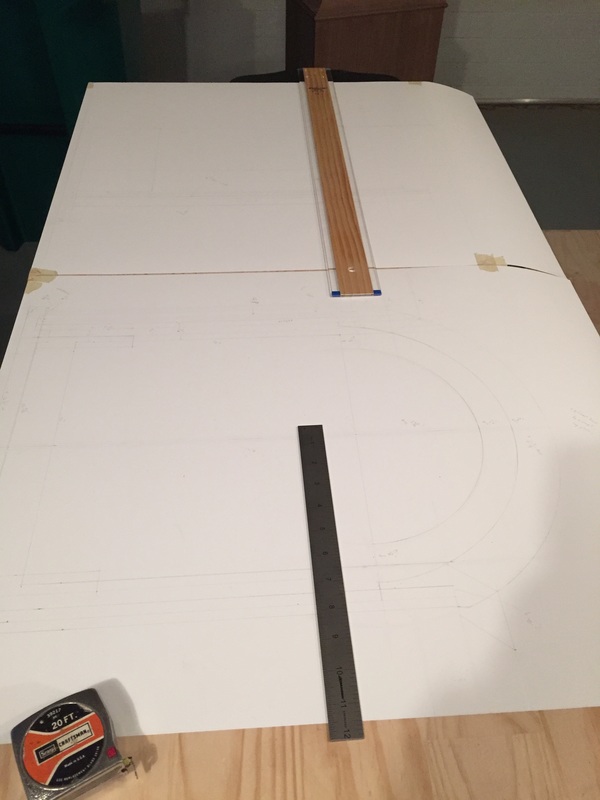
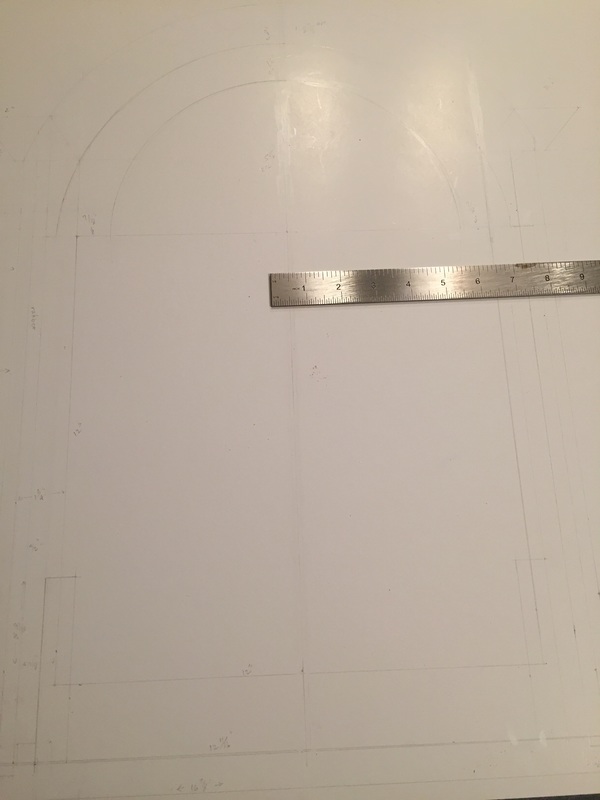
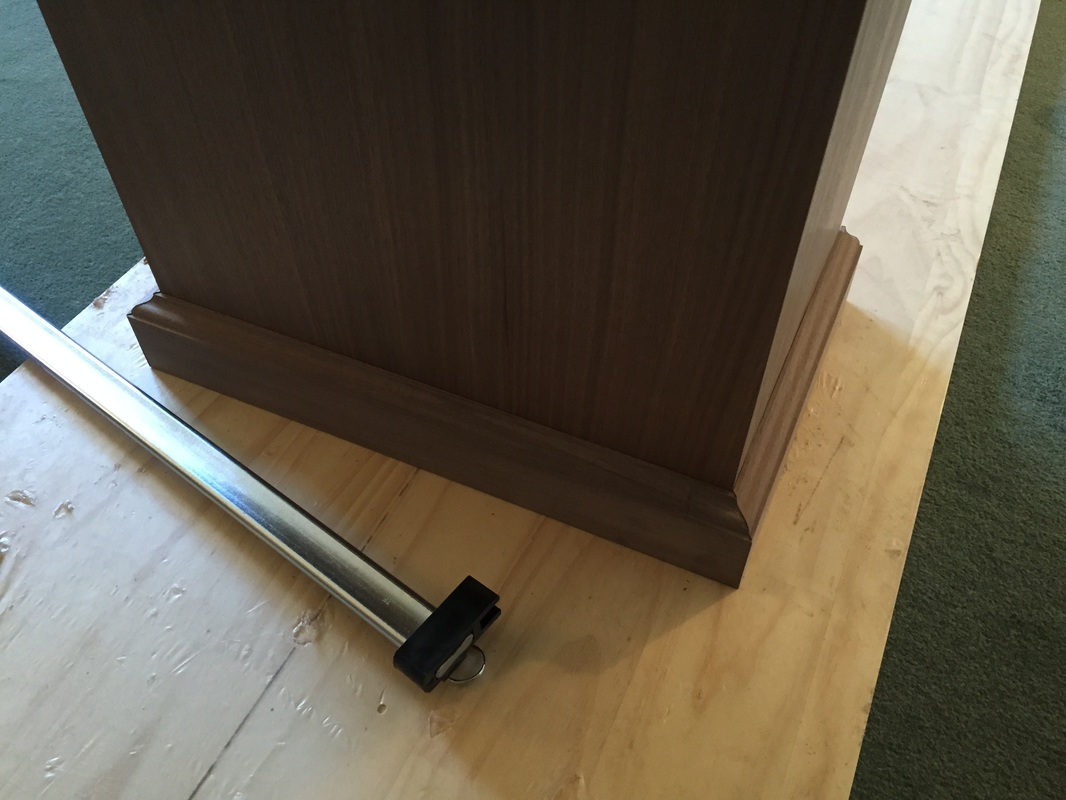
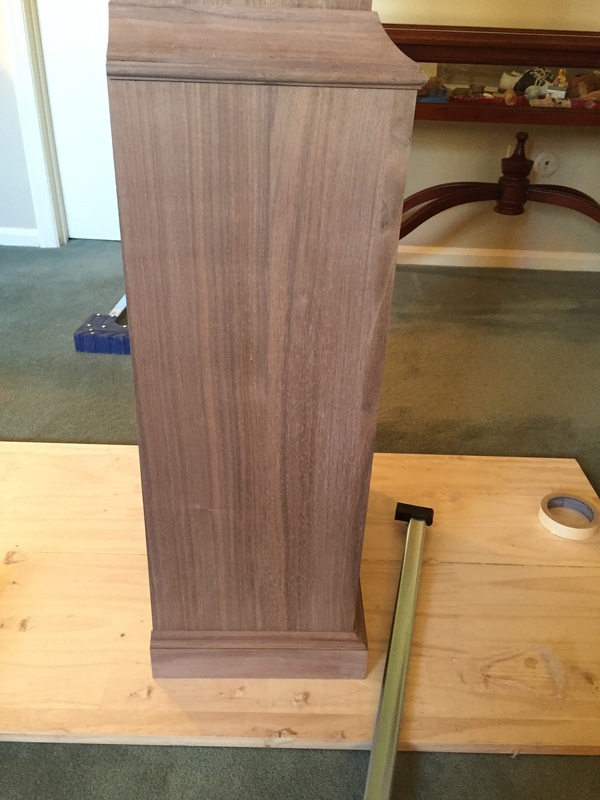
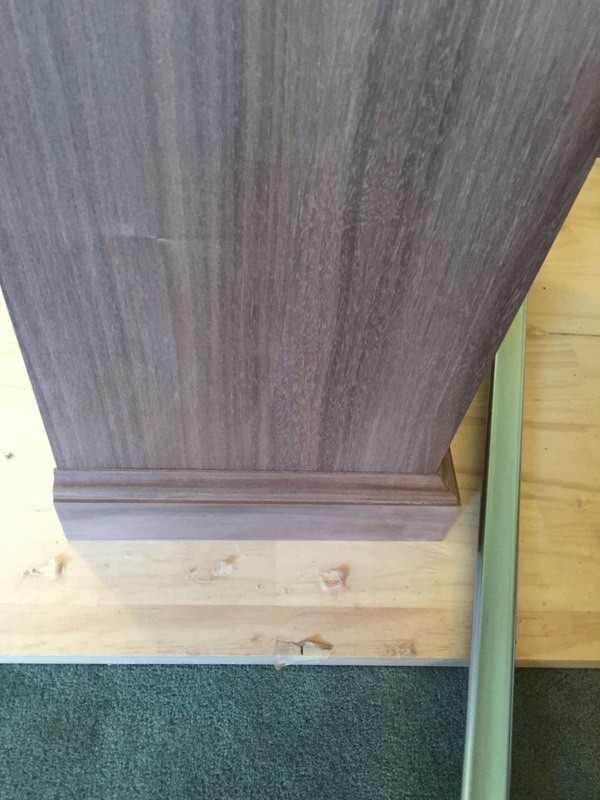
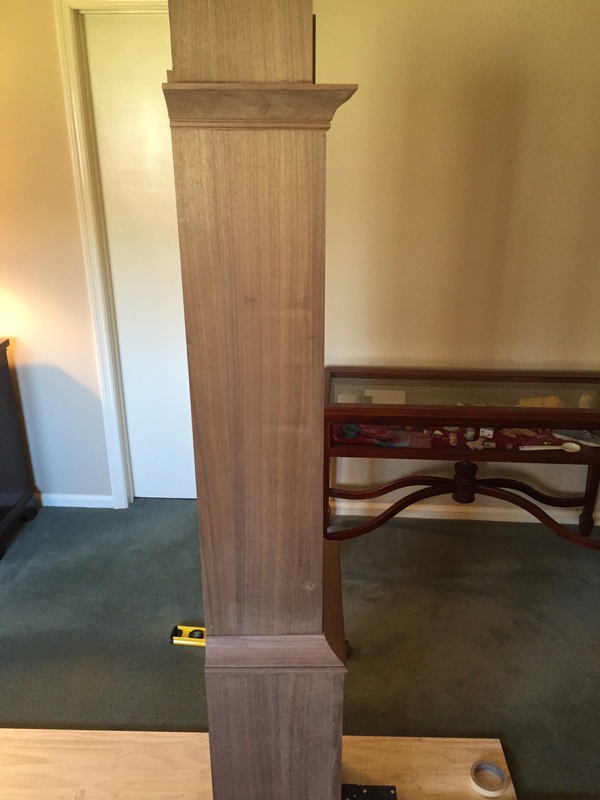
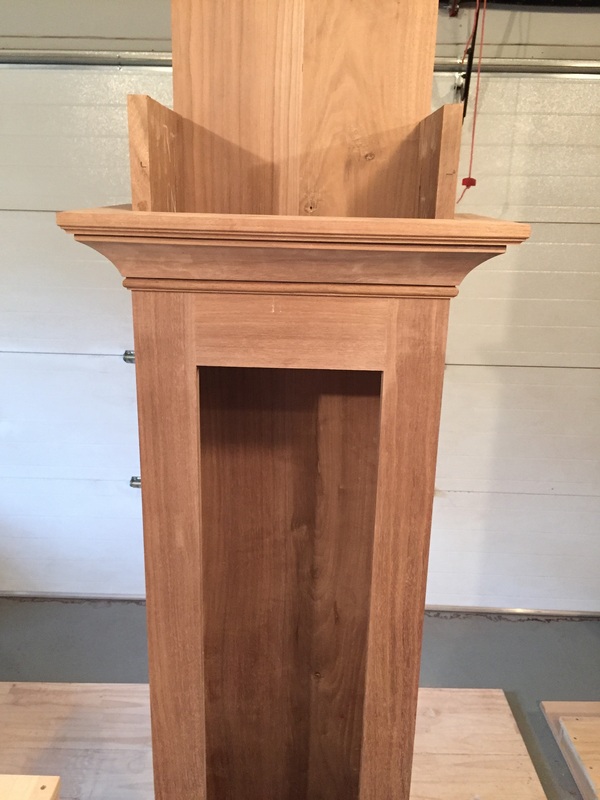
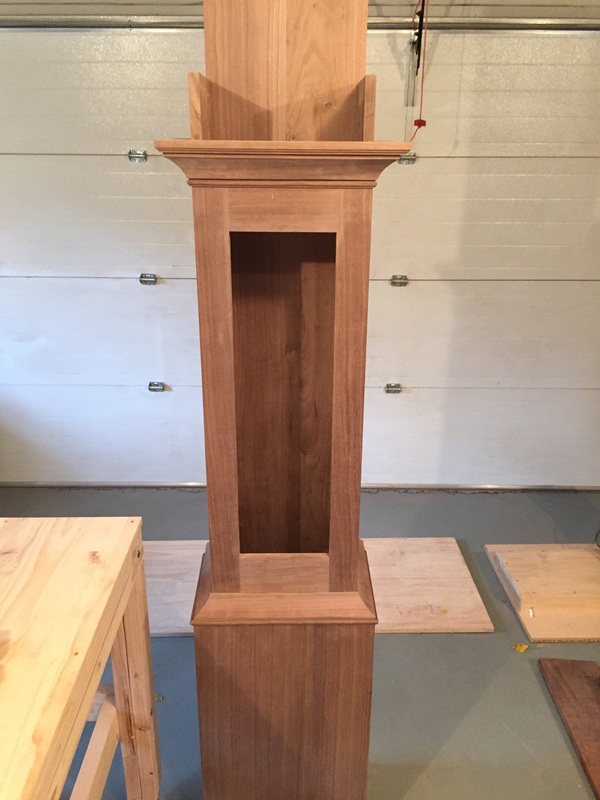
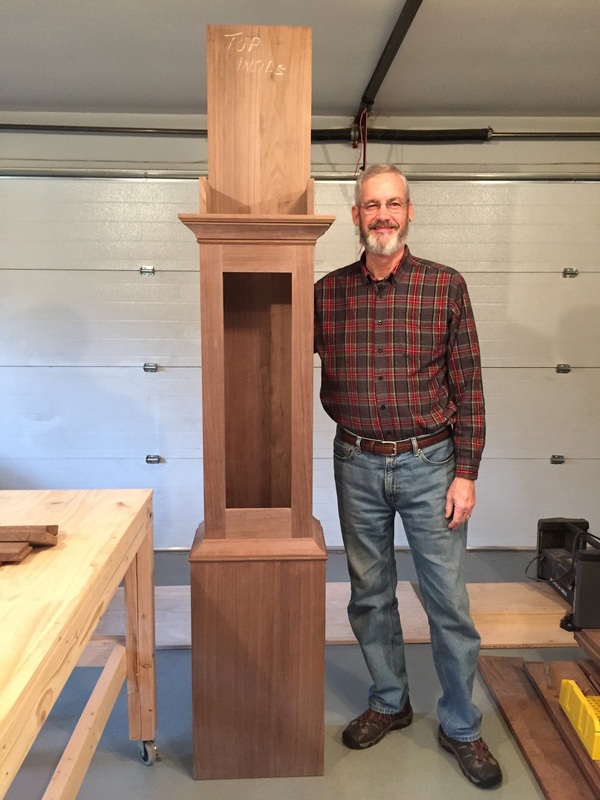
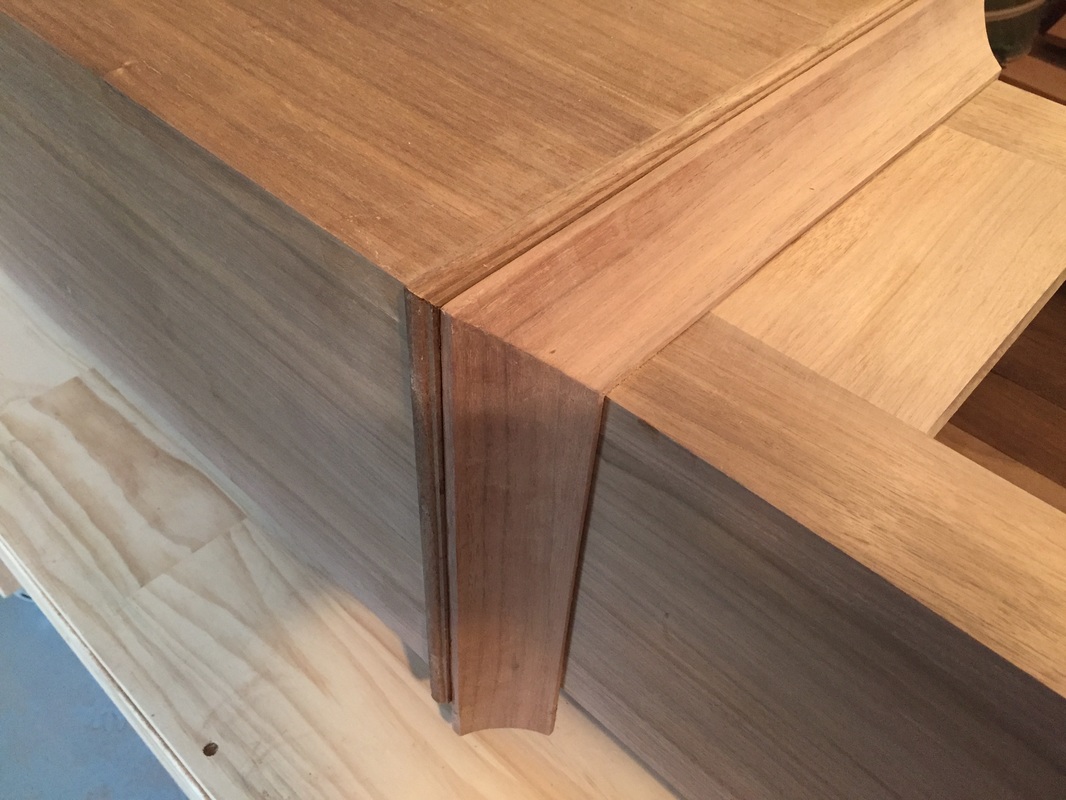
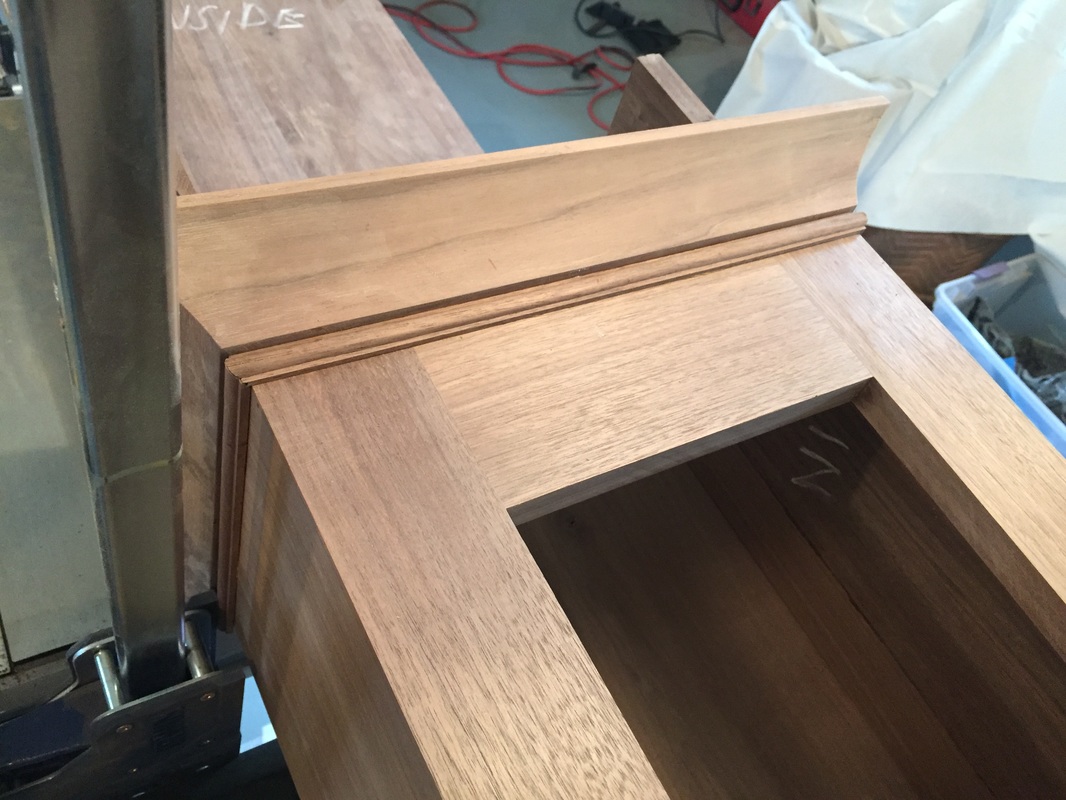
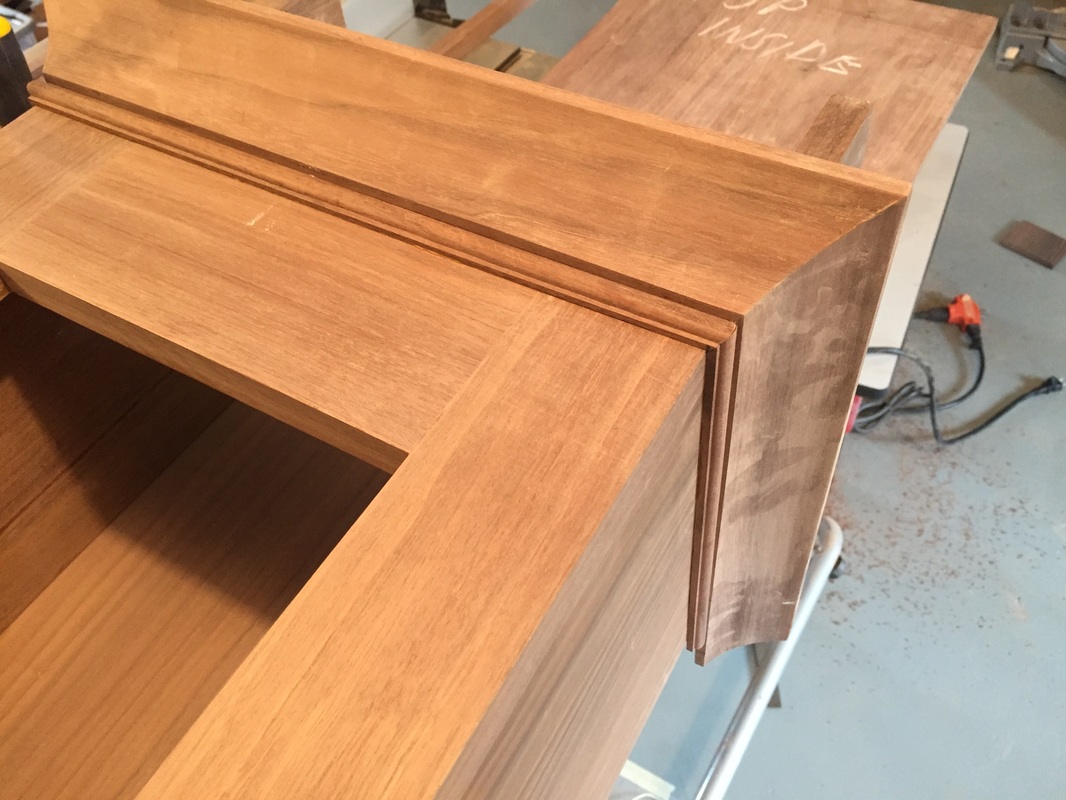
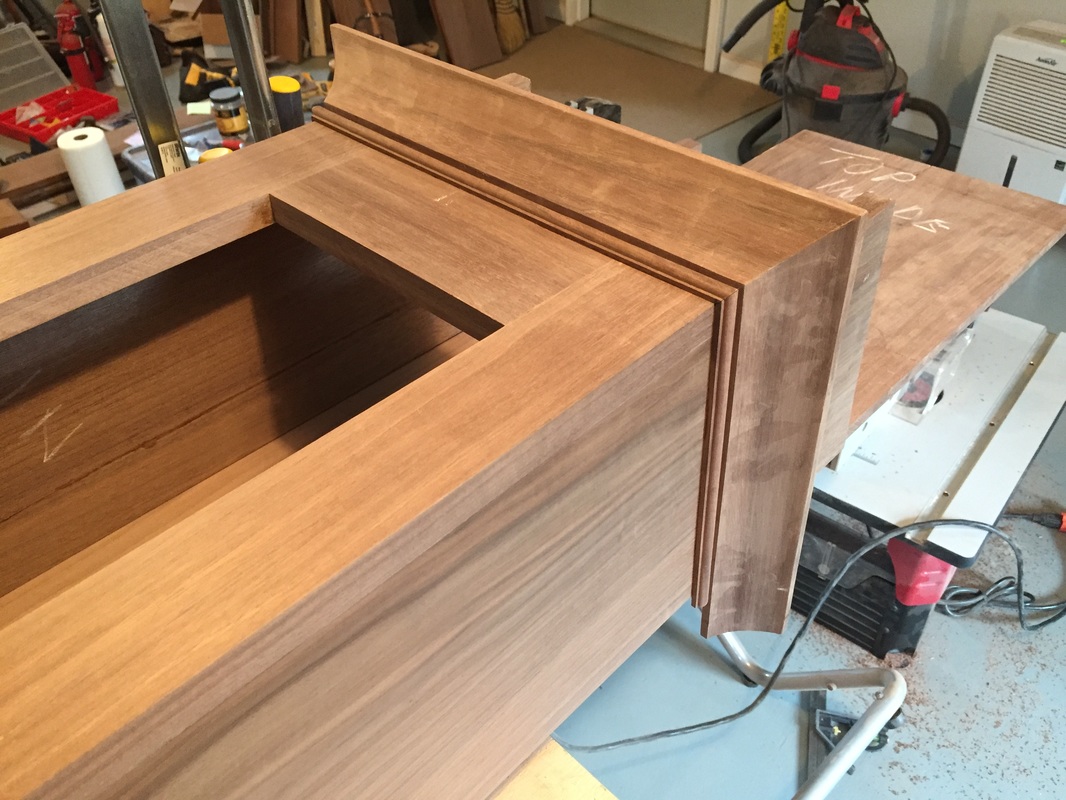
One side of the hood is ready for the next steps while the second side is now glued-up. I placed the first side in the sill slot, but the side still needs to be trimmed, notched, rabbeted, etc. So it's not in proper position but it DOES fit into the slot in the sill. Click on photos to enlarge. Enjoy!
Today, I trued-up some walnut lumber that had been planed months ago. Then I cut 4 pieces that will make-up the two sides to the hood. Then biscuited and glued-up one of the sides. Need to wait until tomorrow for the second side as I only have two large clamps. click on photos to enlarge.
After another few hours of hood design today, I finally got back to building the clock. I made the important dadoed notch in the hood sill. That was a nail-biter as the sill had looked very nice already before-hand. I had to await the design in order to move forward. Tomorrow, I plan to build the two hood sides. Because of their 9" width, I will need to join 2 boards for each side. I will true-up the walnut lumber, cut them to size, and then biscuit and glue them up. Following that, and on another day, I will need to cut dados and rabbets on the various sides and cut a notch to hide the end of the dado cut. Click on photos to enlarge. enjoy!
I spent about 3 more hours today figuring out the hood design. Almost there, but need to be sure the dial door hinges will be accommodated. The pics are rather difficult to see as they are pencil versions. I'm hoping to get the dado cut in the hood sill tomorrow. Click on photos to enlarge.
I was back working on the clock case today, but it was all on paper. I'm in the process of putting my thoughts to a plan with dimensions. Probably one more day's work on it. However, my daughter and grandkids arrive tomorrow for the weekend. Not likely I'll get back to it until Monday, at which time I hope to put in 5 good days of hood building. I expect to get much progress done next week!
For the past 2 days, I have trimmed all of the moulding, cut a notch in the sides to accept the backplate extension, and added the base moulding. Before I fastened the base moulding, I had to make sure that the clock was level all around, and use the base moulding to compensate for any deficiencies. Now I'm finally ready to proceed with the hood. Click on photos to enlarge. enjoy!
All I did on the clock case today was to set it back upright. Here are some pics. The next step is to carefully saw off the back ends of the mouldings. Then, on to the hood sides! Click on photos to enlarge.
Today I spent building more of the bead moulding and glueing it to the upper case. Here is a photo of the lower and upper cove and bead moulding. Click on photos to enlarge. Enjoy!
|
AuthorI hope that you enjoy keeping up with my clock's progress! Archives
June 2016
Categories |