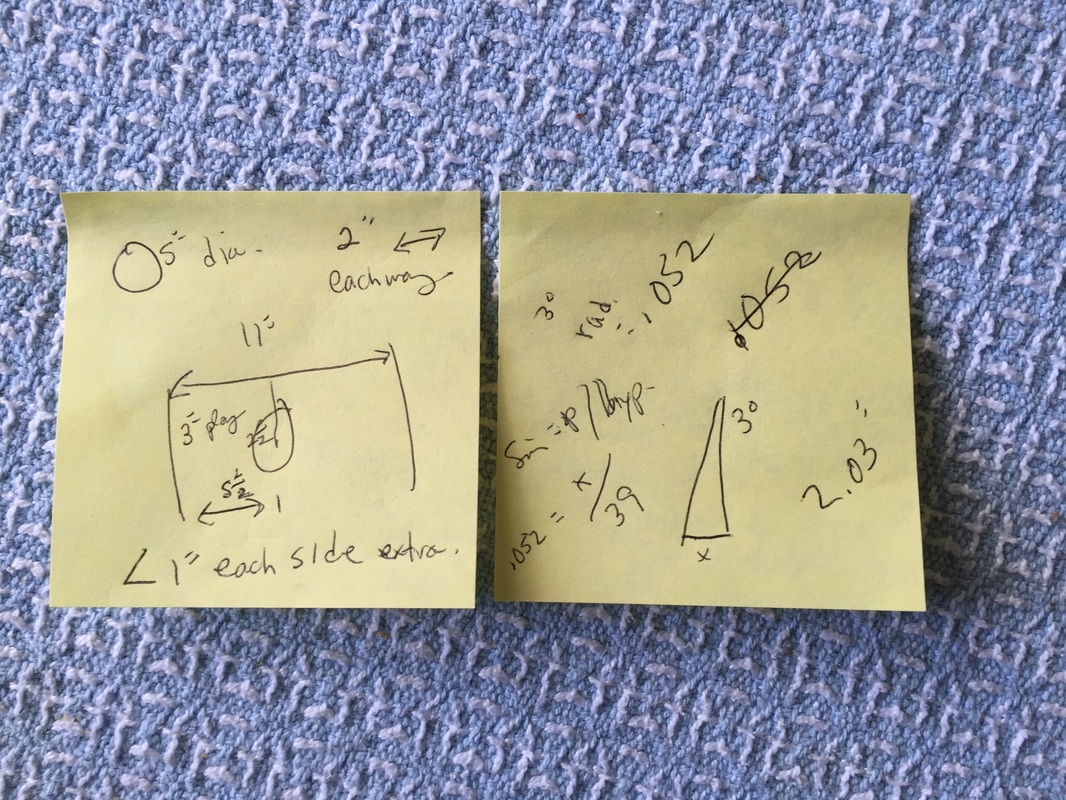
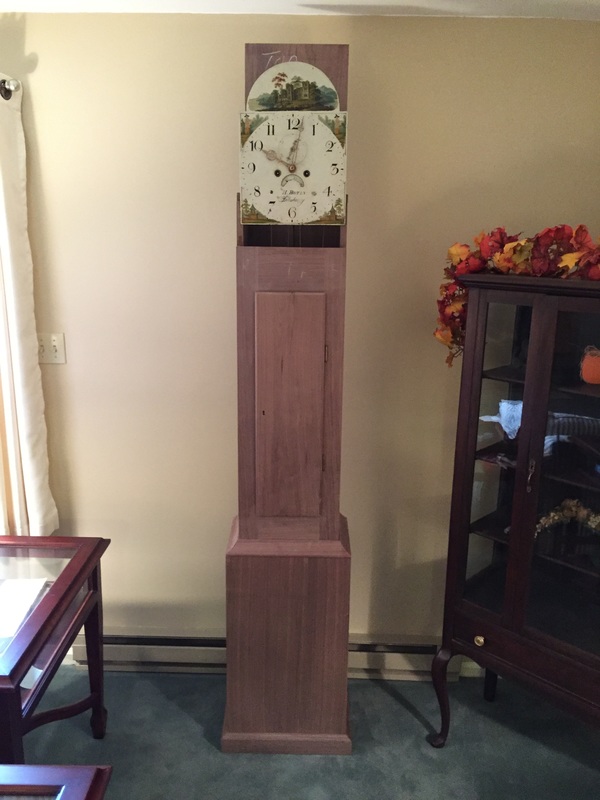
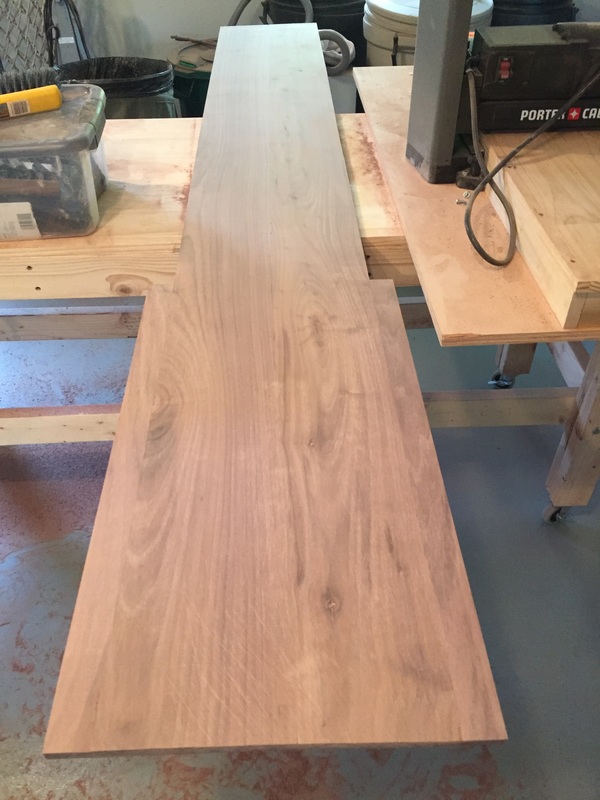
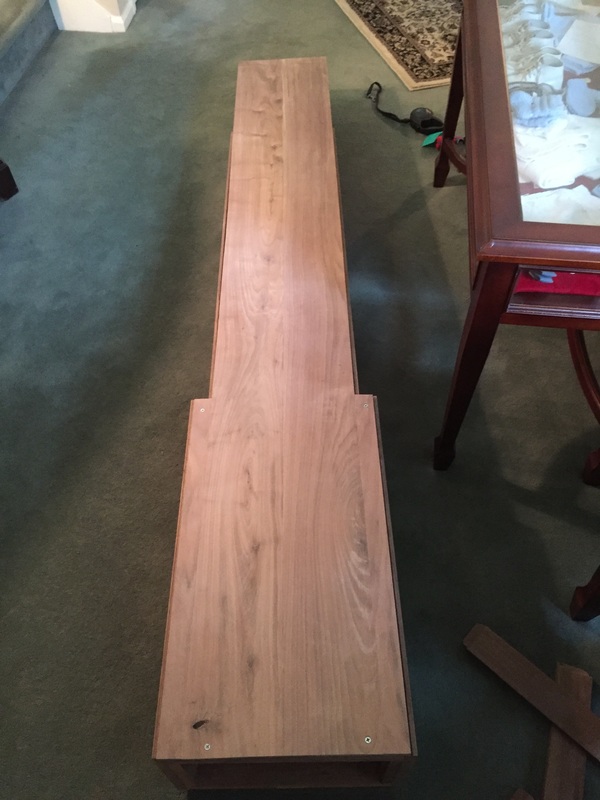
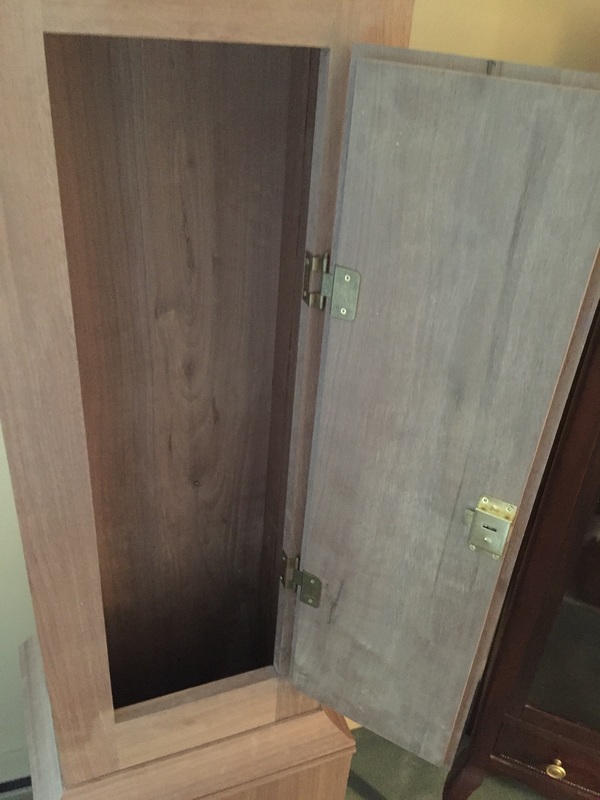
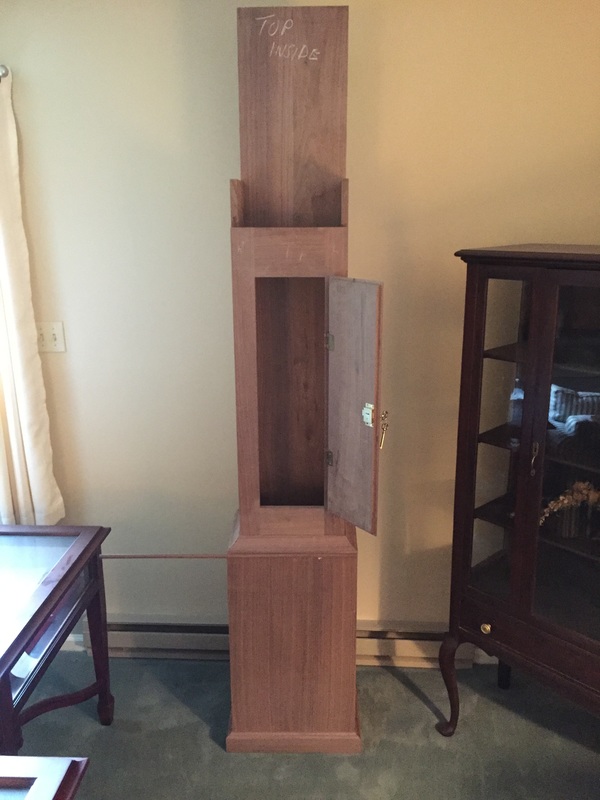
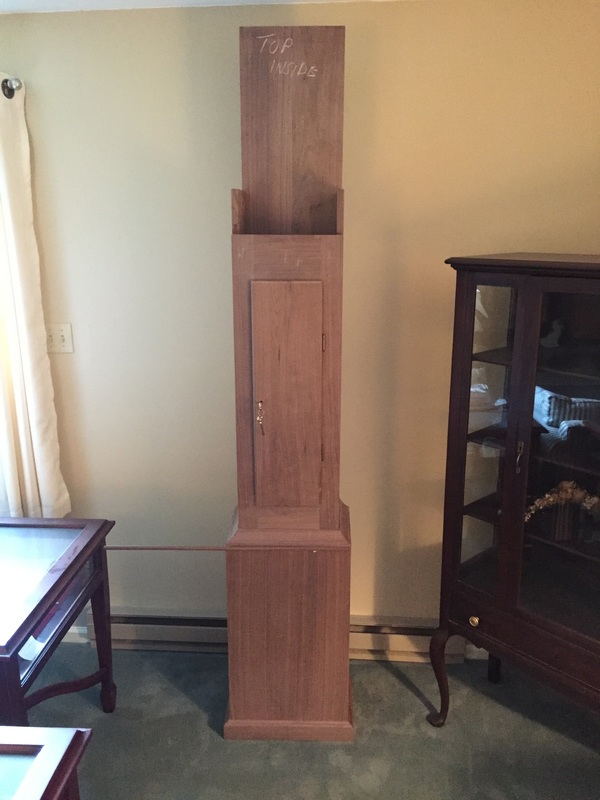
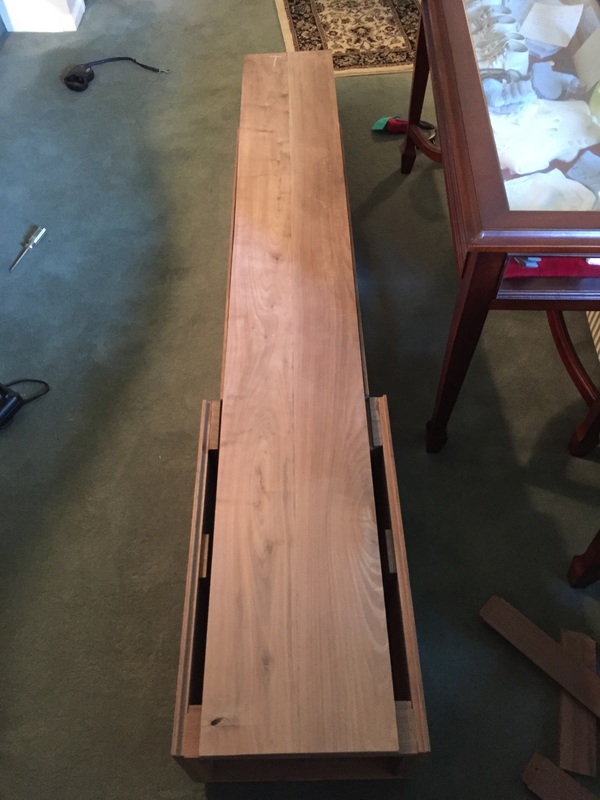
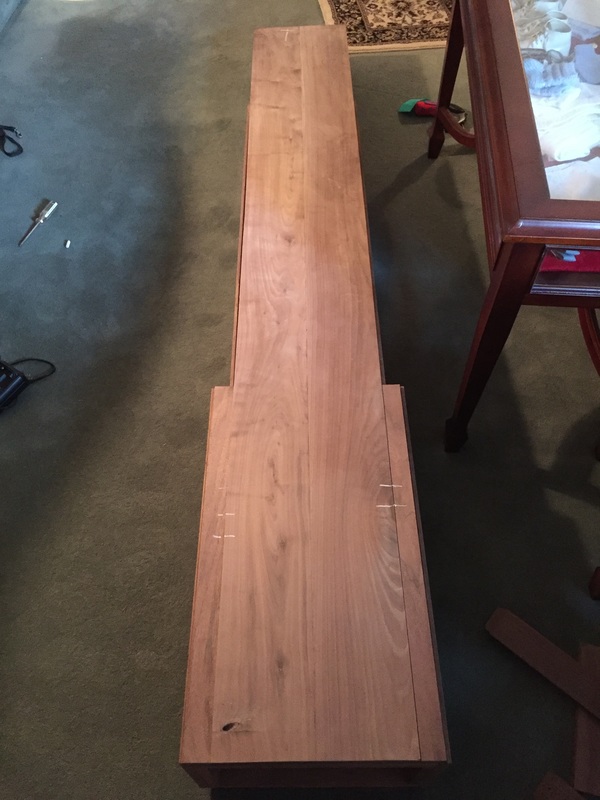
Took a small break from the clock the past few days. Very busy here, and that's a good thing! I still have not fastened the large cove moulding nor the bead moulding. My thinking now is to hold-off on that until I build the companion pieces that go on the top [only in reverse]. So, next-up is to build the second large cove moulding. Here's hoping that it goes as well as the first time. I still have the planing jig, the raw lumber cut to size, and the details on how I made the quite complicated angle cuts. I'm figuring that it will take 2-days as the last time. I purchased a humidifier today that is setup in the room with the clock case. Getting dry inside this time of year and I don't want to risk a fracture in the clock case as a result. Finally, I also wanted to show you a photo of my mathematics showing that the pendulum would travel just-over 2" [either way] and within the just-under 3" of allotted space. Enjoy!
0 Comments
I had planned to take a few days' break from the clock case build, but my visitors were not arriving until 5:00 this evening. So, I spent all day building the seatboard and fastening it to the clock "works" and the case. At 4:00 pm today we pushed the pendulum and the clock has been going ever since! Haven't set it for the correct time, but it is gonging on the hour and running just fine. AND, the pendulum isn't whacking against the sides of the waist. My math was correct. The clock movement will come back off so I can complete the upper moulding and build the hood. But for now, I'm letting it run! Click on photos to enlarge.
I decided to wrap-up the backplate. It is all sanded and fastened to the case. The backplate is currently oversized on the top as I have not yet decided on the case hood design. My plan is to NOT put oil or wax on the backplate. You can see the large cove moulding on the case, but it is not as yet fastened down. I have visitors this weekend and will likely not be working on the clock case. I'll be back! Click on photos to enlarge and thanks!
Phew! There is more to the backplate than I thought. So that's all I worked on today in the workshop. Gave yesterday's backplate work a good sanding and test-fitted it into the clock. I also trimmed the ends. Then, I measured and cut two more pieces that are joined to the backplate down at the clock case base. Then, I marked, biscuited, glued and clamped those pieces to the backplate. Tomorrow it will need a good sanding. I will need to trim-off some of the backplate at the top. But not sure yet how much to trim. The backplate will be attached to the case with recessed wood screws at the case bottom frame and a yet-to-be-added top frame. I'll be able to take the backplate off whenever I may need to. It is quite light as it is only 1/2" thick stock. My understanding is the backplate keeps dust and draft out of the case. Click on photos to enlarge and thanks for visiting!
Today in the workshop was all about the backplate. Planed-down another 8-foot walnut plank. Then trued-up two of the planks and cut them to equal widths and to size to run the entire length of the clock case. Then biscuited, glued-up and clamped the two planks to form one larger backplate. They will sit on the rabbeted recess cut into the back of the clock case. The plan is to then add two outer pieces down at the wider base. More on this tomorrow and you will see how it all fits together. Tomorrow, I will also permanently fasten the large cove moulding. Then Thursday, I will permanently fasten the bead moulding and, perhaps, put the backplate on. Click on photos to enlarge.
Just kidding!! My wife's idea. Actually, I think she wishes it were finished. The clock case is coming along fine. Today, I dry-fitted the large cove moulding on the case and tried-out the bead moulding [which looks great]. My next-step was to plane-down the 8'+ walnut planks that will become the back-plate. Over half their volume ended on the floor as saw-dust as they went from 1"+ to 1/2". I knew that was going to make a mess, so decided to bring the clock case inside, put the door back on, and visualize it being finished. I then proceeded to plane-down two of the three planks. Click on photos below to enlarge.
So, I was wondering what to do with the seasoned walnut piece since I was not going to have a case sill. I decided on two things. First, I tested several bead strip designs and then made-up two moulding strips long enough to go around the clock case. My thinking is that the bead moulding will go on the top front of the base face directly under the moulding. This will give me an accent piece that also covers-up any differences between the moulding and the base. I'll dry-fit it tomorrow when the moulding assembly has dried. If I don't like it, I'll try something else. Secondly, I made-up some support pieces and glued them to the inside of the base. These will give an added assurance that the top-frame won't fail [I always plan for the worst-case]. Click on photos to enlarge and don't forget to read my earlier blog below.
I was originally going to glue-up the cove moulding right on the case, but decided to place it on a known flat surface. I can work around the case imperfections later and am likely going to put some bead strip where it joins the case. I'll be working on that beading tomorrow. Here are some pics from today. Click on photos to enlarge and thanks for visiting!
Today I decided to work on the sill for the moulding and the moulding itself. This assembly visually joins the base to the waist. We had planned to create a sill, or ledge, with a smaller moulding underneath and the larger cove moulding on top. But I decided to forego all that and showcase only the cove moulding. You may remember, it took me several days to hand-plane the large cove moulding using an antique hand-plane. I didn't have any extra length and have been dreading the day I cut the cove moulding to fit. But with the assistance of my wife and a miter saw and box, we got it right the first time. The front and two side cove moldings are cut. I'll still need to fasten it down, and have to build at least a second cove moulding for the top, but it was a great day in the workshop! p.s. You may recall that the door, and its fastenings, have been built but it is sitting on the sidelines out of harms way for now. Click on photos to enlarge and enjoy!
Today's join of the clock case waist and base went reasonably smoothly. It's now a clock case. I even had it upright for a brief time. I paid particular attention to making sure that the clock remained straight throughout today's build. I used a straight line marked on the "build table" as my guide. From what I can see, it is still straight. Did a complete dry-run with the screws. Then, removed the screws and glued it up and reset the screws. Not sure if I'm going to proceed right to the seatboard so I can test-out the movement with the case; or whether I'm going to work on the moulding sill and moulding. I also need to plane-down two large pieces to serve as the backplate. They will be only 1/2" and I want them to settle well before putting them on the case. My plan is to join two pieces with many biscuits. Click on photos to enlarge.
|
AuthorI hope that you enjoy keeping up with my clock's progress! Archives
June 2016
Categories |