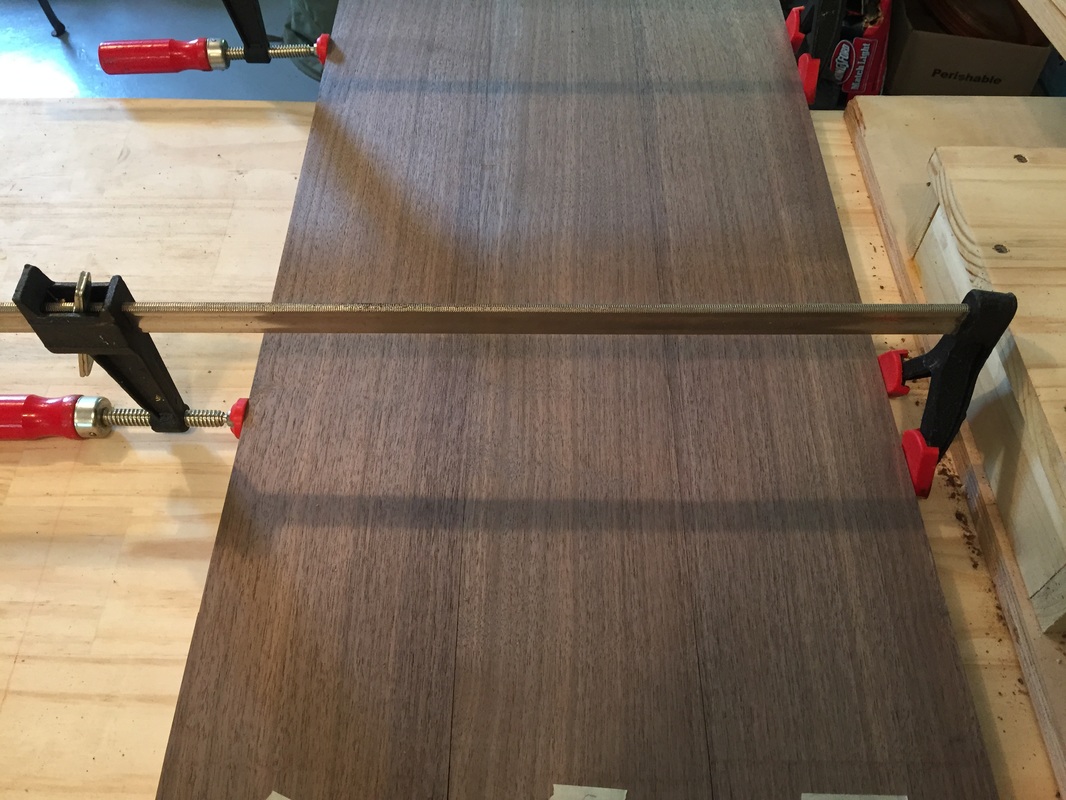
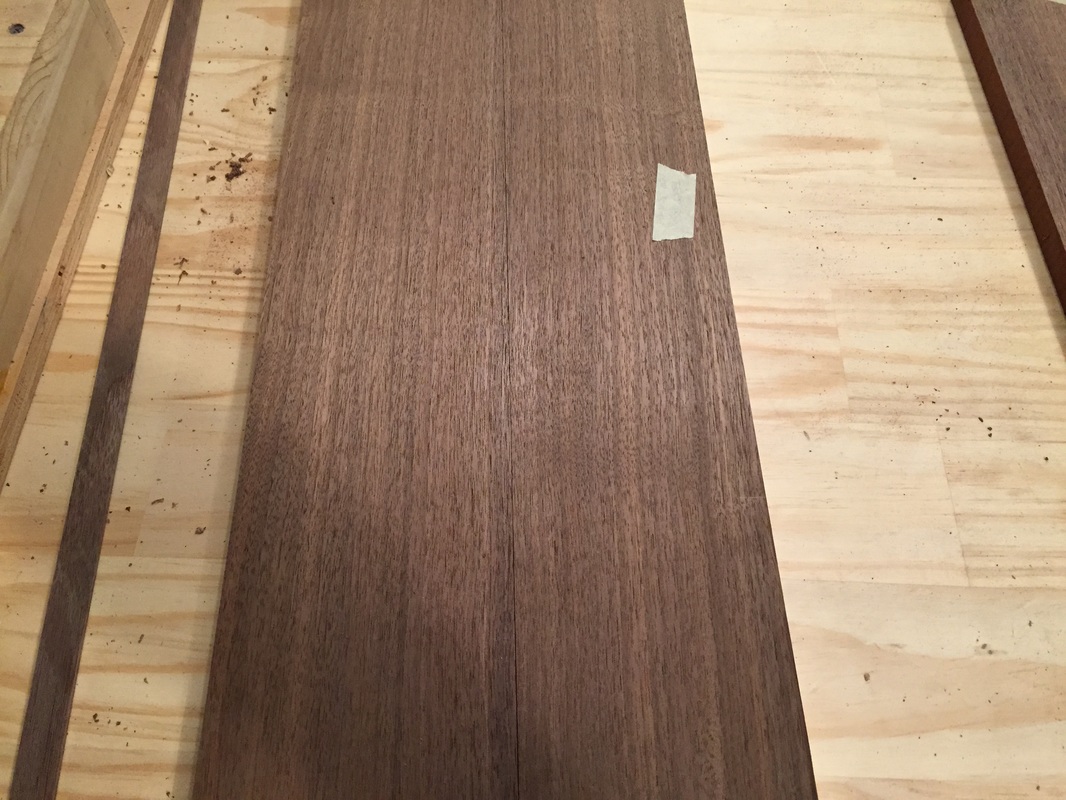
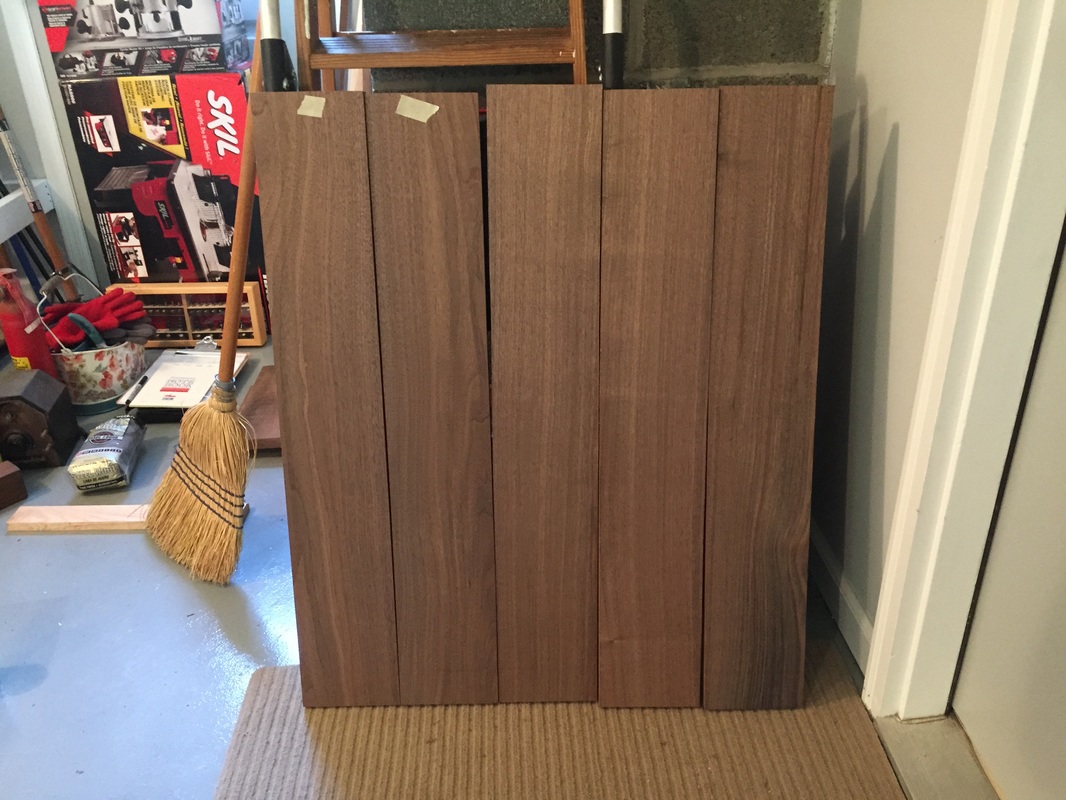
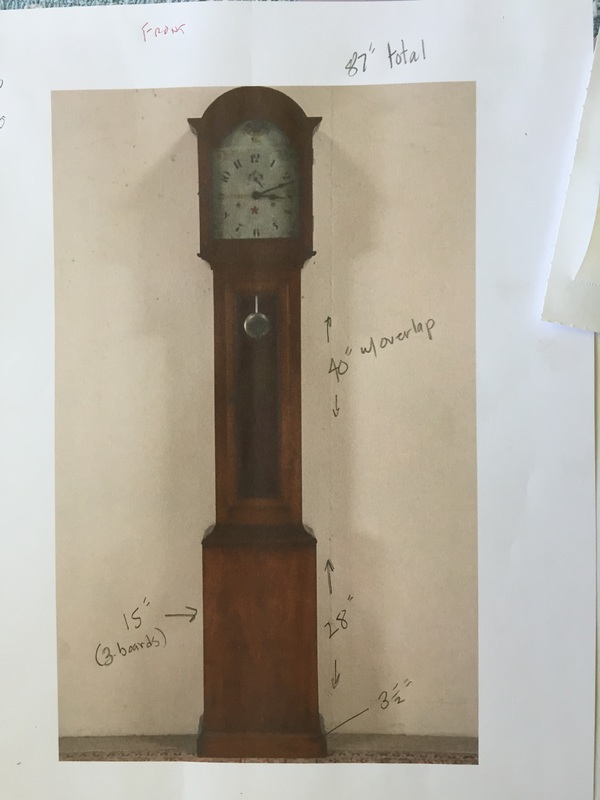
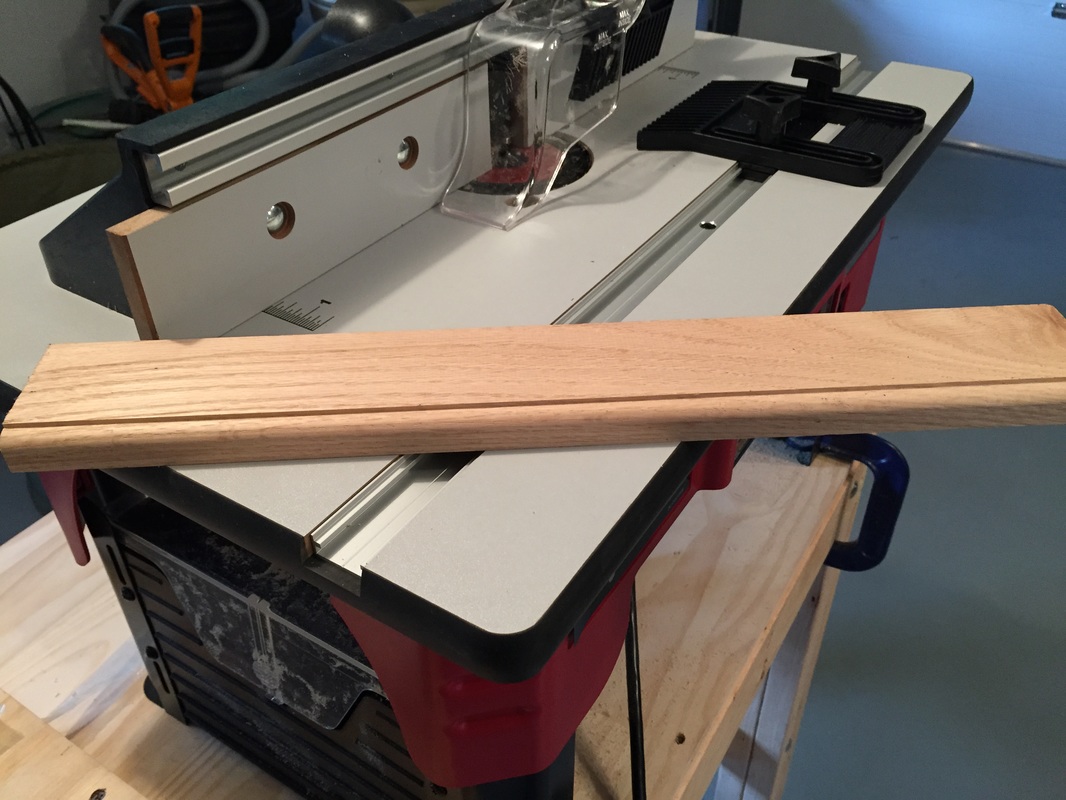
Here is a picture of the base front as it will appear. Still need to trim 3/4 of an inch from the width when I make the bevel [miter] cuts to the sides. The width is to be 15 inches. Also need to trim the board ends which are currently 3 inches too long on each end. I'll need to do that on a miter saw as it won't fit on the table saw. Before I make the bevel cuts, I will make cuts to each board to accommodate the biscuits. Then I need to glue-up and clamp the 3 pieces. Not looking forward to that as I've learned I only have 5 minutes max. Only then will I bevel the sides as I will need to apply clamp pressure during the glue-up and need a flat surface. I will test the entire biscuit/glue-up process on 3 pieces of pine hopefully tomorrow. Click to enlarge. Enjoy!
I was able to find a straight piece of oak I had that was also a perfect 3" width. So tonight I screwed the piece of [straight] oak to two of the walnut pieces I wanted to straighten. I offset the oak on top of the walnut so the oak piece stuck-out to one side [see photo below]. Since the oak is straight, and offset from the walnut, I could run it against the fence while ripping the attached walnut in the table saw and, in theory, the walnut cut would be parallel to the oak piece and thus straight. Once completed, I detach the oak and then flip the walnut piece over so that the newly cut [and now straight] side of the walnut piece is against the fence. I ran the walnut piece through once again this time making a straight, and parallel, cut to the other side. In making these cuts, I'm only cutting about 1/16ths of an inch of wood from the sides. So the overall loss of wood is minimal. This technique worked. I completed two pieces that will likely be paired for the front base. I will run the other 5 pieces through tomorrow. See pics below.
In my earlier blog entry below, I said that I would use a table saw along with a straight board to true-up my walnut lumber pieces. But I knew that there was an alternate method. And that is to use the router table as a jointer. I followed instructions from the manufacturer and various internet sites and offset my router fence accordingly. But the results were not good enough. So I am sticking with the table saw method and will do that on Monday since my wife has a yard sale going in our driveway. HA! Meanwhile, I will plane a few more boards. Click on pics below. Enjoy!
I'm on a roll! Although that may be short-lived as my wife is having a 2-day yard-sale starting tomorrow. I don't do yard sales! Last night and today I planed-down 5 narrower pieces - all candidates for the 7 pieces that will comprise the front and sides of the clock case base. More and more, it's looking like the front of the base will require 3 pieces. Haven't decided yet and will plane a few wider pieces tomorrow. I did show that the narrower, more quarter sawn stock will produce fewer wavy grain lines as hoped [see planks 3 and 4 below]. The fewer the wavy lines, the less isolated each piece of lumber will look when they are joined together. Planing makes a BIG mess as you can imagine. I made sure to wear a mask, eye protection, hearing protection and gloves right through clean-up. I've included a pic below of the 5 candidate pieces. You will notice that they are not straight. Planing only reduces the thickness and does not straighten them out. I've made the candidate pieces 6 inches longer to accommodate the planer blade snipe and to allow me to screw each piece to a sacrificial straight piece of stock. I then run the two simultaneously though the table saw thus giving me a straight edge. I then remove the walnut piece, line up its straight edge against the table saw fence, and cut the other side's edge. In performing these cuts, I am only removing a fraction of an inch from each side. But the result is a reasonably straight piece. It worked well with the test pieces. I will be truing-up, as it is called, the candidate pieces in a few days. Then I'll show you them again. They then should be straight and ready for joining. I will also need to cut the extra length off each piece [described above]. I've also included some pics of my detailed drawings that, along with the blueprint from a similar clock, are guiding my direction and progress. Click to enlarge and stay-tuned. Enjoy!
Today I spent time drawing-up measurements, cleaning my [garage] workshop, and sorting the wood. In an effort to minimize butt-joints, I was hoping to use the wider stock for the broader areas of the case. But it looks like the narrower stock is closer to quarter-sawn, and thus minimizing shrinkage. So I may be joining 3 pieces of wood for the front base. No problem either way. I certainly have enough wood so have no excuse for not marrying-up the necessary pieces. My measurements tell me that the sides too will be multiple pieces of stock. I will be making the butt joints using biscuits [described in an earlier blog]. This is where my new pair of calipers comes into play. I need the joined pieces to be exactly the same thickness. Here's hoping that I've learned something in all my prep work. Tomorrow I will be planing-down a few pieces of the narrow and wider stock. Only then can I tell if any are match-worthy for the clock case base. See pics below. Click to enlarge.
Well, after painting 5 rooms and hosting many visitors over the past month, I'm finally ready to get back to my clock case build! Yesterday I bought my last big tool - a router, router table and bits. I spent today setting it up and running a few test pieces. In building the clock, I expect to make lap, roundover, chamfer, rabbet, cove, bead, keyhole, hinge, mortise and who-knows what else cuts with the router. So it's an important part of the build process. I also spent some time yesterday on measurements. I started with a picture, a build diagram from a different clock, and the fact that the clock will be 87 inches high. Stay tuned for more updates. See pics below. Click to enlarge. |
AuthorI hope that you enjoy keeping up with my clock's progress! Archives
June 2016
Categories |