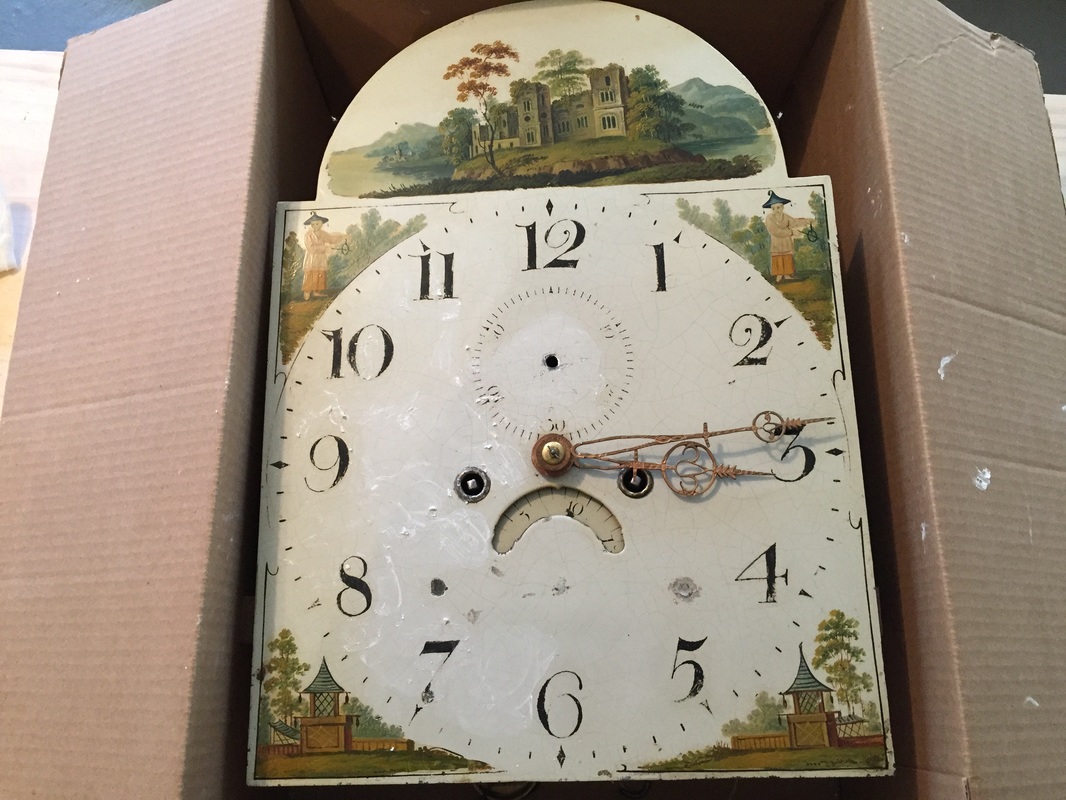
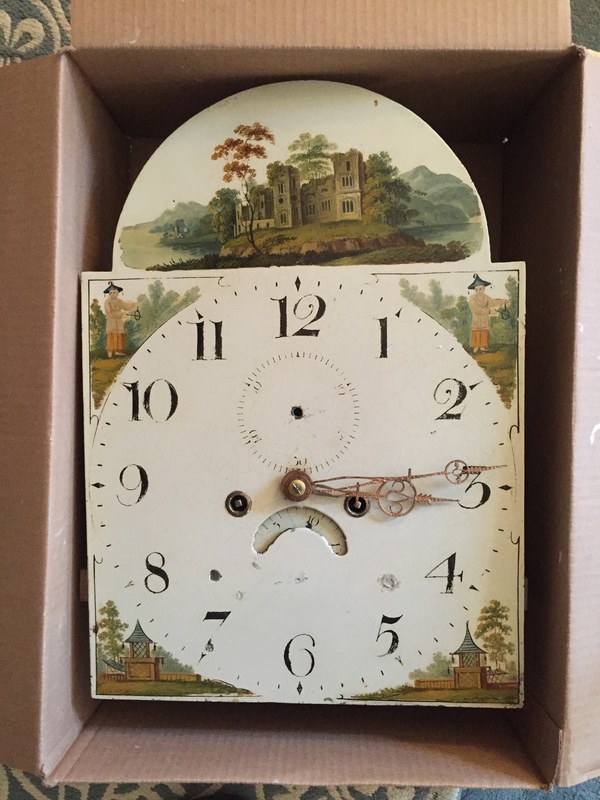
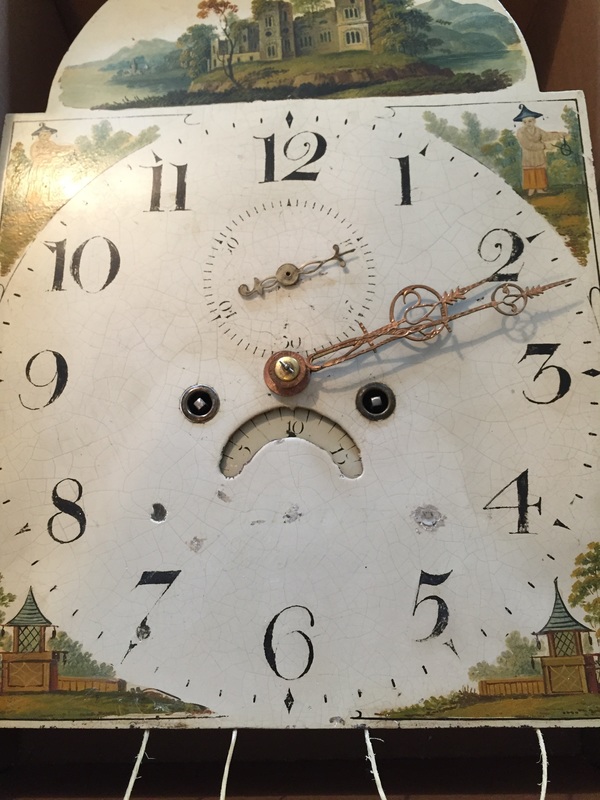
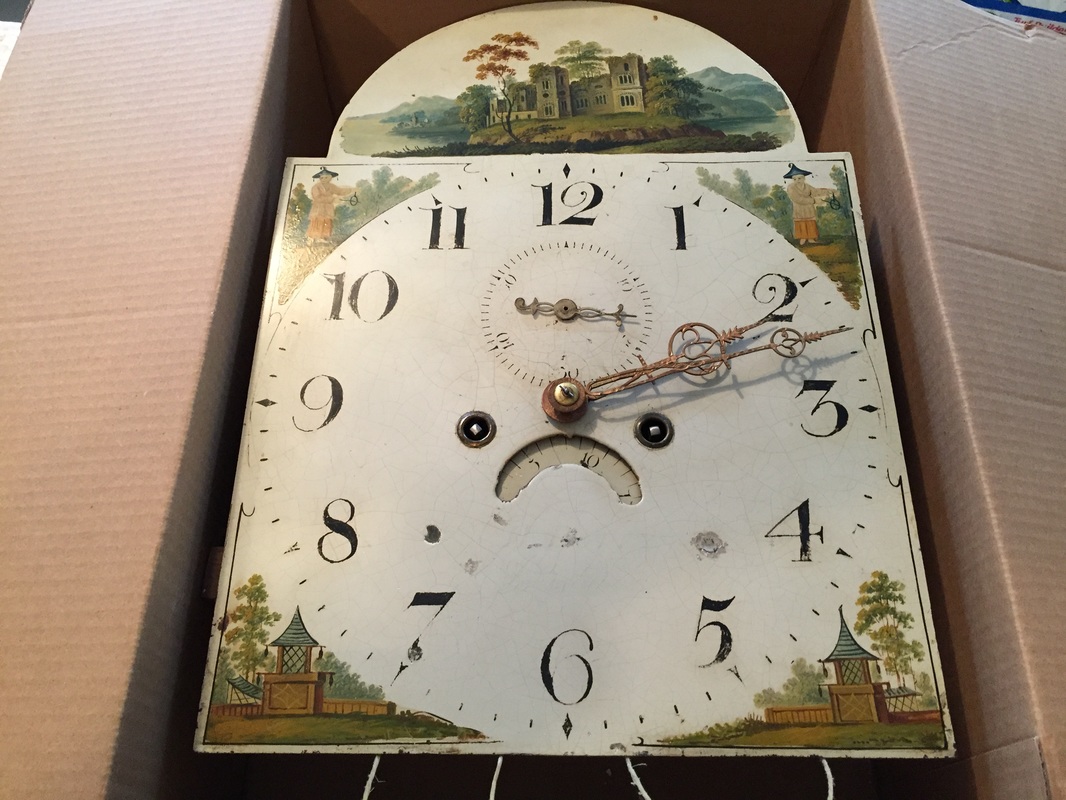
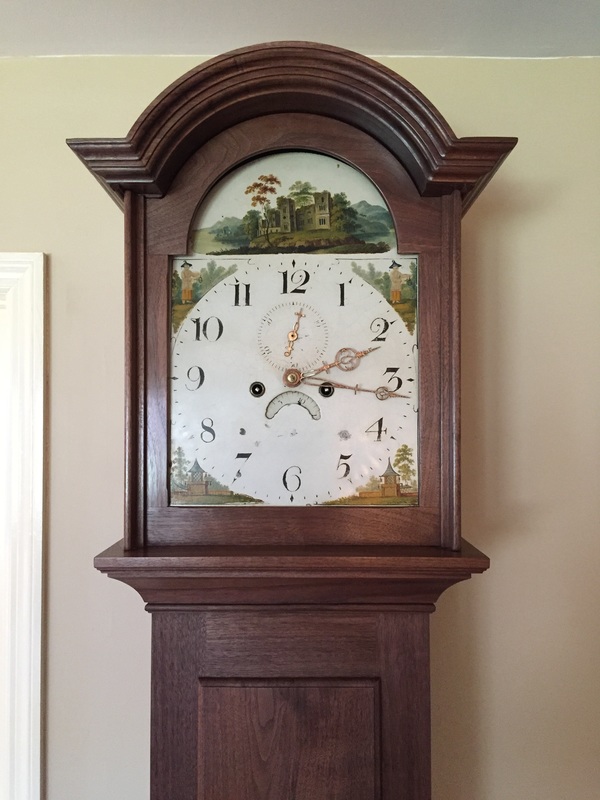
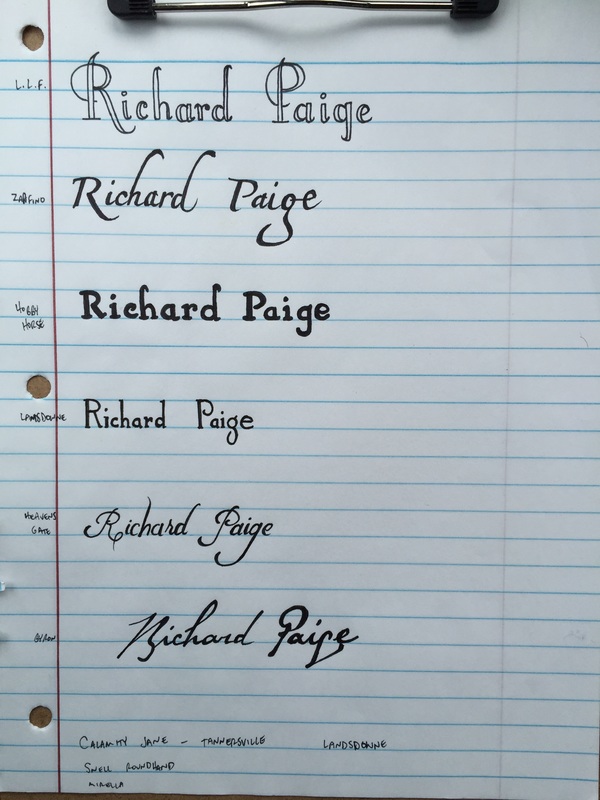
Today I made a few trips to Home Depot for paint to touch-up the dial's paint chips and dings. I found the perfect color and had it mixed, however, it did not match the paint sample. I made a few adjustments to it. Some areas look OK and some not as good. Since the two largest paint chips are a result of the welding of the back posts, they are precisely equidistant from the bottom and sides. Therefore, I may get creative and ask my artist son to paint something over my attempts at covering them up. Not sure what we would paint there but it is certainly worth considering. All the dings are in the vicinity of where I want my name penned. BTW, I'll be taking a few days off from the clock to enjoy Easter time! Enjoy the pics below and click to enlarge!
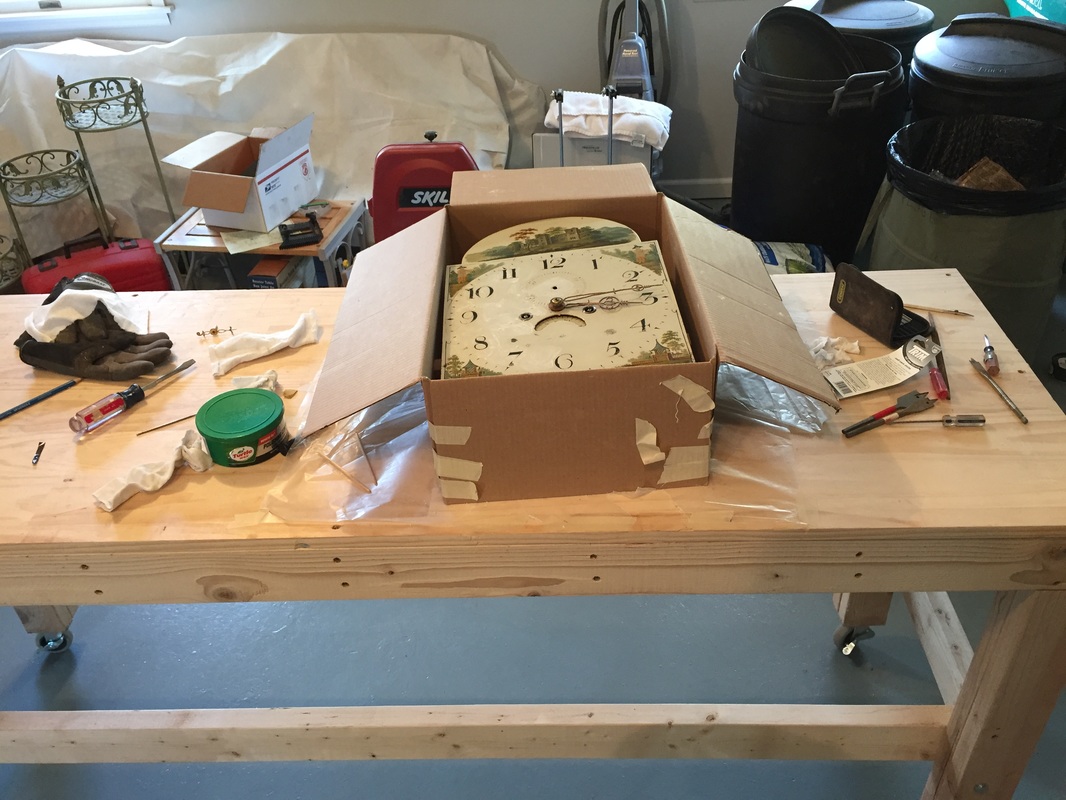
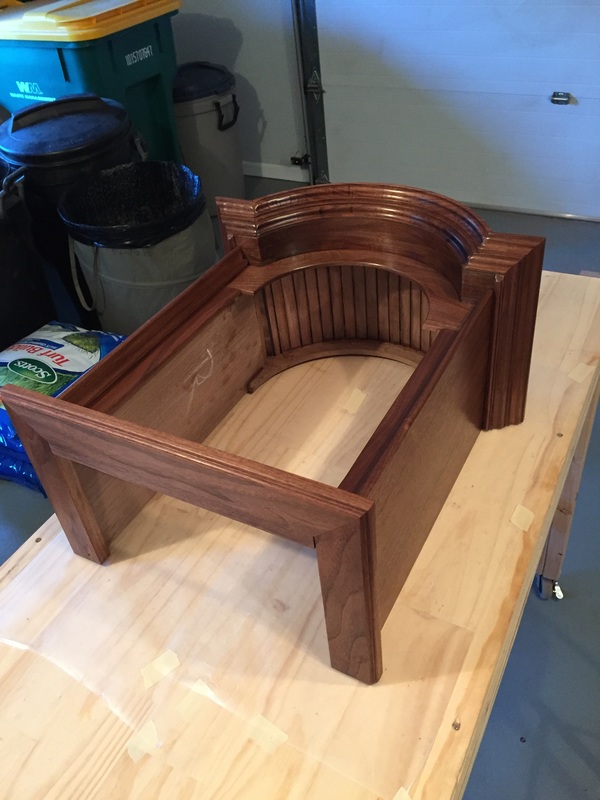
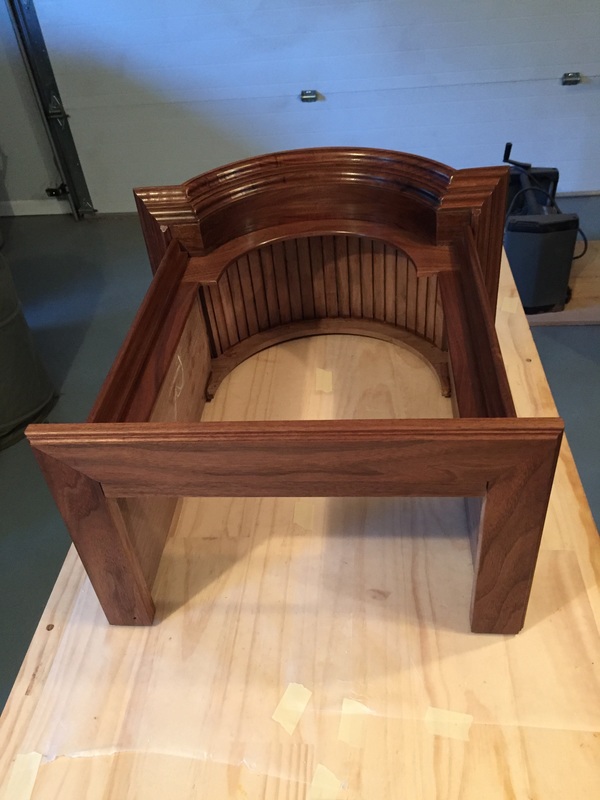
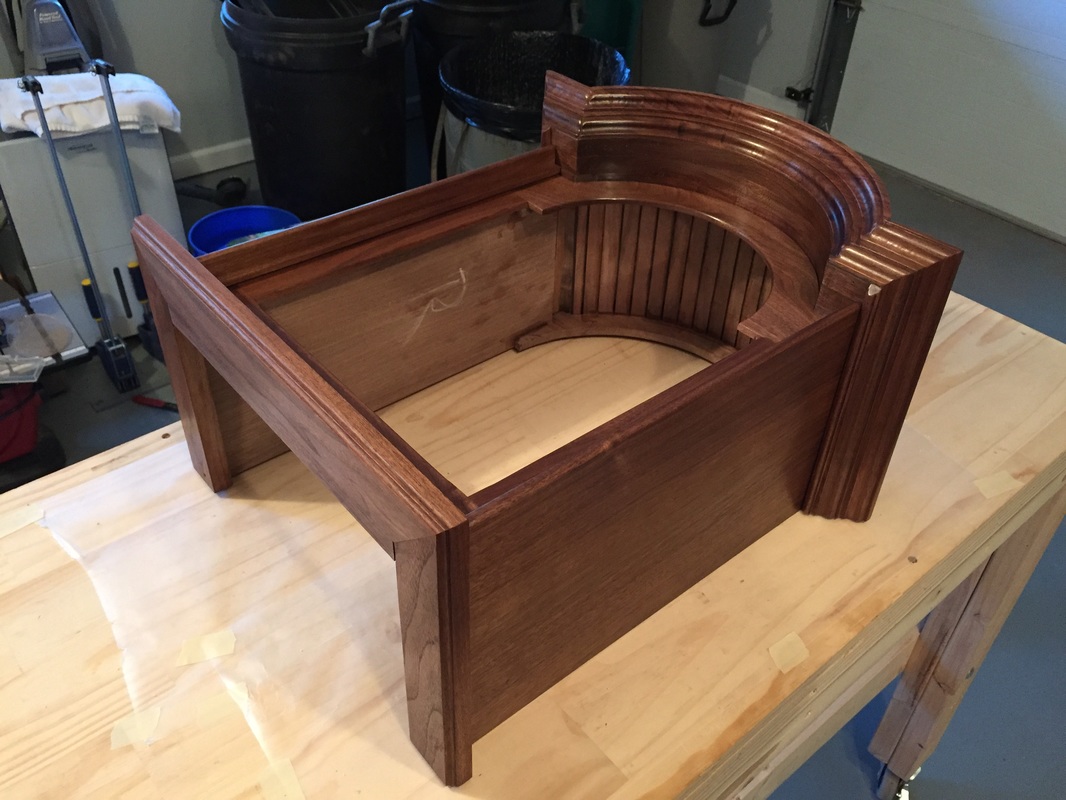
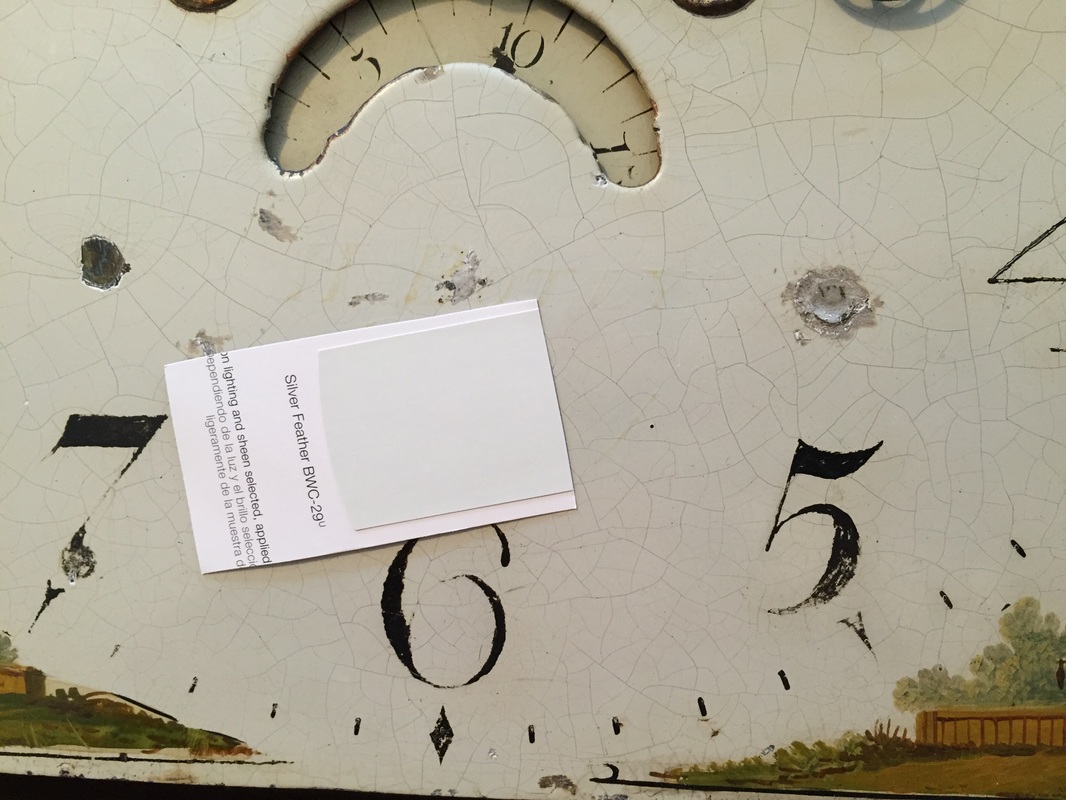 A "before" picture showing the symmetrical dings |  First attempt is too light - even after it dried | 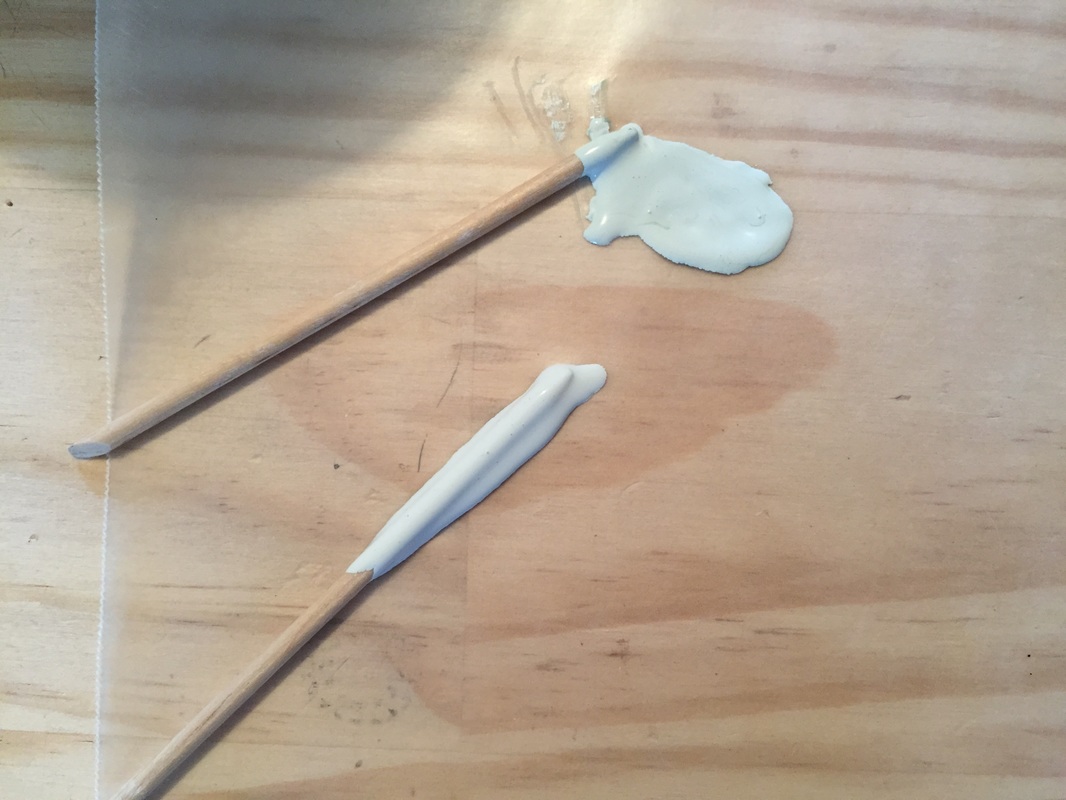 Making some attempts at paint color adjustments | 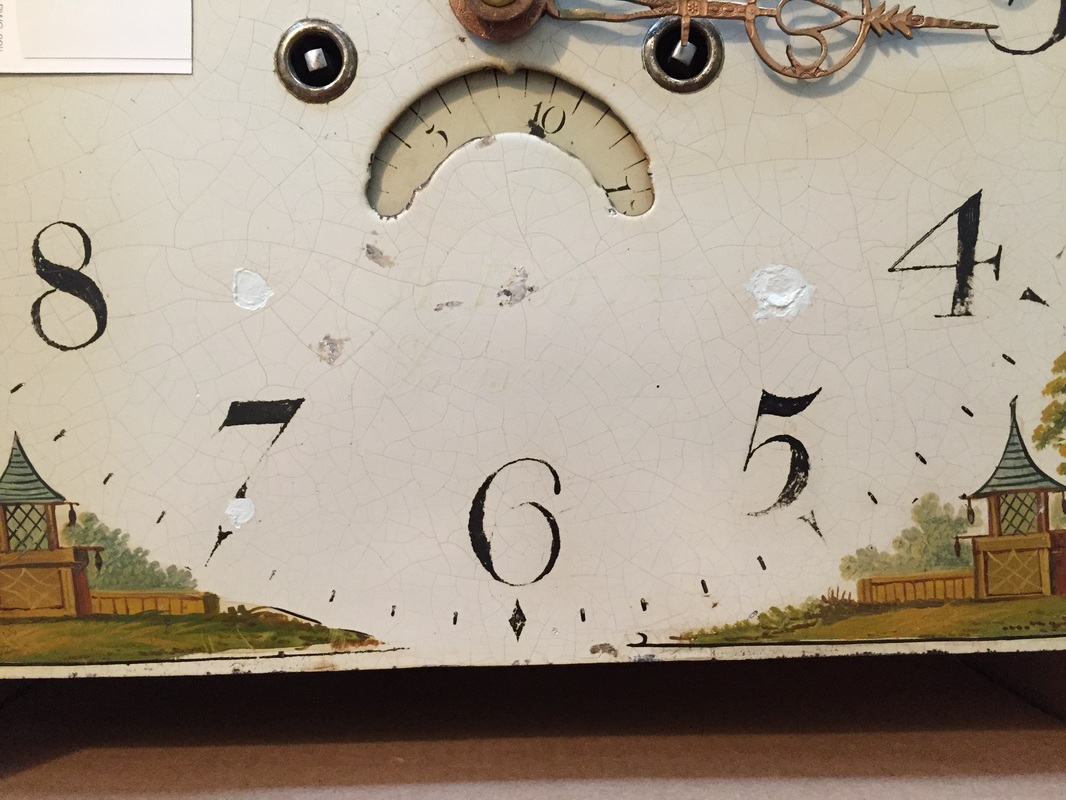 Only a little better | 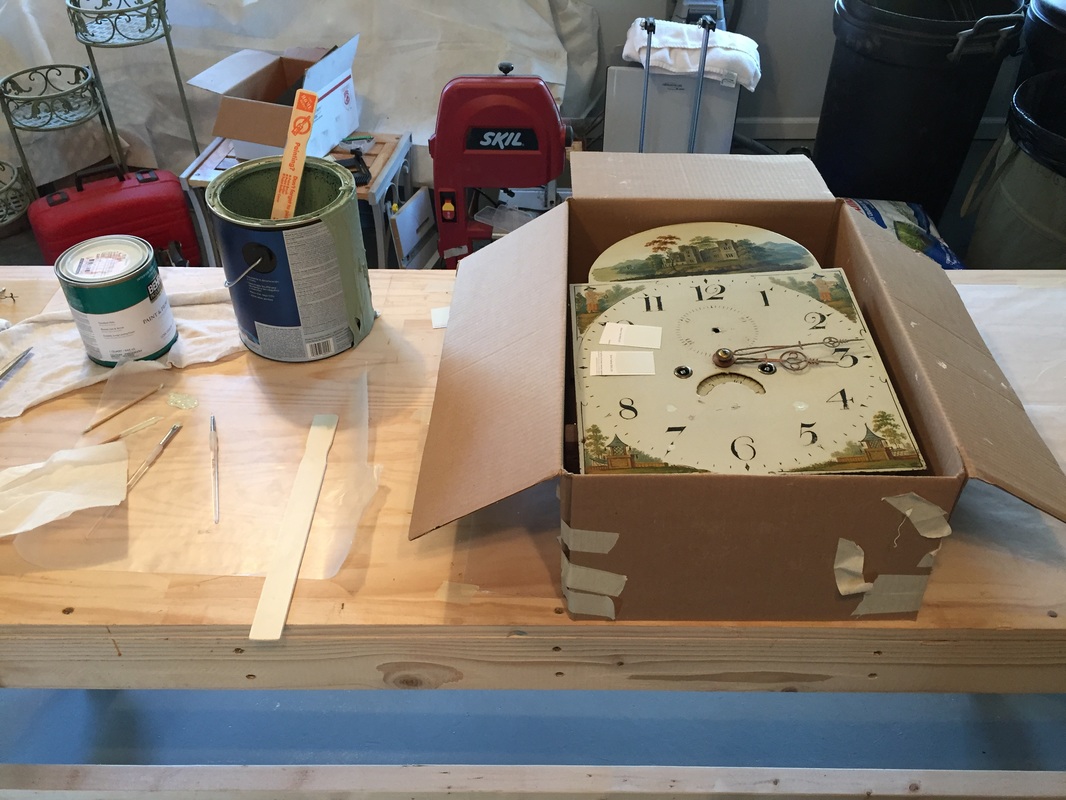 My workshop setup | 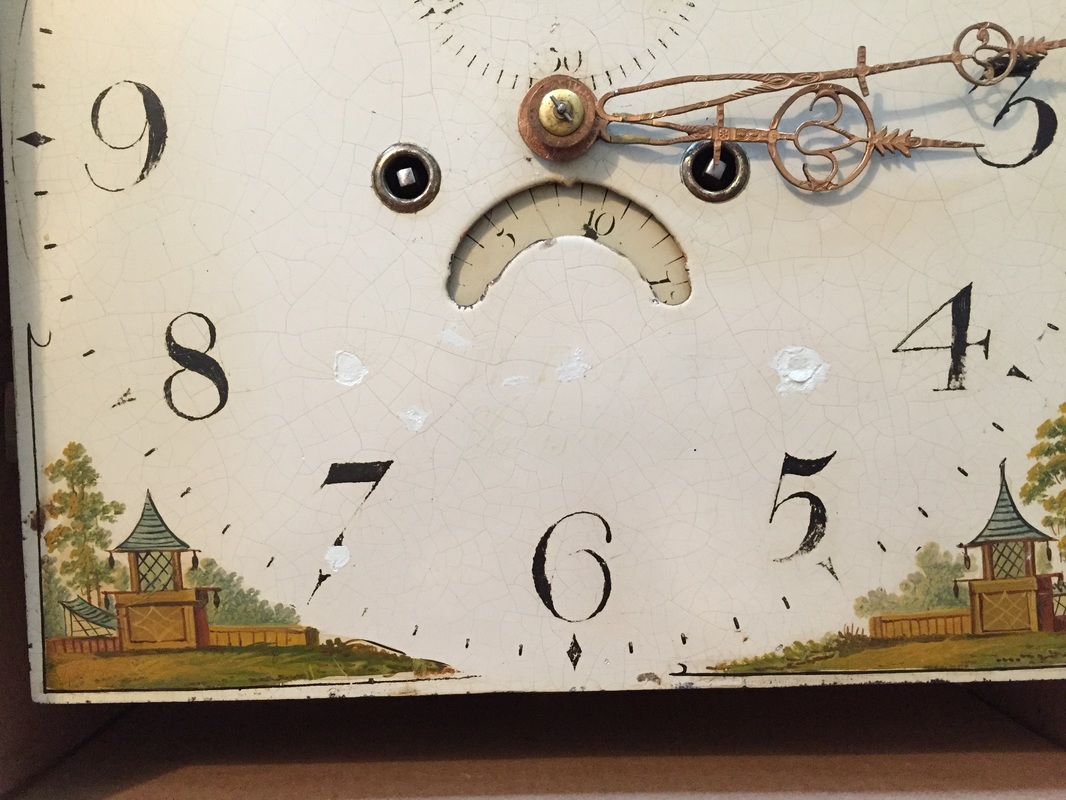 Finished touch-up |


 RSS Feed
