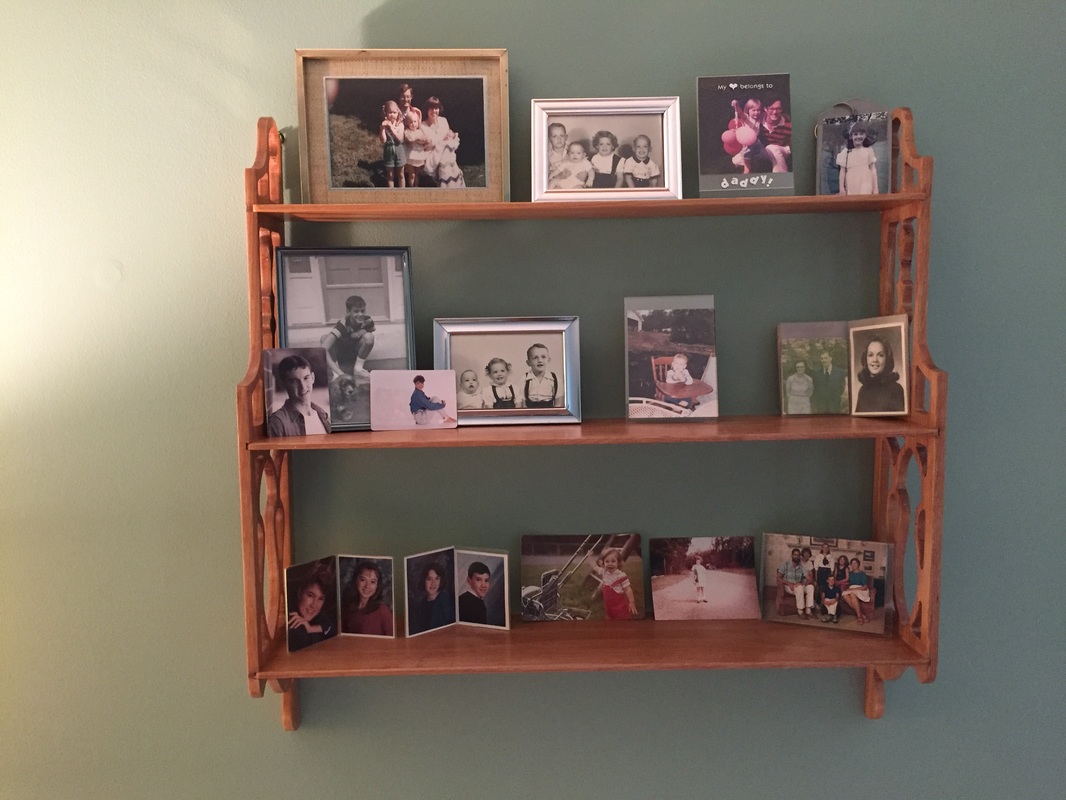
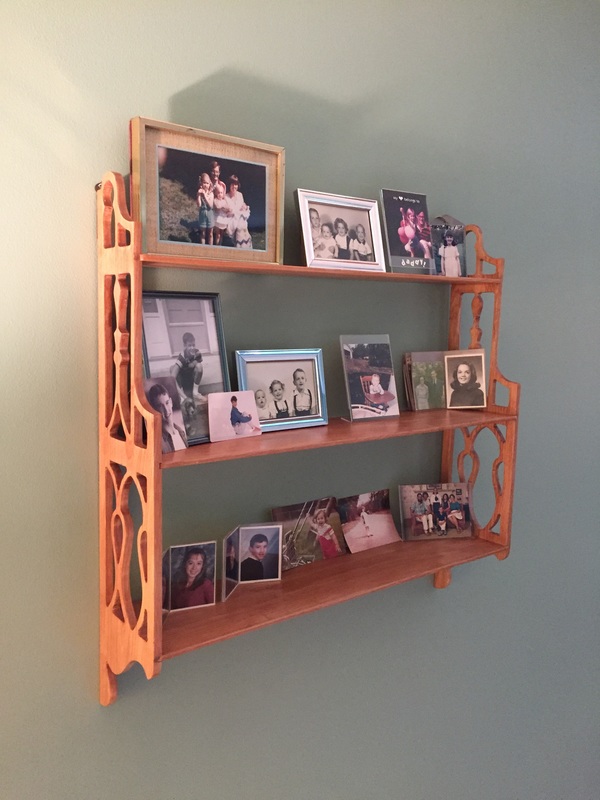
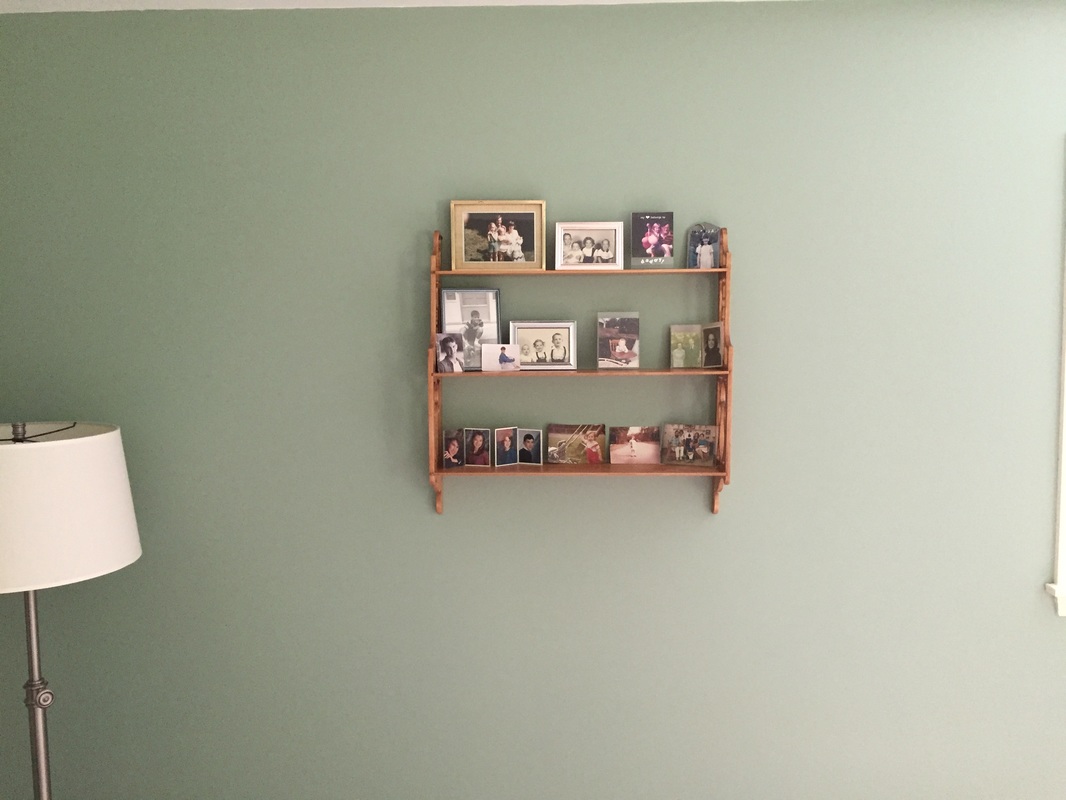
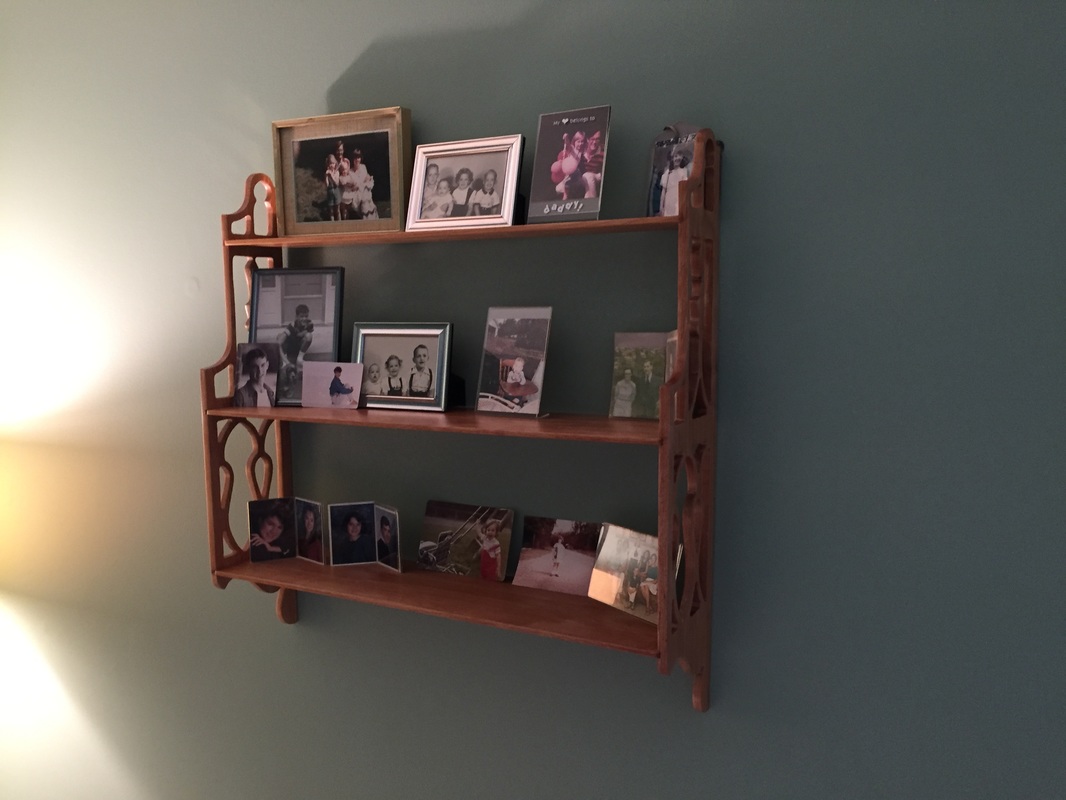
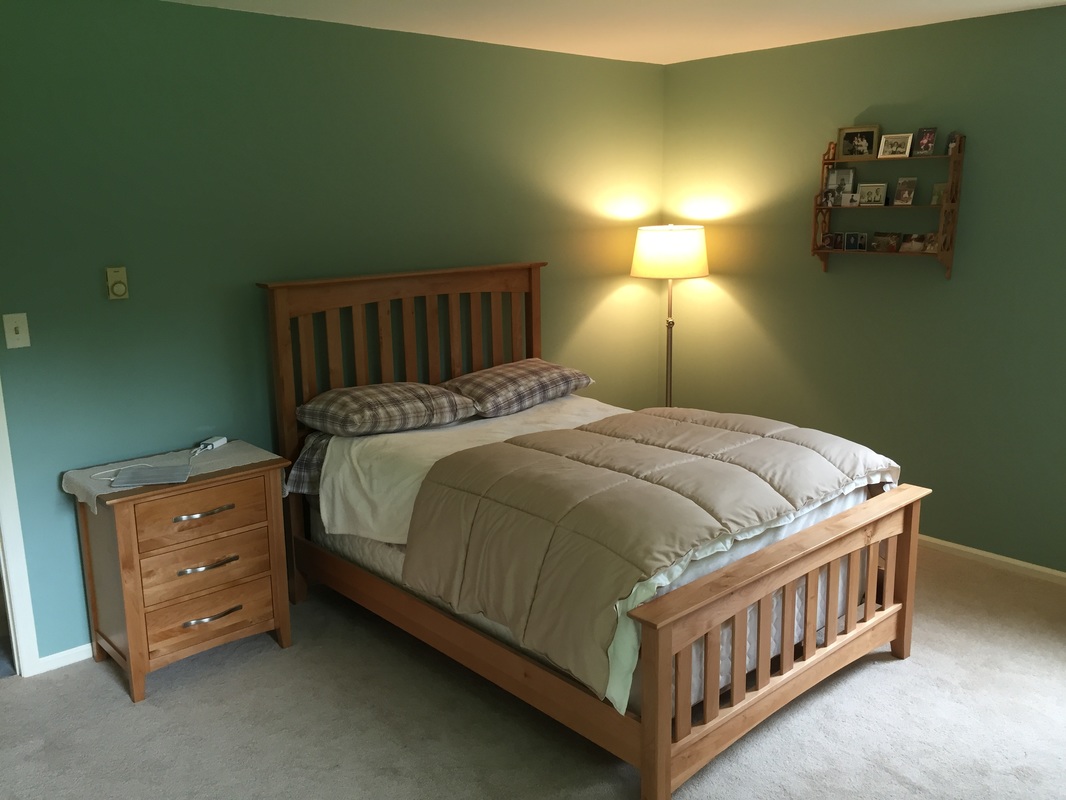
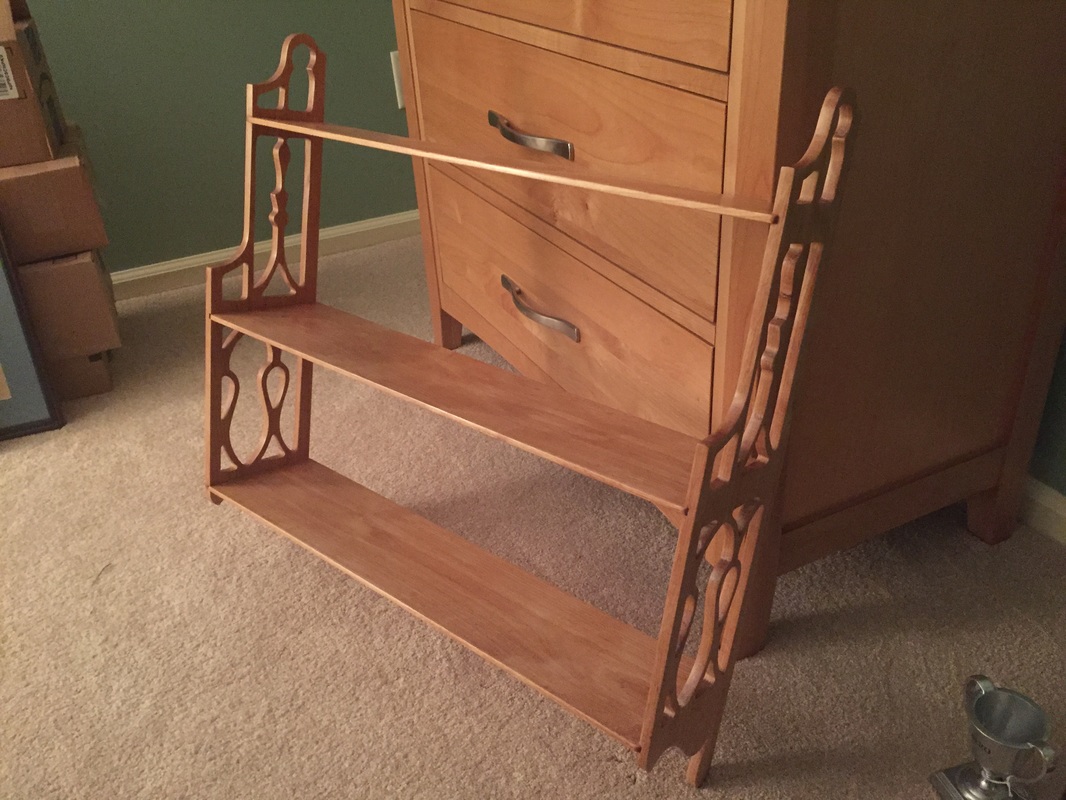
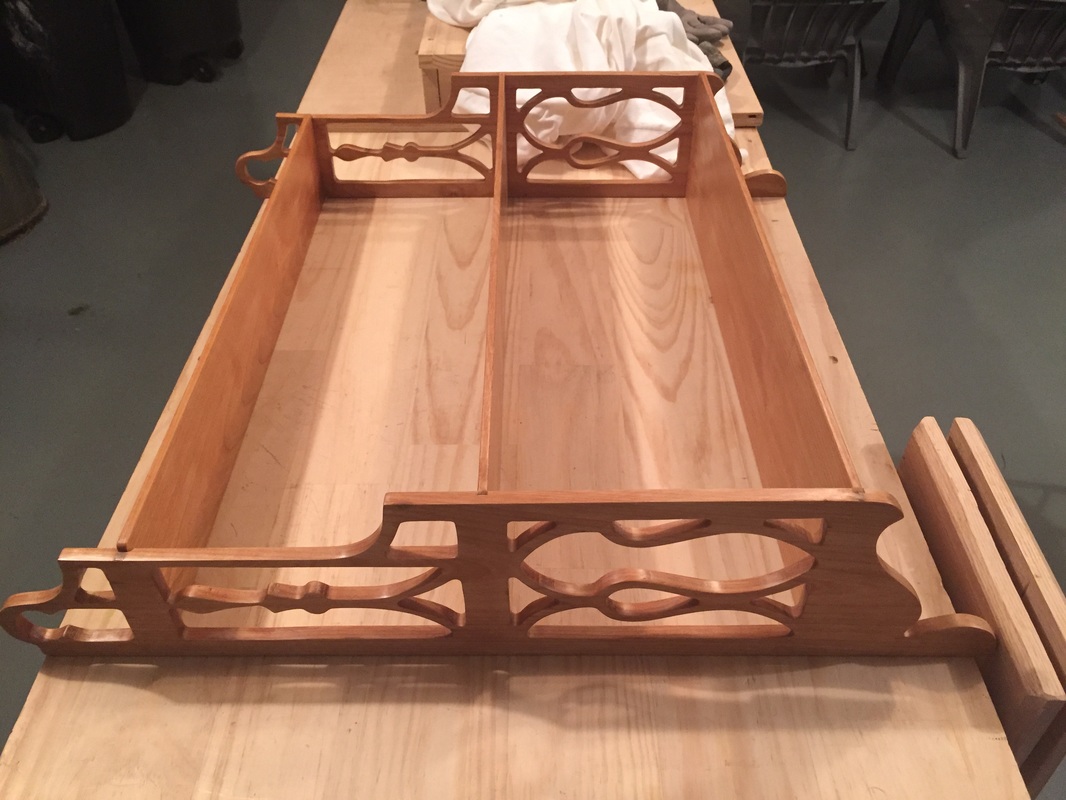
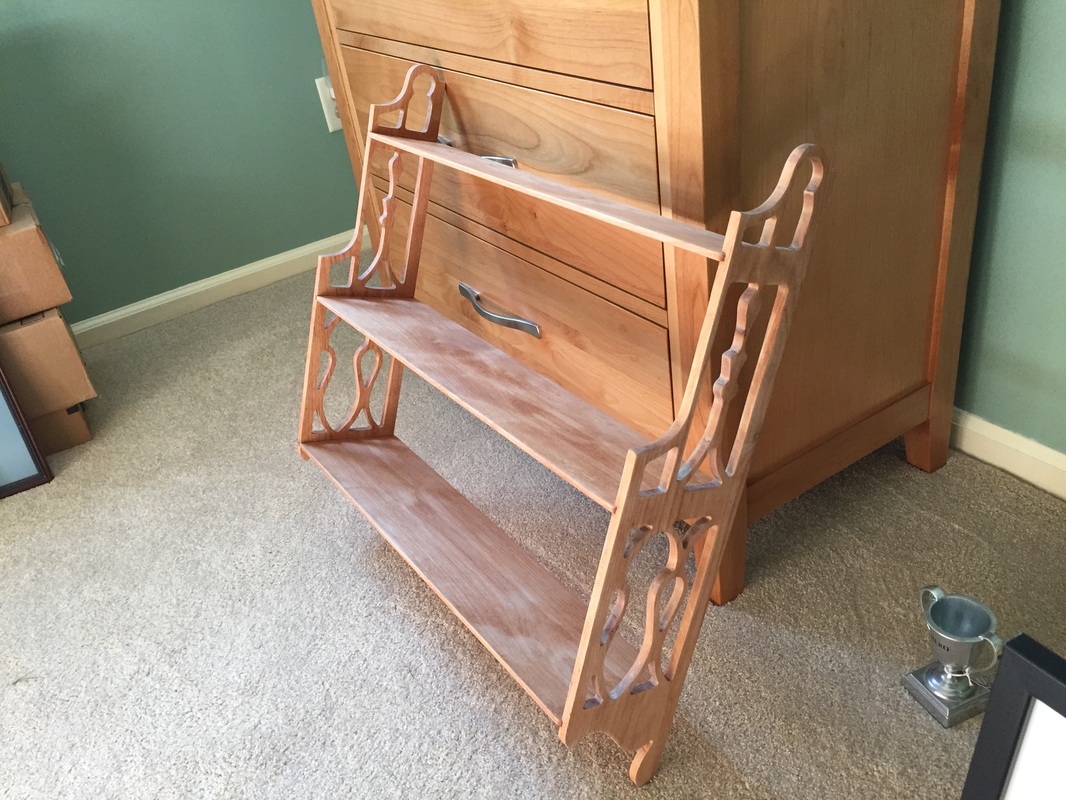
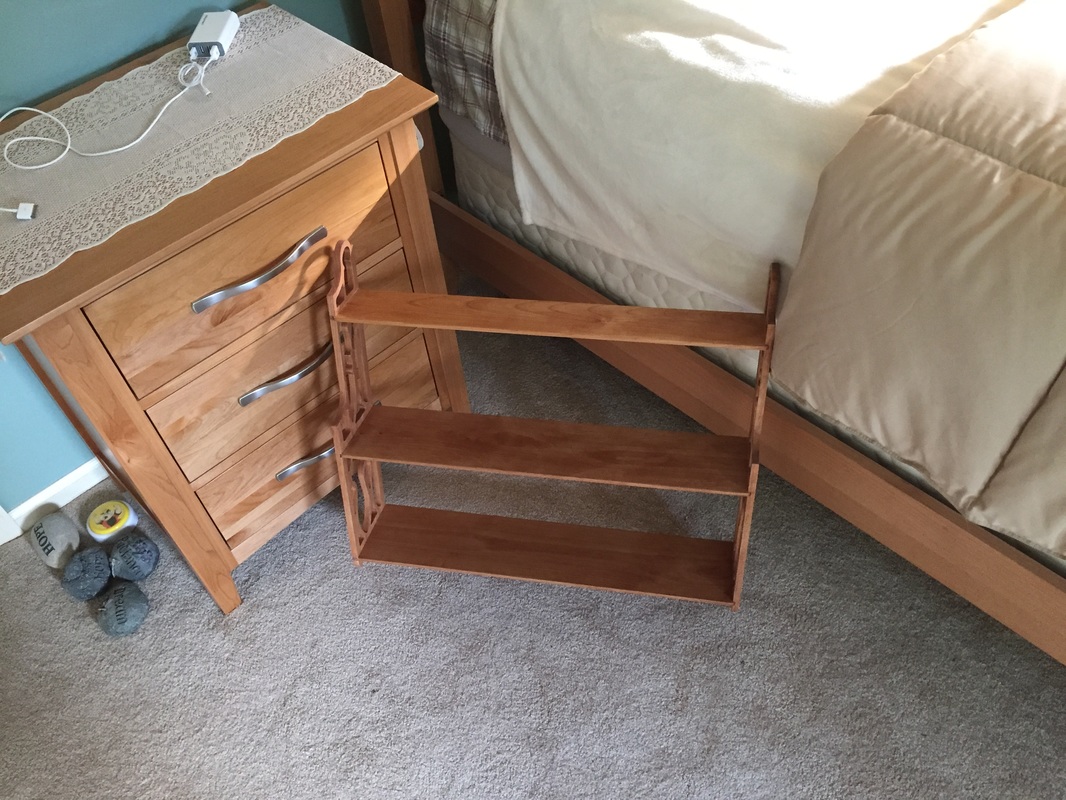
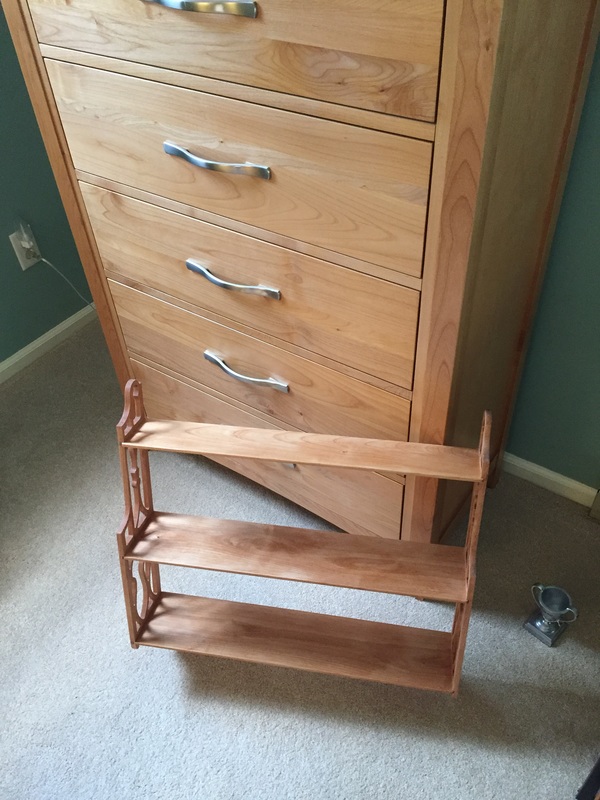
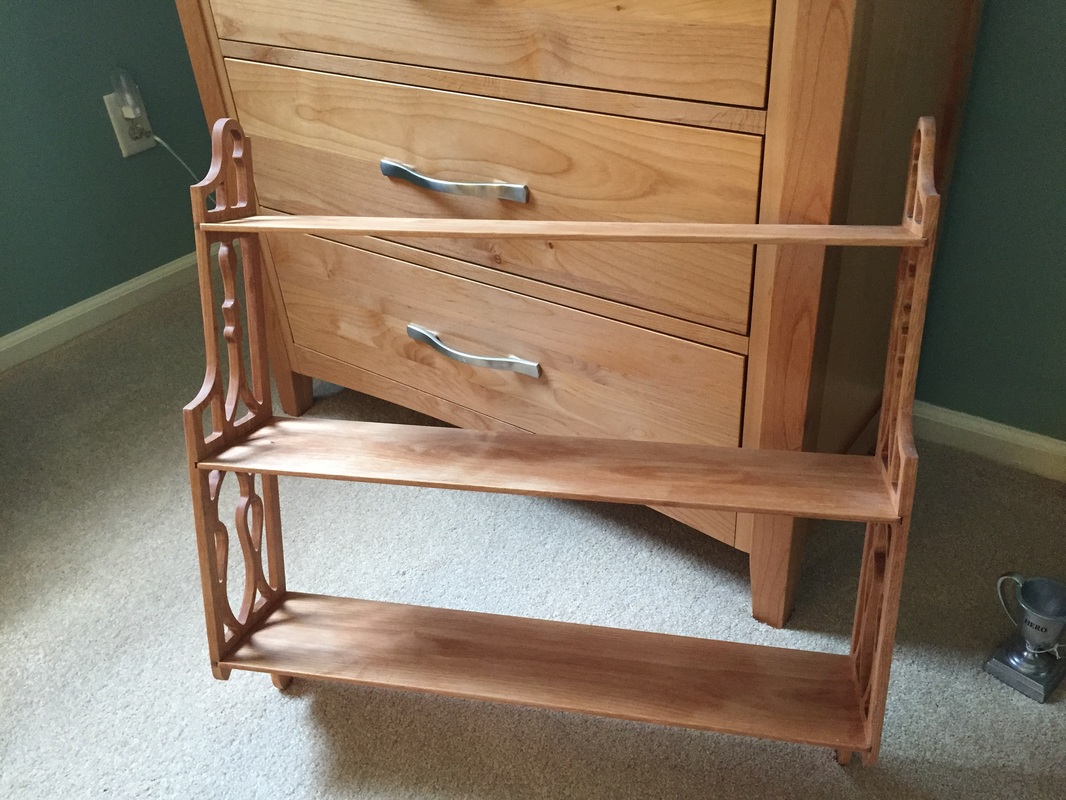
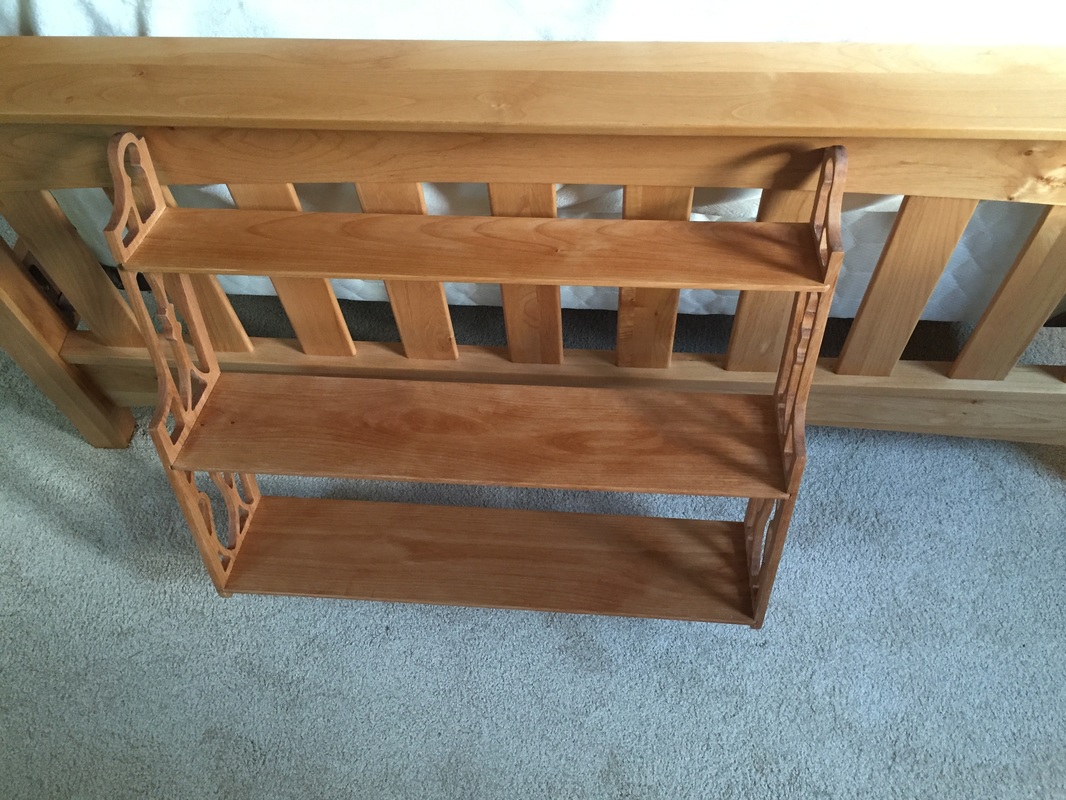
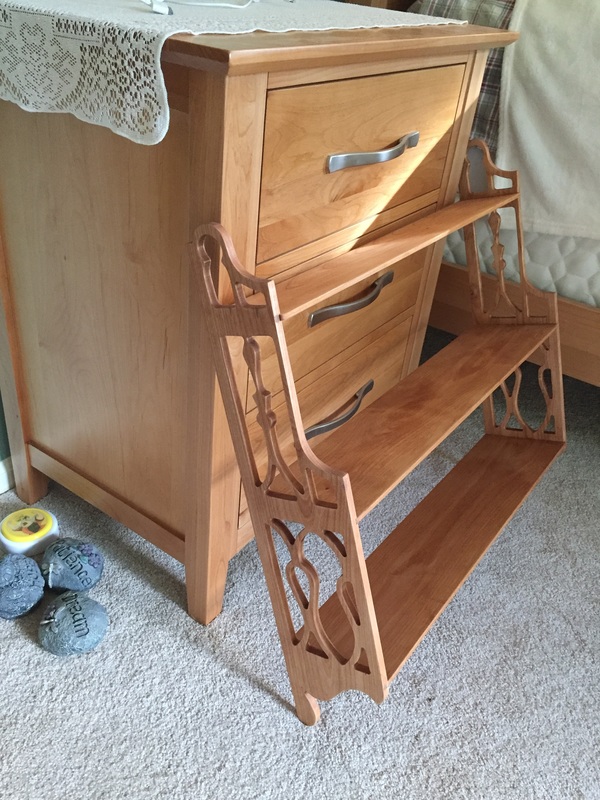
Today, we decided where we wanted to hang the Alder wall shelf and proceeded to place it on the wall. The project ended up being more work than I envisioned, but it does look good alongside the Alder bedroom set. That's it with this project. I may build an Alder table for that room as well, but no immediate plans for that. Stay tuned for more projects to come! Here are some pics from today. Thank you for following along!
I have completed waxing the shelf. It's a shade darker than the bed set, but will fit in nicely. I should have it on the wall within a few days. Too busy tomorrow and I still need to decide where it will go. Please check back and enjoy the pics below from today and thanks for visiting and following my project! Click to enlarge.
Using 400-grit sandpaper, I managed to lighten-up the finish on the shelf. I ran out of sandpaper so will pick up more tomorrow and finish the sanding. I still need to try to correct some blotching. Then, I plan to apply a coat of wax and see how it looks. Enjoy the picture below and thanks for visiting!
The shelf is darker than my existing bed set. I've tried using steel wool and sandpaper to lighten it up, but it's not yet where I want it. Last night I recalled reading that Alder will blotch when stained, and mine has. It turns-out, in hindsight I should have simply applied wax without the linseed oil. The wax would have taken it to the correct look. I may try to use a remover on the shelf but still thinking about that. Here are some pics of the shelf along-side of the bedroom set. Click to enlarge. Thanks for visiting!
Today I spent several hours sanding all the pieces. Then, I glued-up the shelf and managed to get a coat of boiled linseed oil on it. Wish it looked better than it does. I think I did better in 7th-grade industrial arts class. Tomorrow I will use steel wool to lighten-up the finish and follow that up with a coat of wax. Enjoy the slideshow below! Last night, I started the clean-up on the shelf side pieces. That included fixing the breaks by altering the design. Still have more clean-up [sanding] to go. Awaiting the Alder filler that should help me with the clean-up. Then today, I cut the three shelves to length and gave it a dry-fit. Looks pretty good. The shelf will definitely match the Alder bed set. More clean-up tomorrow. Enjoy the slideshow below! Today was raining anyway, so I ripped the boards for the shelves and then planed them down to 1/4". That process came out fine. Given that these are 1" thick boards, I removed most of the wood! I need to let the wood stabilize before trimming them to length tomorrow. Tomorrow I will also tackle the fixes to the shelf sides and get them cleaned-up. I'm hoping some Alder wood filler I ordered arrives tomorrow as well. Enjoy the pics below and thanks for visiting. click to enlarge.
I spent several hours on my shelf project today. Using the pattern template with the Alder is still a challenge. I had a tear-out in the exact same place as side #1, so decided I would alter the design to accommodate. You can see the breaks and part of the design change in the slideshow below. I'm finding the Alder wood to be somewhat brittle which may be due to it being kiln dried, but I doubt it. Both of the shelf sides are routed-out so the next step is fixing the tear-outs, clean-up and sanding. Then, on to the three shelves. I tested putting boiled linseed oil on a scrap piece of Alder and it looked just like the bed set I am trying to match. So like the clock, I will be using boiled linseed oil and wax - although the wax will not be a dark wax as used on the clock. Since we are having visitors for the next few days, I won't be getting back to the shelf until the weekend. Today, I worked on the shelf side pieces. I used the band saw to take away some of the waste wood. Then I decided to use the router table to make the dados for the shelves. The process I used is not really recommended and I messed-up two of the four shelf sides. One of the good sides has several flaws in the wood but I'll have to work with it. Then, using forstner bits, I drilled holes to accept the router trimming bit. That all worked OK but I did get tear-out on one cut that was so bad it broke the template and a piece of the side. I've glued the template back together and will proceed again tomorrow. Not sure how I'm going to fix the tear-out. I never had this much trouble when I was making the grandfather clock. It's not like the clock was an easy project! Here is a slideshow from today. Enjoy! I planed-down the piece of stock that will form the side pieces for 2 sets of shelves. Because the design is flip-flopped on the lumber to make room for all four sides, making the dado groove for the shelf pieces will be more complex than it otherwise would have been if I could have square cuts on the end pieces. You will understand this better tomorrow when I use the band saw to separate each piece from the 8' stock. Also, I discovered that I will not be able to use the router to make the dados as the side pieces are too long. Instead, I will need to use the table saw and its miter gauge and fence, along with an attached squared-off piece of stock. Otherwise known as a jig. I cleaned-up in haste today and before I could snap a picture of today's sawdust mess. But I do have a picture of the full bag. I need to let the stock stabilize before I make any more cuts. Following planing, lumber can move, twist, cup, etc. The wood has already twisted. I don't believe it will cause a problem though as the shelves will keep the sides rigid. I have traced the design for all four shelf sides onto the, now, 3/8" stock. Tomorrow, I will use the band saw to separate each side piece. Then, I will create a jig to allow me to make the dado groves which receive the shelves. That will be tricky. If I get that done, I will try to rout-out one of the side pieces. This will require me to drill holes to allow the router bit to have a starting point, and I will use my 2-sided tape to tape a template [original side piece] to the new side shelf piece. That will be interesting. Enjoy the photos from today in the slideshow below! |
AuthorI needed to build an Alder wood wall shelf to match a new bedroom set. ArchivesCategories |