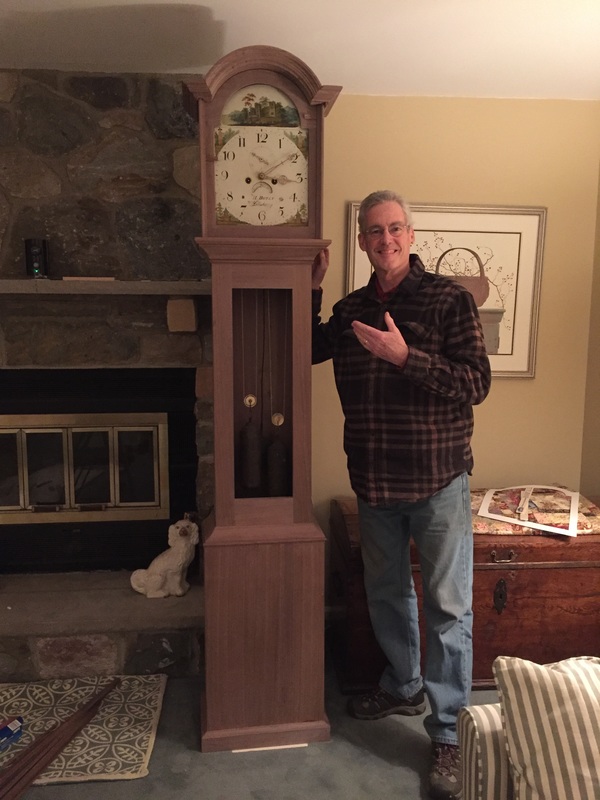
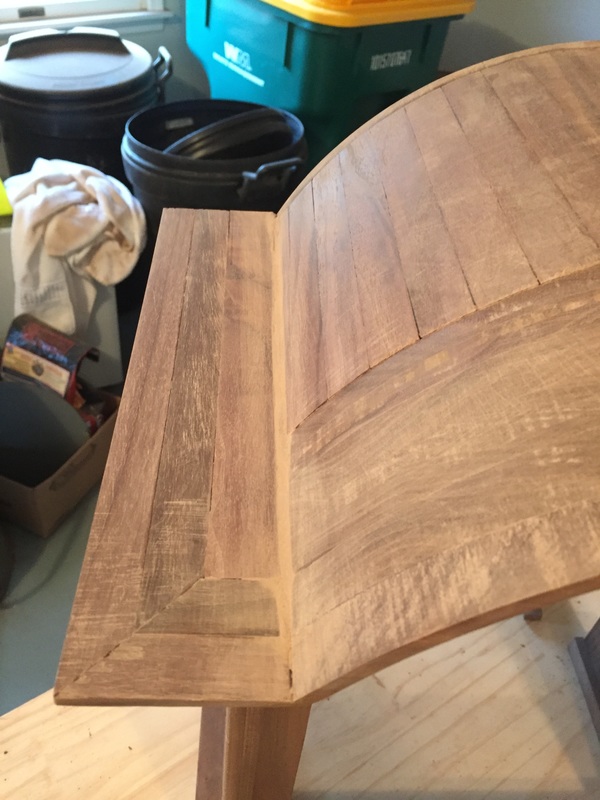
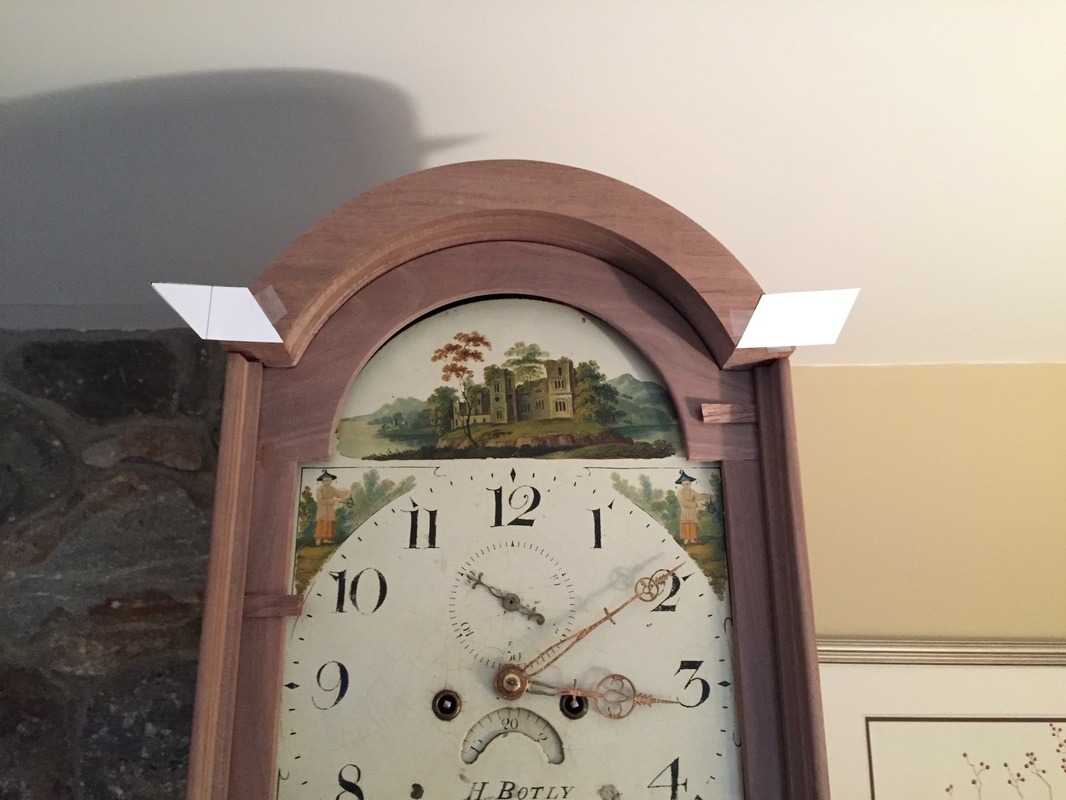
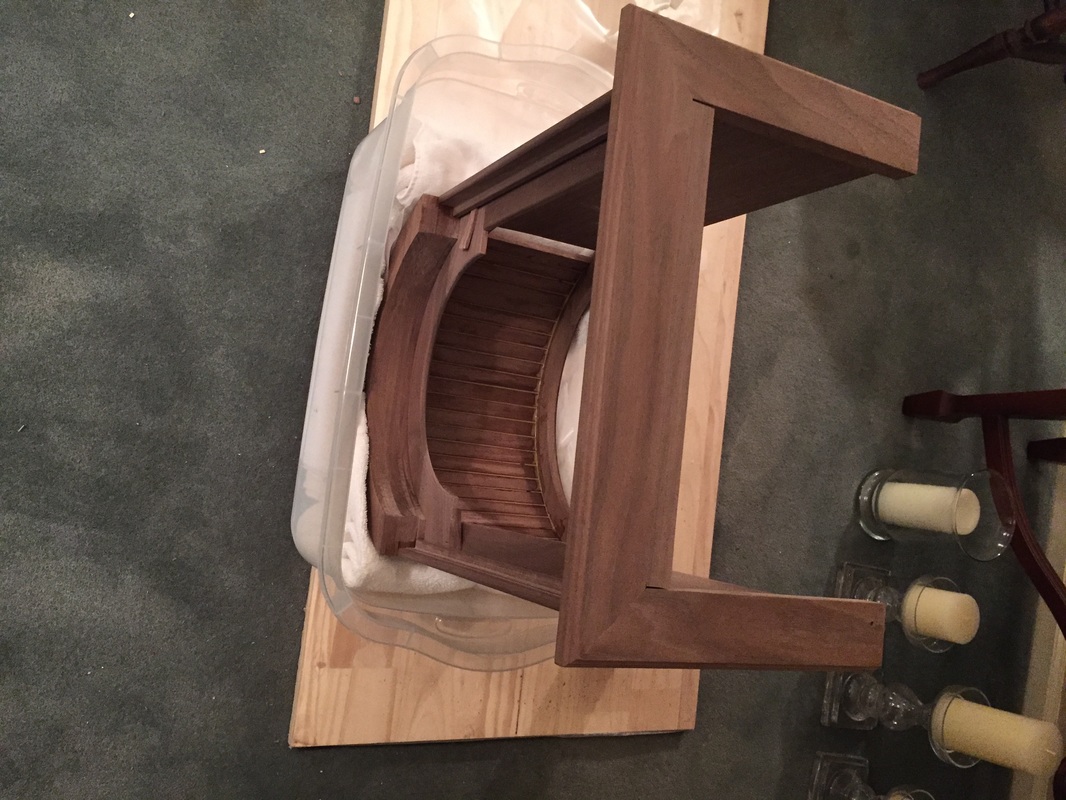
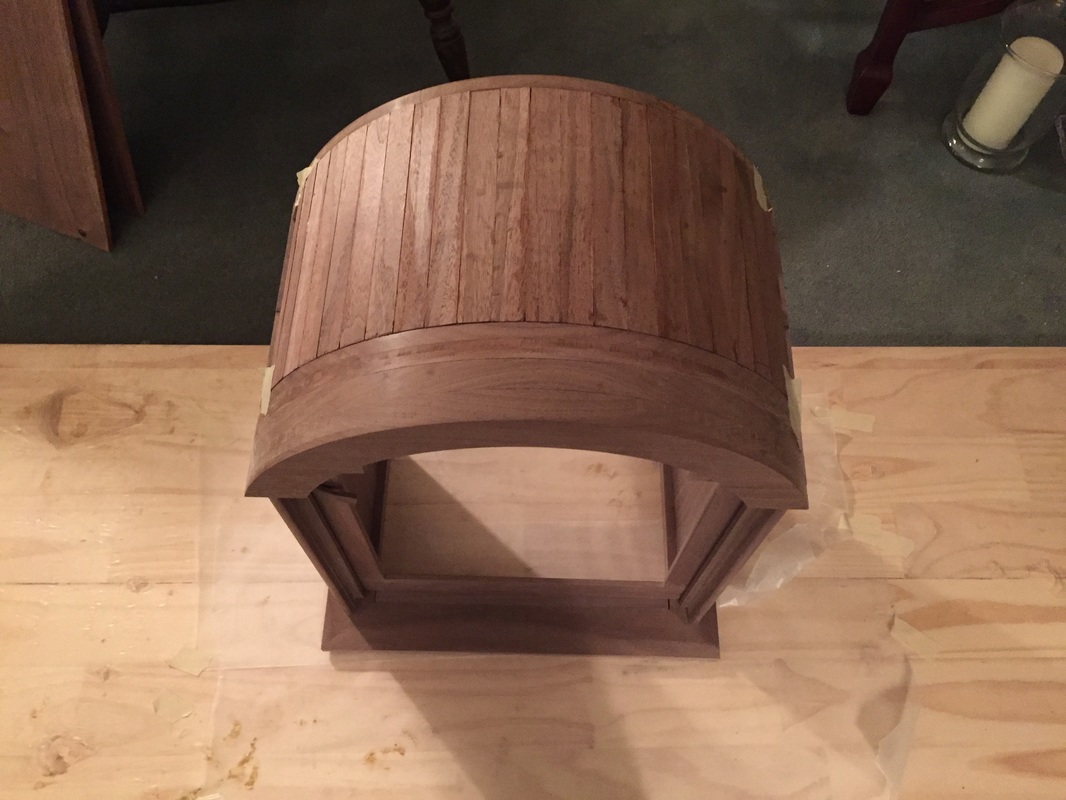
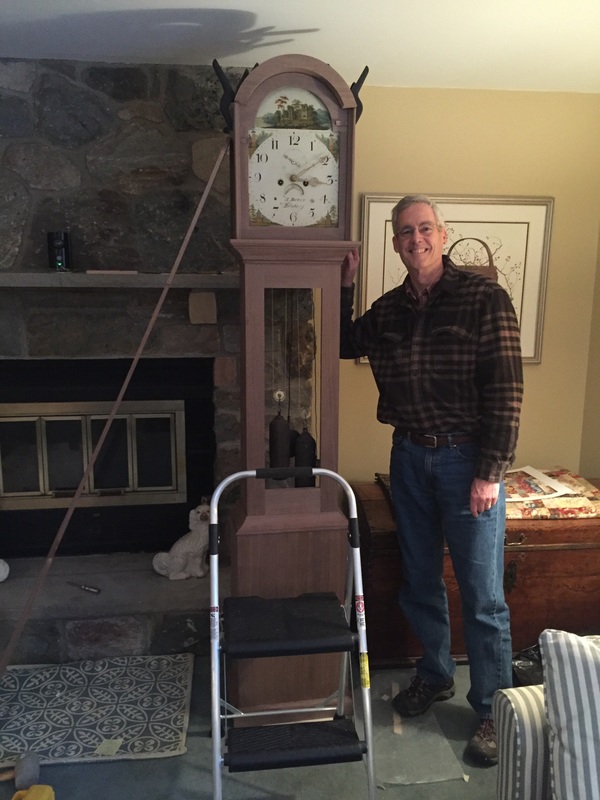
Last night I put the hood on the case and ran the clock works all night. Today, I pulled off the backplate, took off the hood and removed the works. Then, we carried the case out to the workshop for a thorough sanding followed by vacuuming, wiping and an oil finish. I think it went well. Tomorrow I will use a blend stick to cover a few lighter areas and give the hood a coat of dark wax. I will also be sanding and putting an oil finish on the waist door. I took a whole bunch of pics today so enjoy the slideshow below!
|
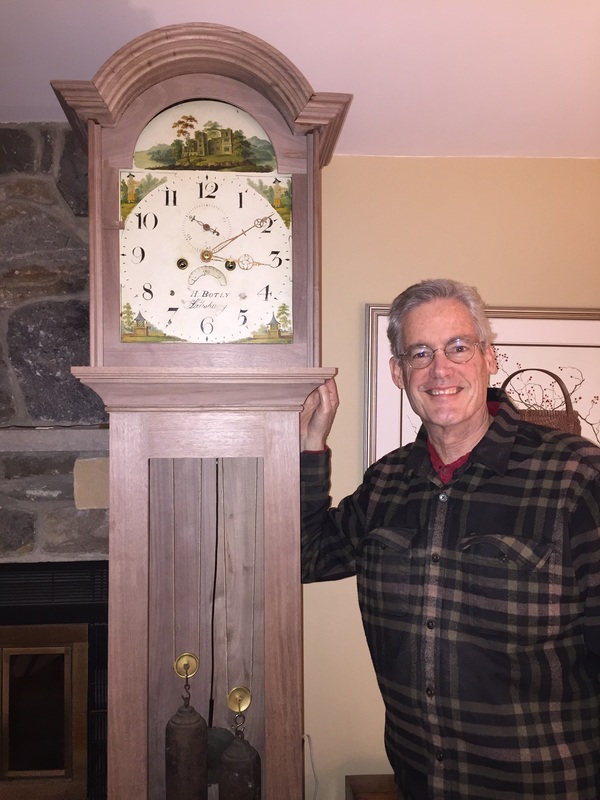
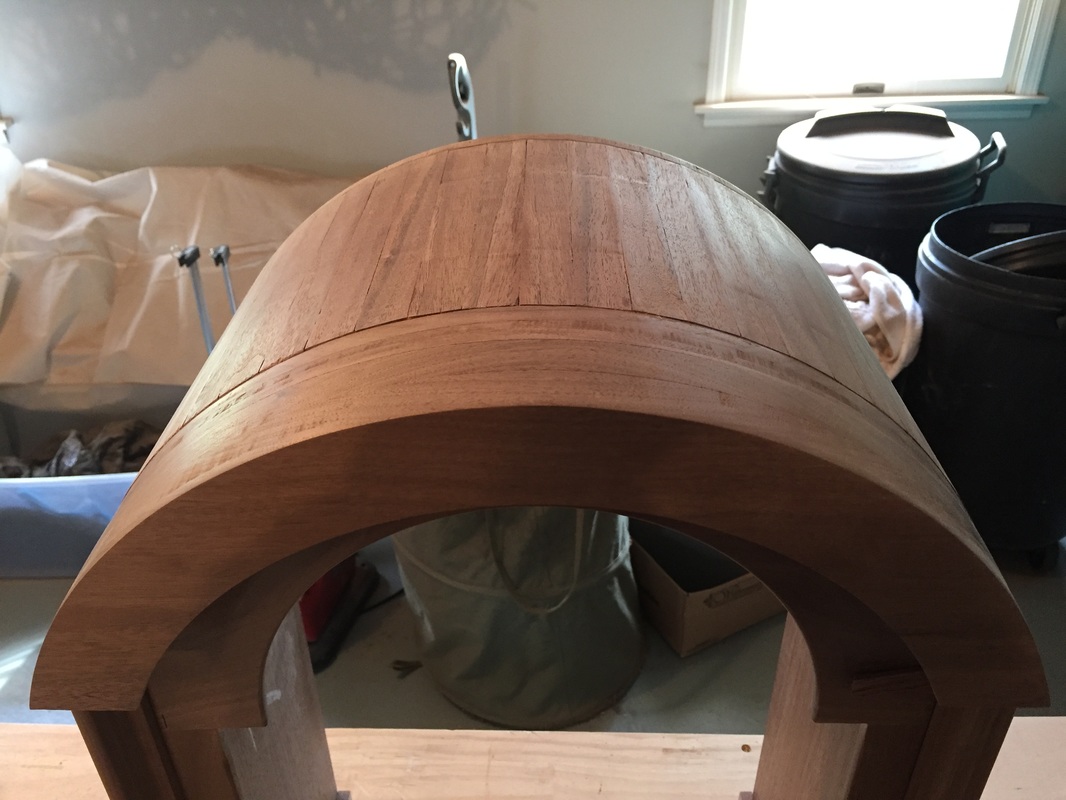
Today I thoroughly sanded the hood but found a blow-out in one of the joints that I had to fix. Surprisingly a lap-joint [which I had claimed to be the strongest joint]. So I got that glued back together and added some putty. Then on to applying the boiled linseed oil to the hood. It looks pretty good and I'm pondering whether to add the remaining 2 coats that I had planned to put on. I won't decide that until after I also apply the first coat to the waist and base. I'm likely going to put oil on the waist and base tomorrow but may wait a day as I want to run the clock some. My assistant took many pictures so enjoy the slideshow below. Remembering that I still need to build and install the hood door, in all other respects, the clock case is nearing completion. Last night I decided to try out the hood on the case. I like the proportions and am happy with how it is coming out. Today was a day of perfecting the side skirts, sanding and applying walnut wood filler. I still have some work to do tonight, but I'm at a point tomorrow where I can begin applying boiled linseed oil. My plan was to put oil on the waist and base first, but I'm thinking I'll start with the hood which will be freshly sanded. I expect to apply 3 coats of oil over 3 days. then apply the special dark wax I have made especially for darker woods like walnut. I will only be working on the clock for another week. Then I have another project for the entire month of February. But I'll get back to the clock, and the hood door, beginning in early March. Click on photos below. Enjoy!
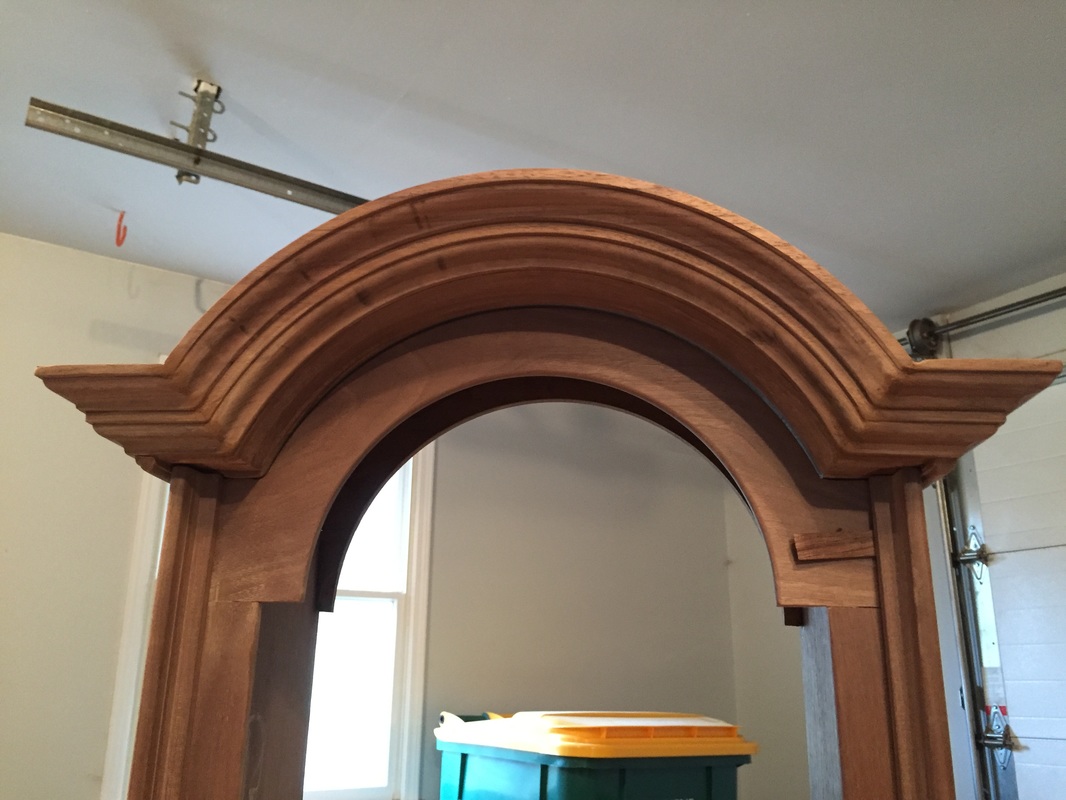
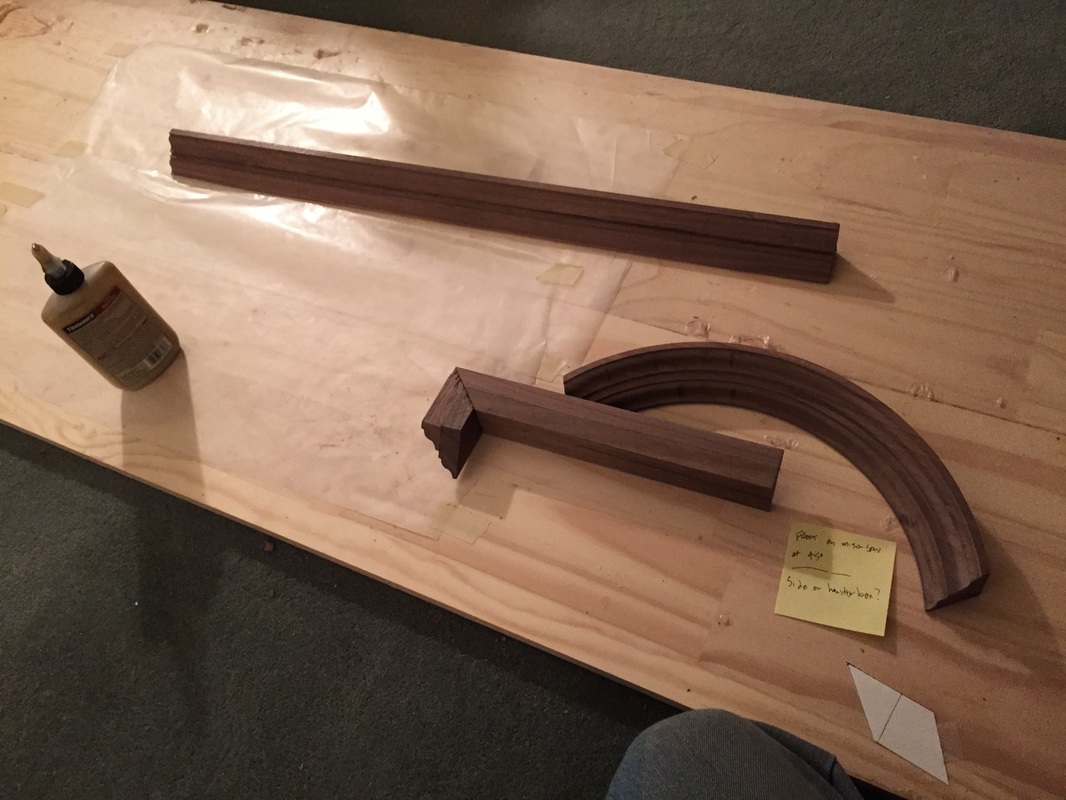
Another really long day today in the workshop. Spent most of my time mainly working on an area of the hood that no one will see - the top of the hood side skirts. I decided to also add some bead moulding under the side skirts to help with the transition to the hood sides. Tomorrow I hope to wrap-up the hood build by sanding and filling-in before I apply the boiled linseed oil [Thursday? Friday?]. Please enjoy the slideshow below! Worked 11 1/2 hours today. Managed to get the molding glued-up. Much sanding and trial-and-error fittings. I still need to add filler strips which I expect to do tomorrow. Then I'll give it all another sanding. 6 of the arch pieces are now stacked and glued together with the 7th being in the back of the hood. I'm doing the messy work in the workshop but performing much of the glue-up in my "Winter Workshop" [Family Room] as it is very cold these days. Click on photos to enlarge. Enjoy!
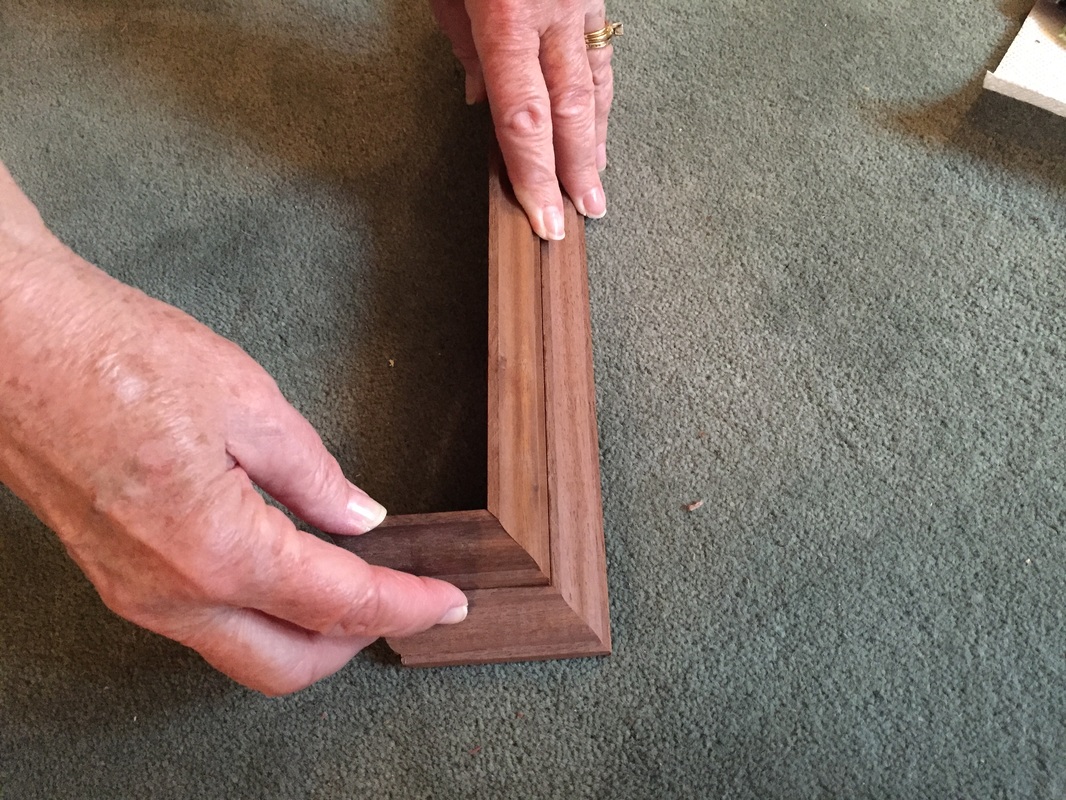
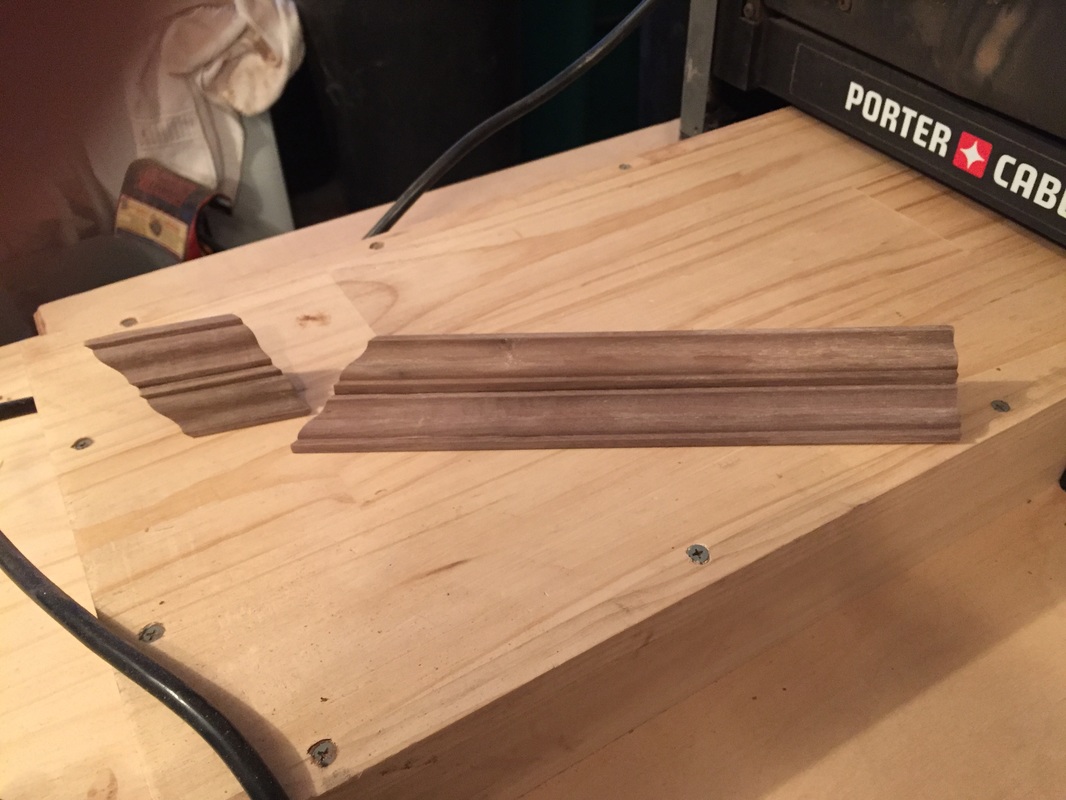
It was a busy day today although I wasted several hours failing 2nd-grade math as it relates to my moulding joins. My wife finally bailed me out and remedied the issues immediately. I was trying to make some compound angles that never existed. Oh well, I'm retired. Once I finally got going, I cut one each of the moulding skirts and sides. Looks like they are going to fit together fine and will join the main arch moulding. Finish sanded these two moulding pieces and the main arch moulding. Then glued together the remaining stacked moulding pieces that will be used tomorrow to make the skirt and side moulding for the other side. On Tuesday I will glue together all of the moulding pieces and hopefully begin the filler pieces that go between the hood side and the side moulding. That exercise will be tricky. Click on photos to enlarge. Enjoy!
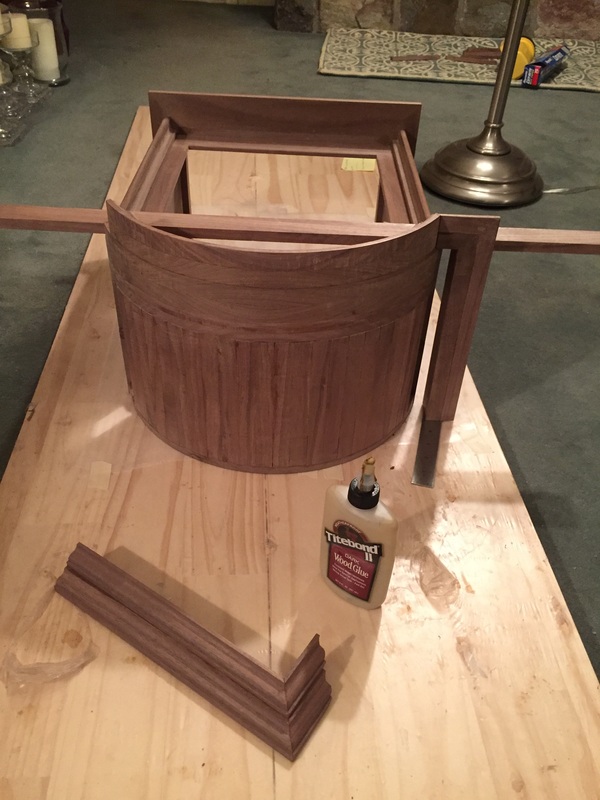
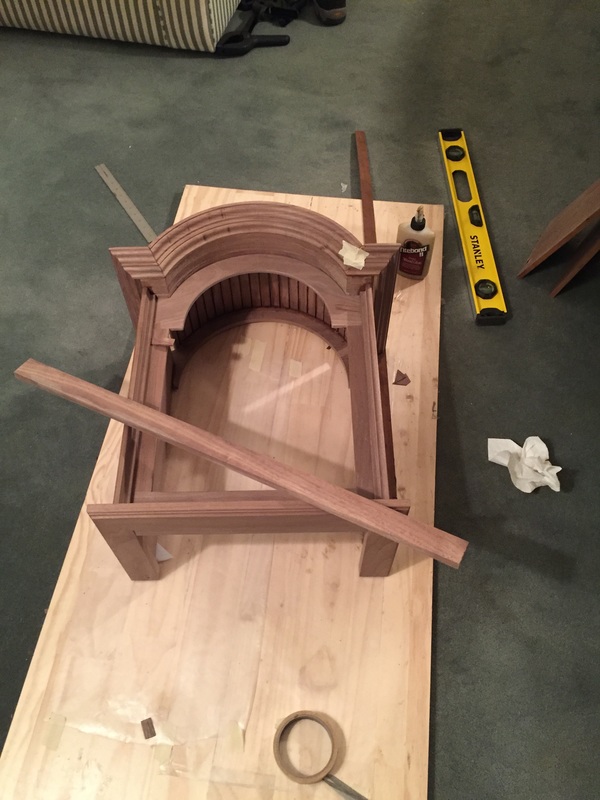
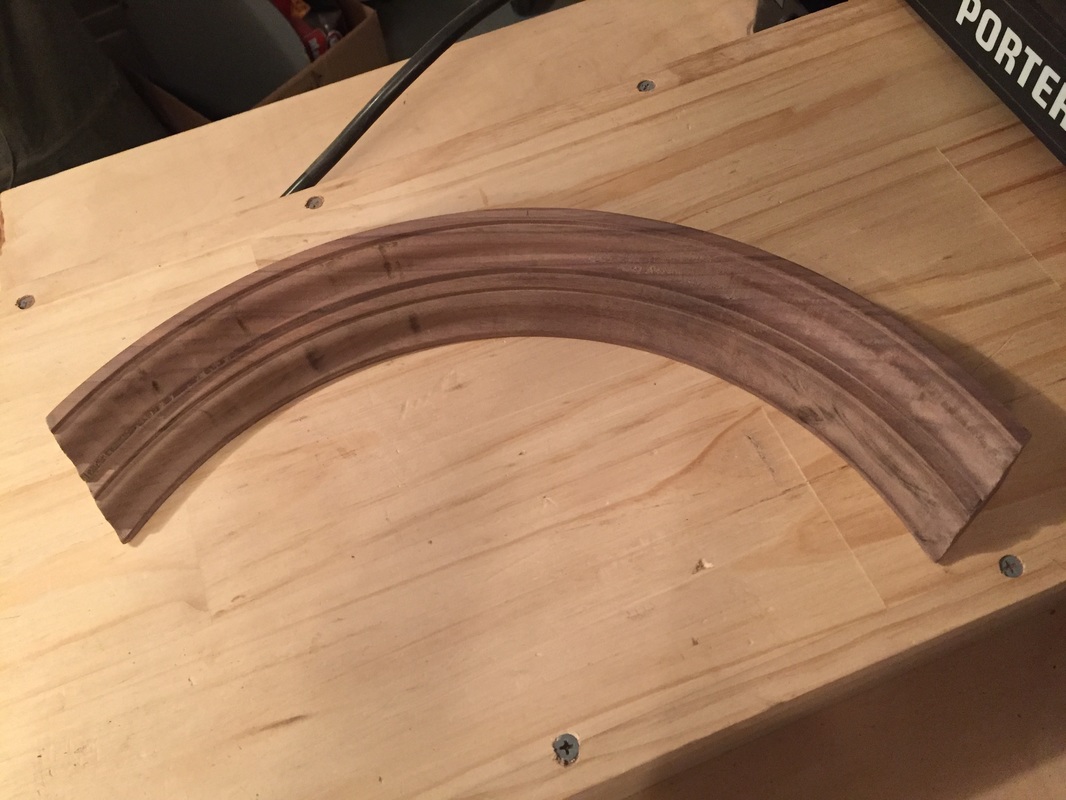
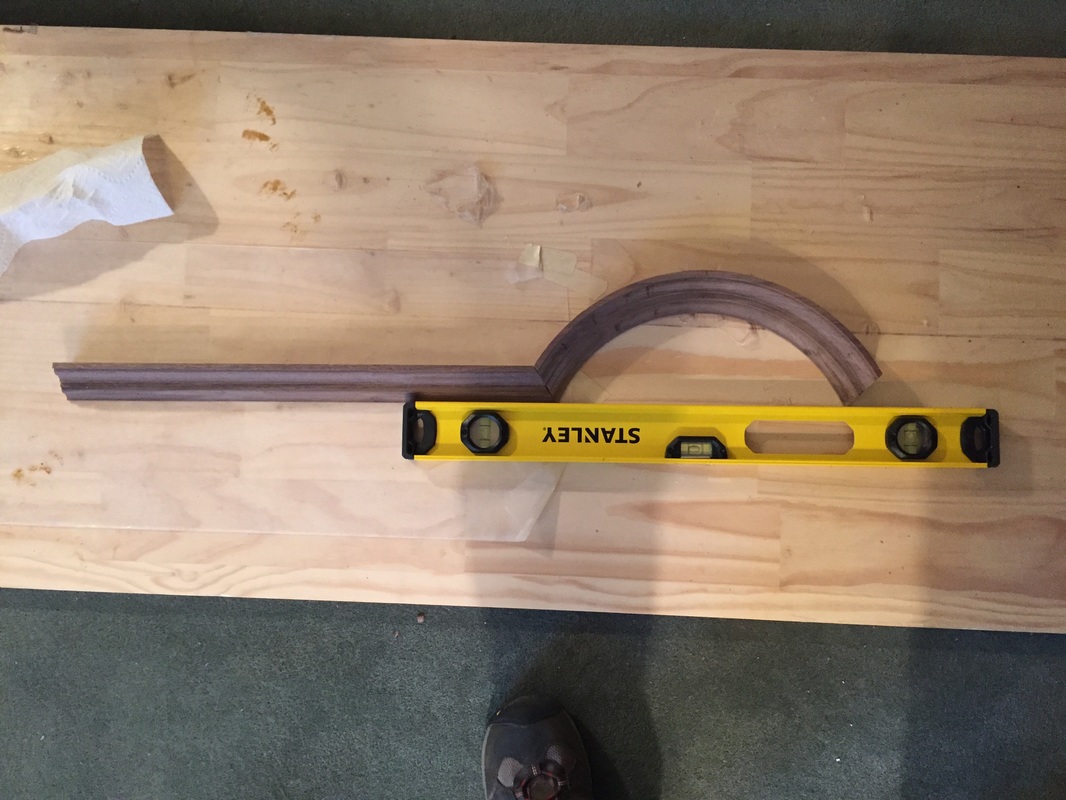
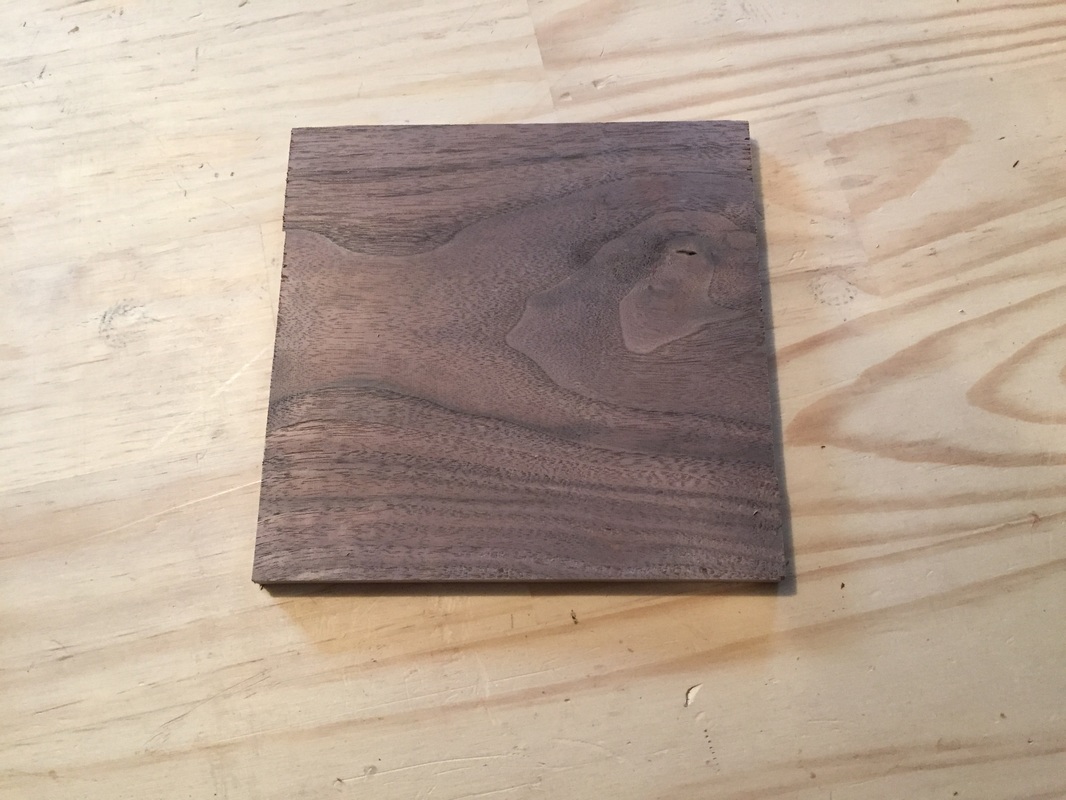
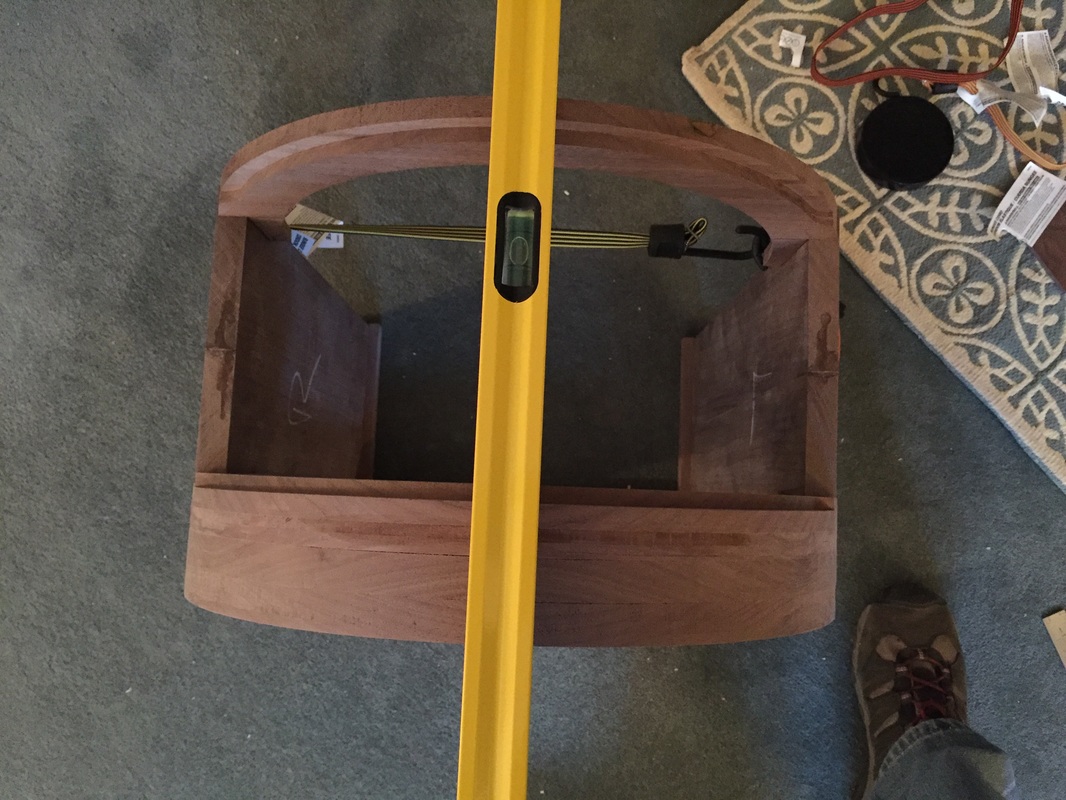
Last night, I glued the bottom of the top-plates. You can see a photo below. This morning I gave the top-plates a thorough sanding out in the workshop. Today was a day of much testing in preparation for making the cuts to the curved arch moulding. Think of these pieces as the eyelids to the clock dial. Many angles that have to be taken into consideration as well as deciding on the best cut approach. Plus, I only have so much prepared stock so I won't have much of a second chance. Decided it would be best to glue-up the stacked moulding pieces so that they cut more evenly. So I glued them together and tomorrow I hope to make the cuts to the right side moulding. Then, I glued what I call the hood glides. They are found on most tall case clocks. Their purpose is to prevent the hood from flipping forward. See photo below. Then, I applied some walnut filler to a few dings on the hood. Click on photos to enlarge.
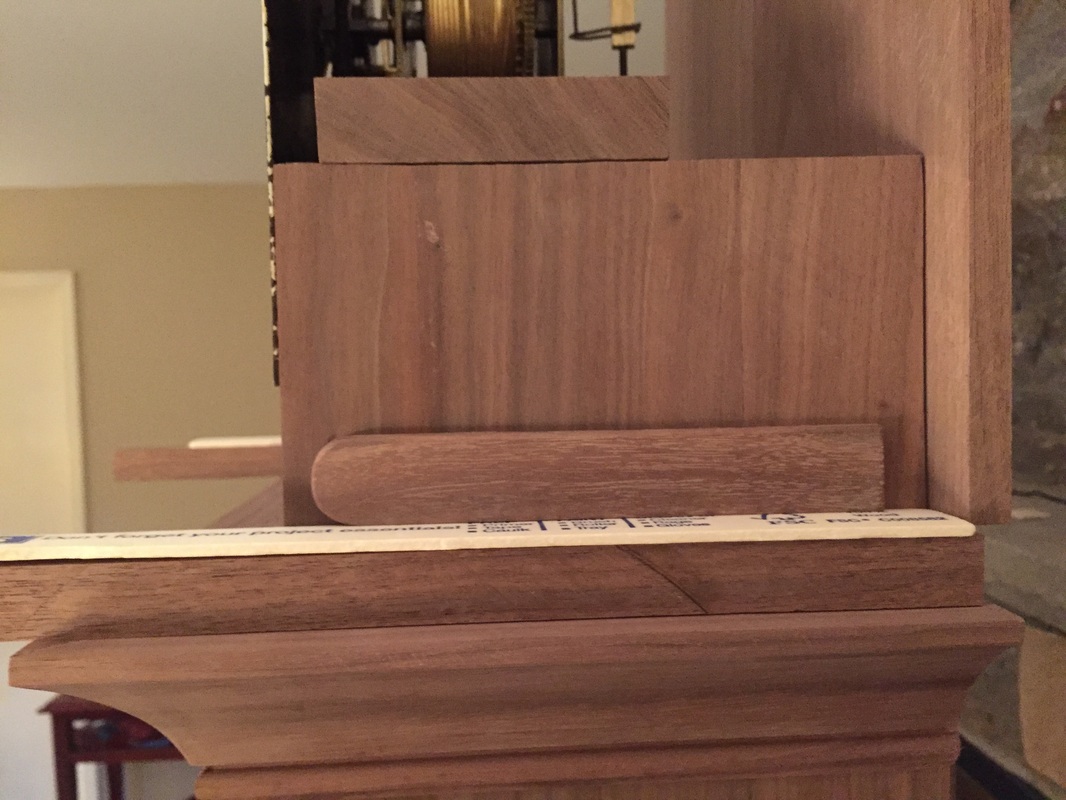
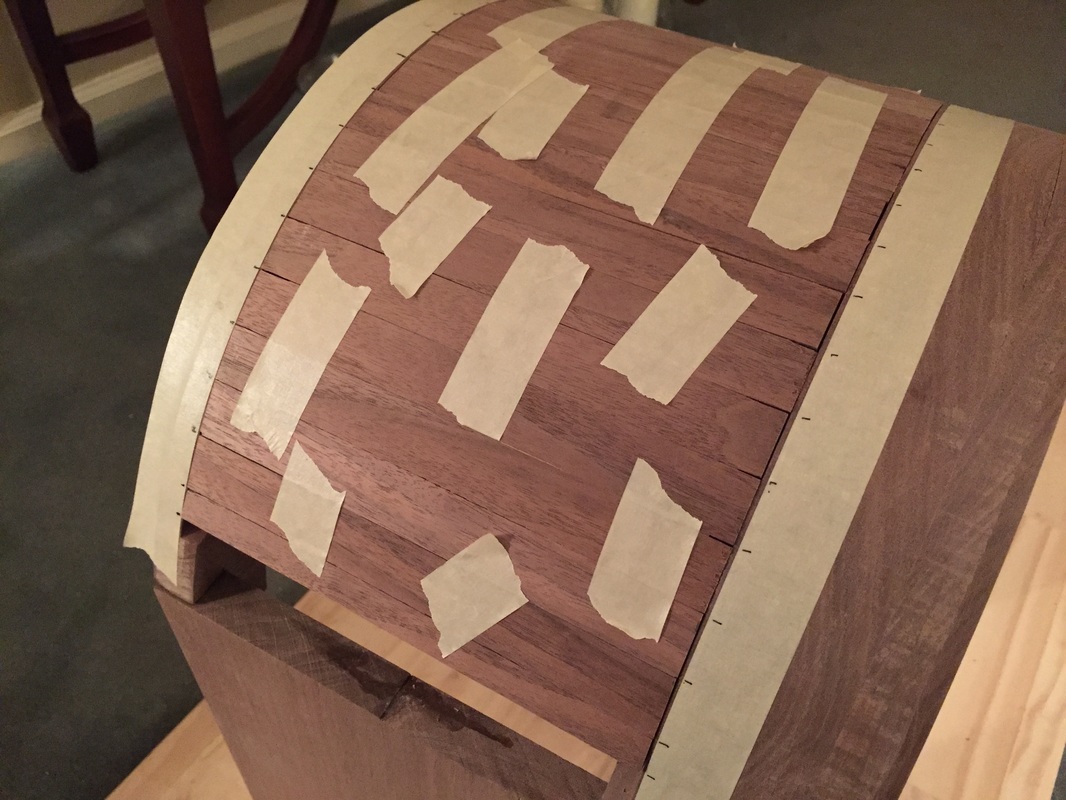
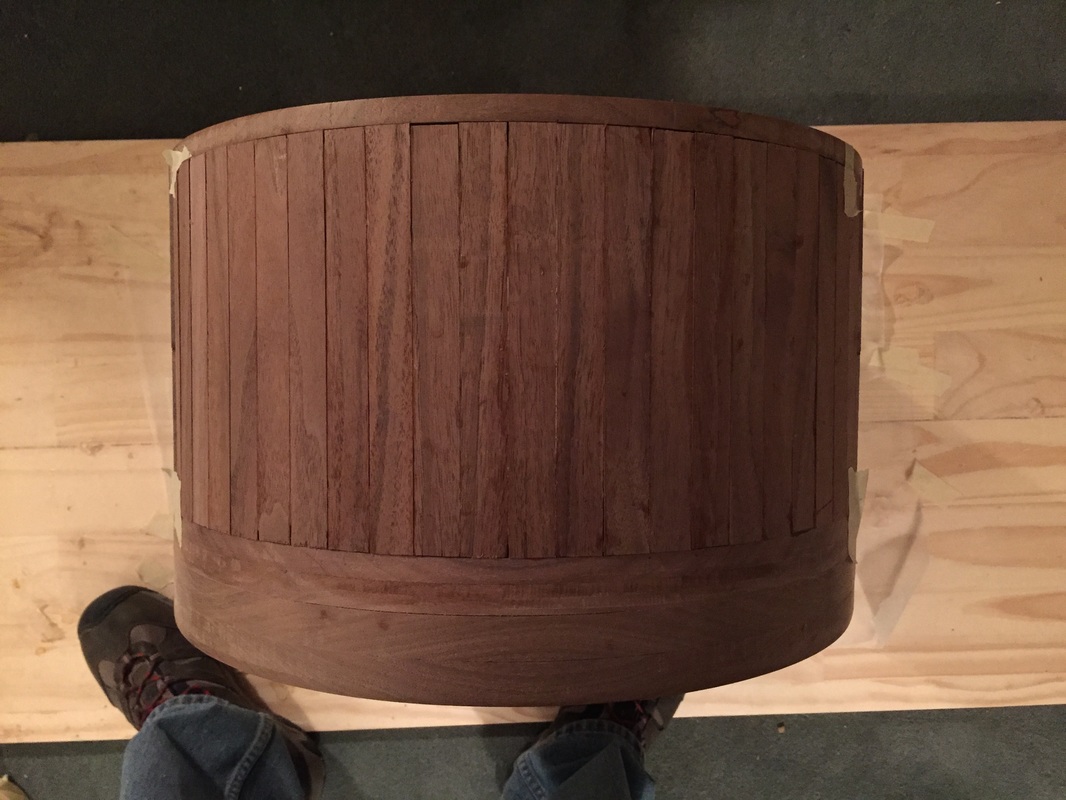
Figuring out the top-plates was a little more tricky than I thought. I needed to plane some more off the lumber to make for a precise fit on the hood. Also needed to true-up the lumber. Finally, I needed to come up with the correct bevel to allow the plates to engage with themselves as they were applied around the rabbeted curve. Those tasks took a few hours. But the top-plates are now glued-on to the hood top. Tomorrow I will turn the hood over and add some more glue to the top-plates and perform some general hood reinforcements. I will also likely add the hood glides to the waist. You will then see how that works. Then, on to the moulding which will be yet another challenge. My hope is to get the moulding completed by Wednesday. That's my hard-stop date before I start applying an oil finish to the clock case. I have another project that will take up the entire month of February, so the hood door and, if necessary the moulding, will be completed in March. Click on photos below to enlarge. And thanks for stopping by!
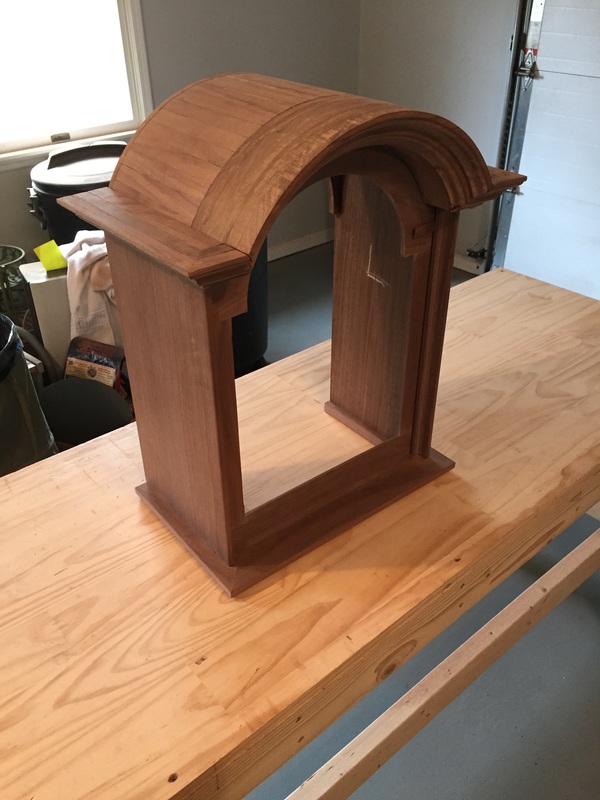
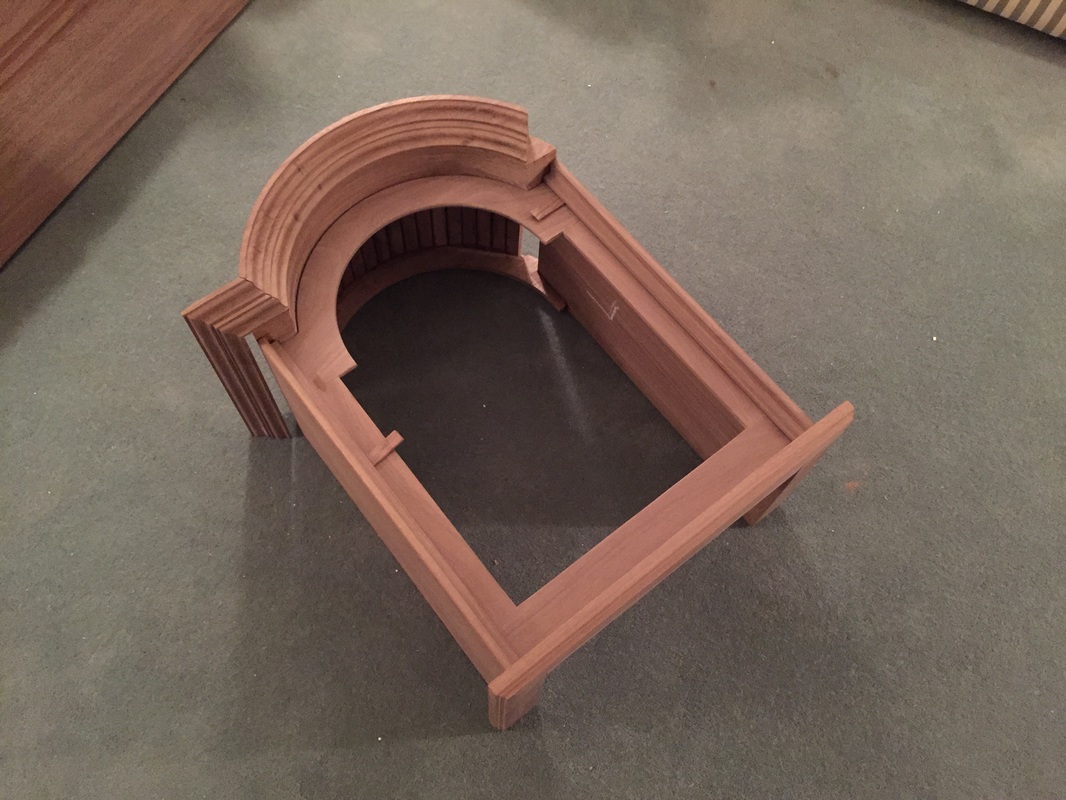
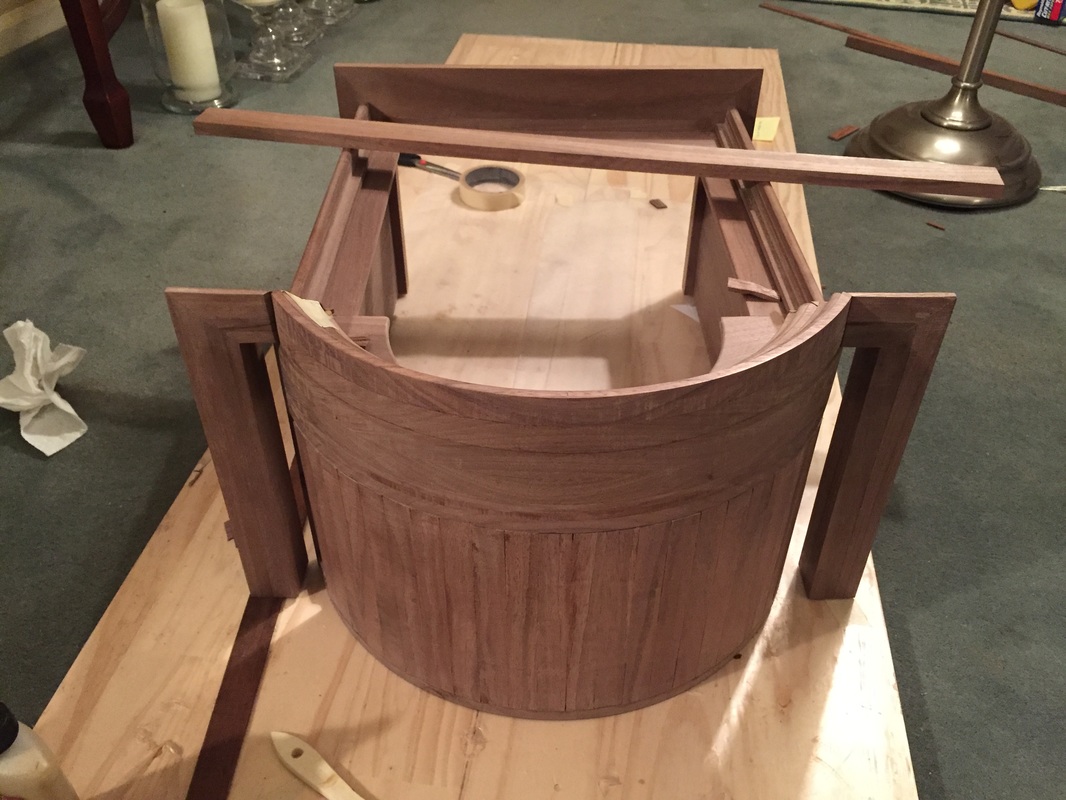
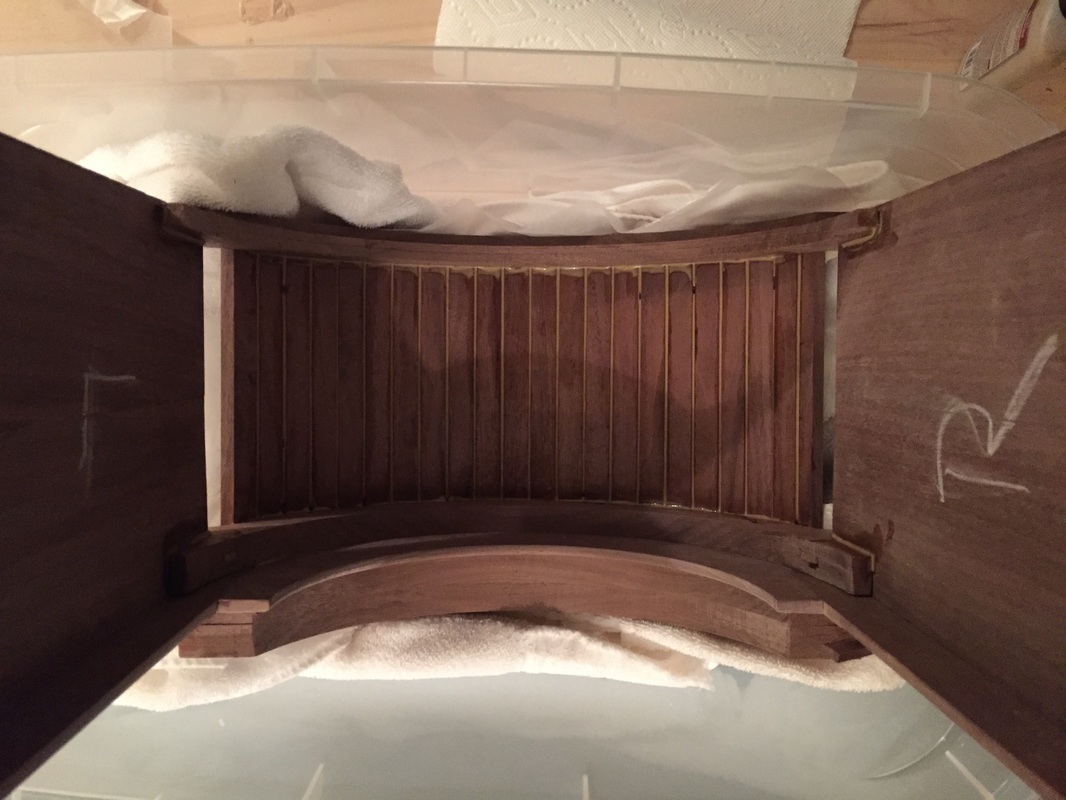
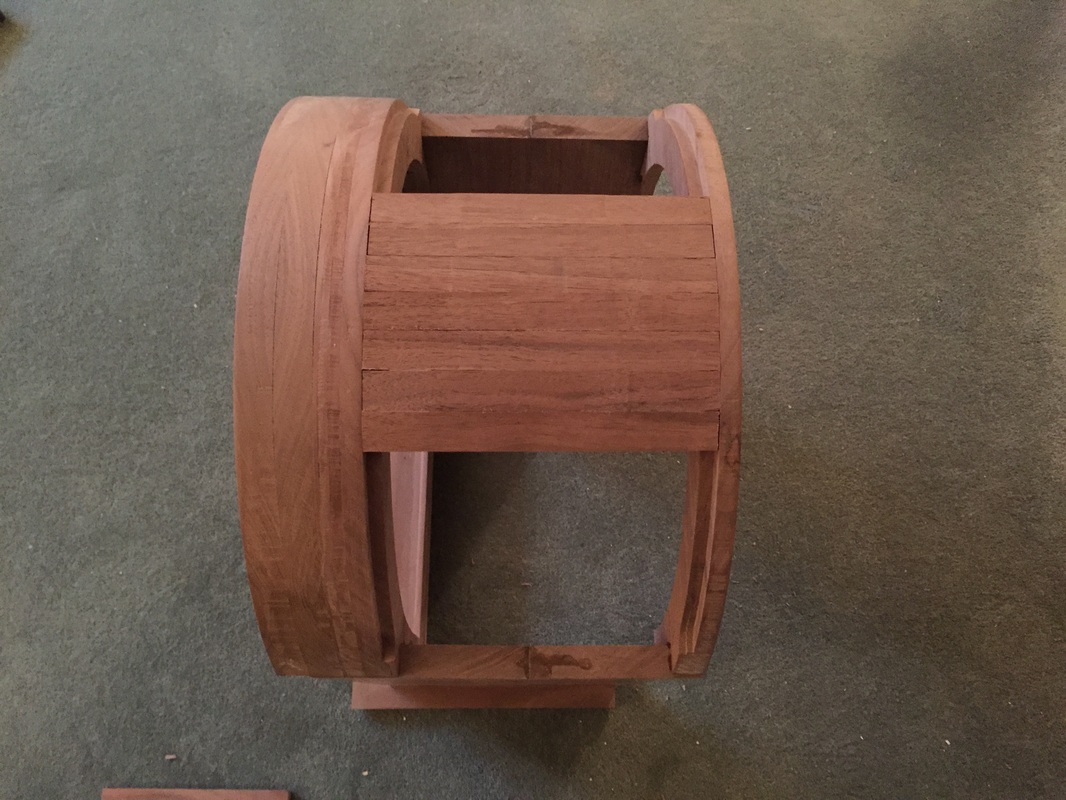
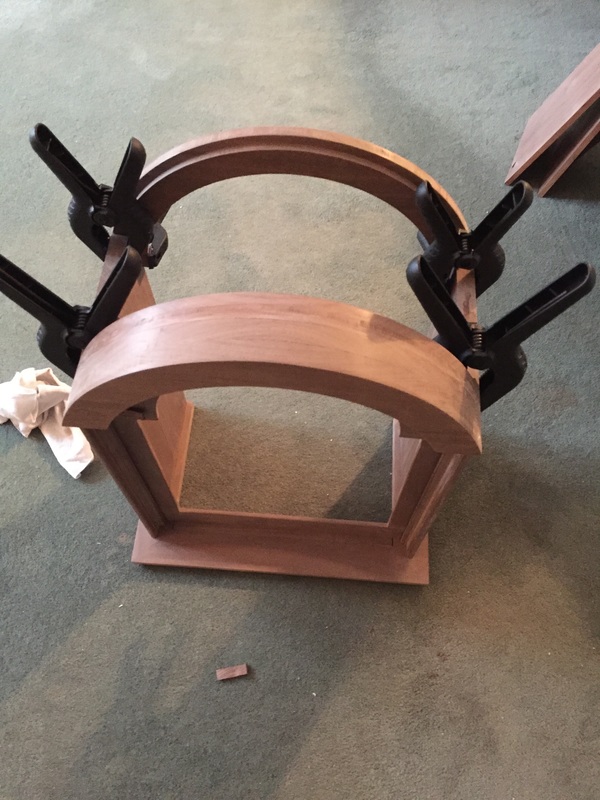
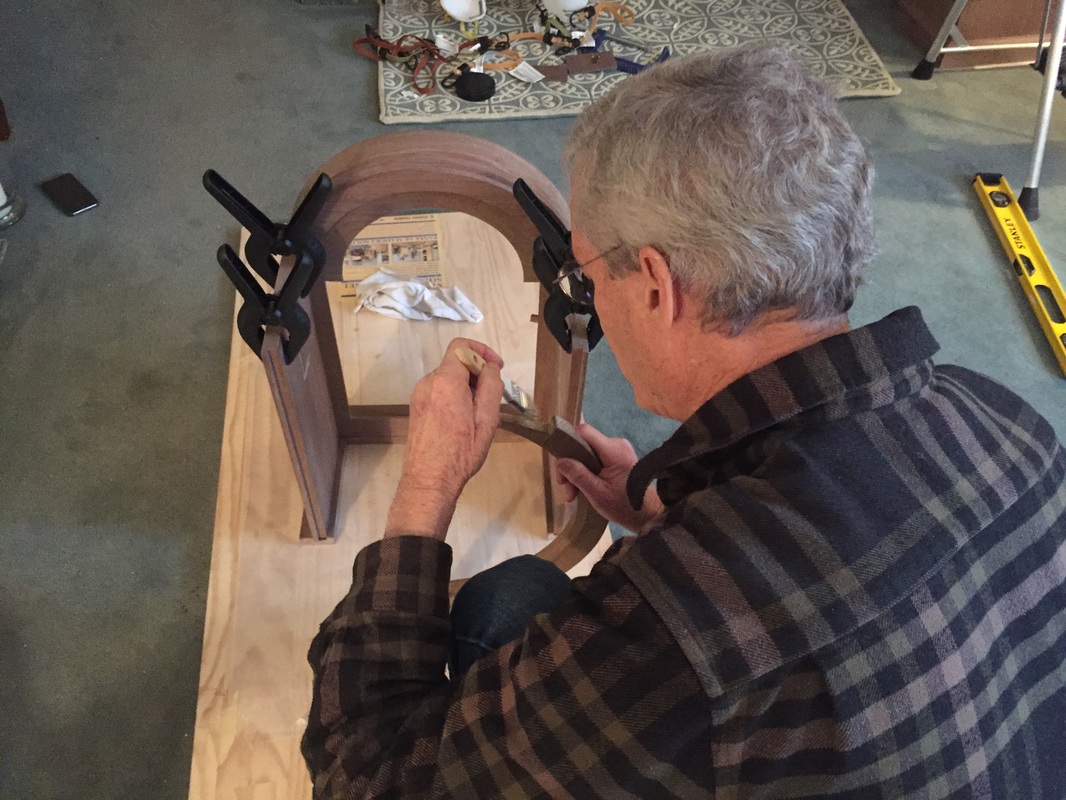
Today I finish-sanded the arches, test-fitted the hood once again, made up a step-by-step game plan for assembling the hood, and proceeded to glue-up and clamp the hood. My wife was a big help in making sure I sequenced everything according to plan. So YAYYY!! The clock hood is glued-up. Later this evening, I will remove the back clamps that held the back arch to the hood sides, and put the backplate back on. Tomorrow, I will add some glued reinforcements to the hood just to be sure it stays-put. I also plan to build the many top-plates to the hood top. I'm looking forward to that and it should be fun. Following that, I hope to get to the moulding over the weekend. Click on photos below to enlarge. Enjoy!
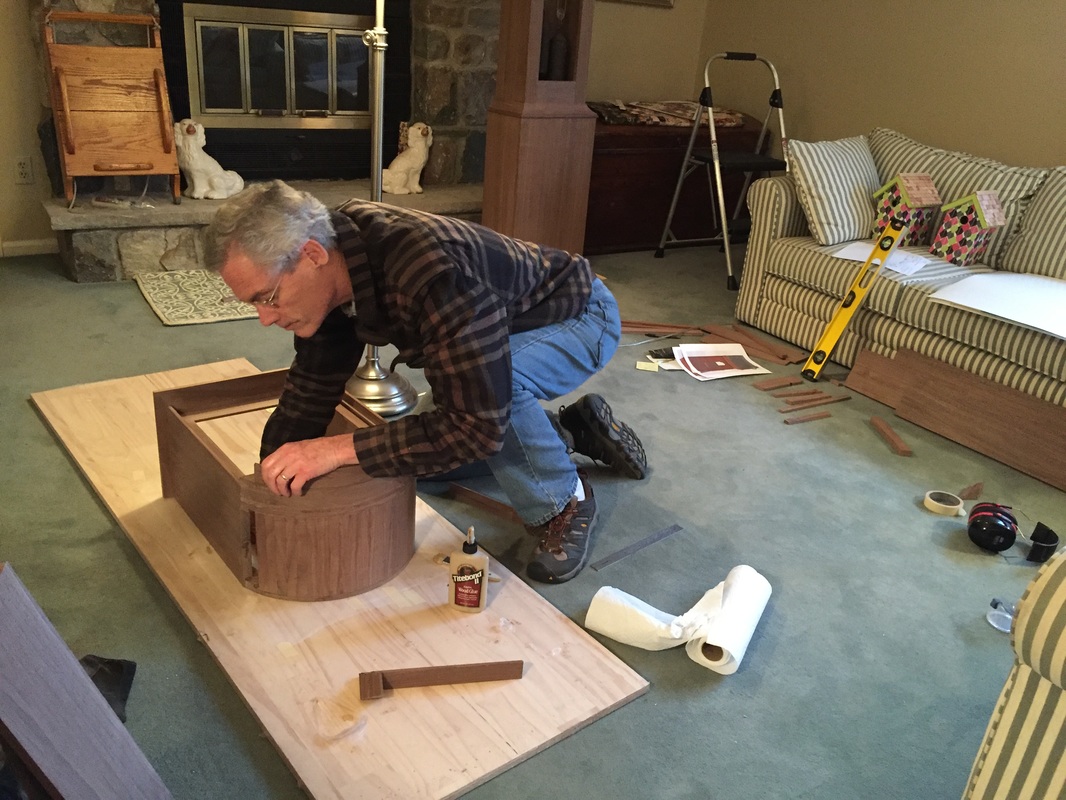
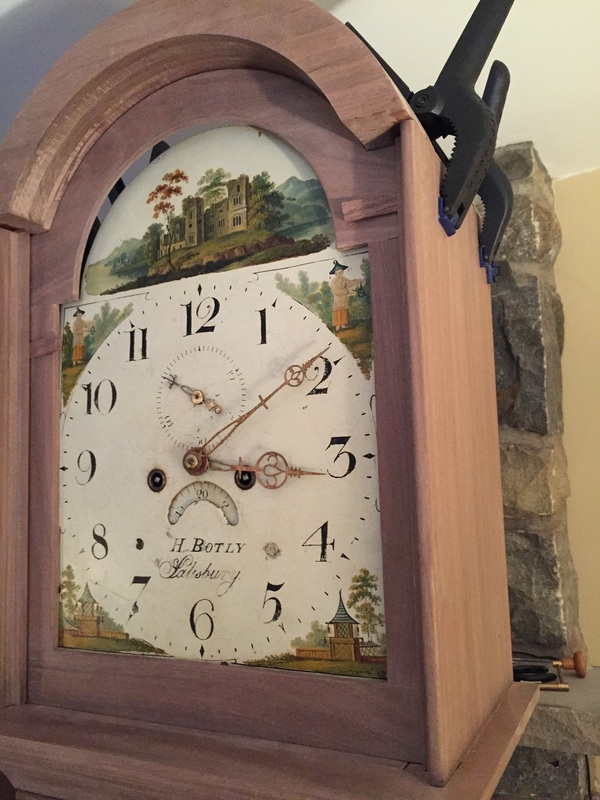
I had hoped to get to the hood glue-up today but did not. It turns out that, while sanding and performing test fittings, I decided that I needed to remedy a few gaps and uneven wood. So that's what I did. I then sanded all of the hood and dial mask pieces and performed several test fits. I came up with a sequence as to how I am going to glue-up the hood and place it to dry on the case. Since the clock works are immediately below and behind this activity, I will need to be awfully careful. The glue-up is planned for tomorrow after we run a few errands. See slideshow below. |
AuthorI hope that you enjoy keeping up with my clock's progress! Archives
June 2016
Categories |


 RSS Feed
