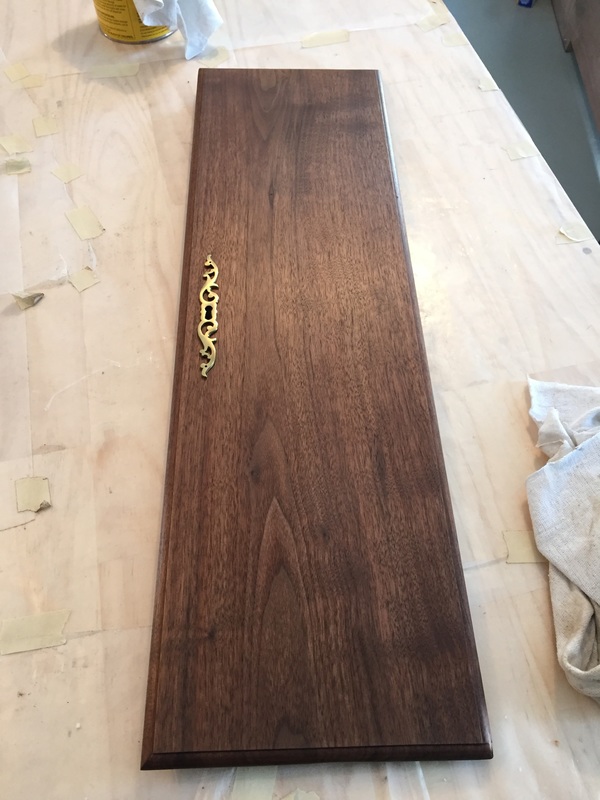
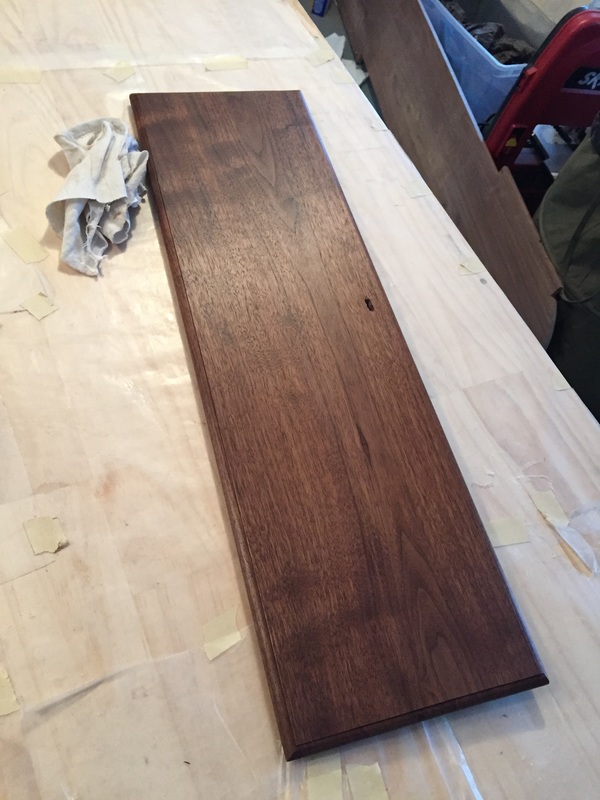
A very fine day. Started out by picking up a few more brass screws for the hinge. Then, we went to the antique store we had visited a few months ago and picked up an old framed picture with wavy glass. Barely big enough but it should work. Then, cut the rabbet deeper on the door just to be sure that the glass cannot touch the dial hands. Then, I had to trim the corners of the rabbet cuts as the router bit makes a curve rather than a square angle. Then, I gave the dial door a good finish sanding with #400 sandpaper. Finally, I put on one coat of boiled linseed oil. That's probably enough. I'll check later today and put on a second coat if necessary. Tomorrow, I plan to give the door 3 coats of paste wax and Friday, I plan to take the dial door and the glass with picture to our local glass store for cutting. Enjoy the slideshow below!
|
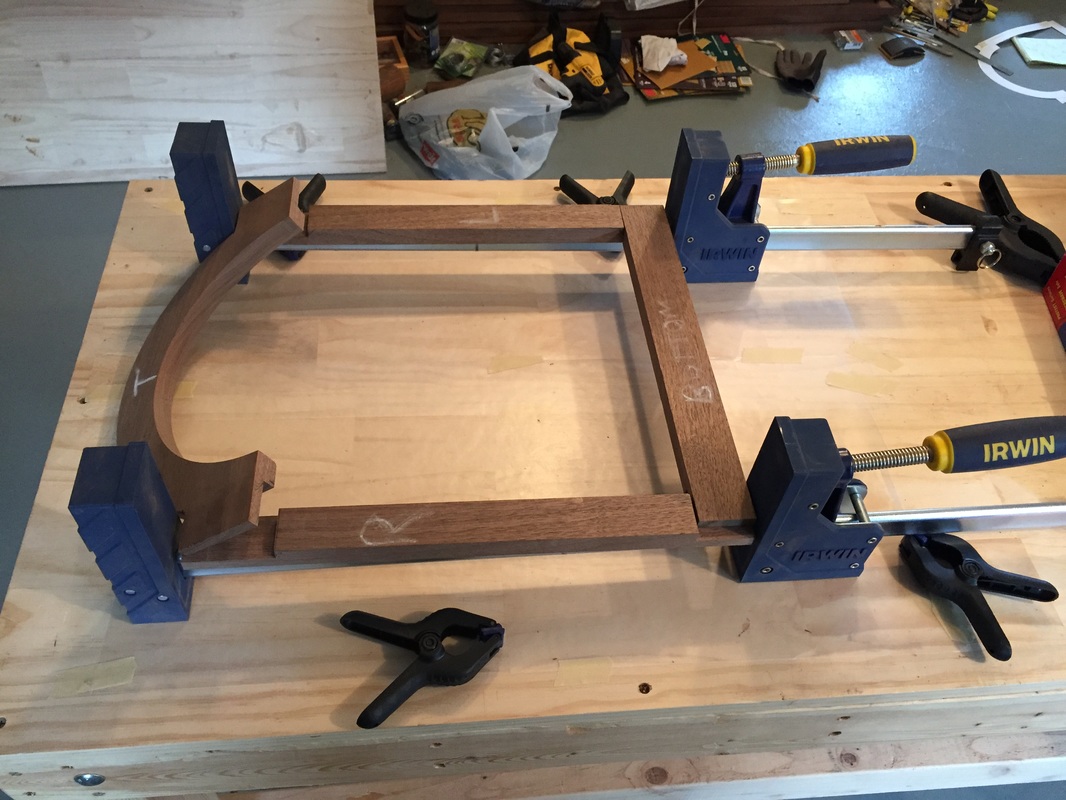
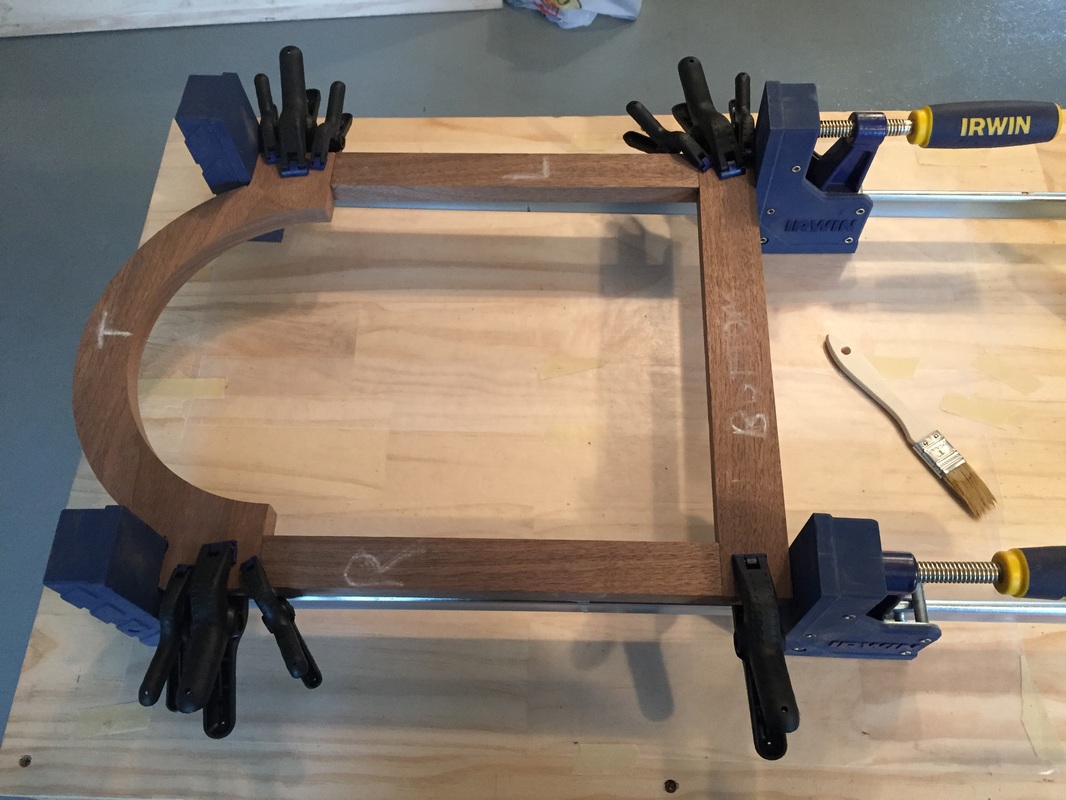
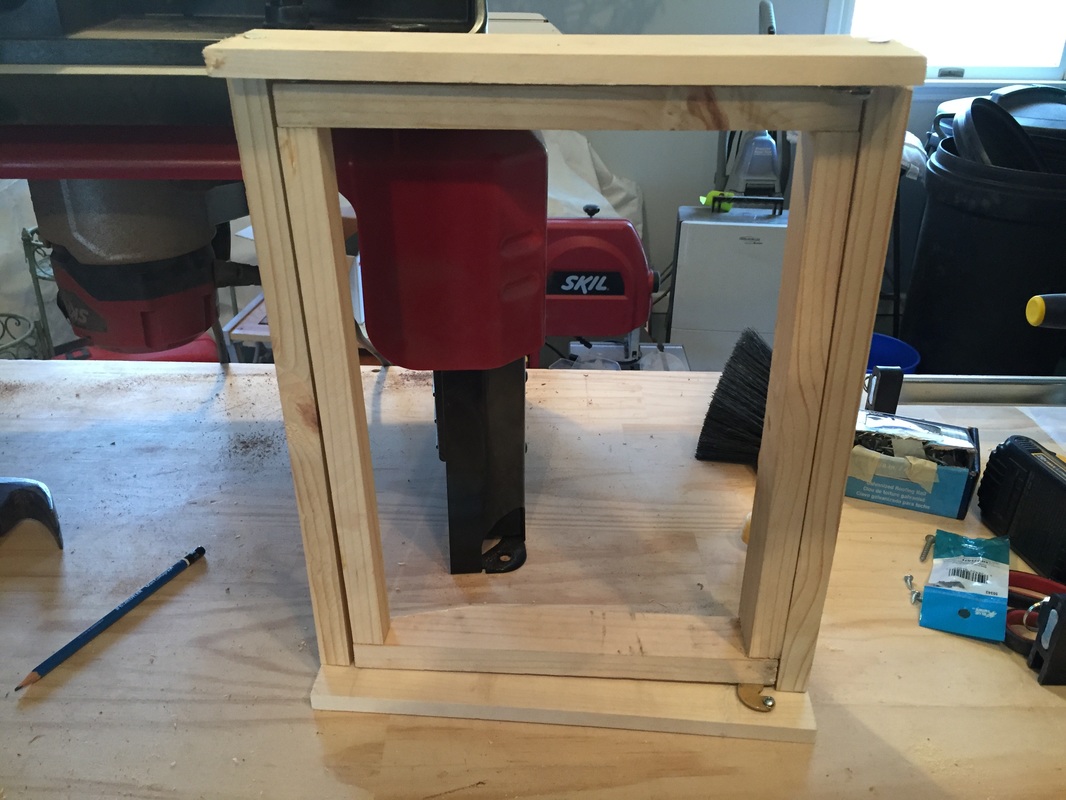
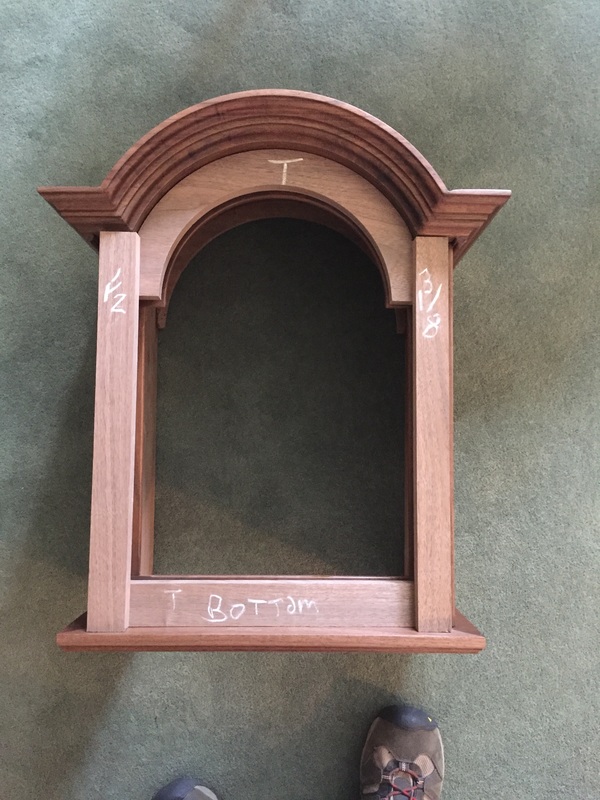
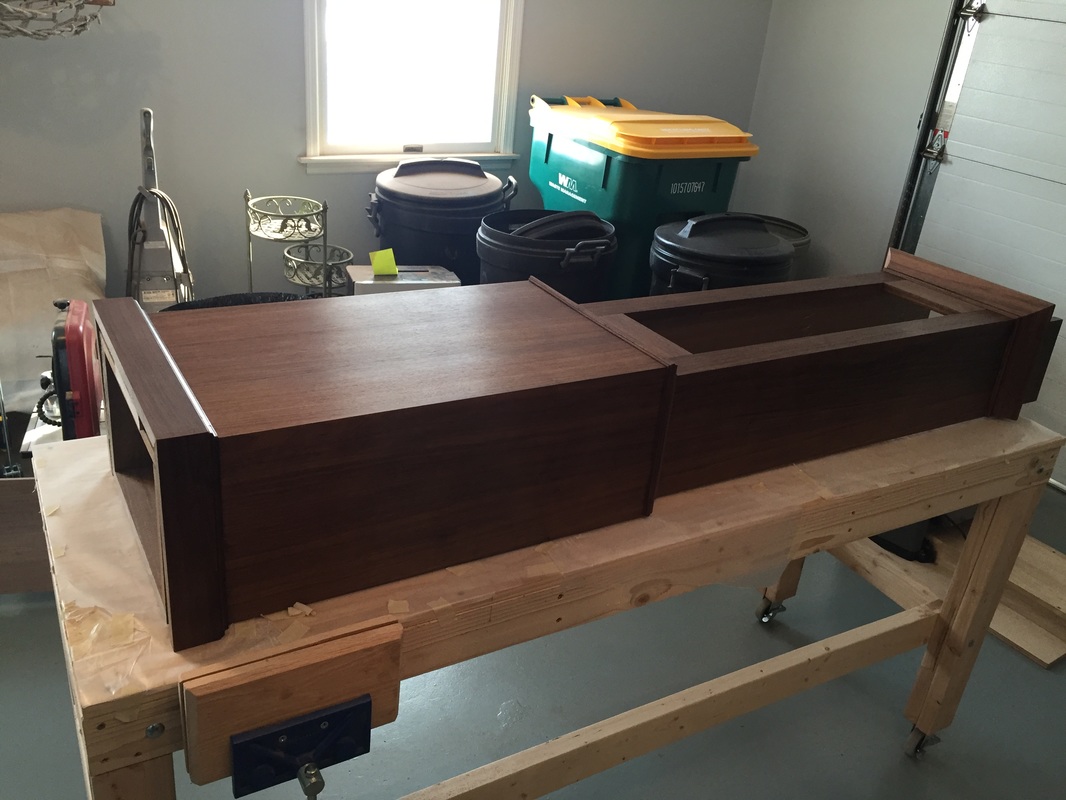
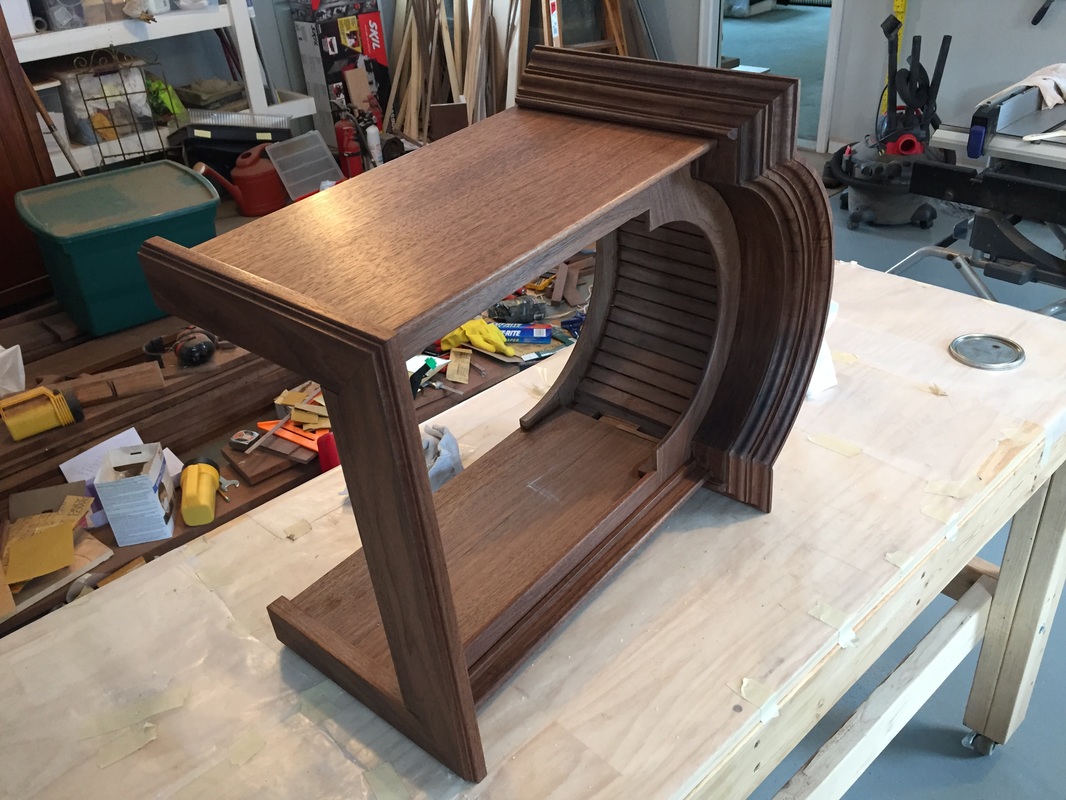
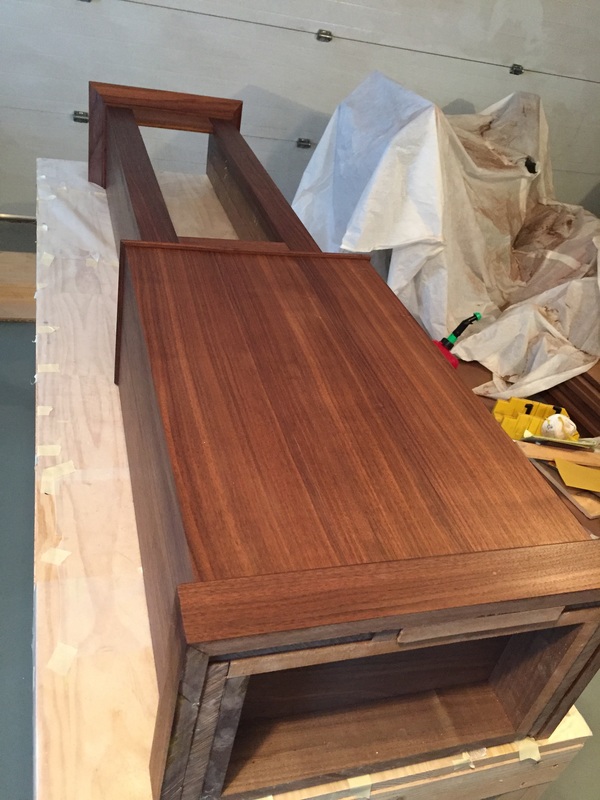
It was a good day in the workshop today. Gave the dial door a good sanding. Then I test fitted the dial door hinges and they work well. We had a scare last night when my wife suggested that the door won't open fully as it will not clear the top moulding. I was beginning to think she was correct, however, these are special use grandfather clock door hinges that pivot an inch out from the actual door, and thus should allow it to clear the sides and the top moulding. The door test stand that I made yesterday reassured me somewhat but I had to make sure it would clear on the actual dial door. The verdict? It clears just barely. Phew! Butterfly hinges would never have worked. Then, using the router table, I proceeded to round-over the many edges on the front and back of the door. Finally, I routered the inside edges of the dial door to accept the glass. I may need to router more off, but my wife suggested I pause, get the glass, and get the glass shop to tell me if the rabbeted lip is sufficient. I have several appointments tomorrow, so will do the glass tasks on Wednesday. I also need to go to Lowe's to pickup some more brass screws, putty to set the glass and some colorant and, hopefully, a brass dial door knob. Please enjoy the slideshow below! I haven't fitted the door to the hood, but today I glued-up and clamped the 4 pieces that comprise the hood dial door. Lap-joints on them all. I will remove the clamps later tonight and give you a report on the fit tomorrow. I also wanted to test the dial door hinges. So I made a small door frame and tested it out. Seems to work. Click on photos below to enlarge. Enjoy!
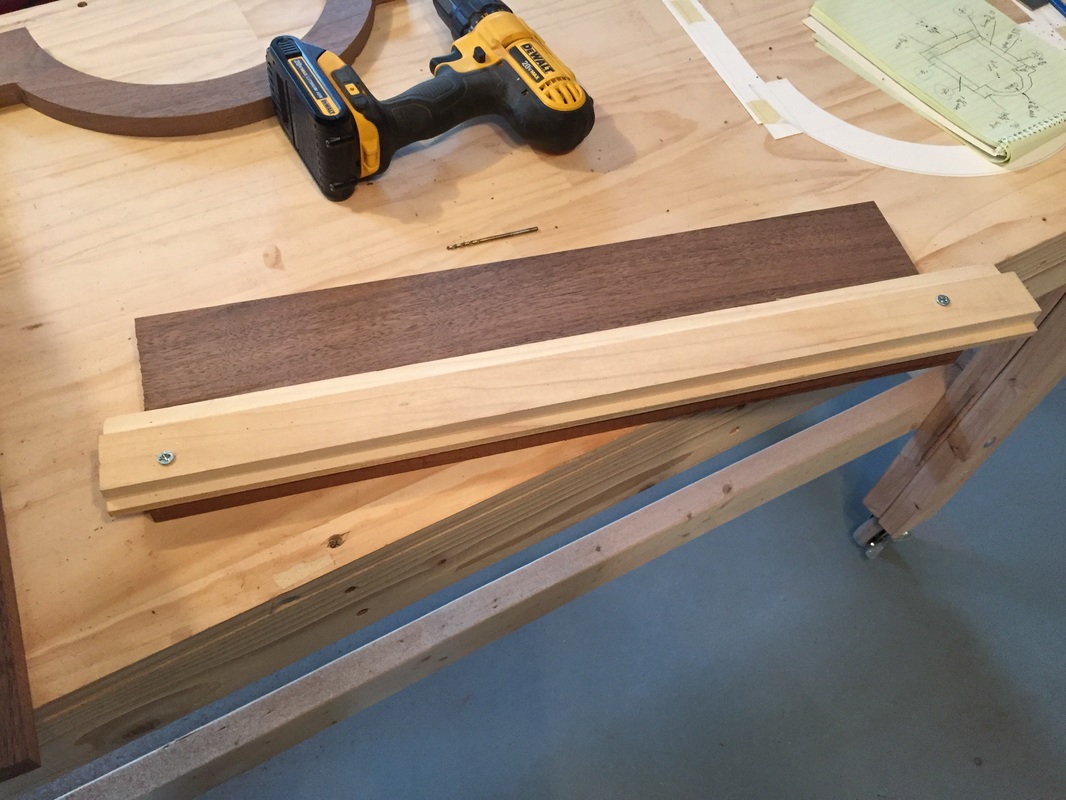
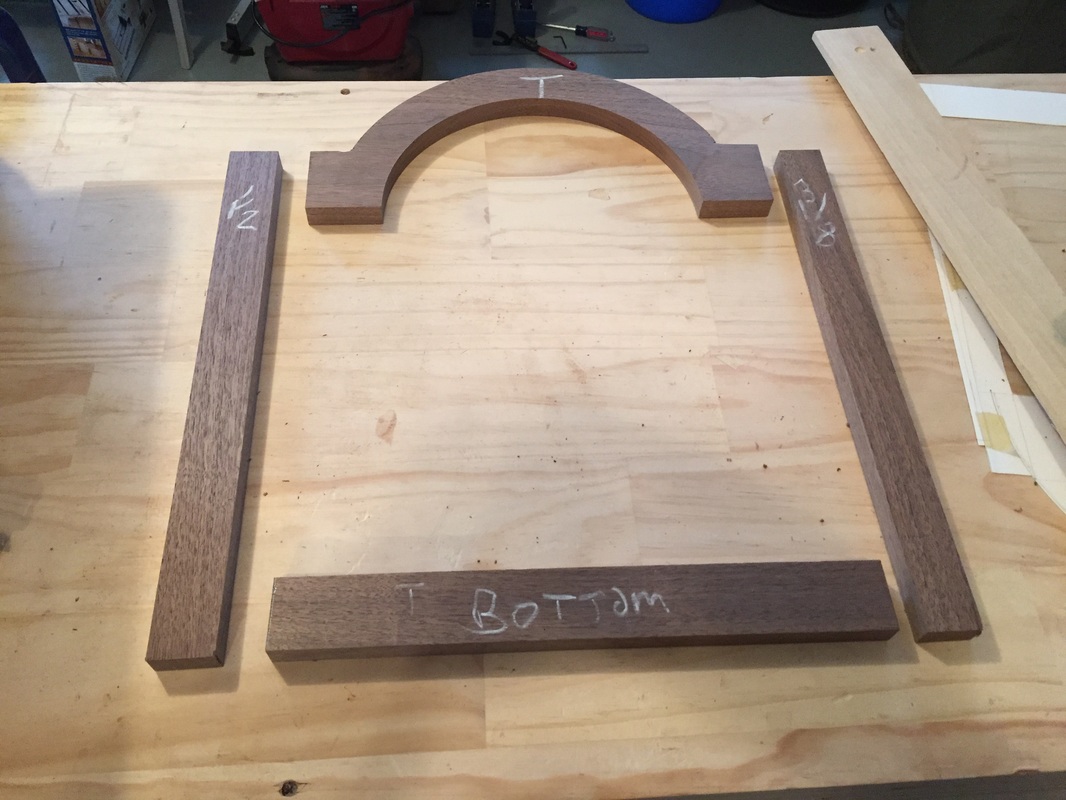
Yay!! I made it through the day without a shop accident! I was able to get all four of the dial door pieces cut out in preparation for glueing the lap joints that will hold it all together. These joints look easy but they are not. Should look good when completed. Here are the steps on the dial door from here:
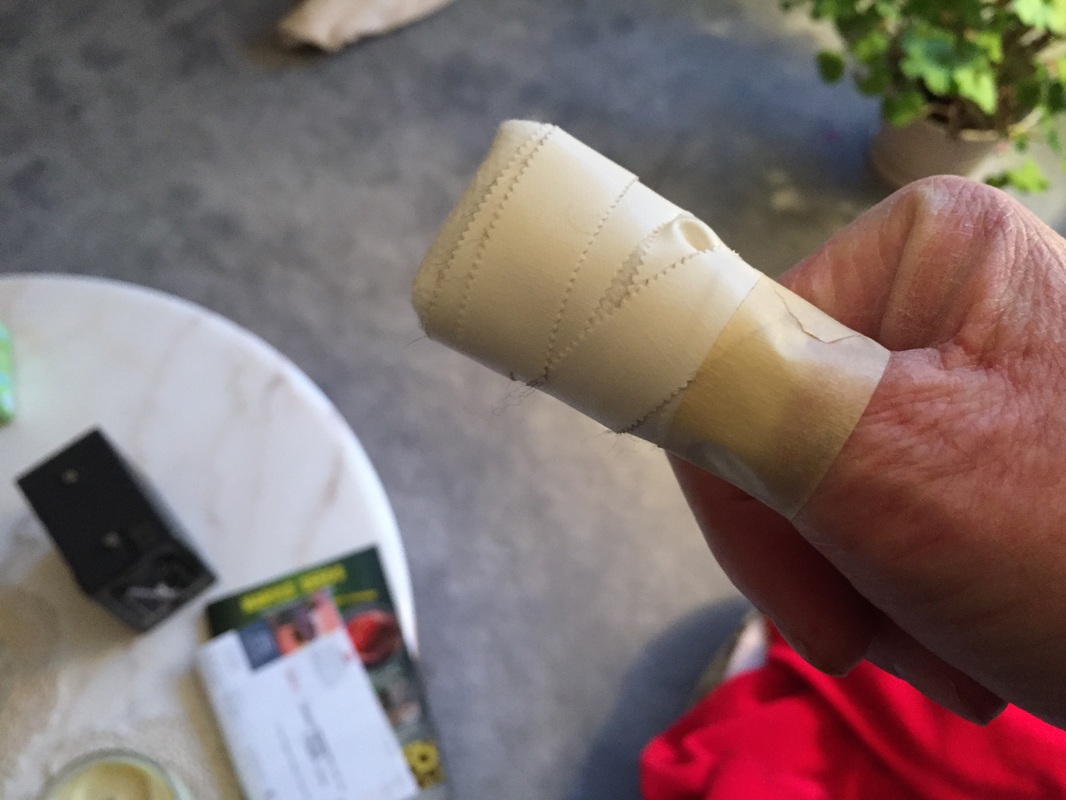
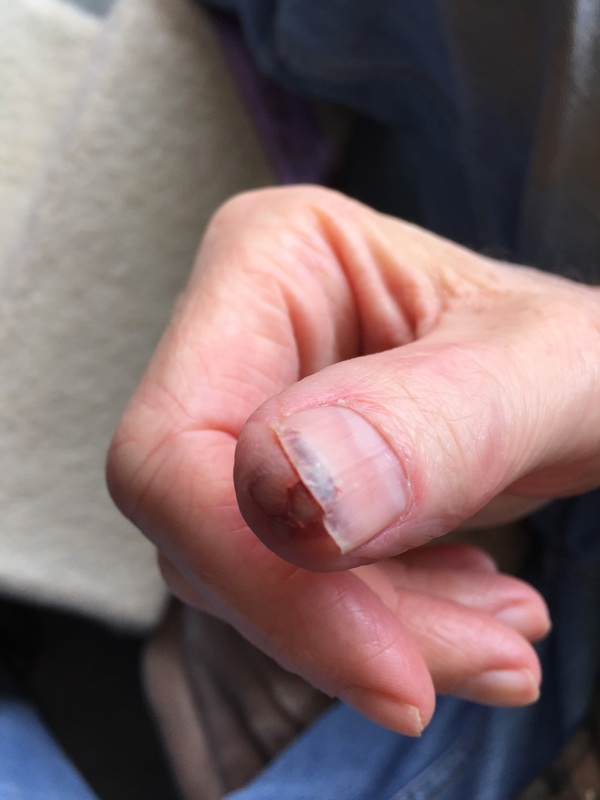
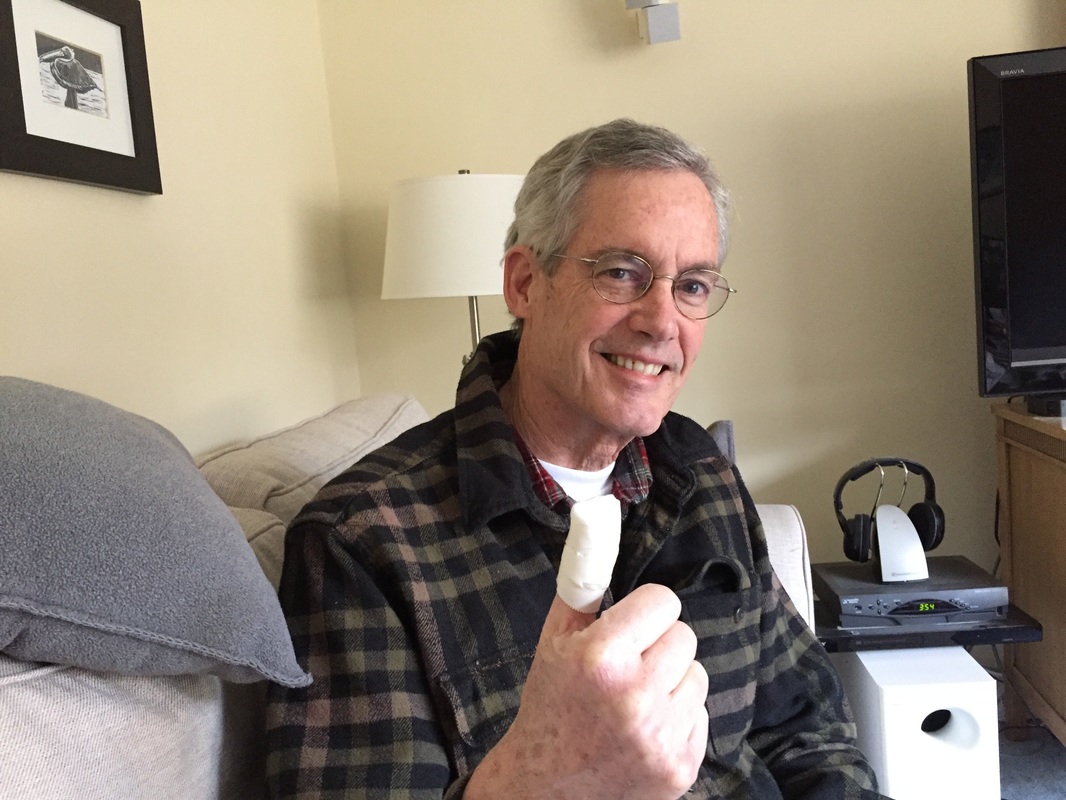
There was drama in the workshop today! For nearly a year I have worked on my clock without an accident. Not even a scratch. This was largely due to my taking extra precautions. Today was an exception. While wearing my ear, eye and mouth protection and my work gloves, I managed to whack my thumb on a moving router bit. I turned the router off and began picking up the clear plastic shield to sweep the sawdust, but my hand touched the still moving 3/4" straight bit. The bit was only up an 1/8th of an inch but that was enough. Thank goodness for the gloves as it could have been much worse. A very dumb mistake. I had been in the process of making the lap-joints on the dial door. That will now have to wait until tomorrow. I cleaned up my thumb and packed it in ice then had it wrapped with gauze and tape. No stitches. It's quite amazing how much you use your thumbs. I didn't realize until my thumb was wrapped in thick gauze. Click on photos to enlarge and see you tomorrow as I, carefully, work on the lap joints!
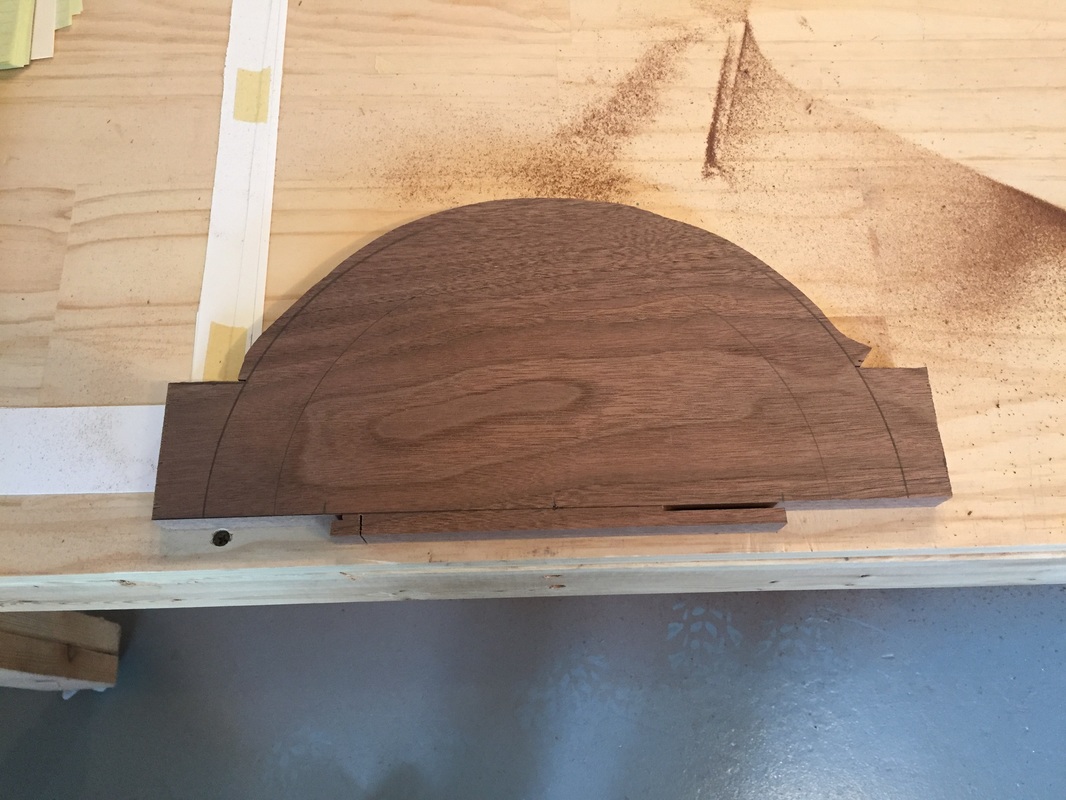
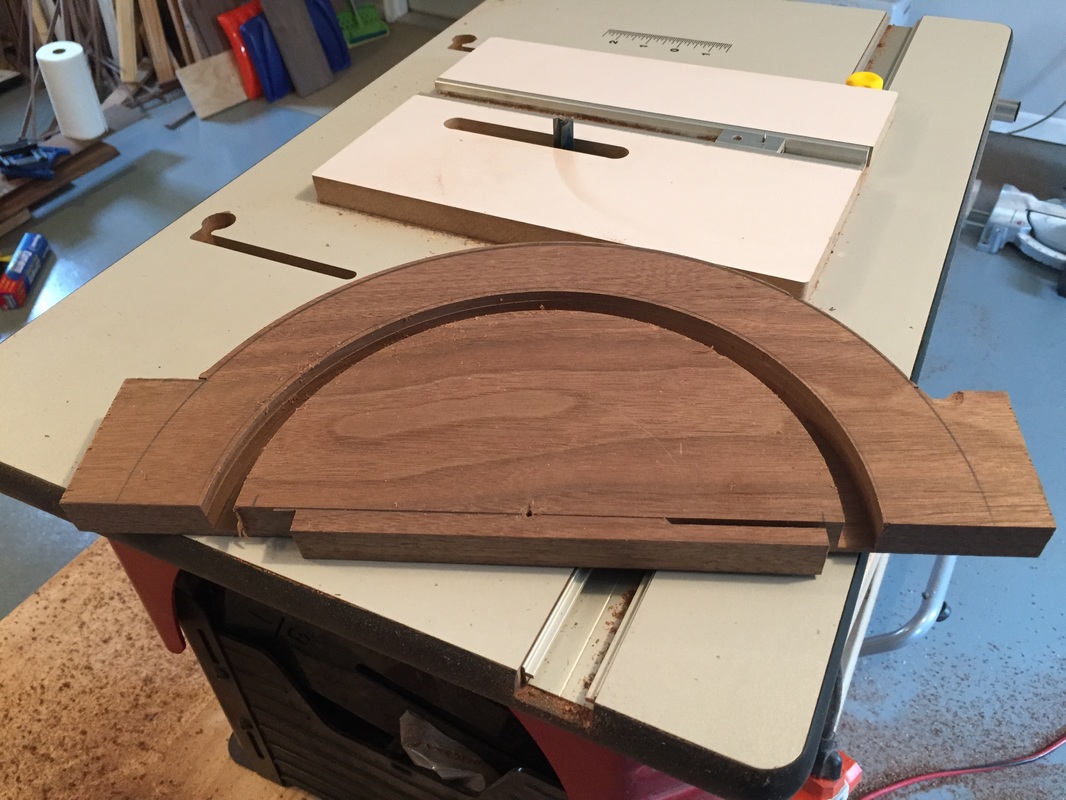
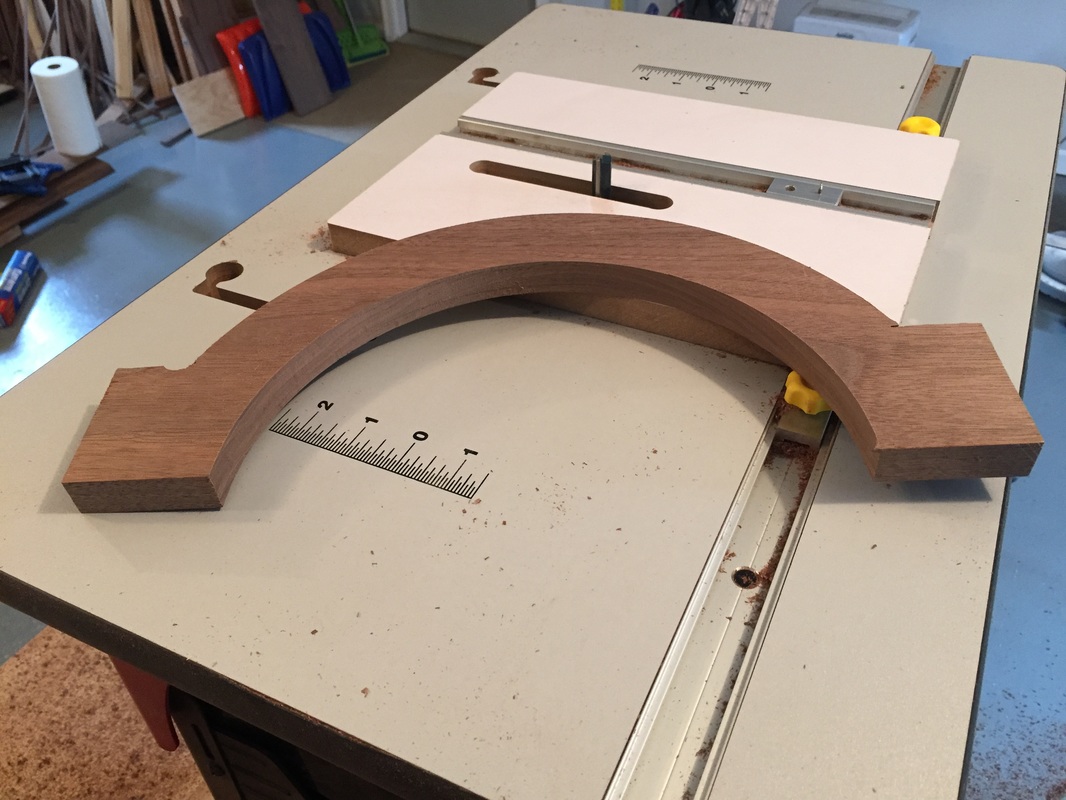
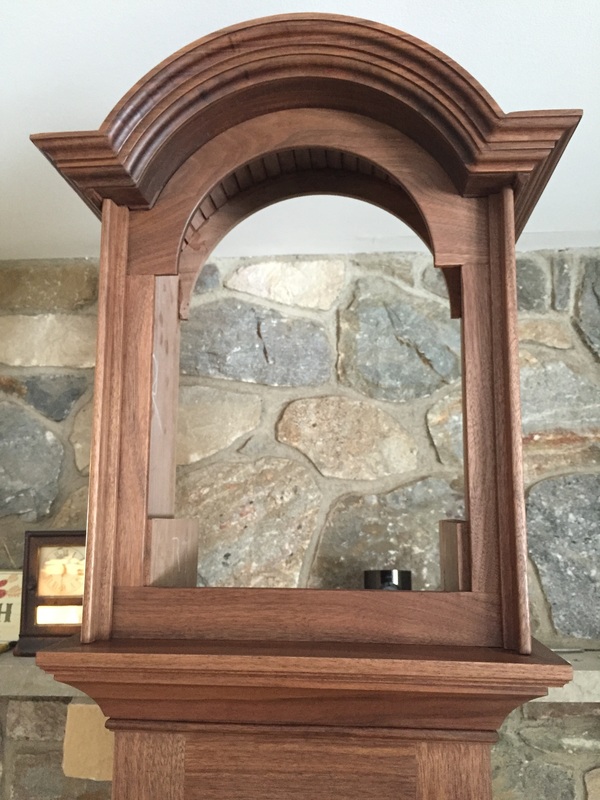
While I was quite nervous about this step, I did manage to get through cutting the top arch today. Still need to make a few tweaks but essentially complete. Then, I went ahead and made the stiles and rails for the dial door. I don't see why I can't get the lap joinery done tomorrow and get it all glued-up. From there, I need to make any trimming adjustments so it fits well into the hood assembly. Thanks for visiting and click on photos below to enlarge.
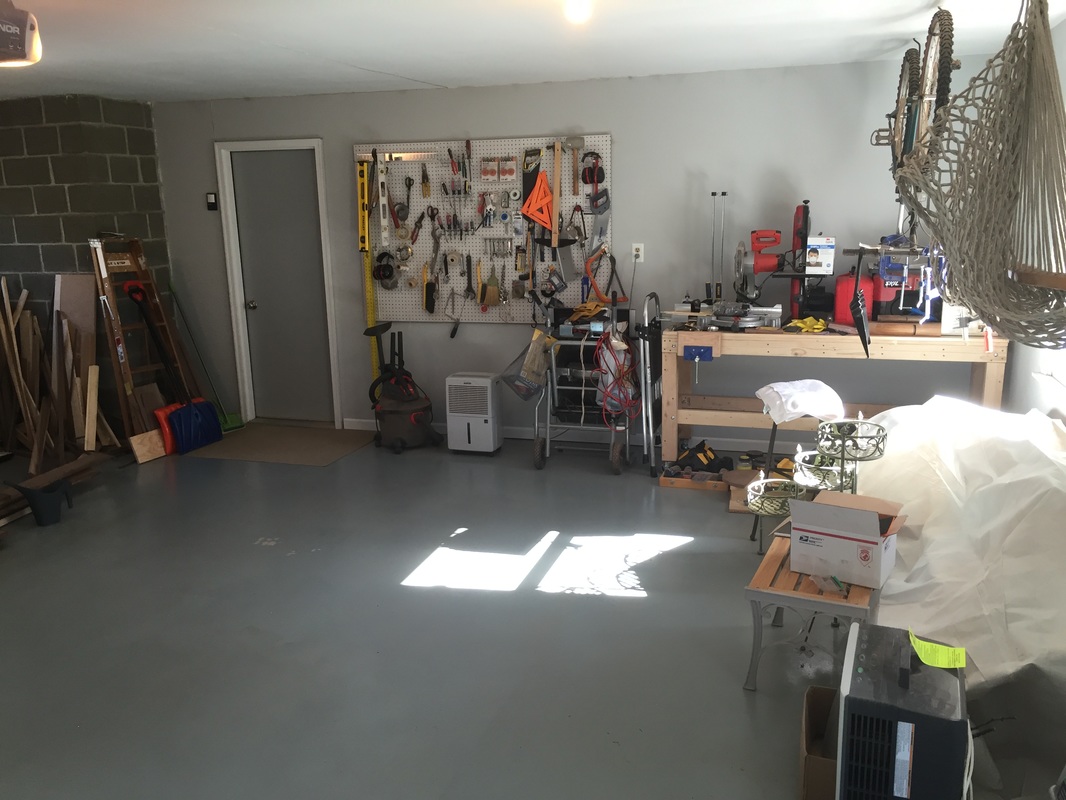
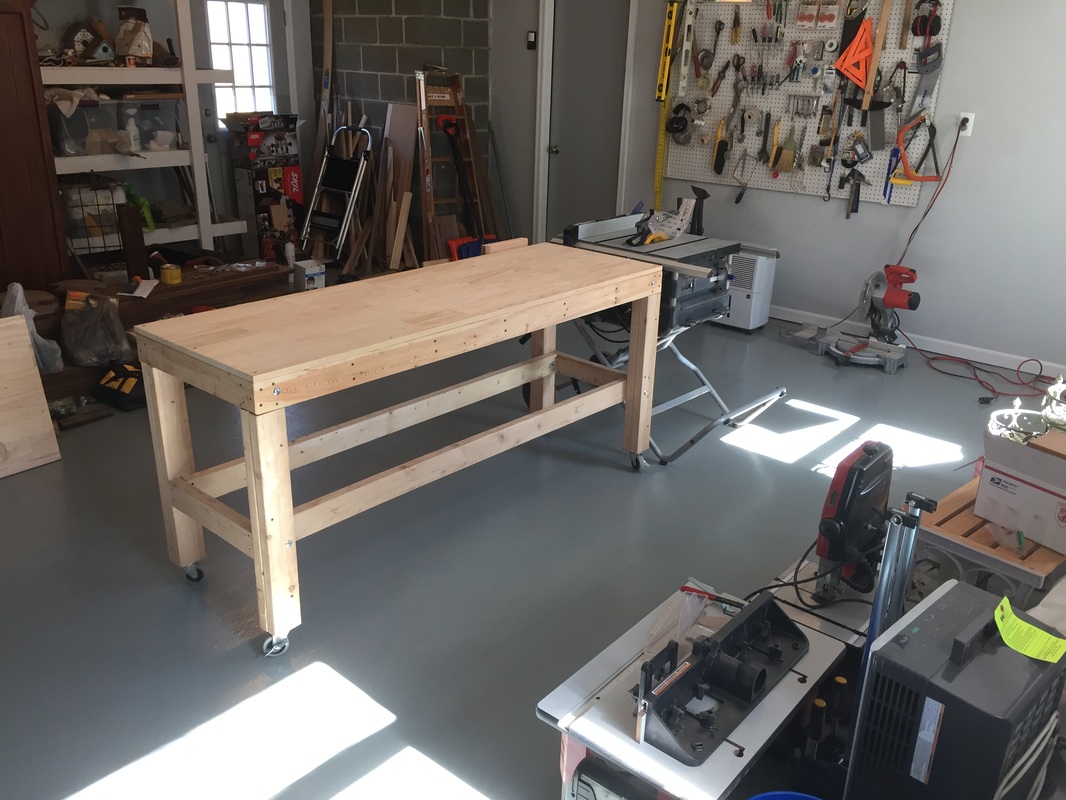
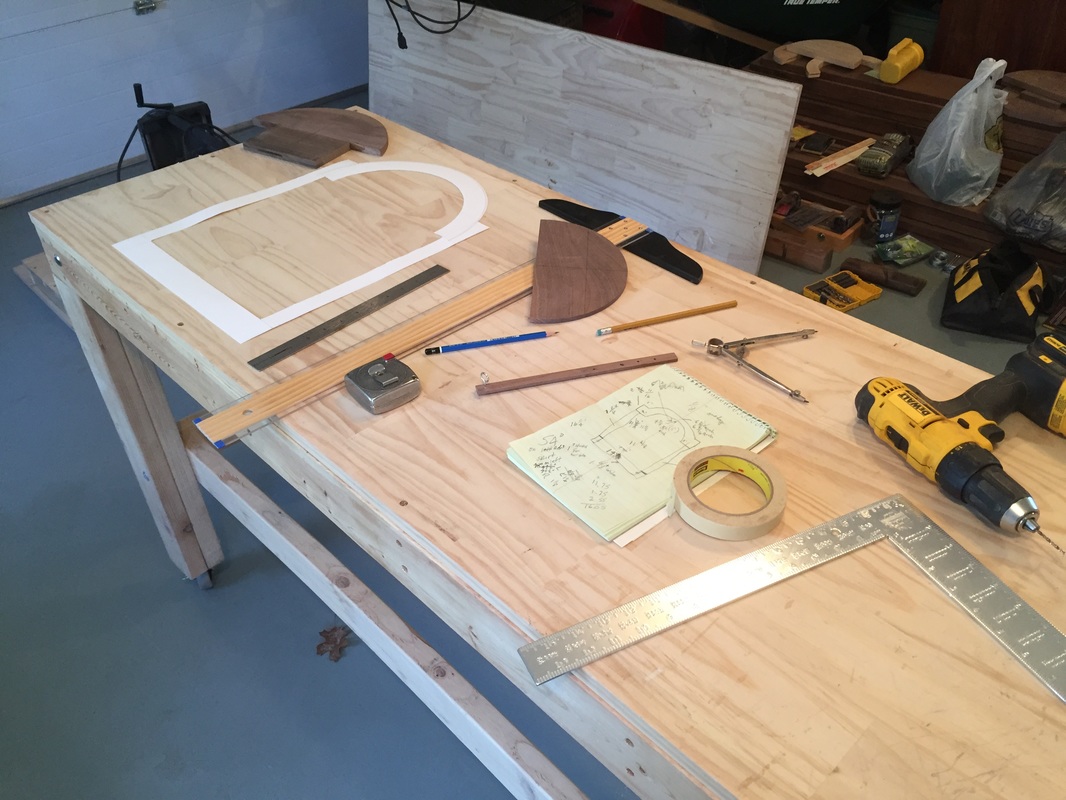
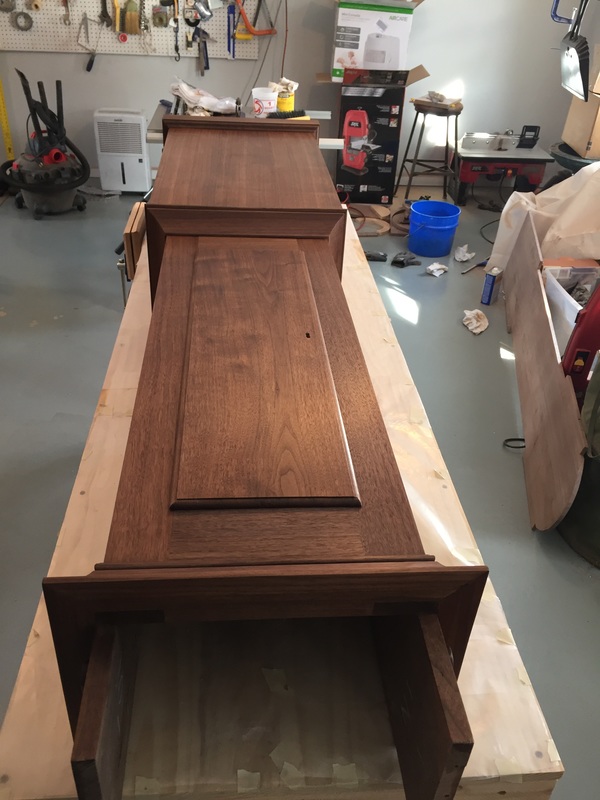
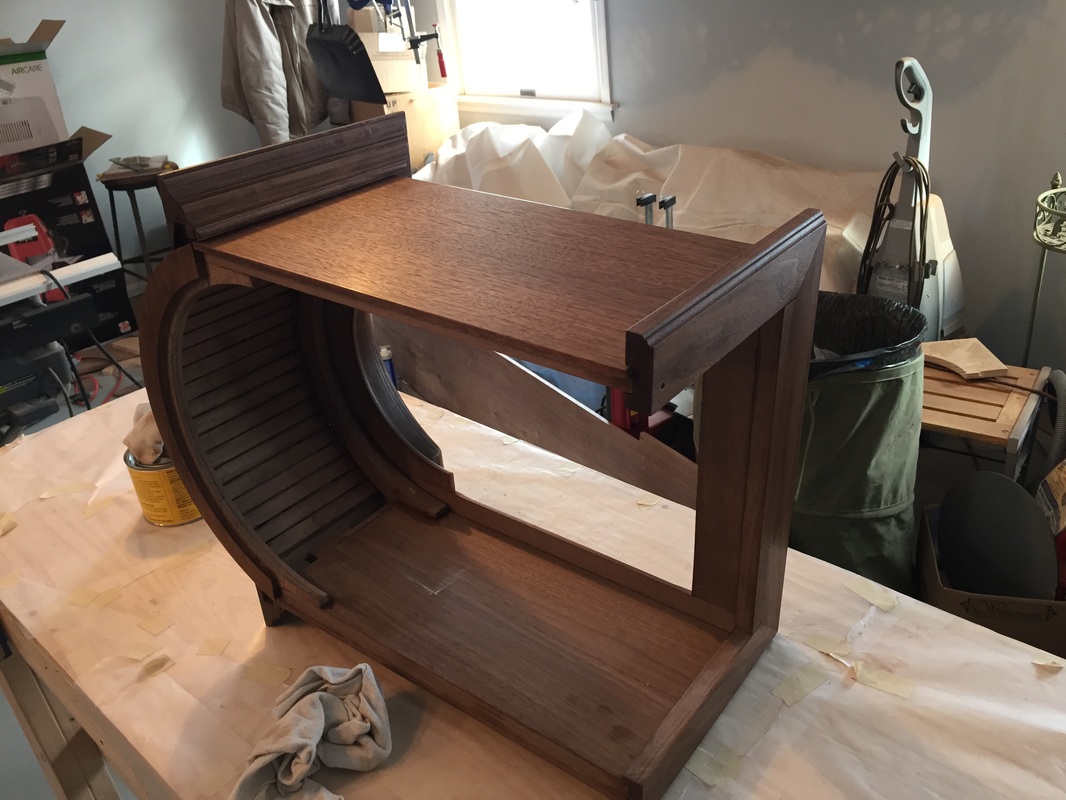
Hi to all my blog followers! I'm back and ready to build the dial door. I expect to be working on finishing the clock this month and making progress nearly every day - so stay tuned! For the past week, I have been running the clock continuously, and for the past few days have tweaked the nut on the bottom of the pendulum to adjust the "beat" to provide a close-to-precise time. At this point, the clock is running 10- seconds fast over a 24-hour stretch. Not bad, and I plan to leave it running a little fast for two reasons: 1st, winding the weights on the time barrel seems to momentarily stop the clock from advancing, and 2nd, it's easy enough to stop the pendulum for a few seconds to get the clock in time. Today, I proceeded to convert our garage back into my wood working workshop. I've included a few pics of the transition. Then, I spent the balance of the day creating a template for the dial door. The door is intended to be an exact replica of the dial mask. Unfortunately, the dial mask is now an integral part of the hood and cannot simply me traced. Tomorrow, I will begin preparing the door pieces and will likely make the difficult arch cuts in the top piece. Obviously the dial door needs to fit snugly into the hood and will then sit/hang on two hinges made for tall case clock hood doors. All of the joints will be lap joints similar to the mask. I will then need to put a rabbet on the inside opening to accept the glass, and will also round-over the outside opening. While mostly similar to the mask, the door will be 3/4" rather than the easy to work 3/8" mask. Following the hood door, I then need to place my name and town on the dial. I will need to first carefully remove the existing name. Fortunately for me, my weekend artist son has agreed to place my name and town on the dial. We are currently looking at many styles and I hope to have the choice finalized over the next two weeks. Then, I will take the movement up to Boston, where my son lives, and give him a few days to complete. Please enjoy the pics below and thanks for visiting. Click to enlarge.
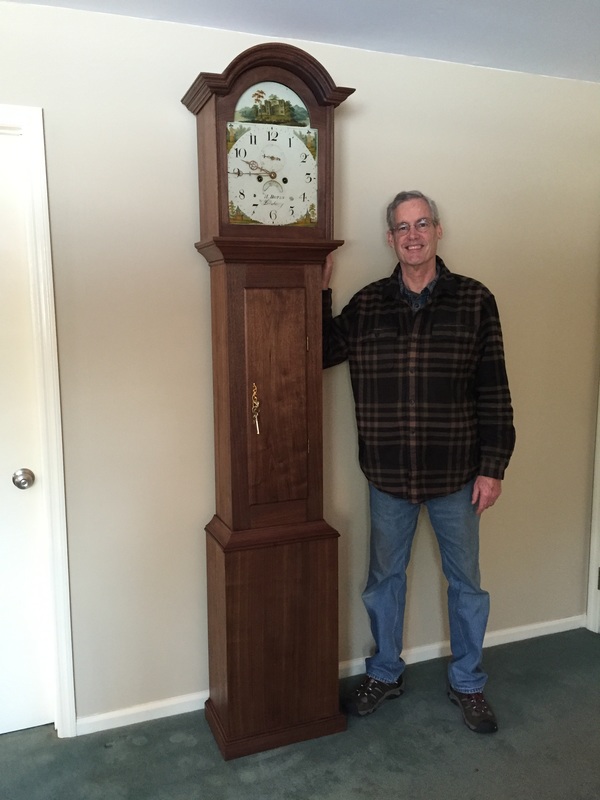
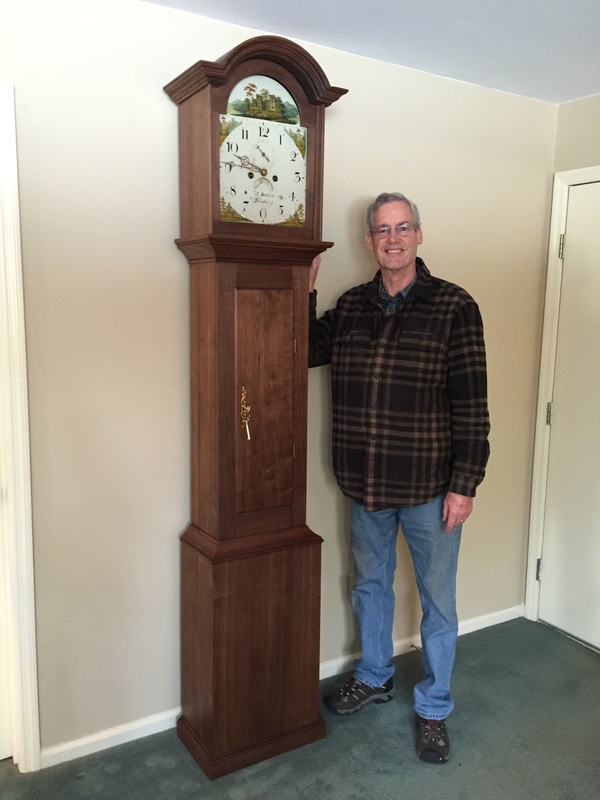
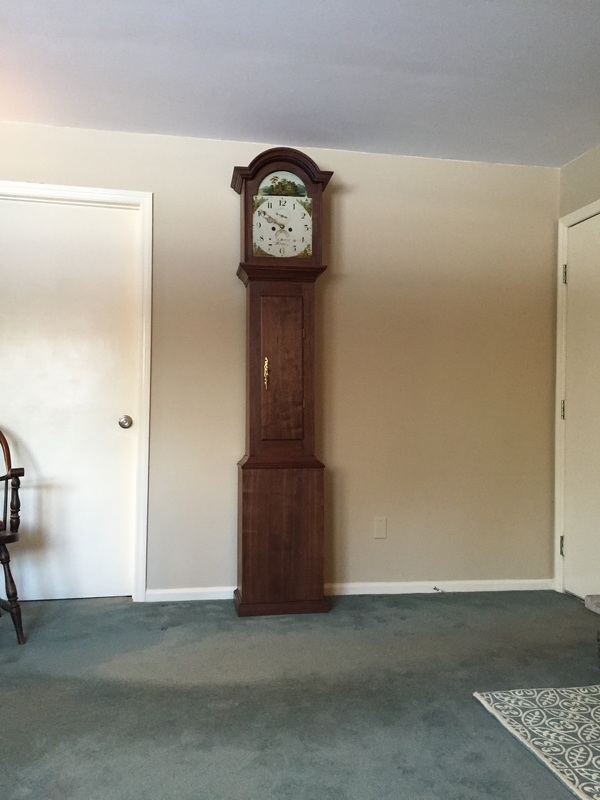
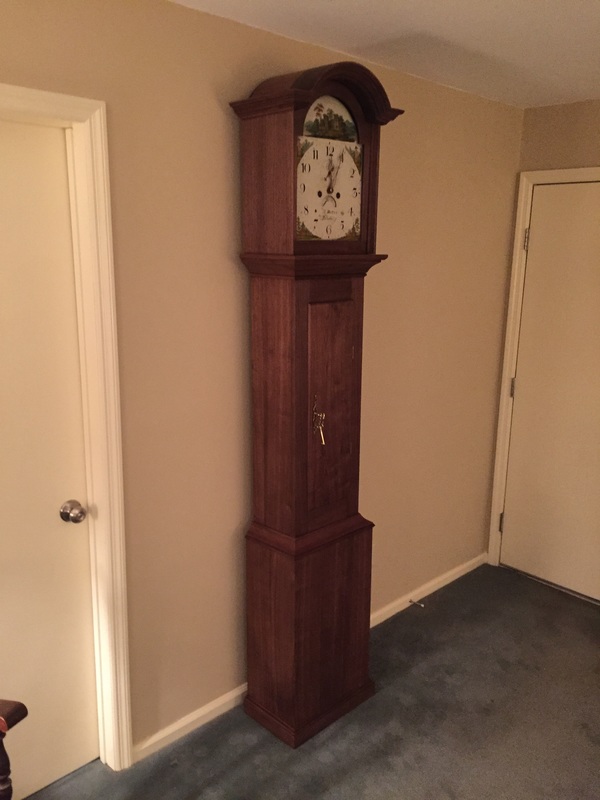
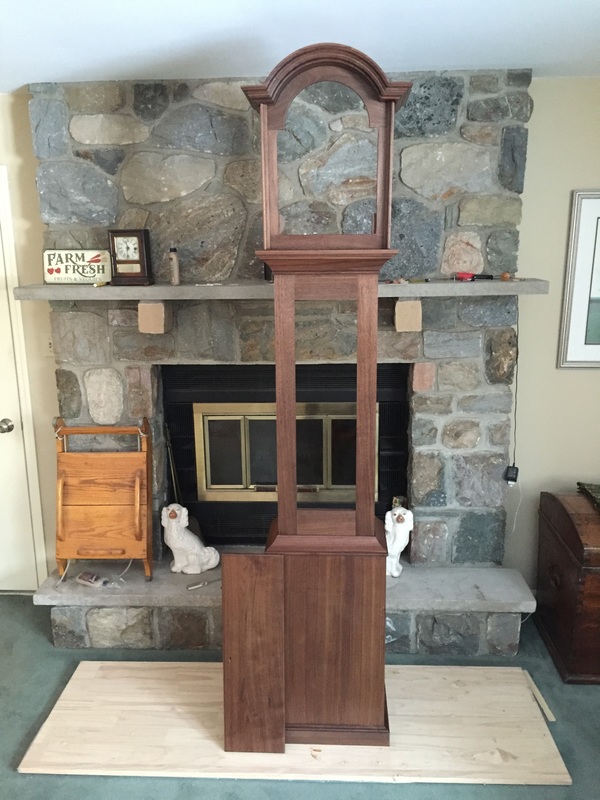
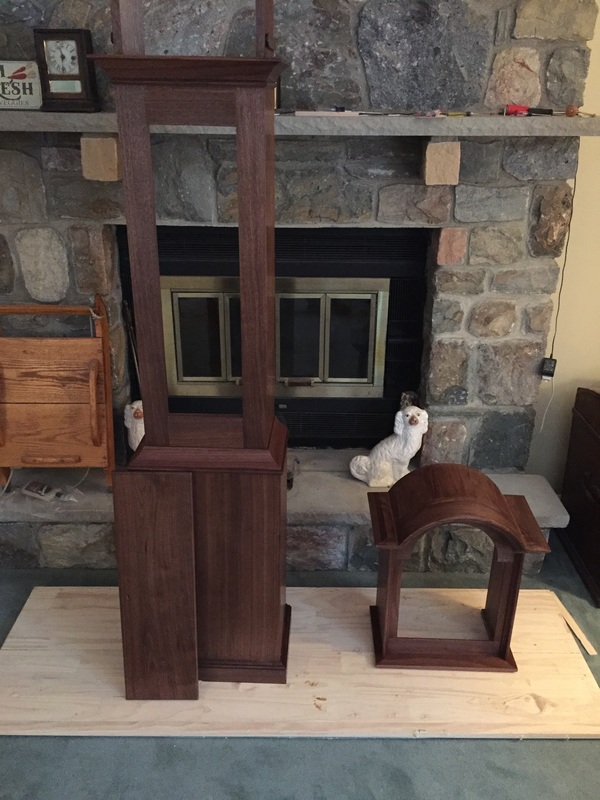
Today I put on a 3rd coat of wax, installed the door, remounted the clock movement, put on the back-plate and positioned the clock where we believe it will reside! I made it as far as I had hoped before taking a hiatus to work on another project. But I'll be back to the clock in early March to add the dial door and scribe my name to the dial! Thanks for visiting and please enjoy the photos below. Click to enlarge.
Today I applied the 2nd coat of wax to the entire case. Click on photos below to enlarge. Enjoy!
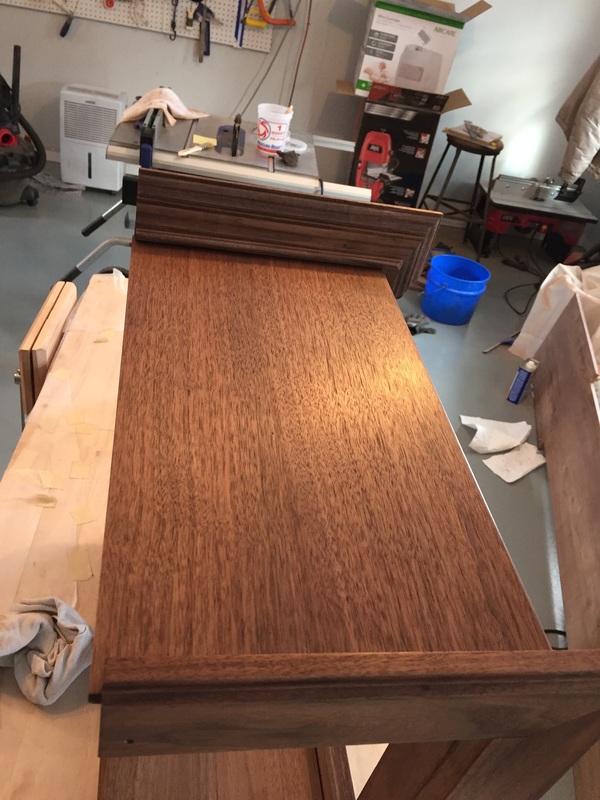
Today I waxed the hood. I then oiled and waxed the waist door. Finally I waxed the case waist and base. Went over the pieces with 0000 steel wool first and followed that with a brush and wipe. I'll also do that in between each waxing. Tomorrow I hope to put on a 2nd coat of wax. I took many photos but decided to just share a sampling. Click on photos to enlarge. Enjoy!
|
AuthorI hope that you enjoy keeping up with my clock's progress! Archives
June 2016
Categories |


 RSS Feed
