Another productive day as I concentrated on the arch skirt moulding. Now, hopefully, you will know what I'm talking about. I made the two angle cuts on the arches with a hand saw. They came out good enough that I can perfect the joinery to make them fit properly. Then, I tested the adjoining skirt pieces and all worked very well after some test cuts. I am quite pleased with how this will look on the finished case. The side skirts start in the front and then continue as they wrap around the sides. I needed 3 power tools and a hand saw to make the necessary cuts. That also equates to a lot of sawdust. I then created blank stock for the skirt mouldings and routed them. So now I'm all set to assemble them at the appropriate point.
Next up [tomorrow], I plan to glue together four of the arches. Then, I will re-check my assembly details and make the many cuts on the two hood side pieces. I need to trim the pieces to size, then make a notch, 2 rabbets and a grove [to accept the dial mask] on each piece. It is very important that my previous measurements and plans work as the dial sits where it sits, and everything else fits around it. Then on Saturday, I will likely assemble the hood arches to the hood sides and the sides to the base. From there, I will assemble the most-forward arches and the side skirts. Please see the pics below. Click to enlarge. And a Happy New Year!
Next up [tomorrow], I plan to glue together four of the arches. Then, I will re-check my assembly details and make the many cuts on the two hood side pieces. I need to trim the pieces to size, then make a notch, 2 rabbets and a grove [to accept the dial mask] on each piece. It is very important that my previous measurements and plans work as the dial sits where it sits, and everything else fits around it. Then on Saturday, I will likely assemble the hood arches to the hood sides and the sides to the base. From there, I will assemble the most-forward arches and the side skirts. Please see the pics below. Click to enlarge. And a Happy New Year!
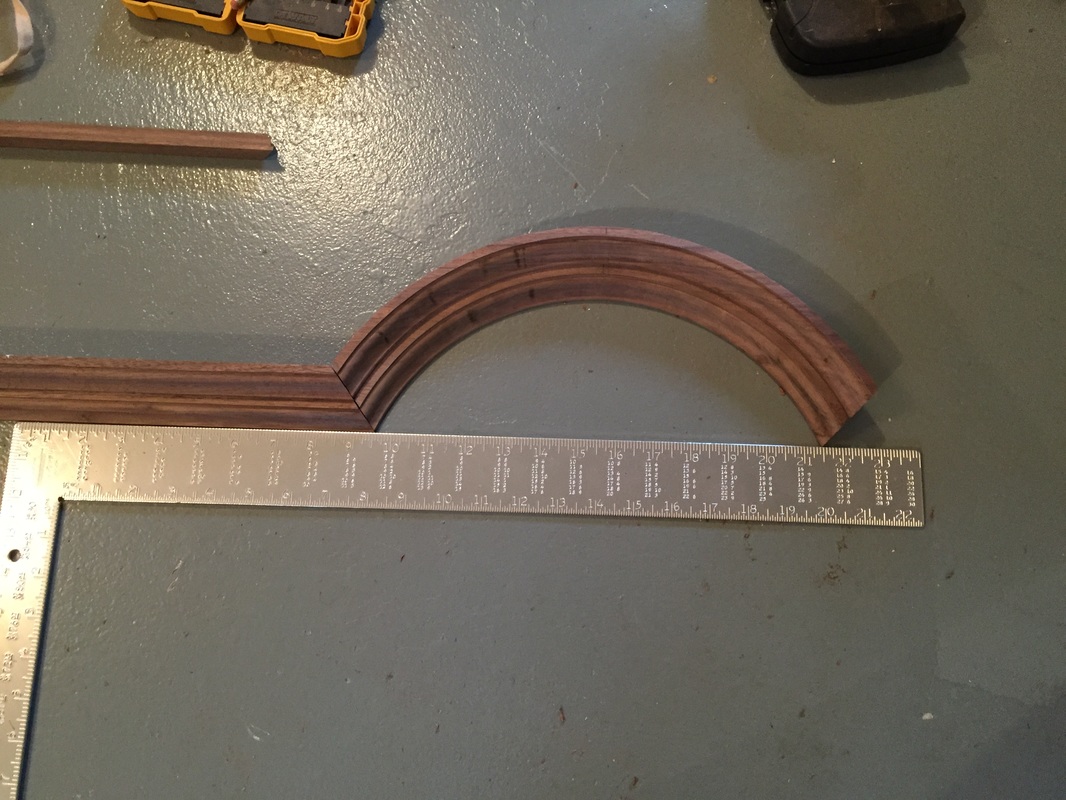 The forward-most hood arches and a front side skirt laid out for position only | 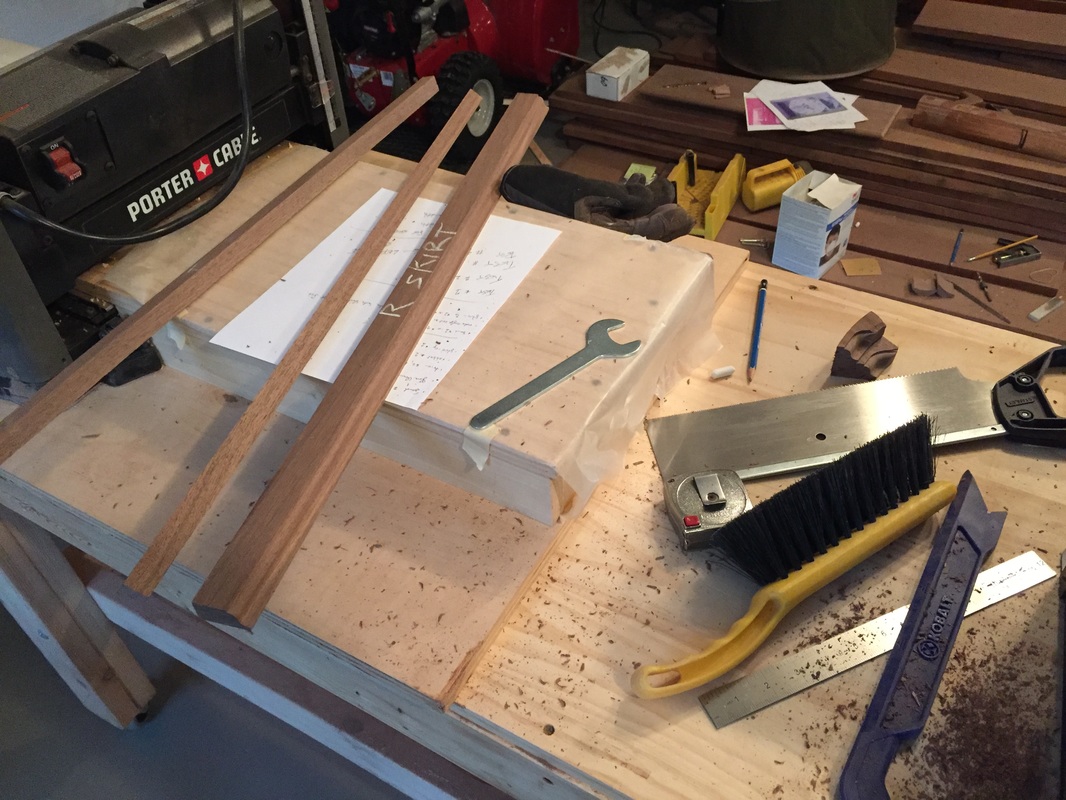 Production of the skirt pieces | 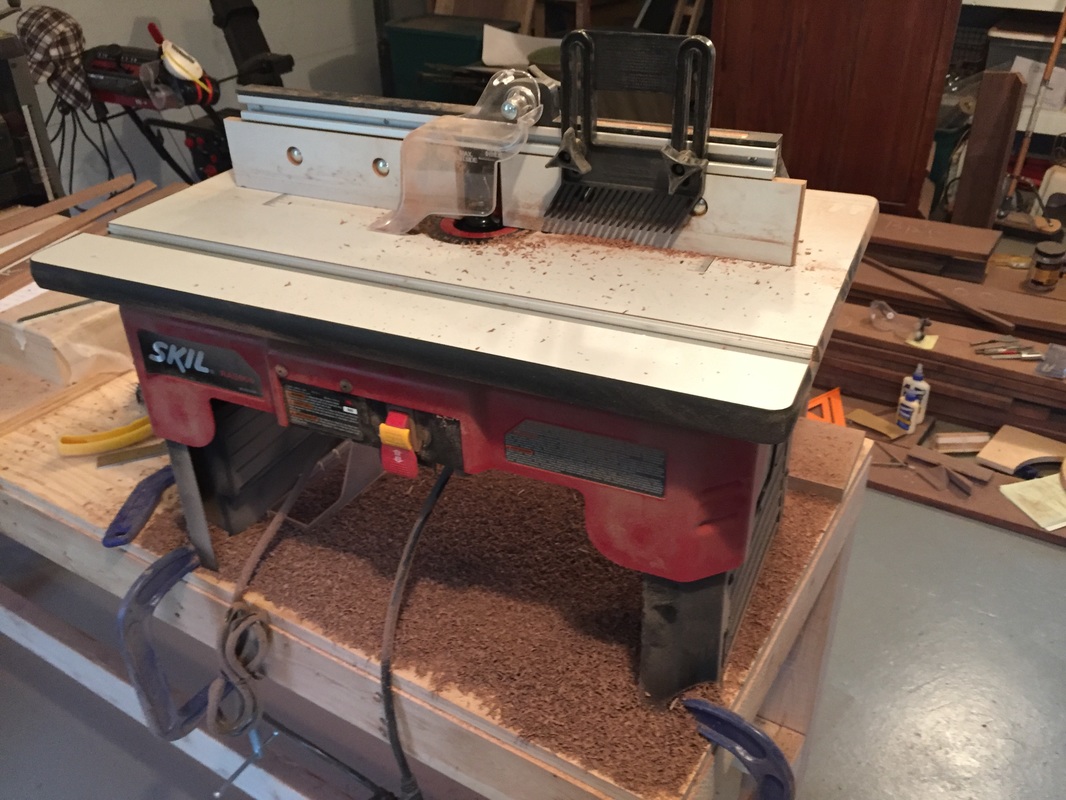 Quite a lot of saw dust! |
 RSS Feed
